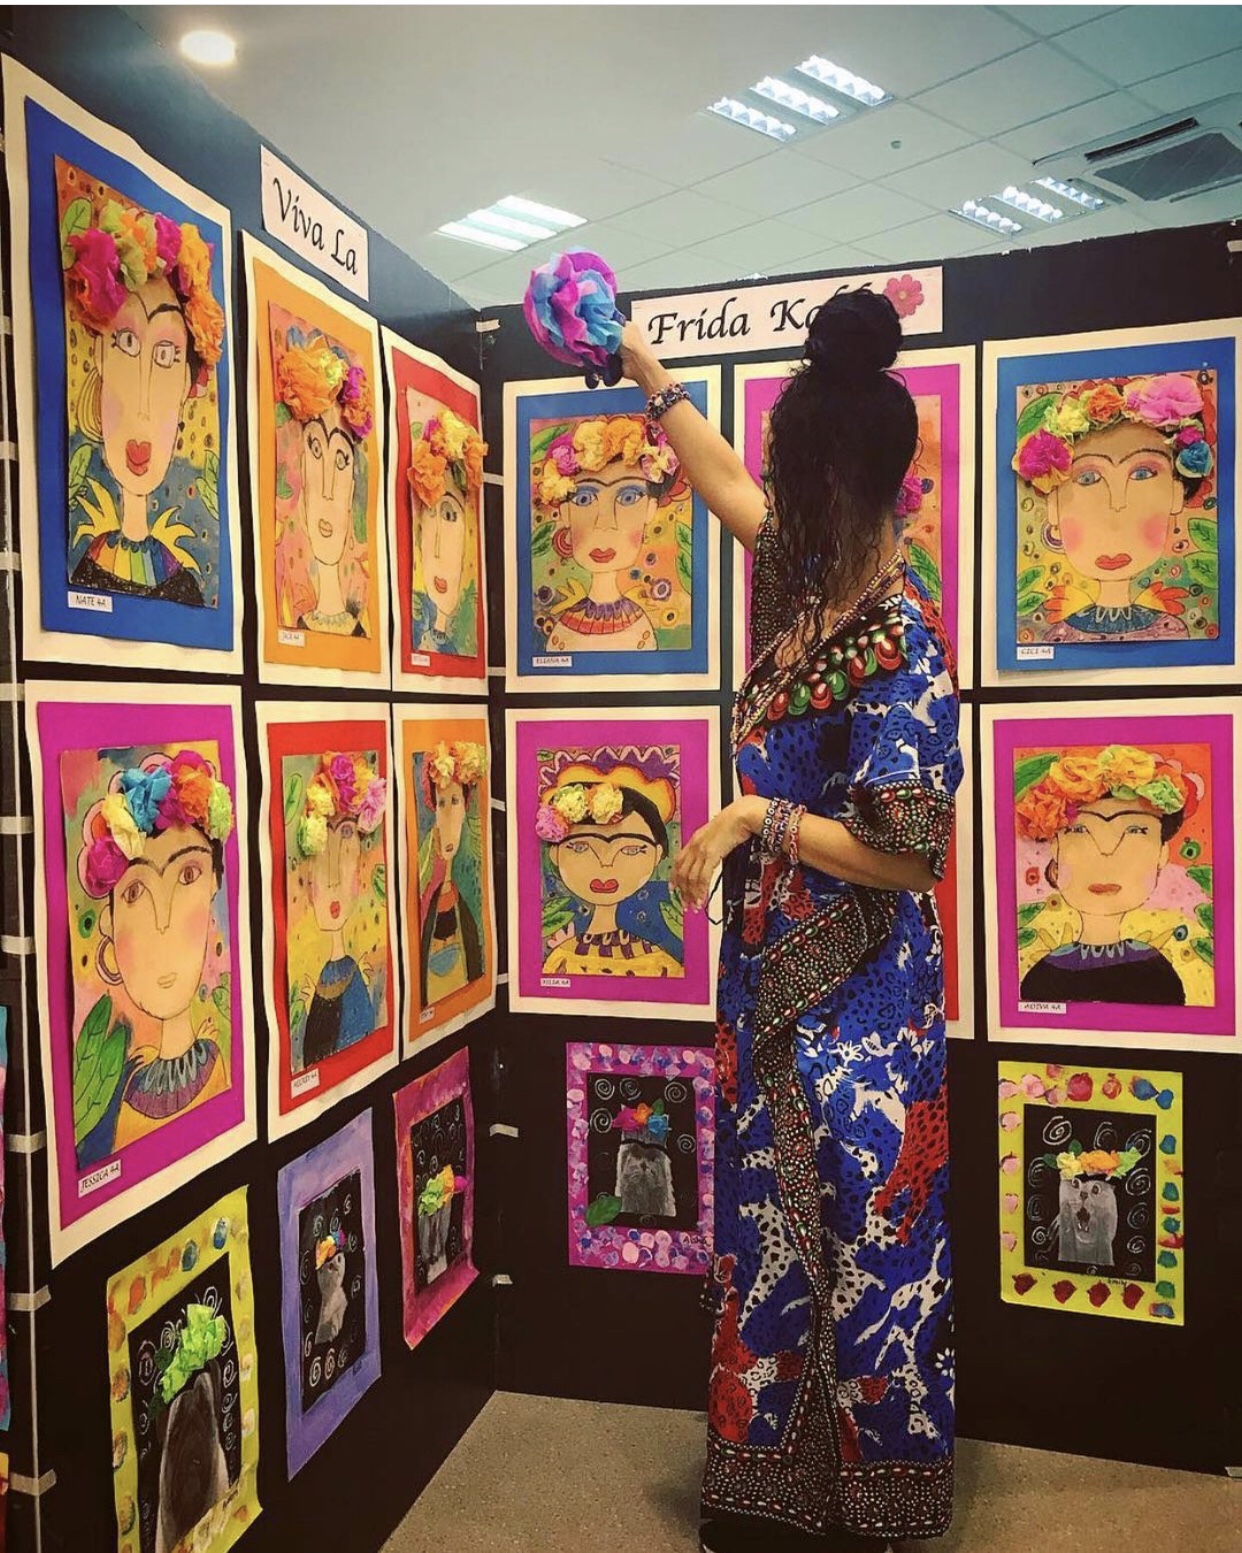
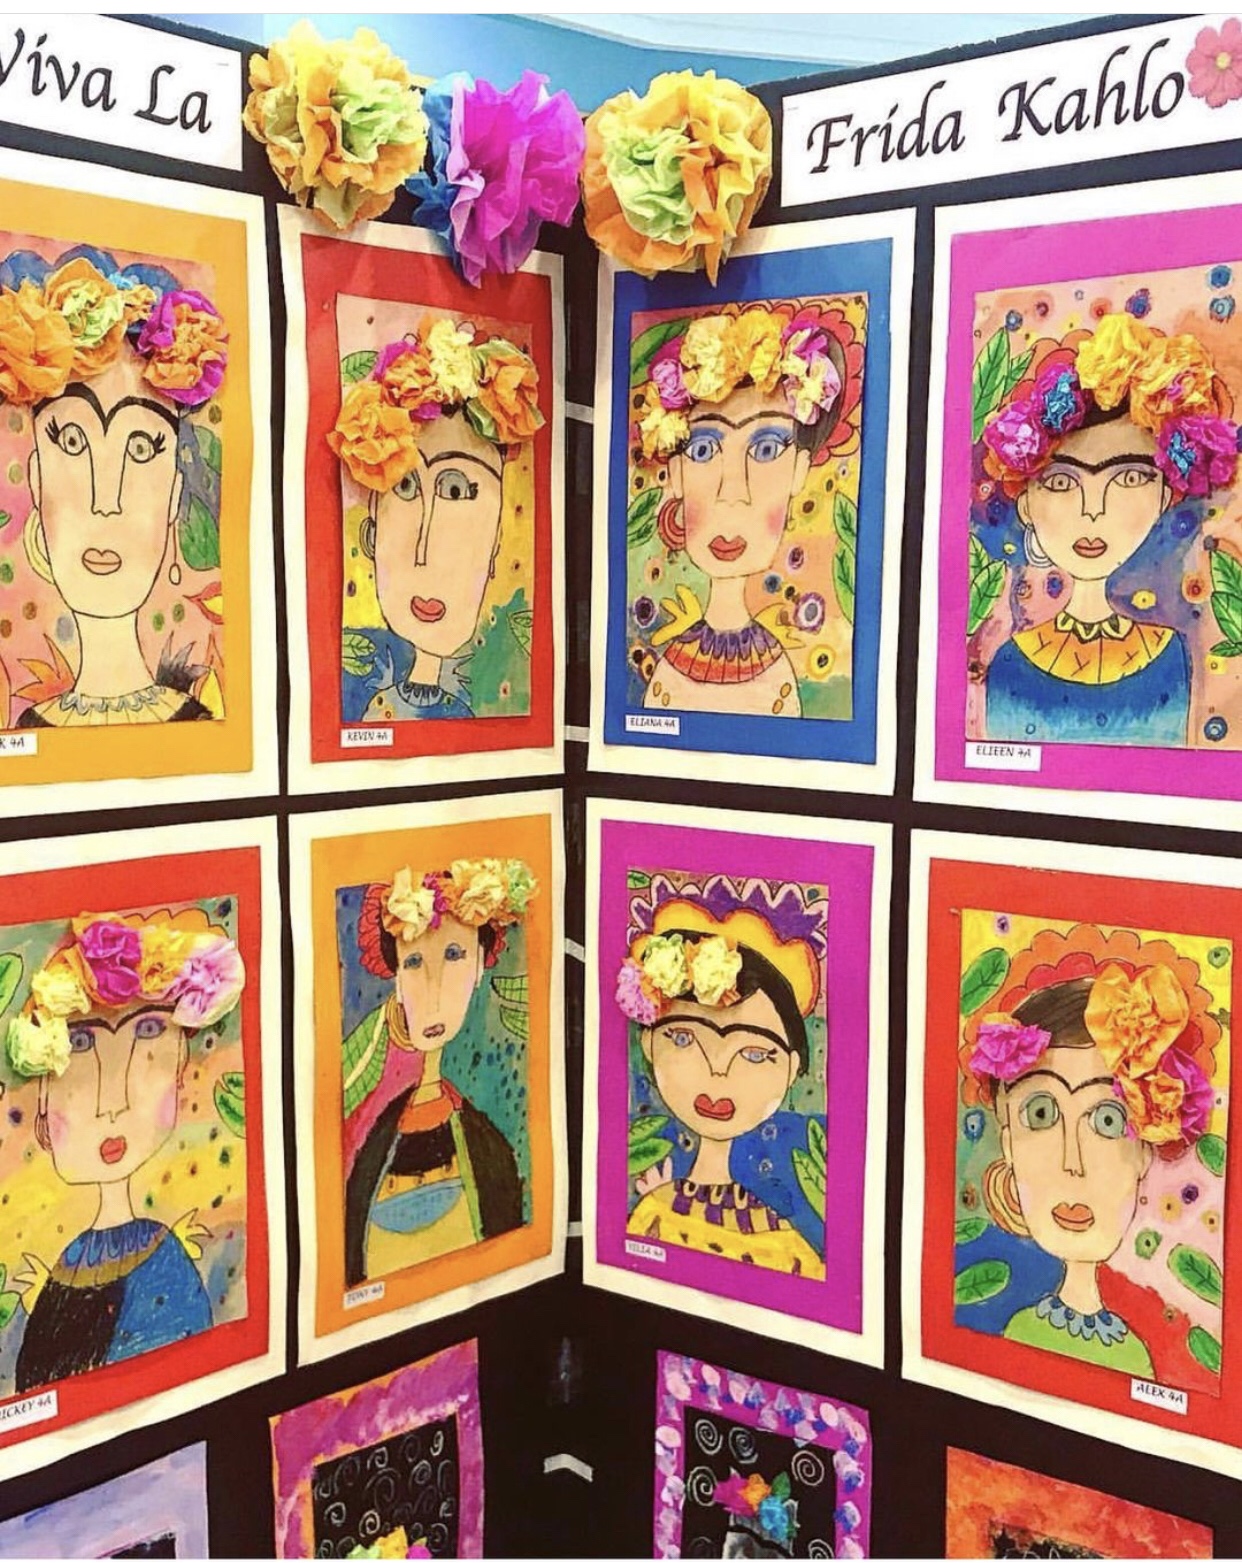
This is one of my favorites! My Grade 4 students learned all about Frida Kahlo and her brilliant self portraits. This was a multi-media lesson beginning with a guided demonstration on how to draw Frida. Students used oil pastels and watercolors to design their portraits and background. Lastly students created tissue paper flowers for her crown.
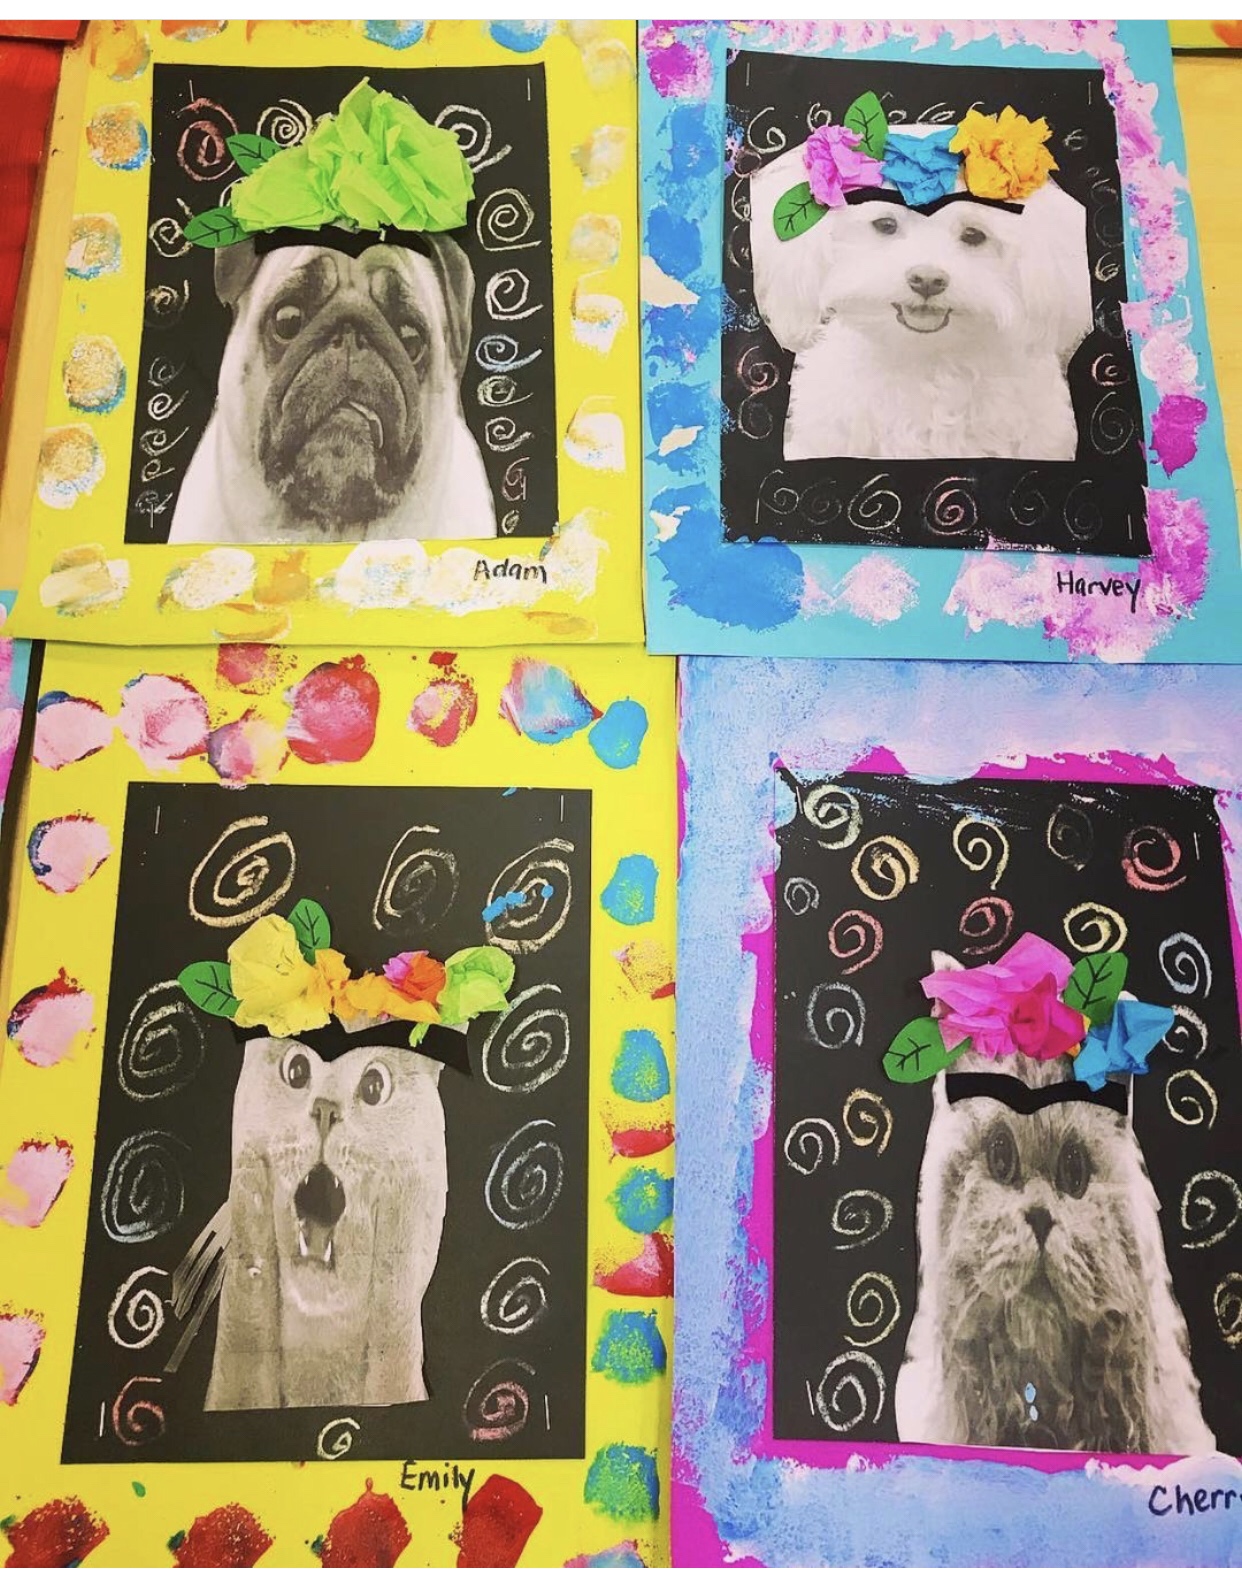
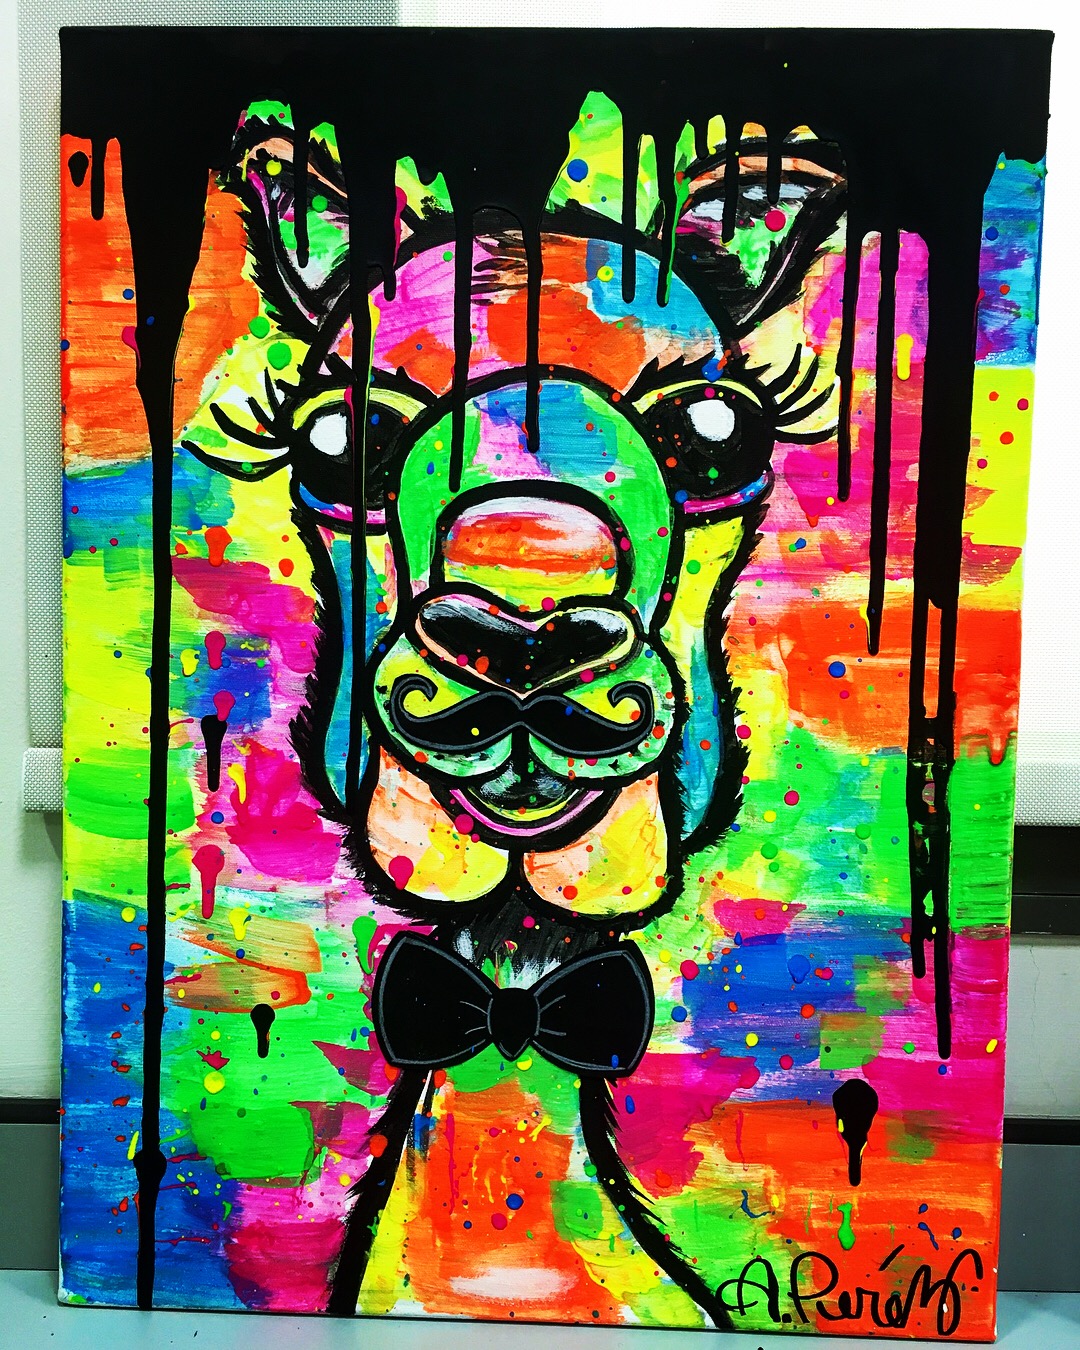
My Grade 1 students had fun choosing funny animals to represent Frida. They used sponge paint to design a textured frame. Students created tissue paper flowers to add actual texture and black felt for Frida’s infamous unibrow.
I must say I’m obsessed with the outcome and the amazing artwork of my little artists.🎨💓
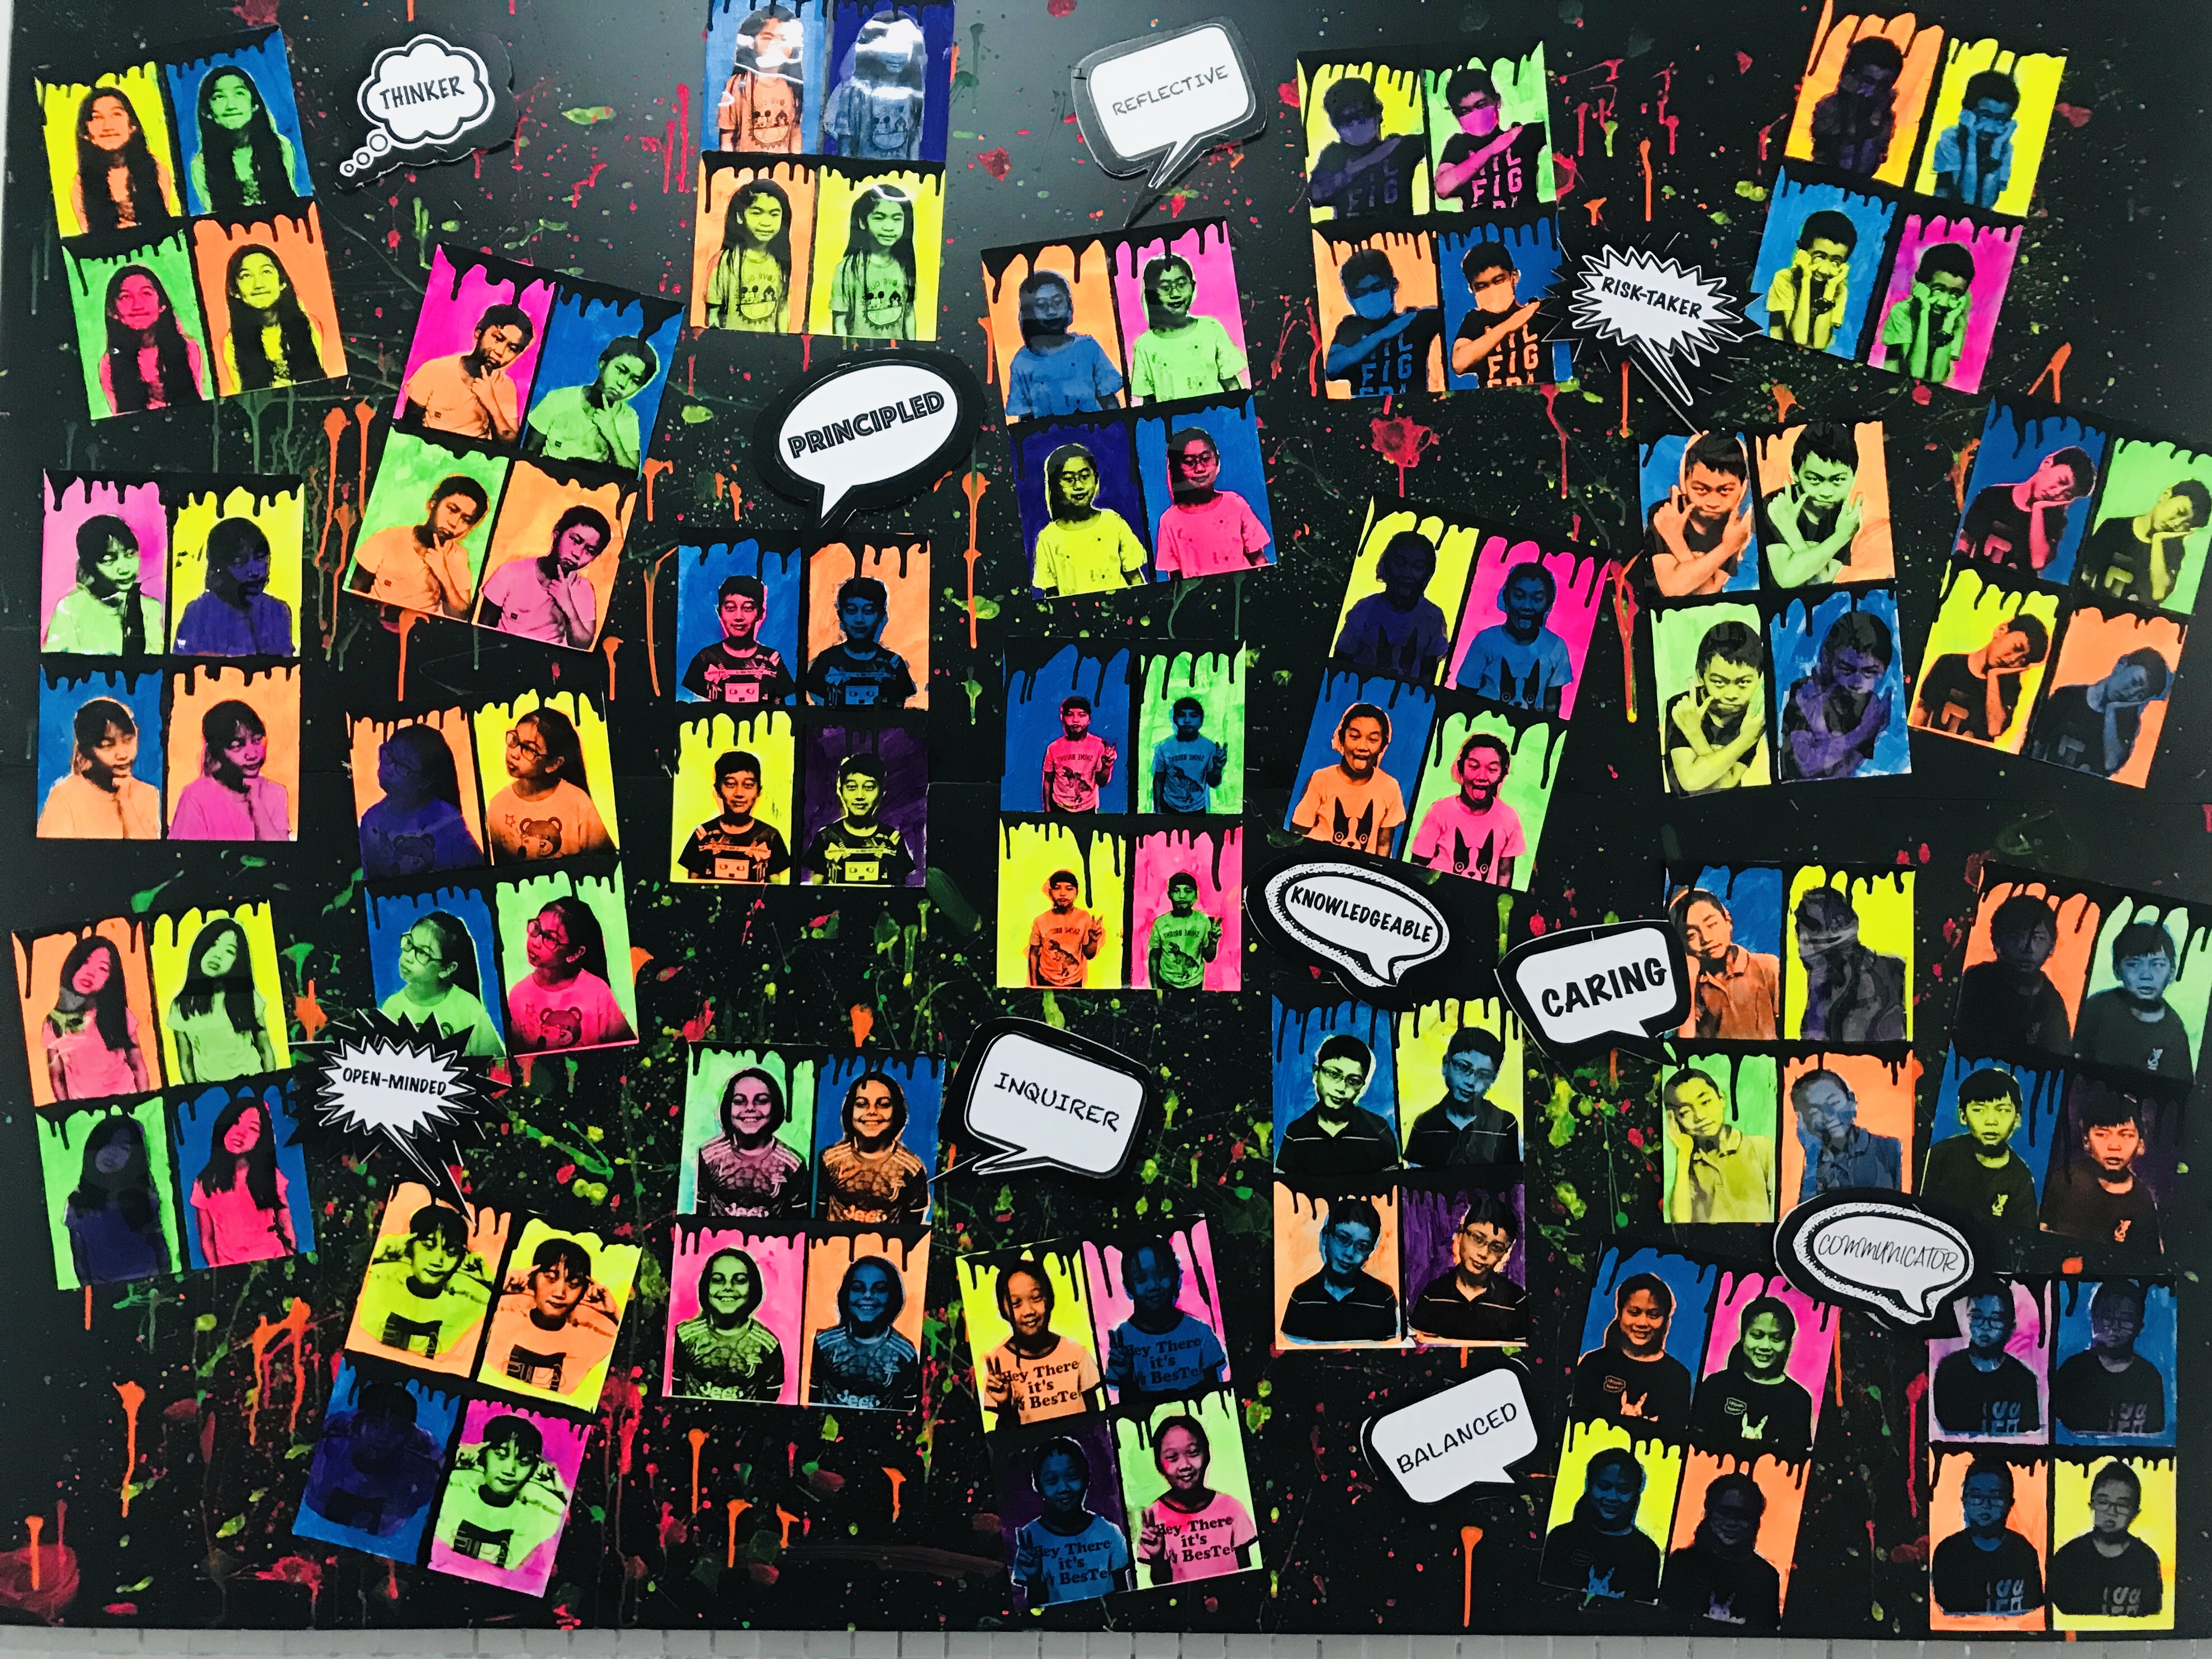
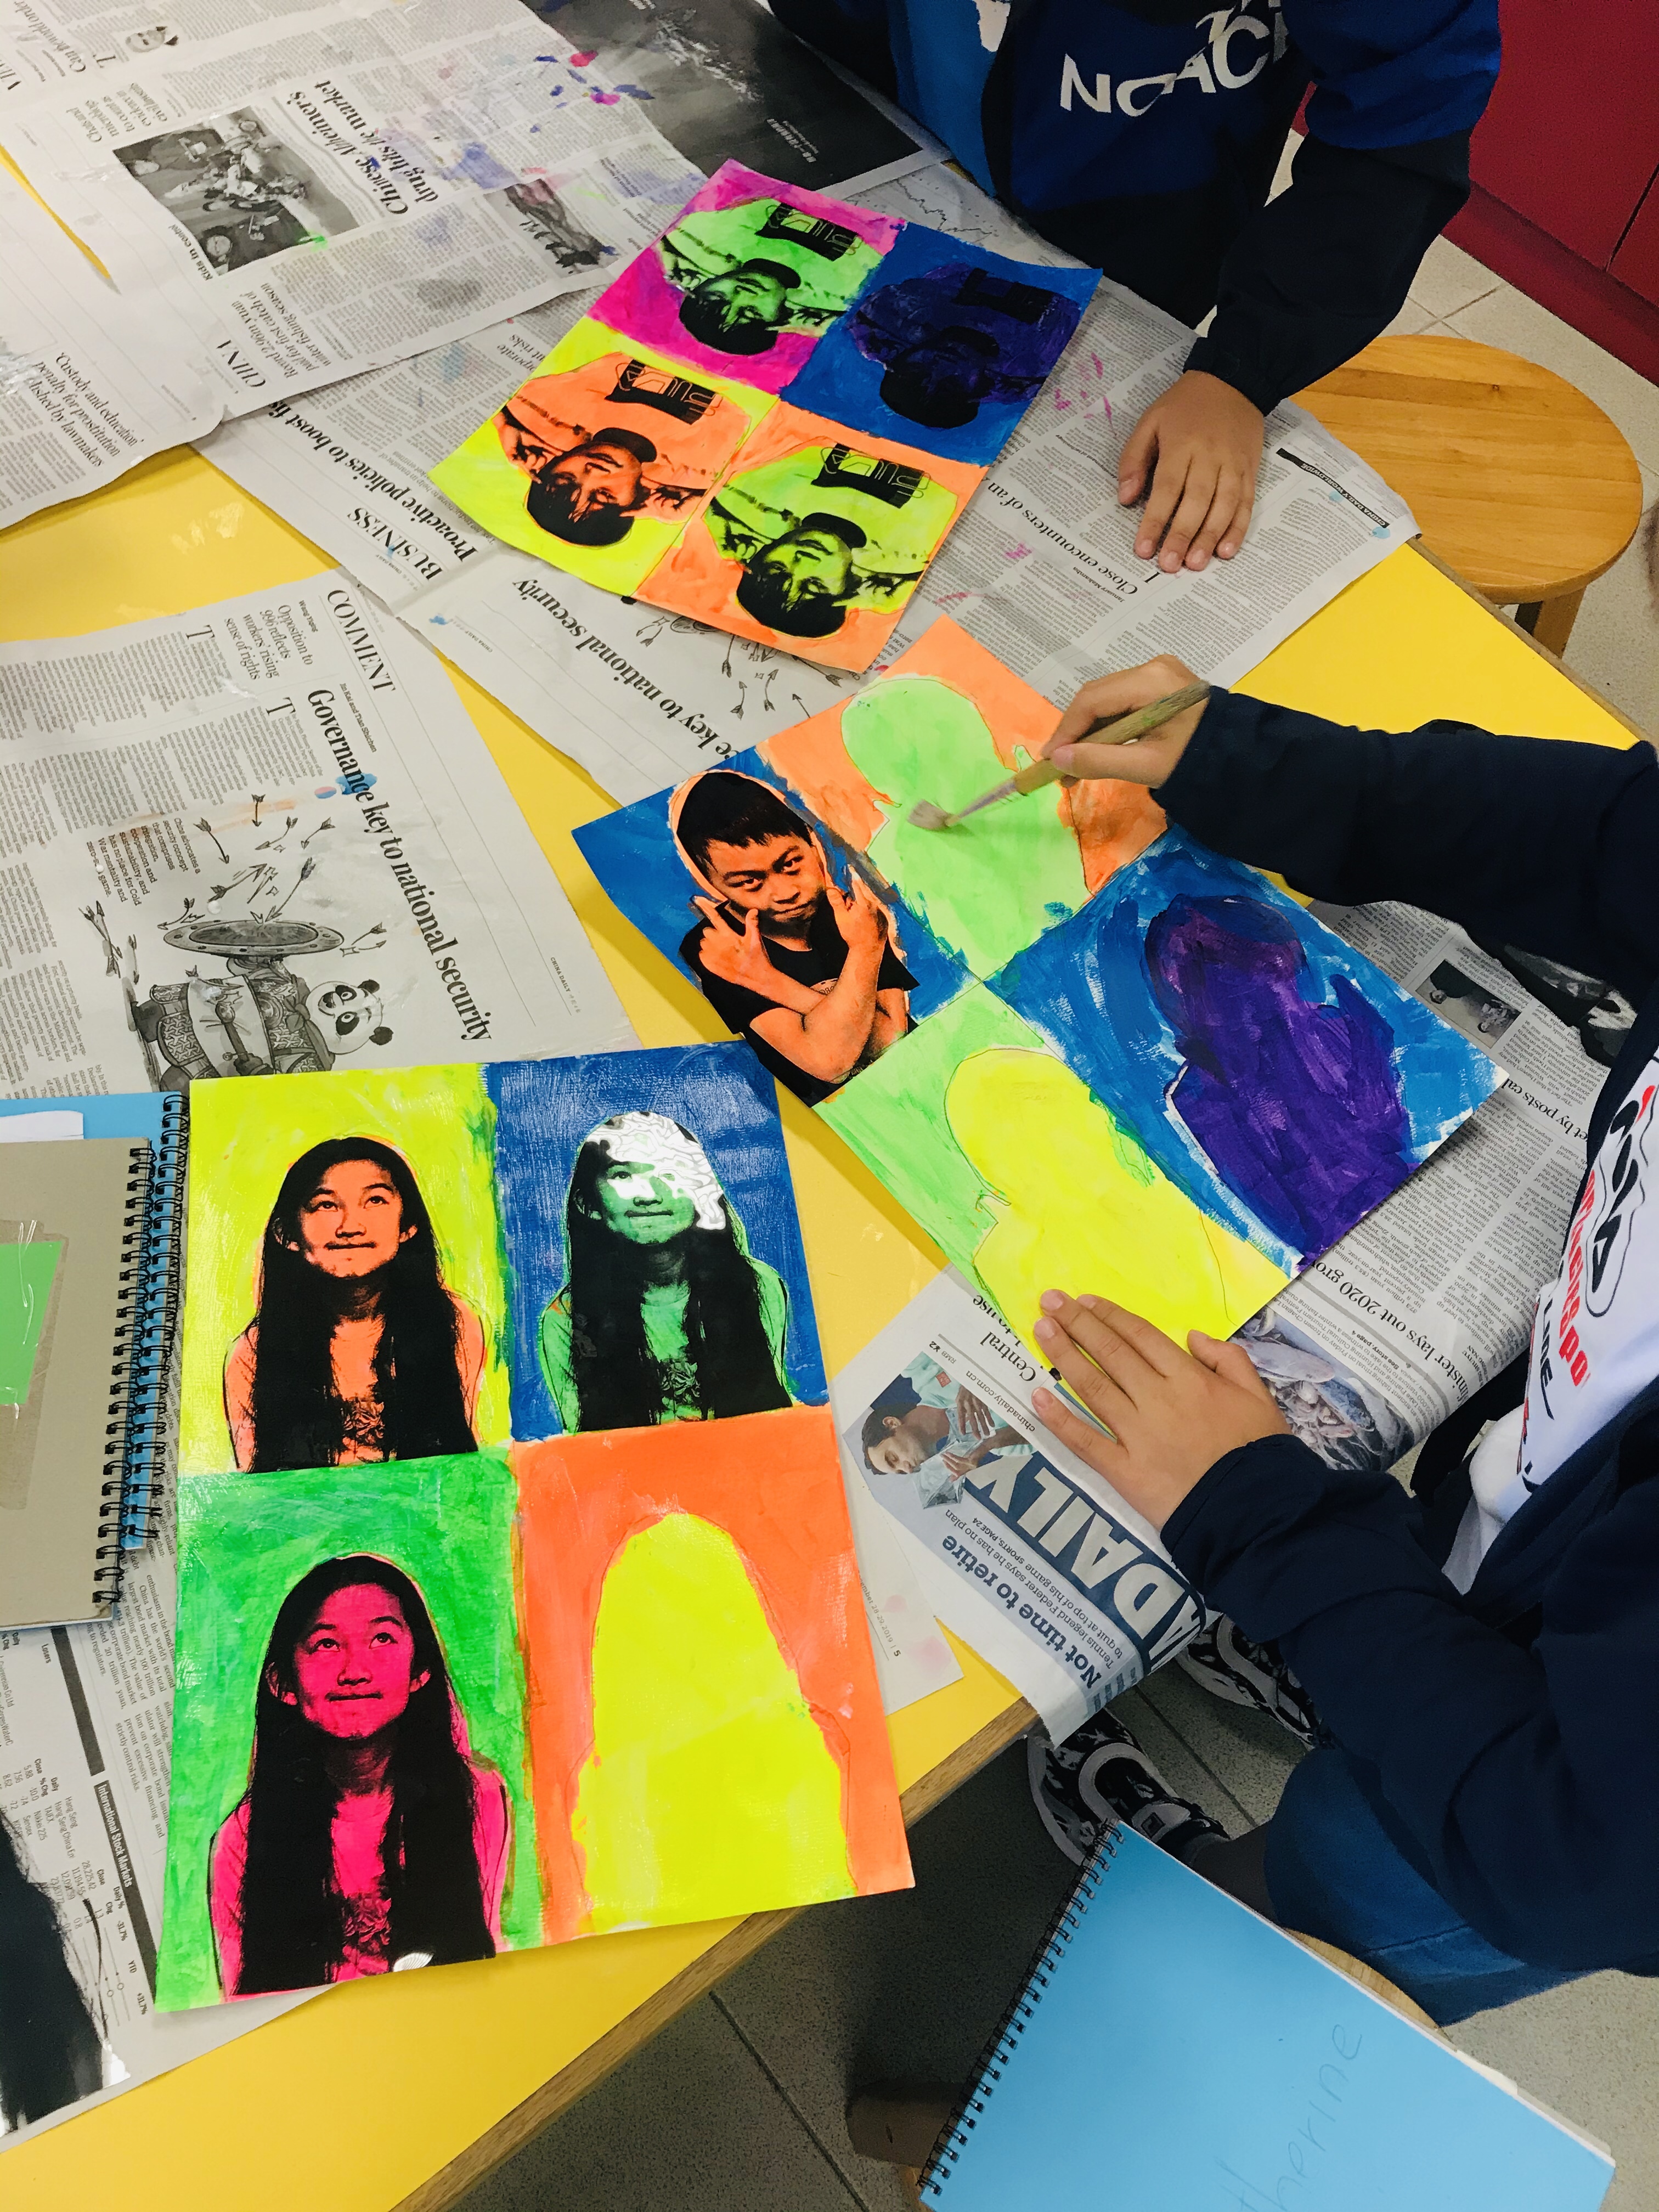
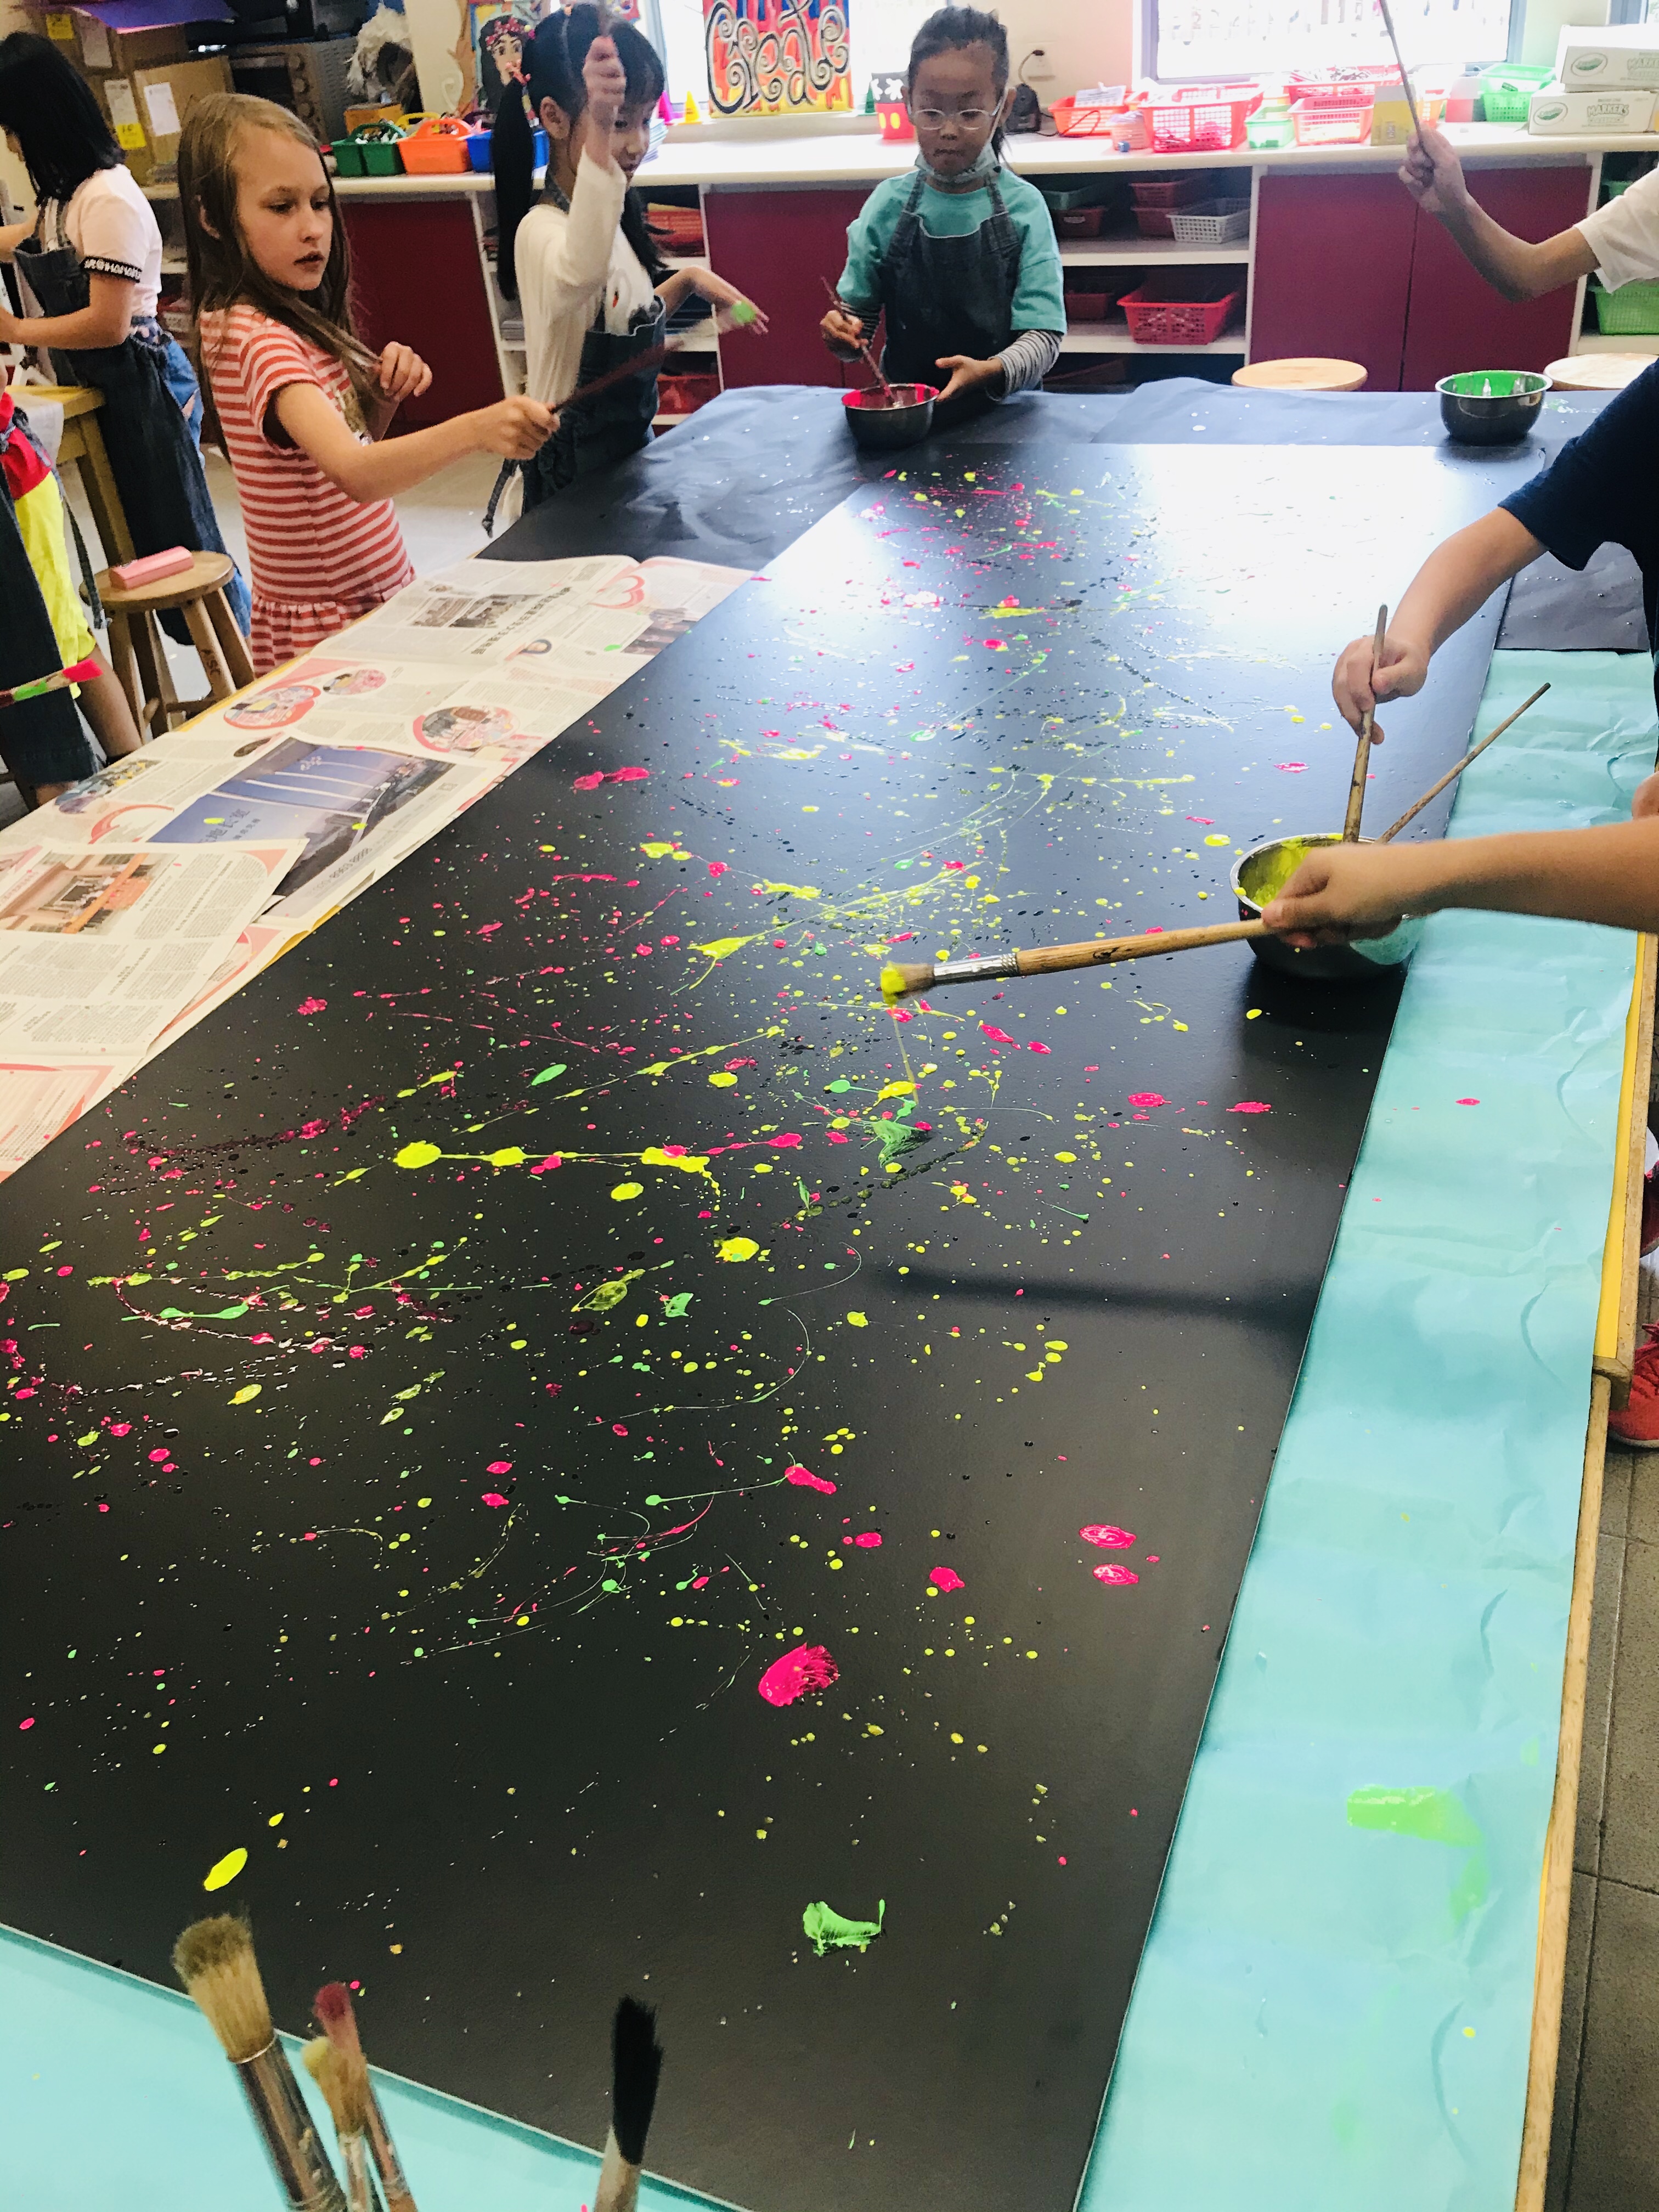
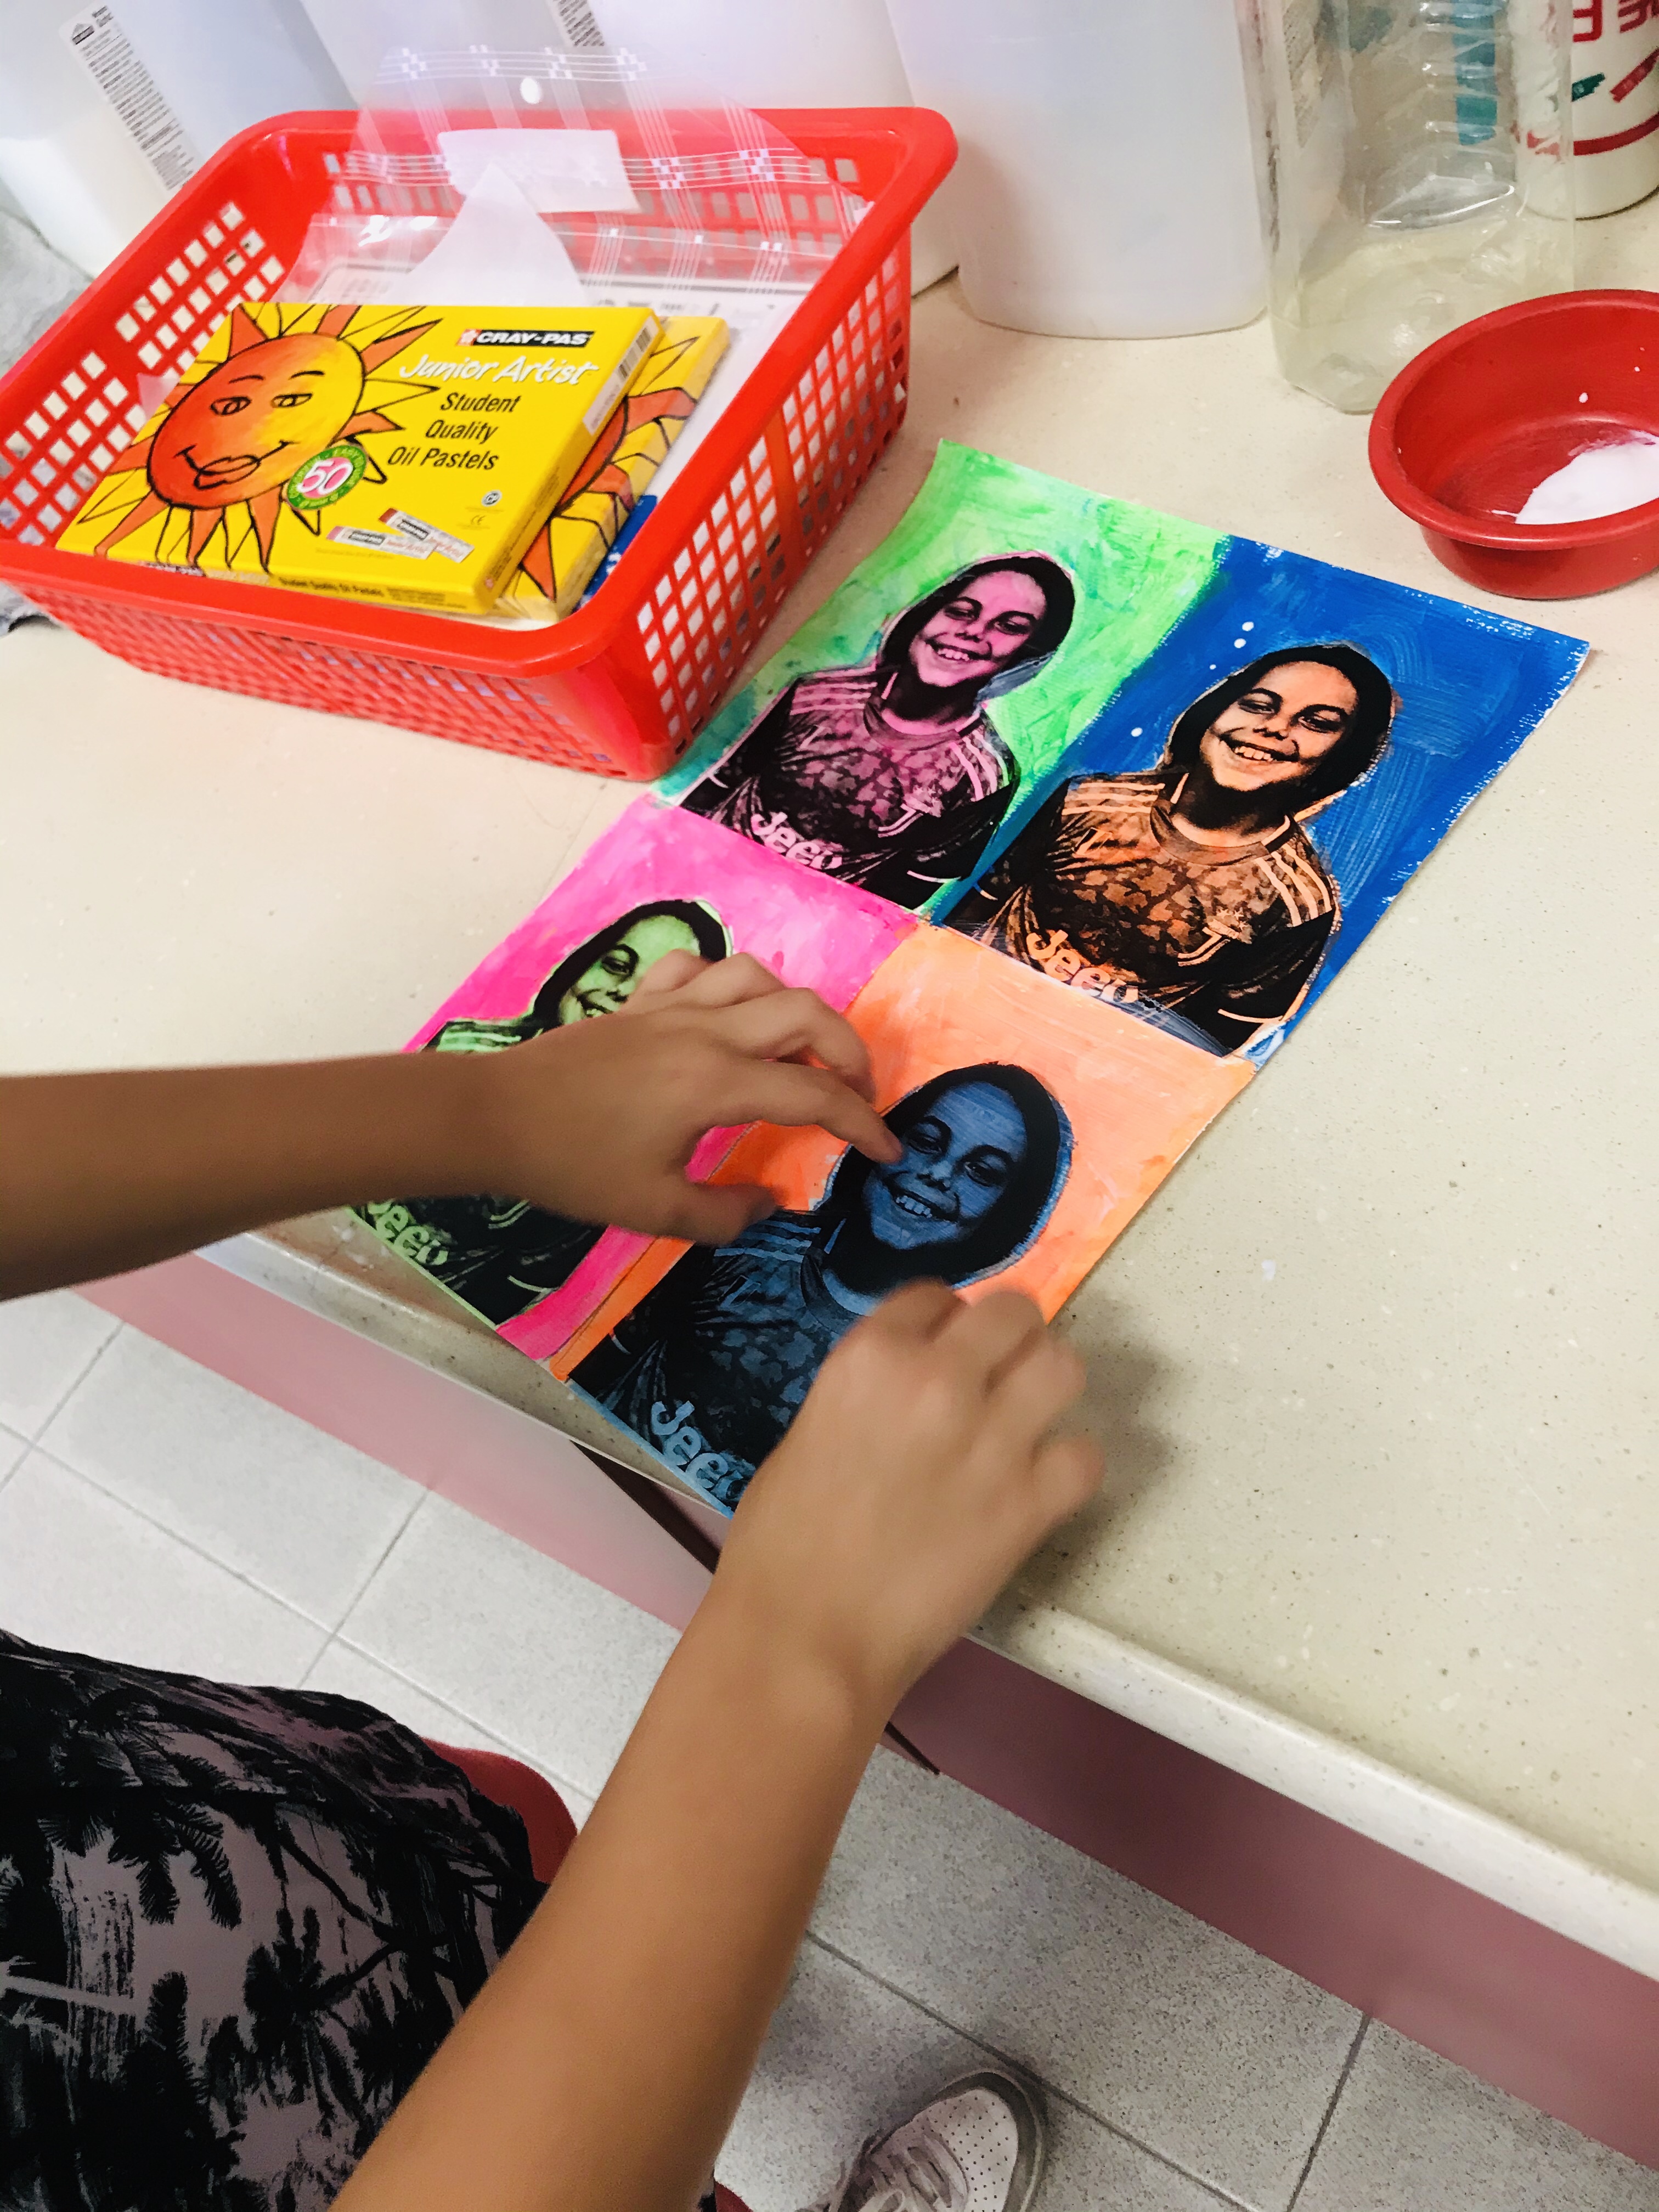
My Grade 4’s created Andy Warhol inspired prints of themselves using transparency paper and neon acrylic paints. I took their selfies and printed them out. They then made a stencil of their portraits and used contrasting colors to paint the positive and negative space of their images. My Grade 3’s helped by painting the Jackson Pollock inspired background. We then incorporated the PYP Learner profile for our lobby display. ❤️🎨
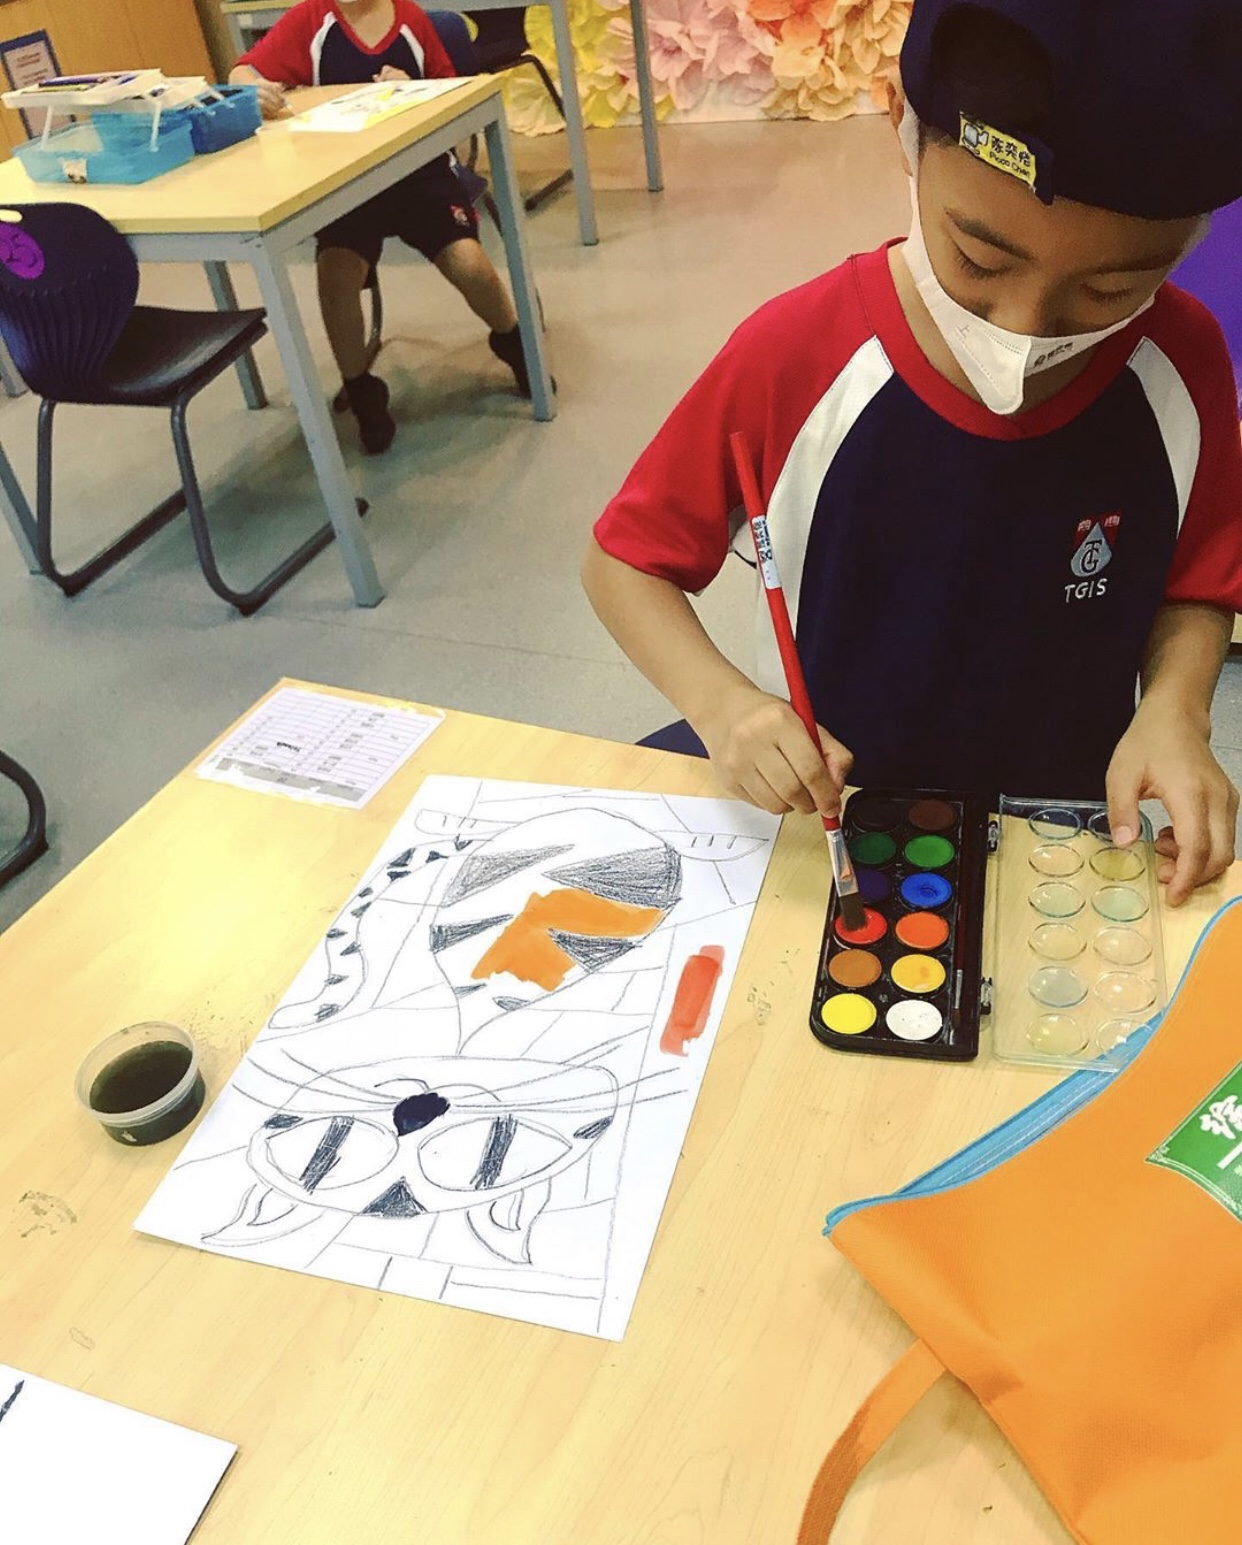
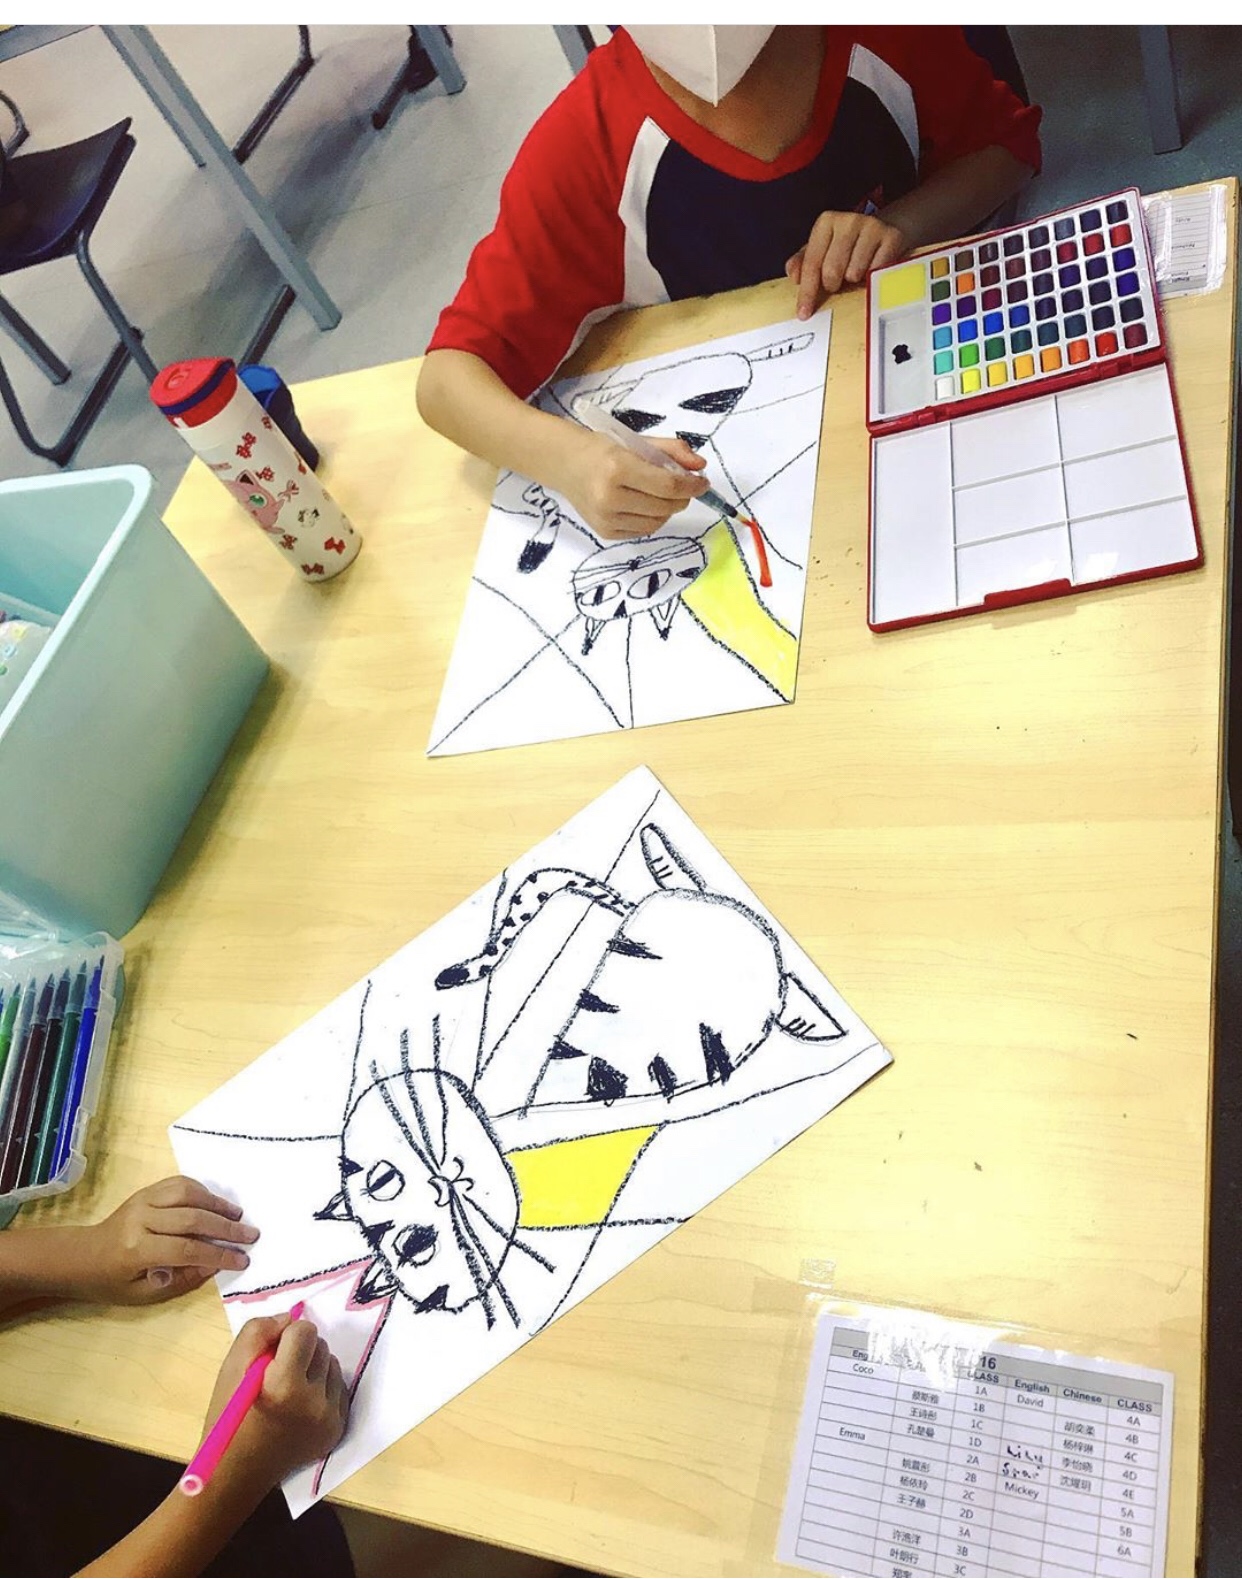
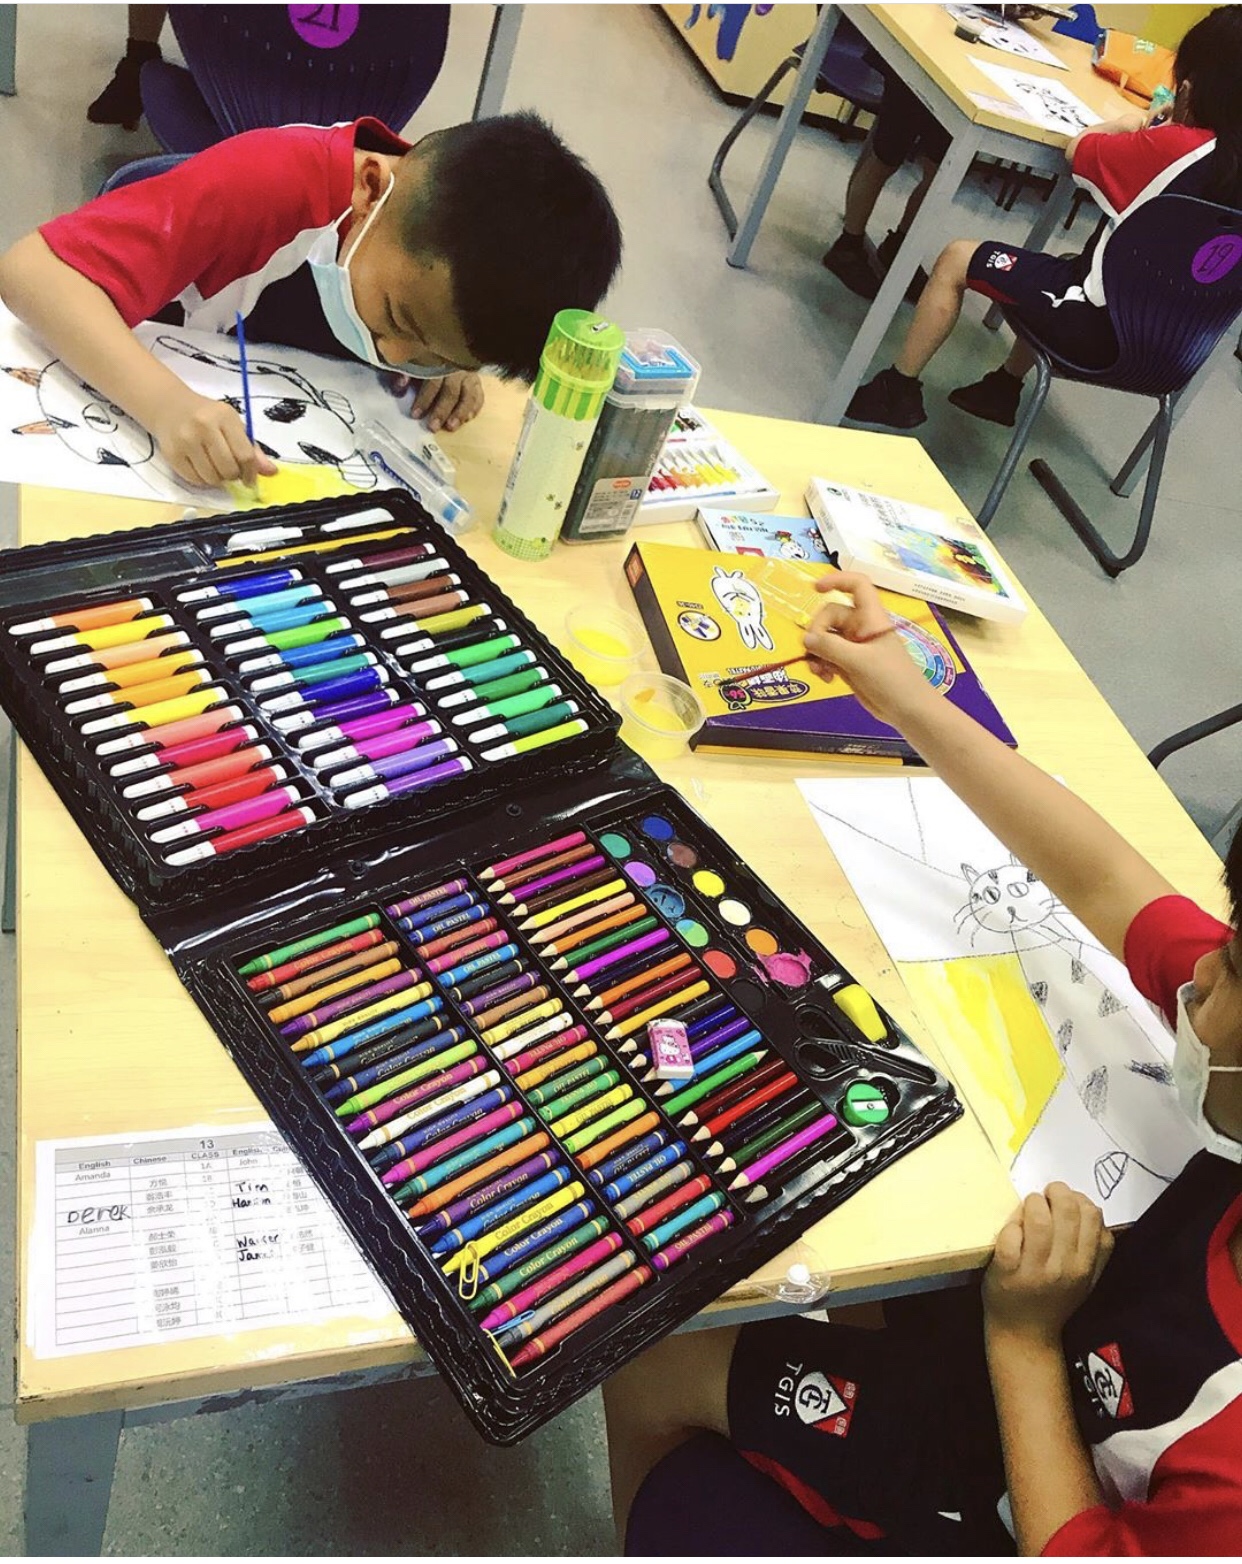
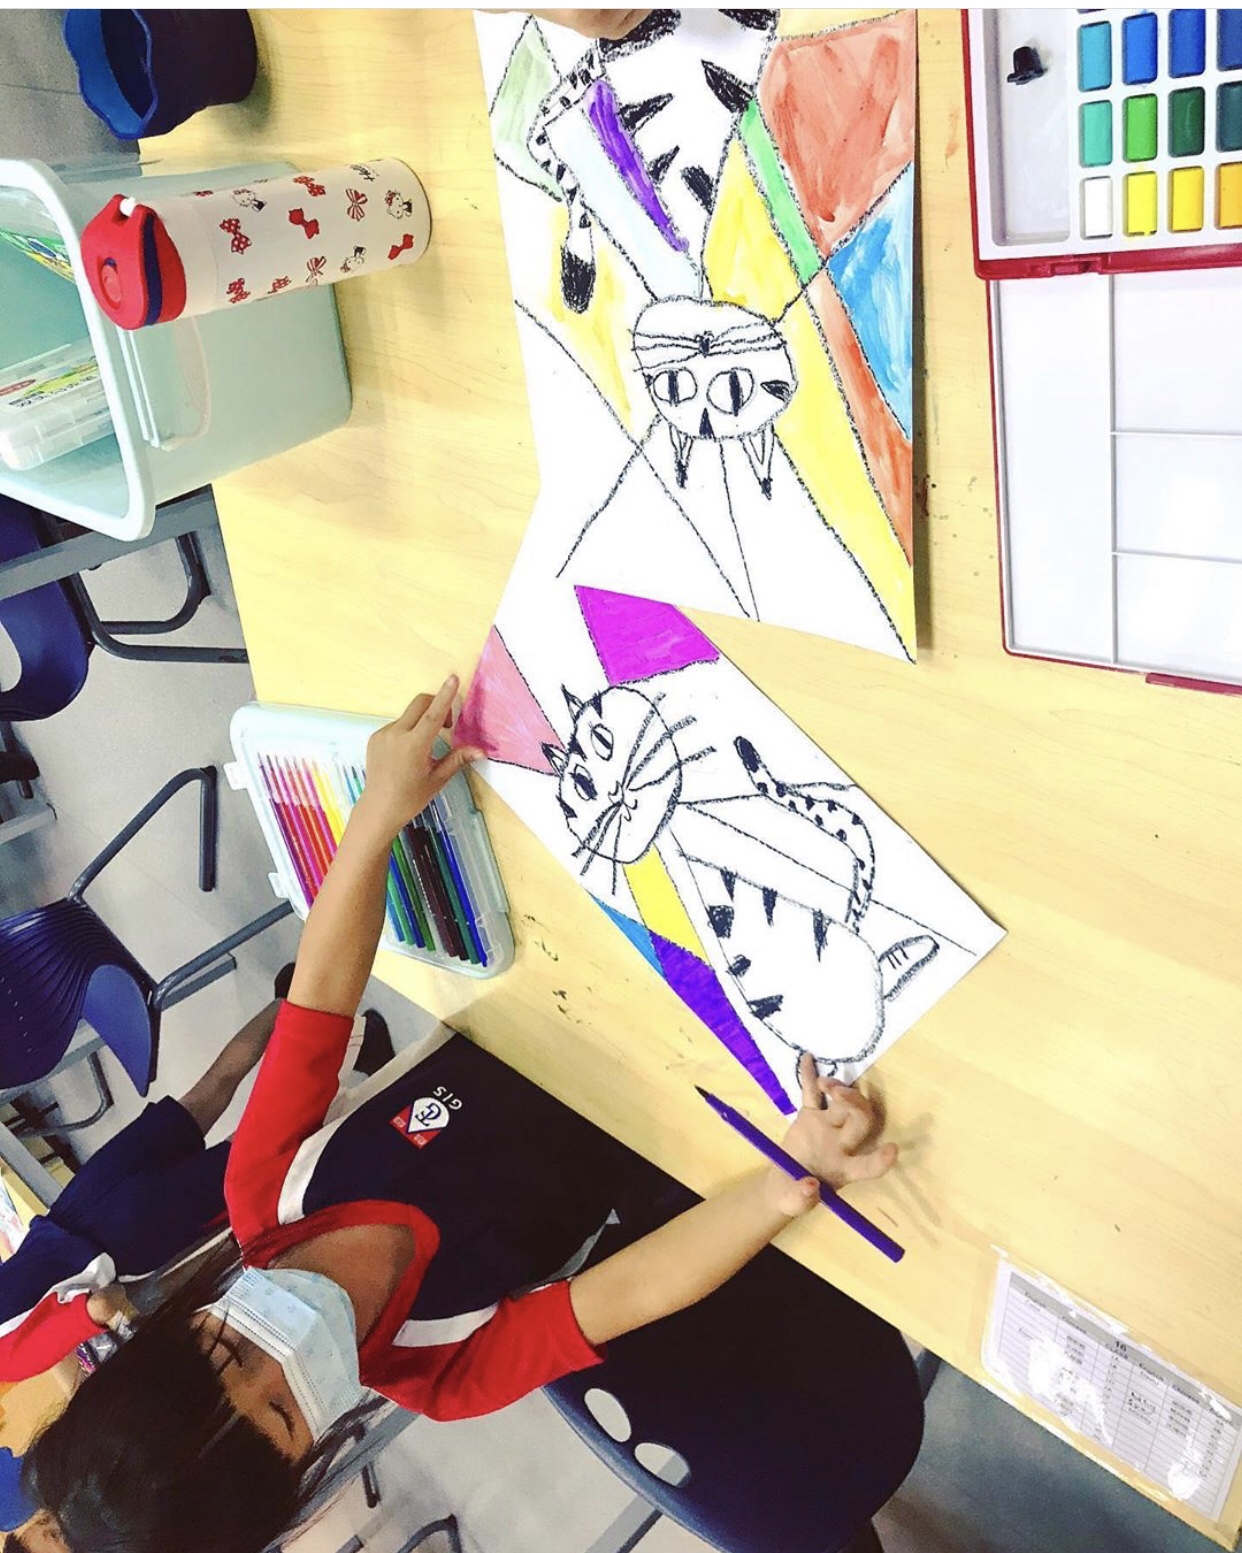
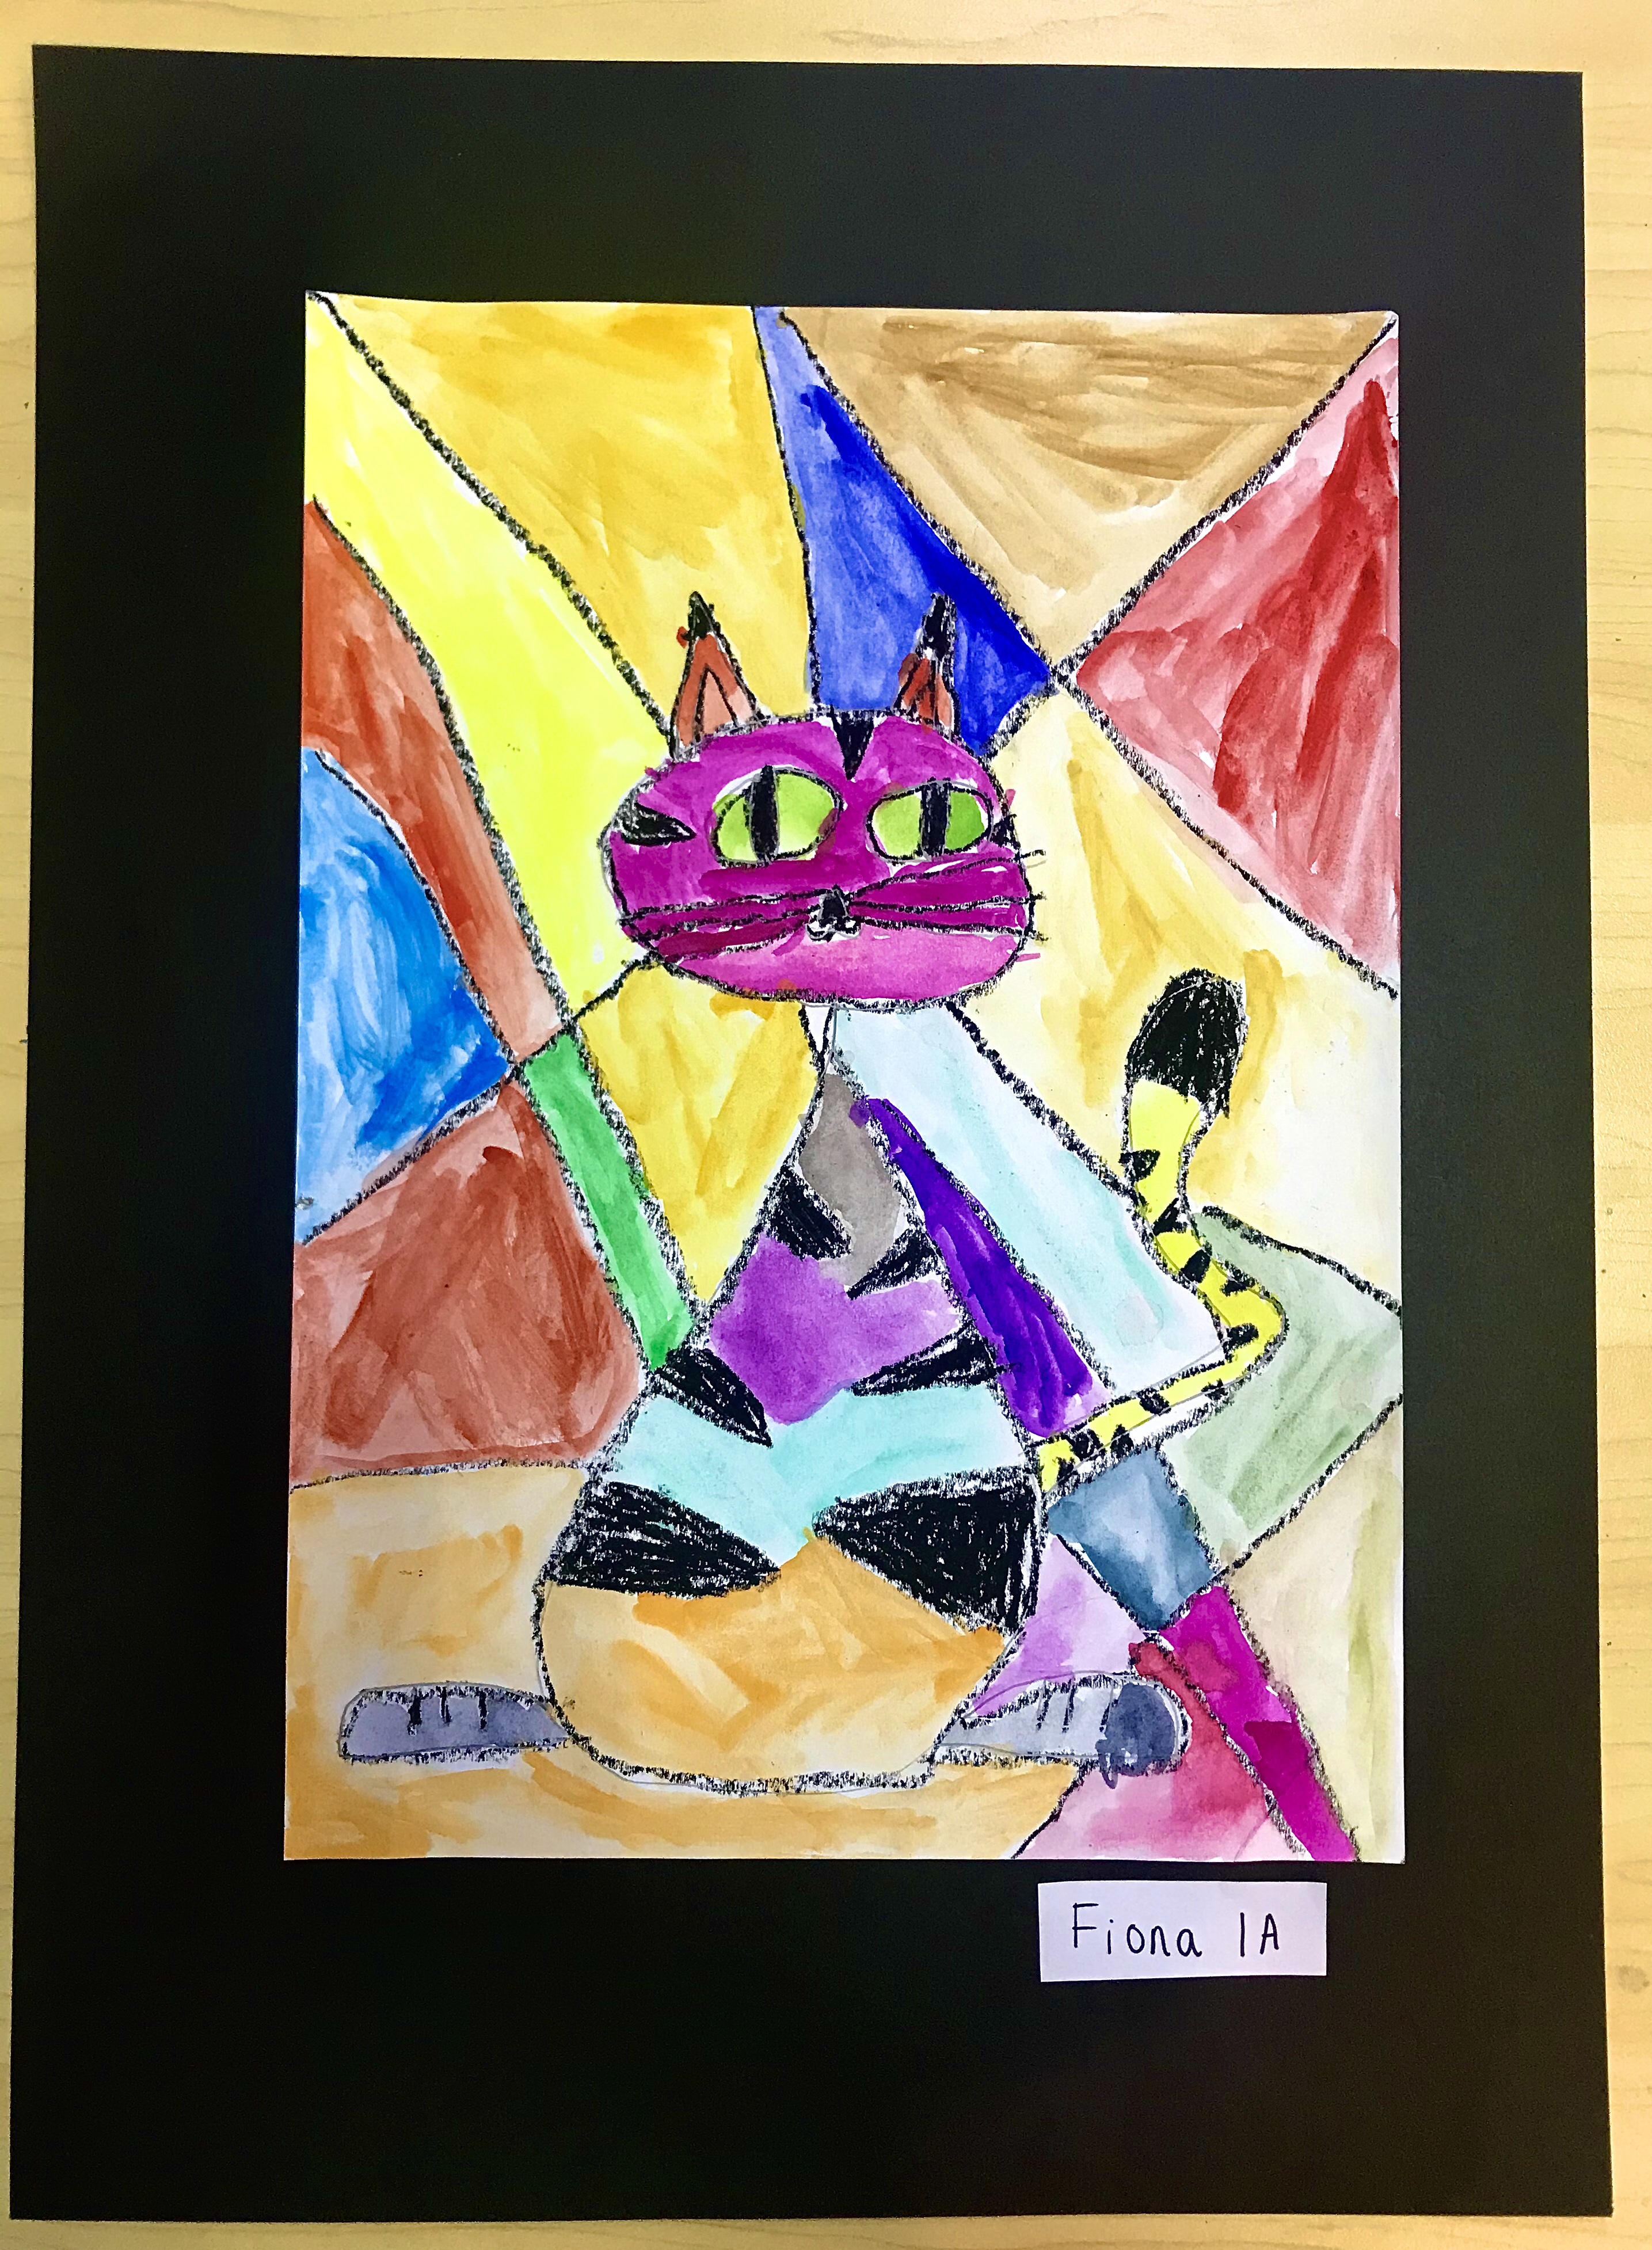
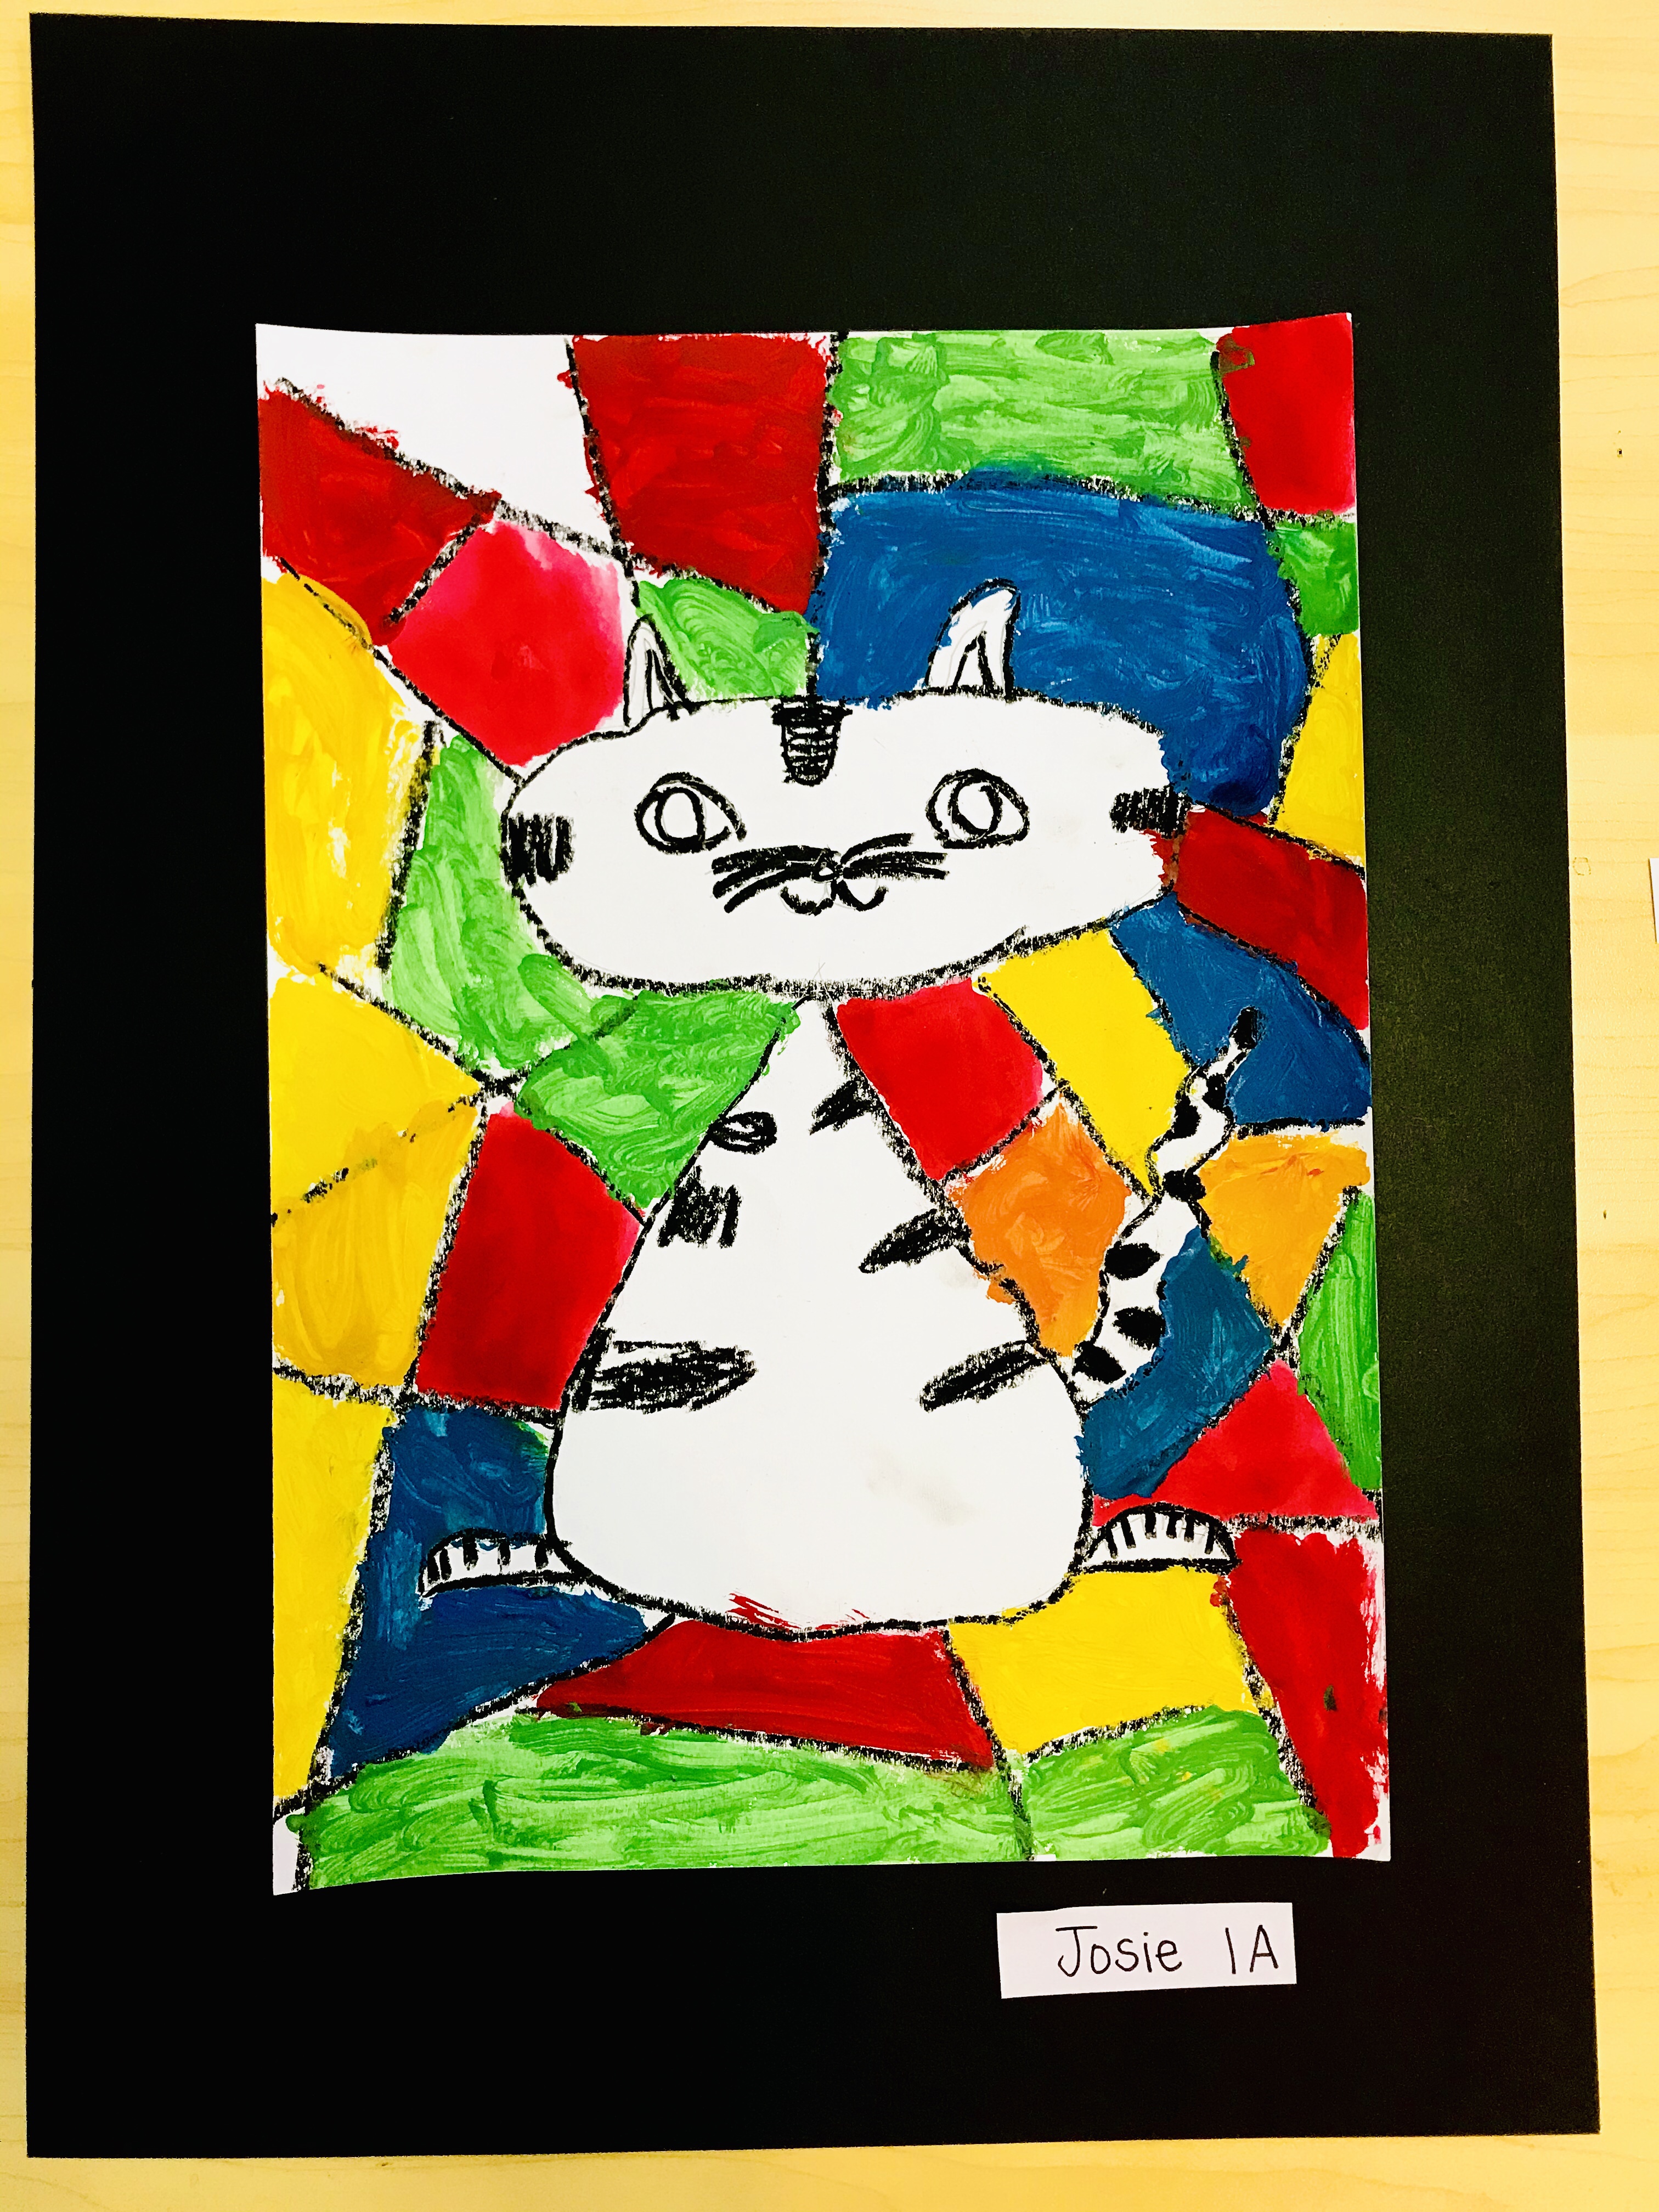
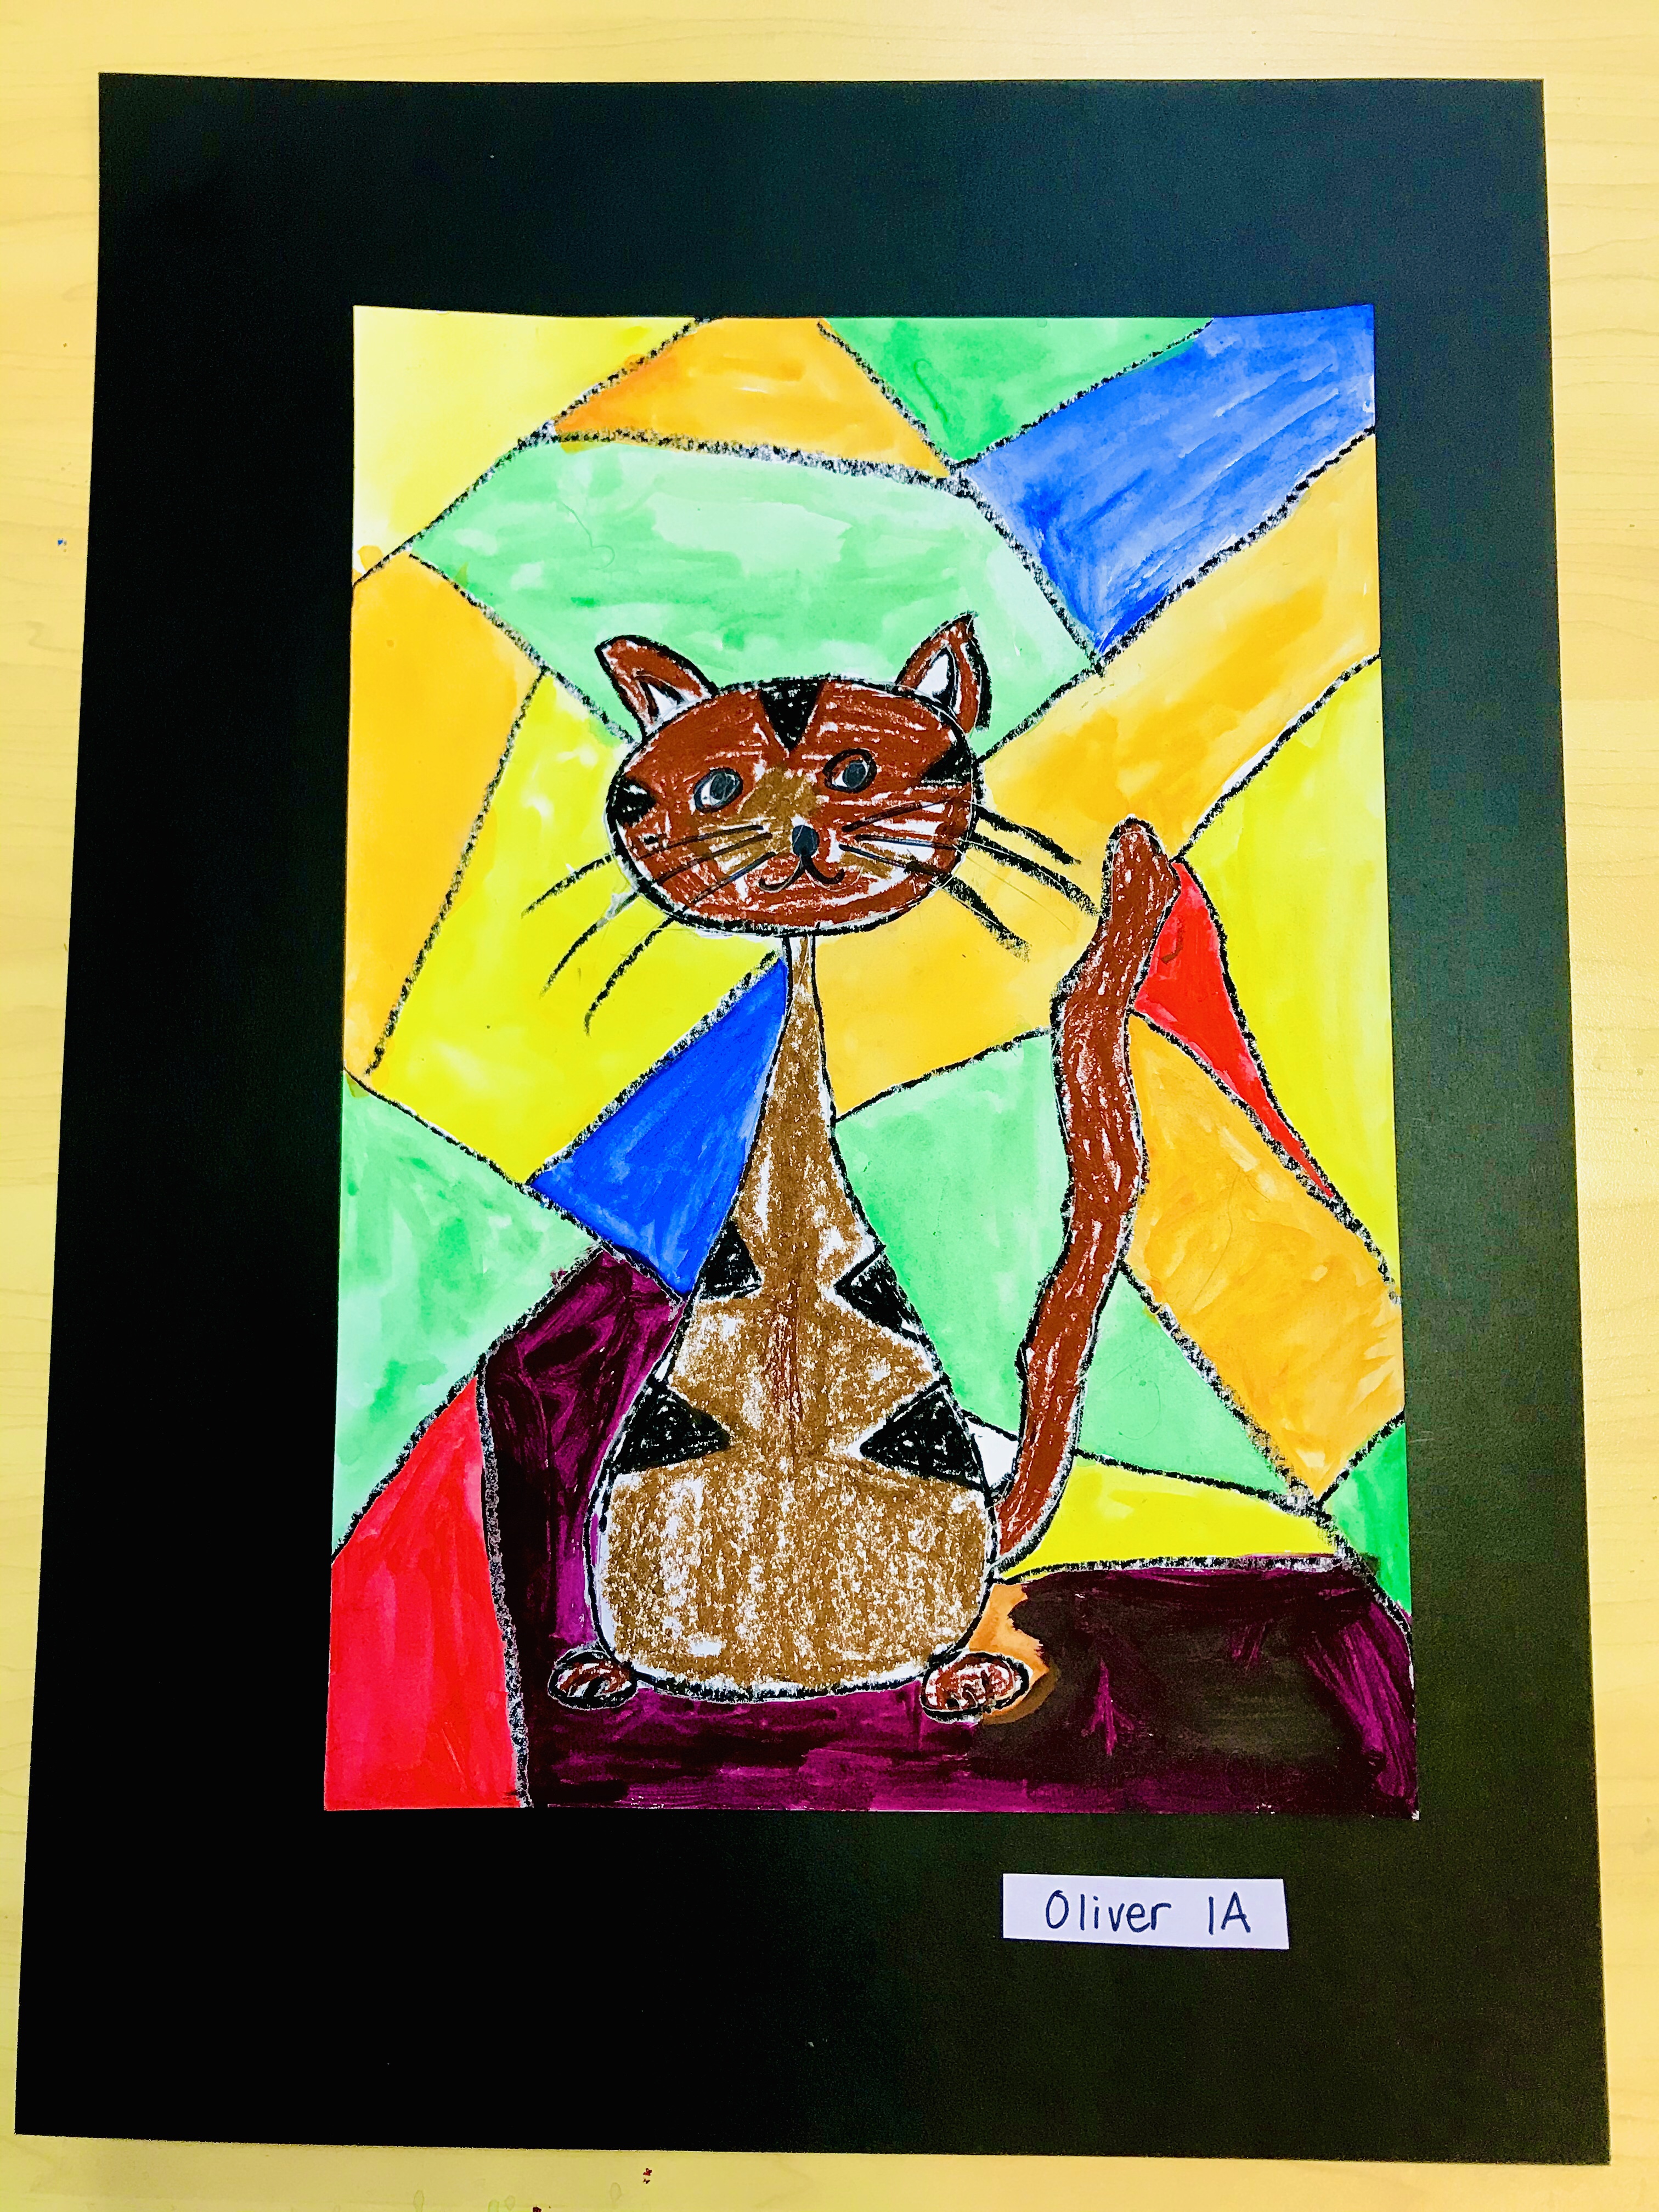
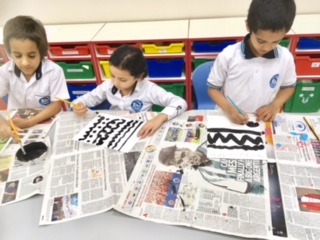
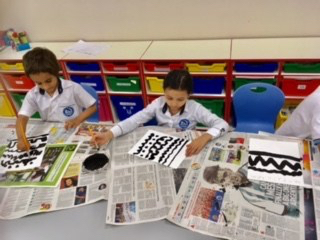
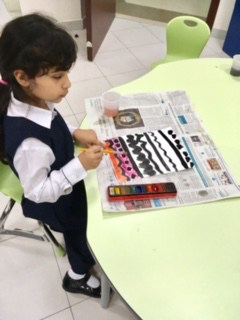
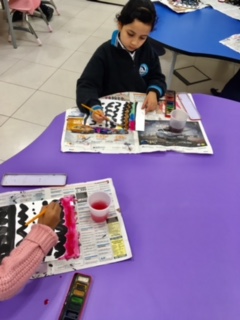
My first grade did an amazing job drawing their cats and adding geometric shapes in the background.
They developed skills in flow drawing which is an art technique developed by artycrafykids.com to encourage children to understand shapes and create them in a freer way.
Students were encouraged to discover a natural flow, bringing mindfulness to the creative process.
Students enhanced their drawing by adding personality and geometric shapes in the background.
Students experimented with a mixture of mediums.
You can find more about this lesson including video tutorials at http://www.artycraftykids.com they have amazing art lessons to encourage students to express themselves creatively and artistically. ❤️🎨
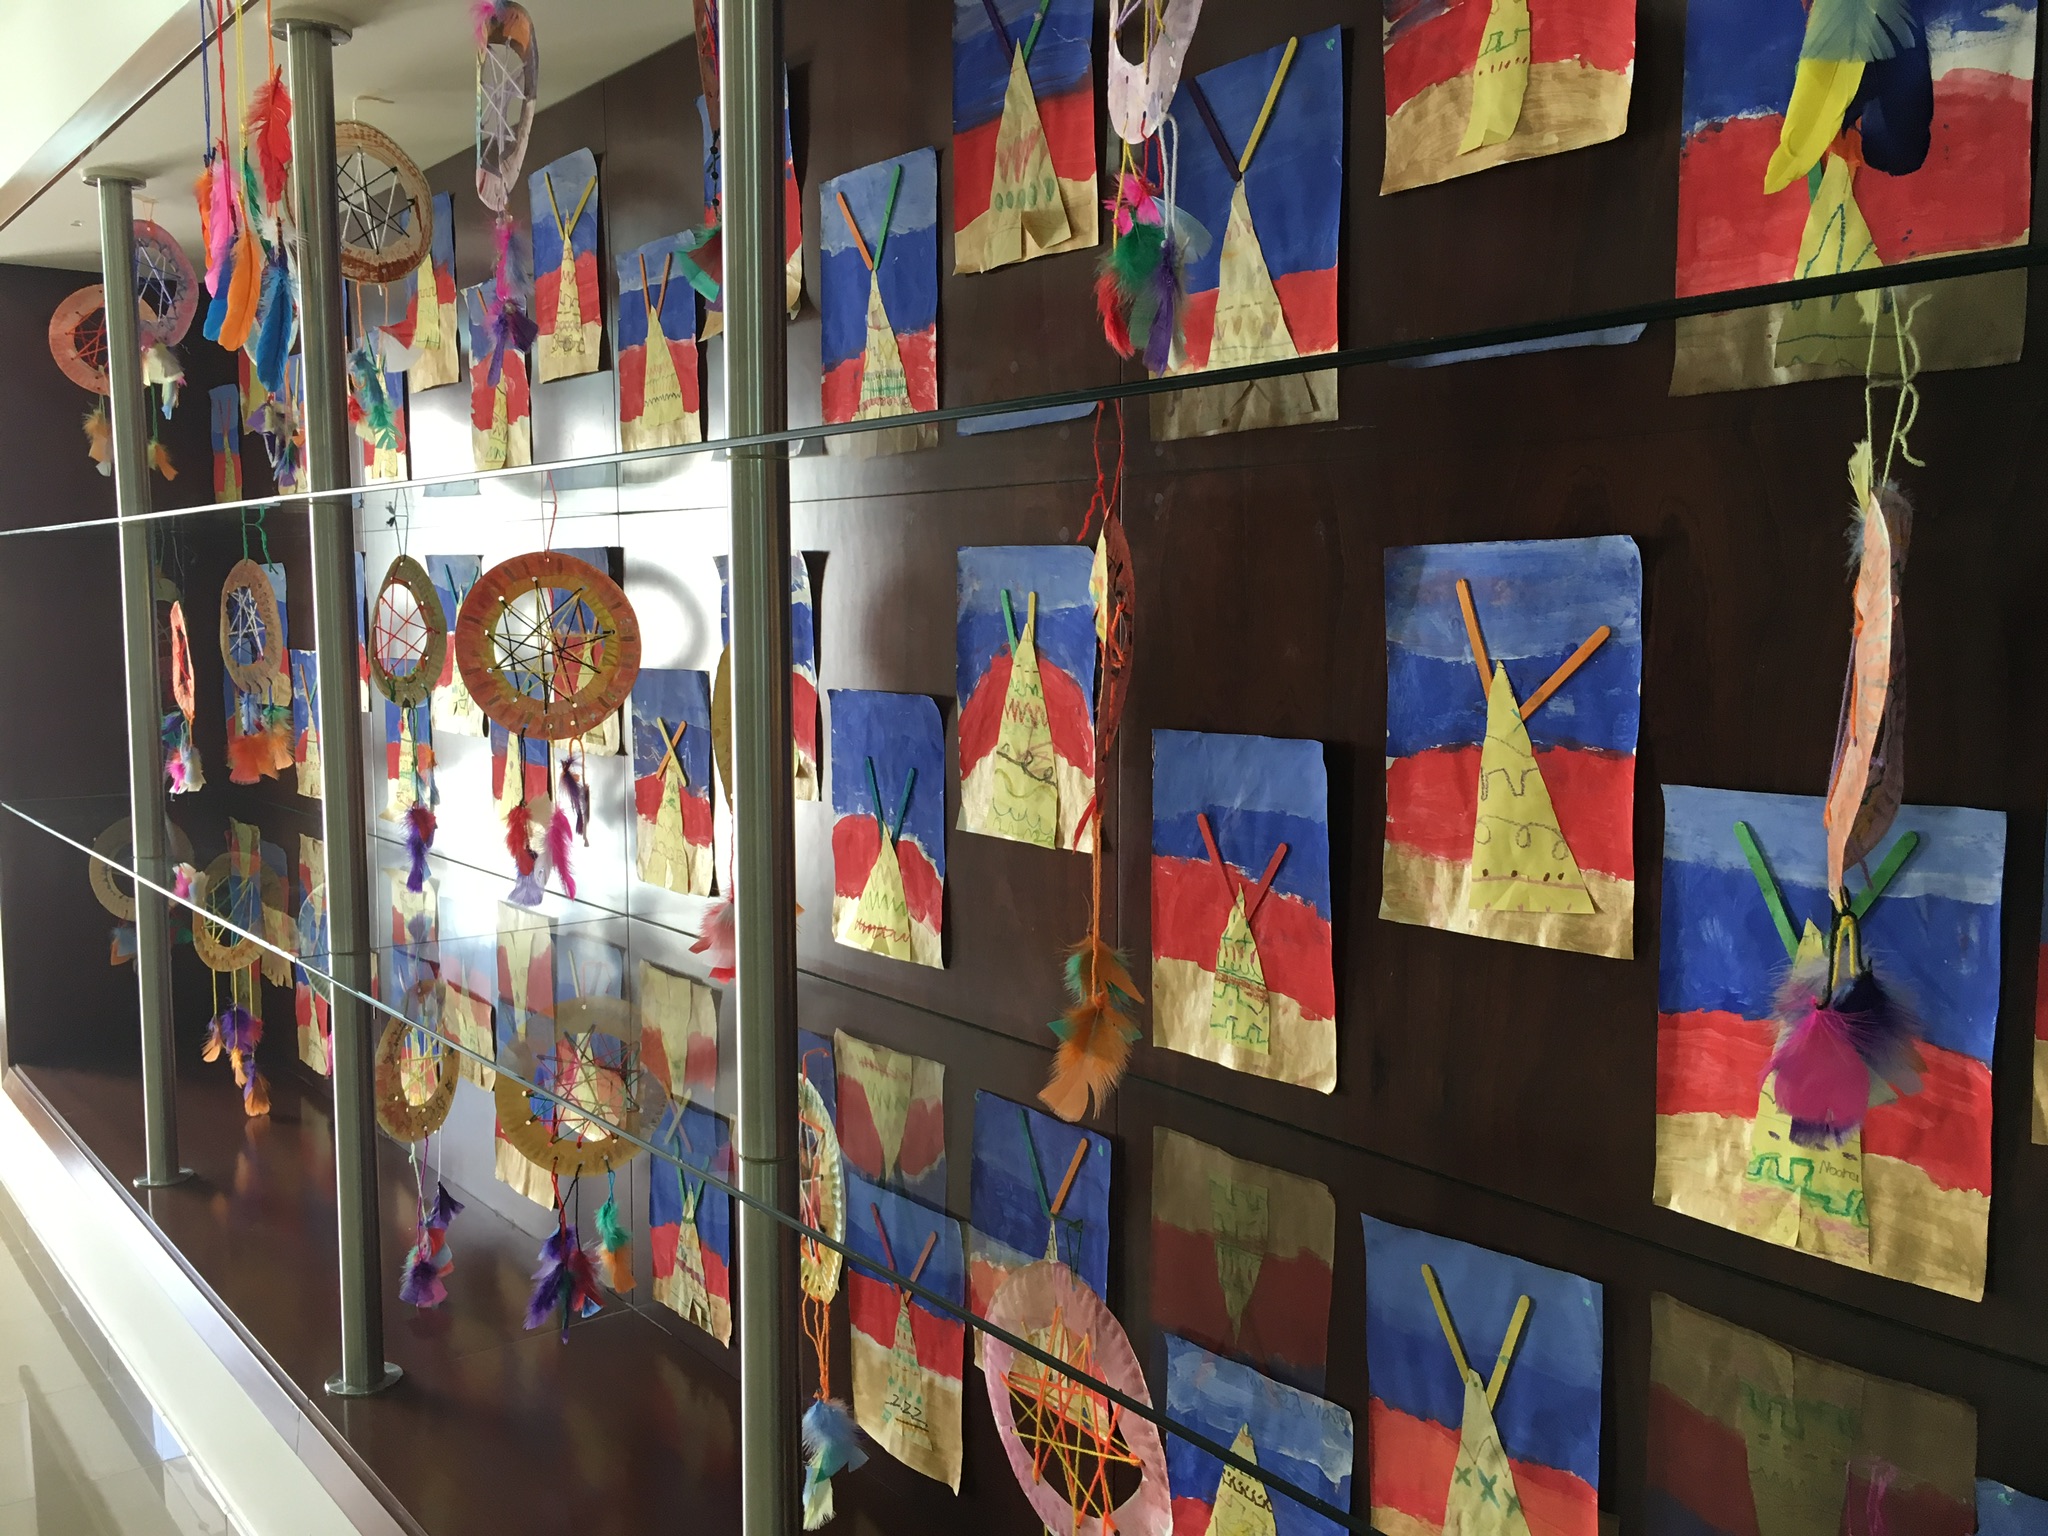
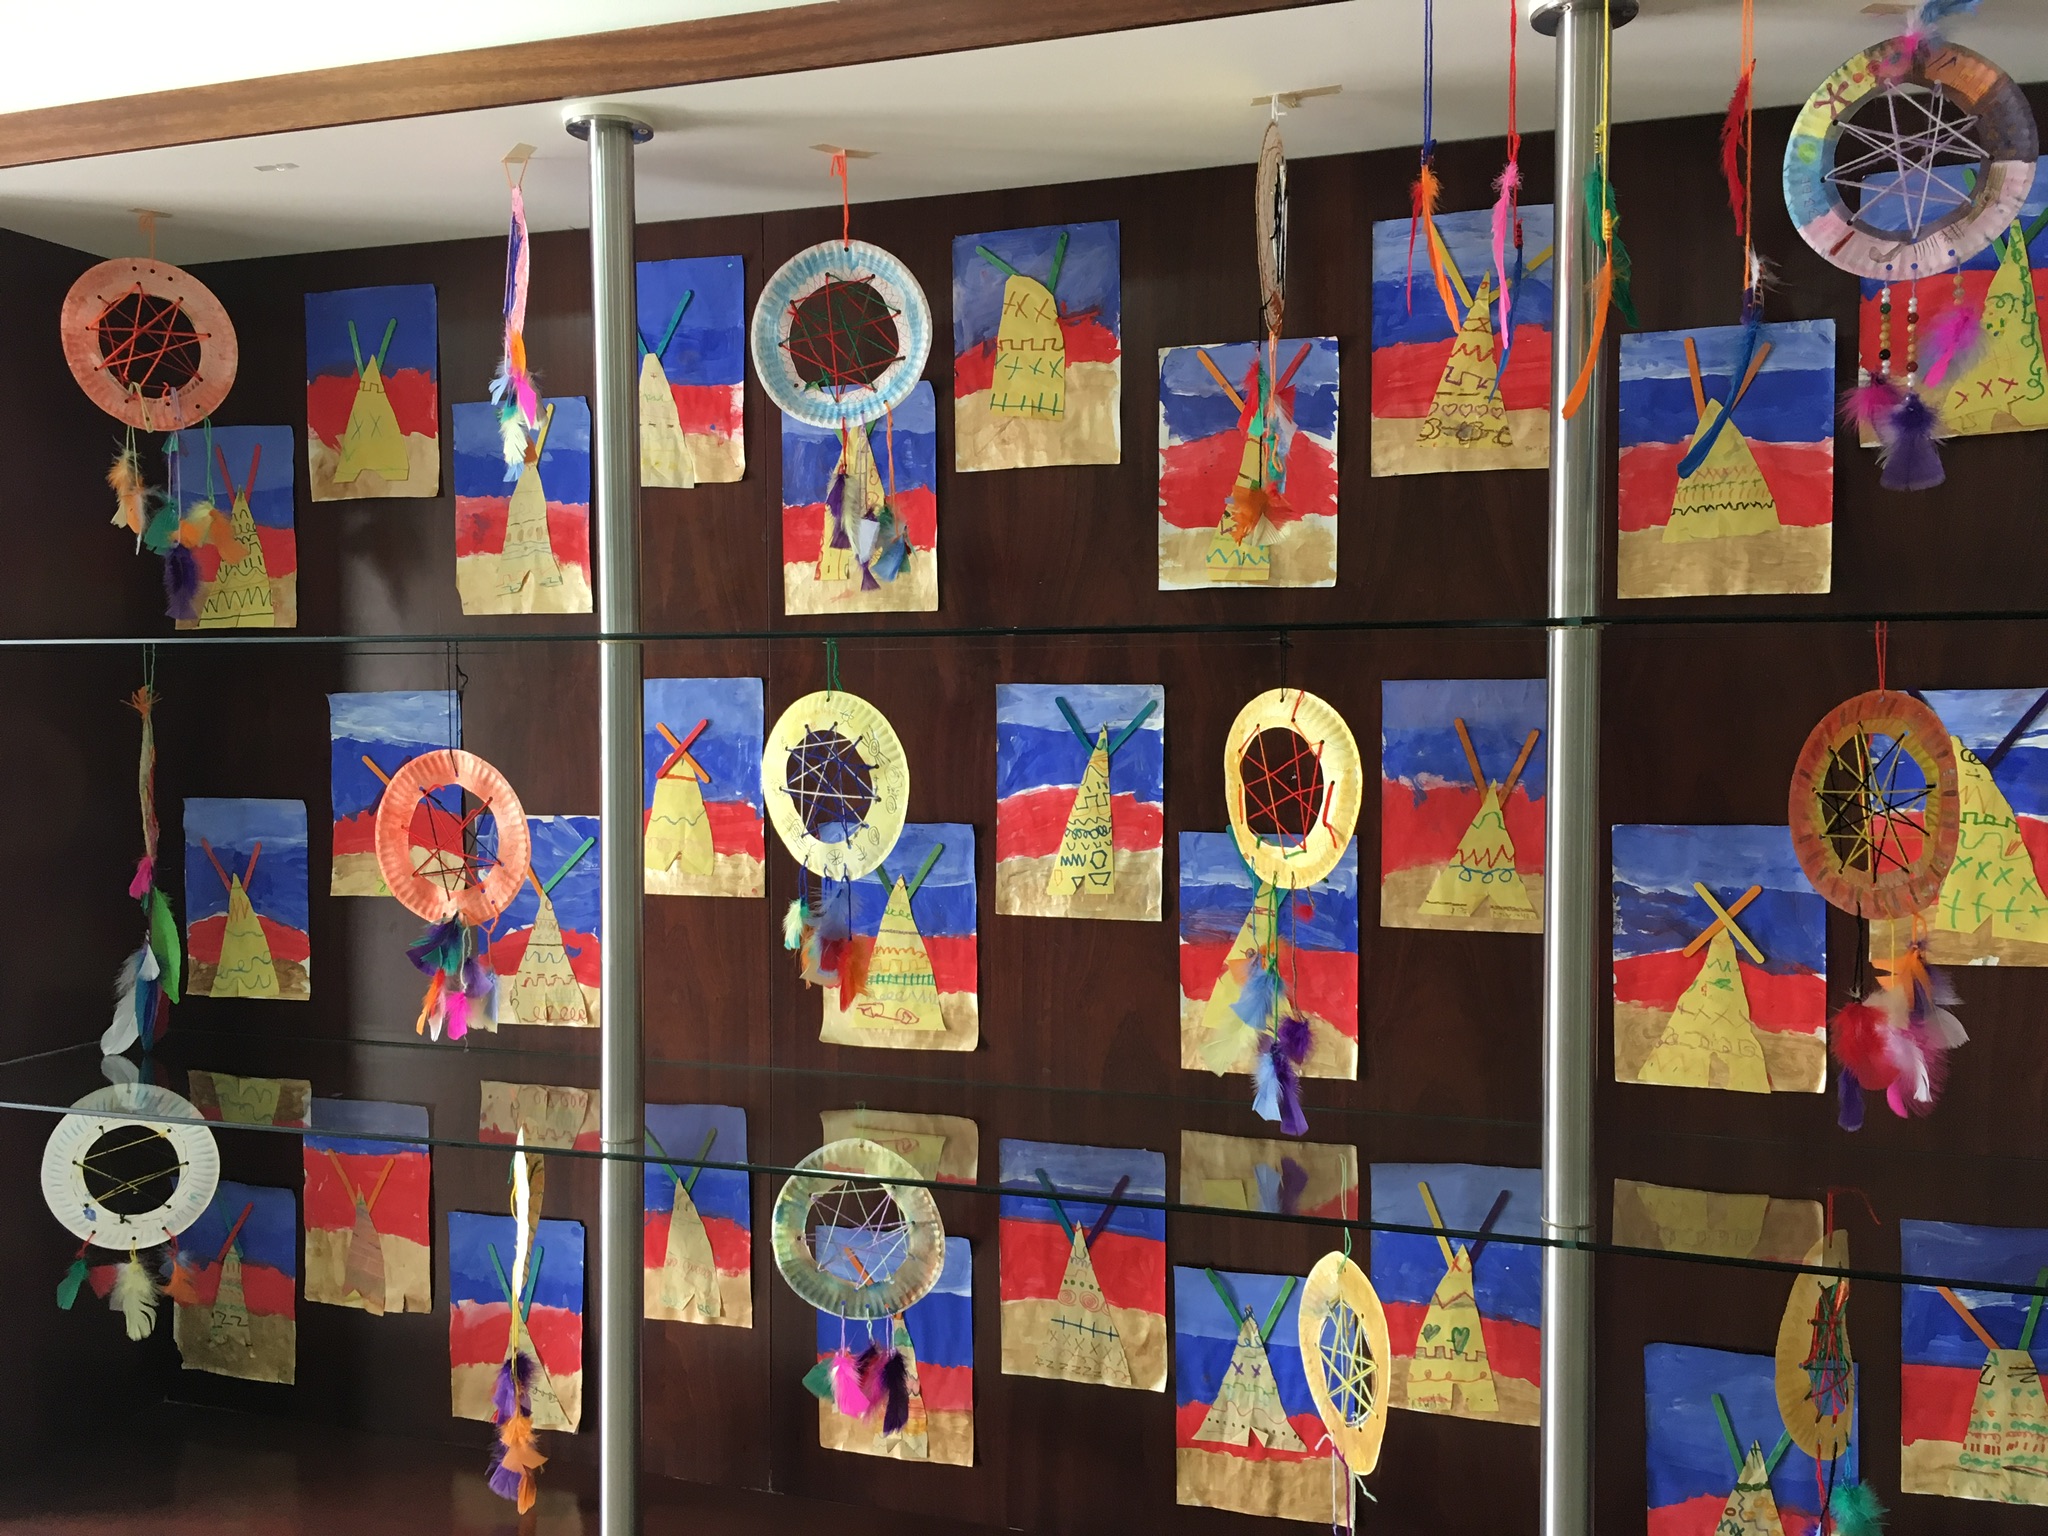
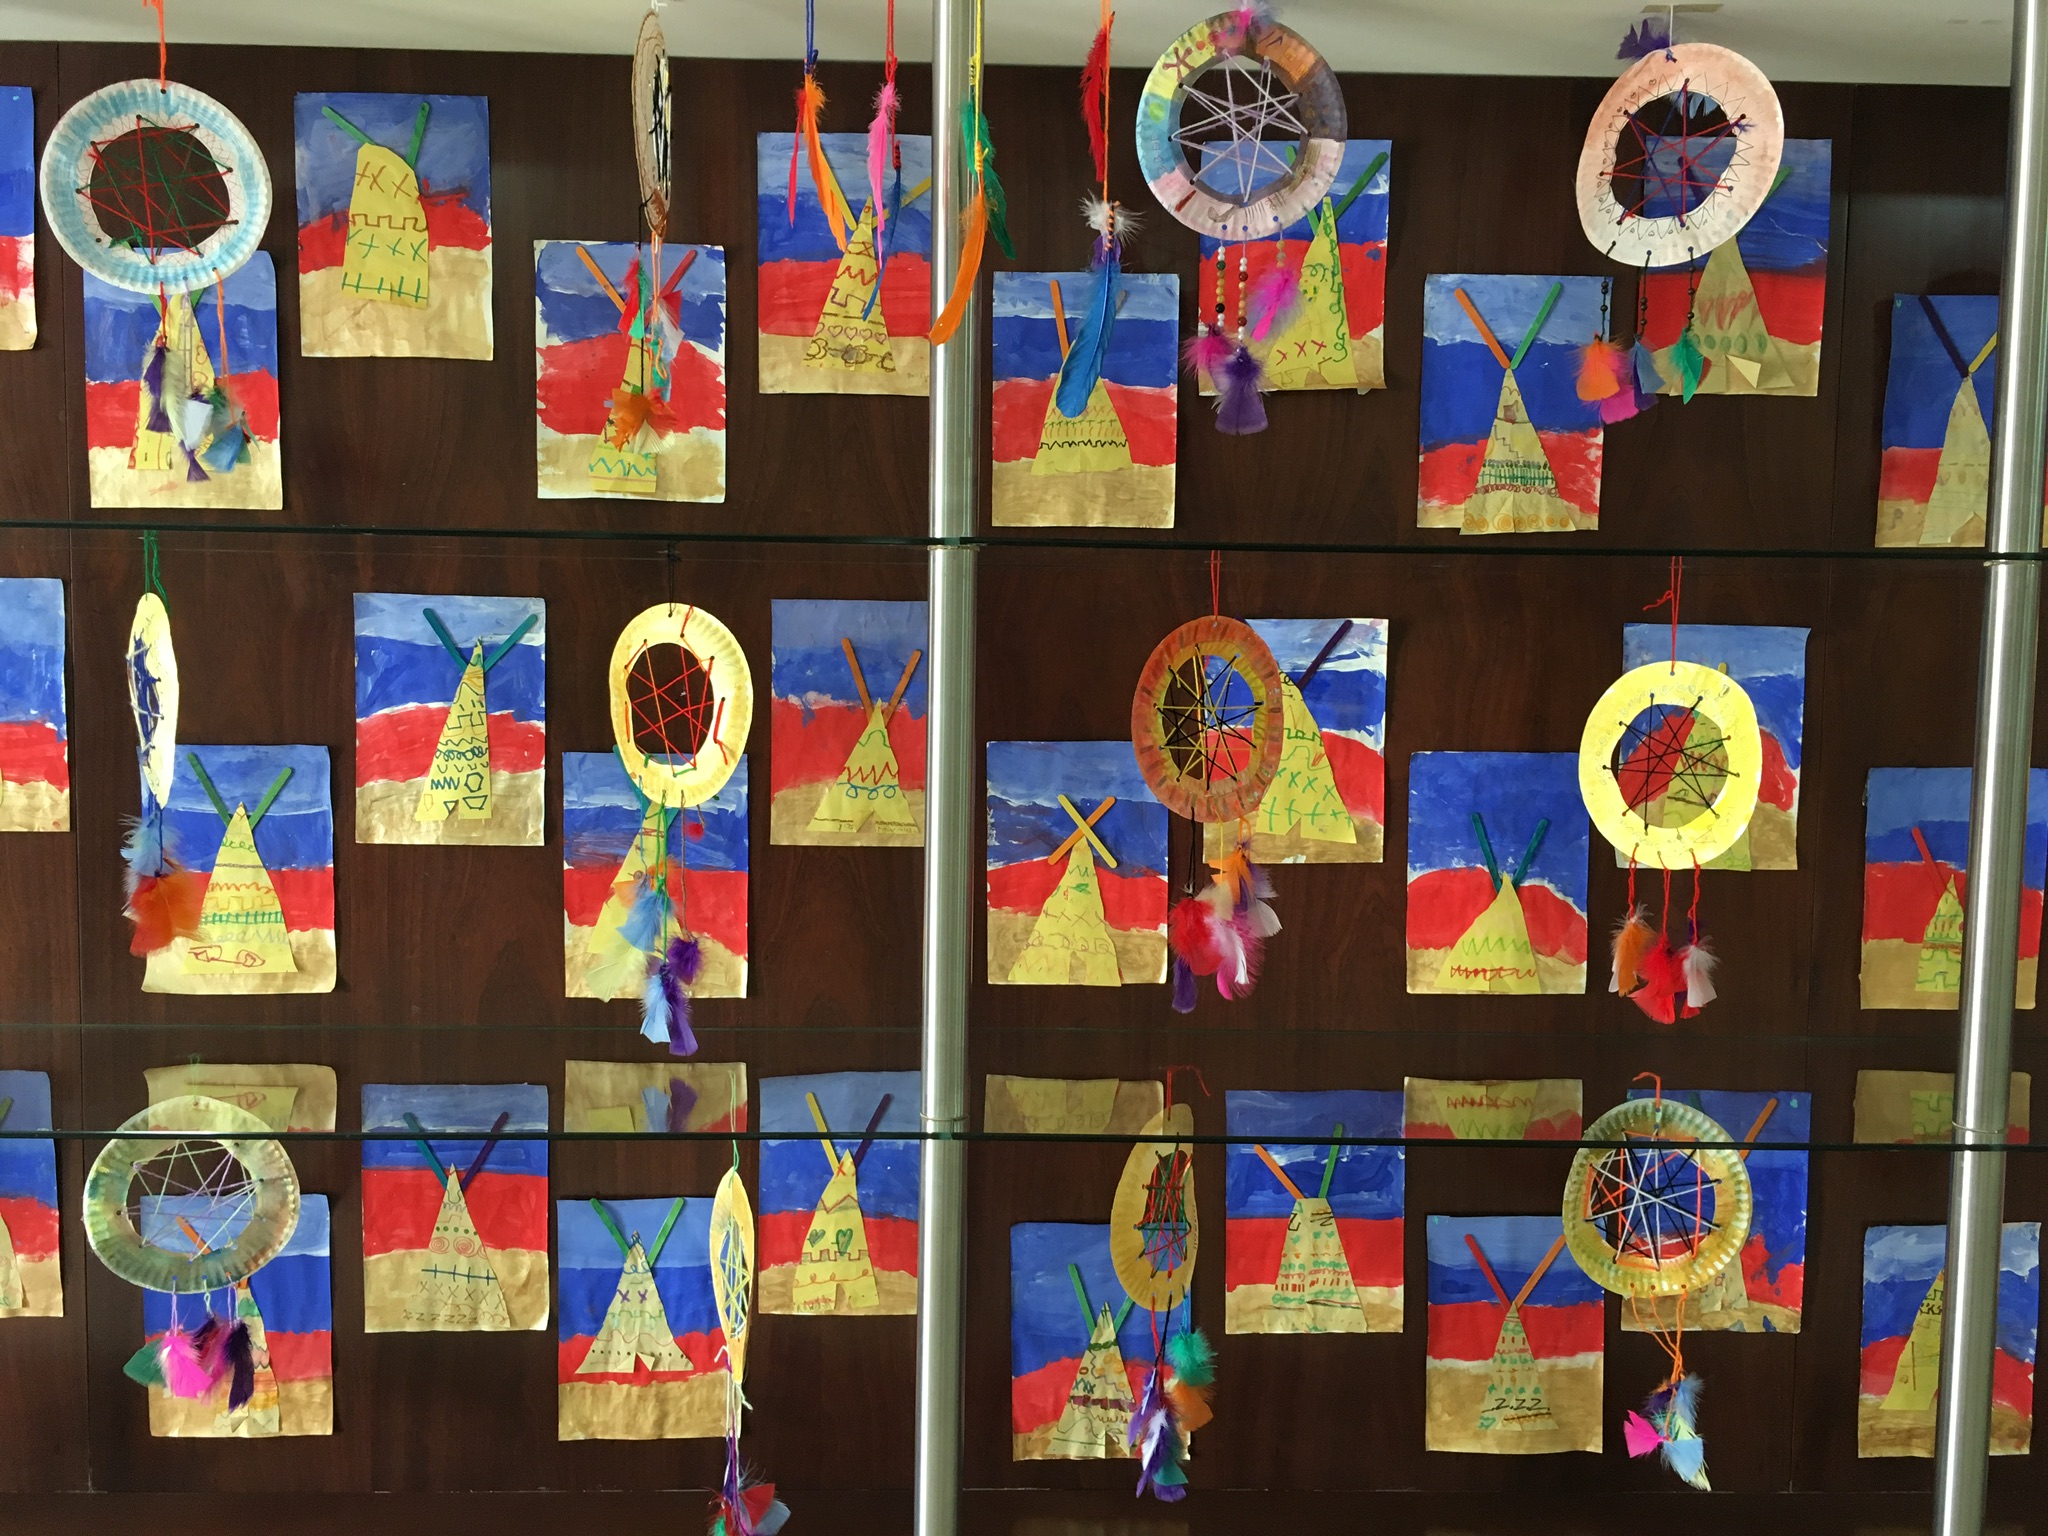
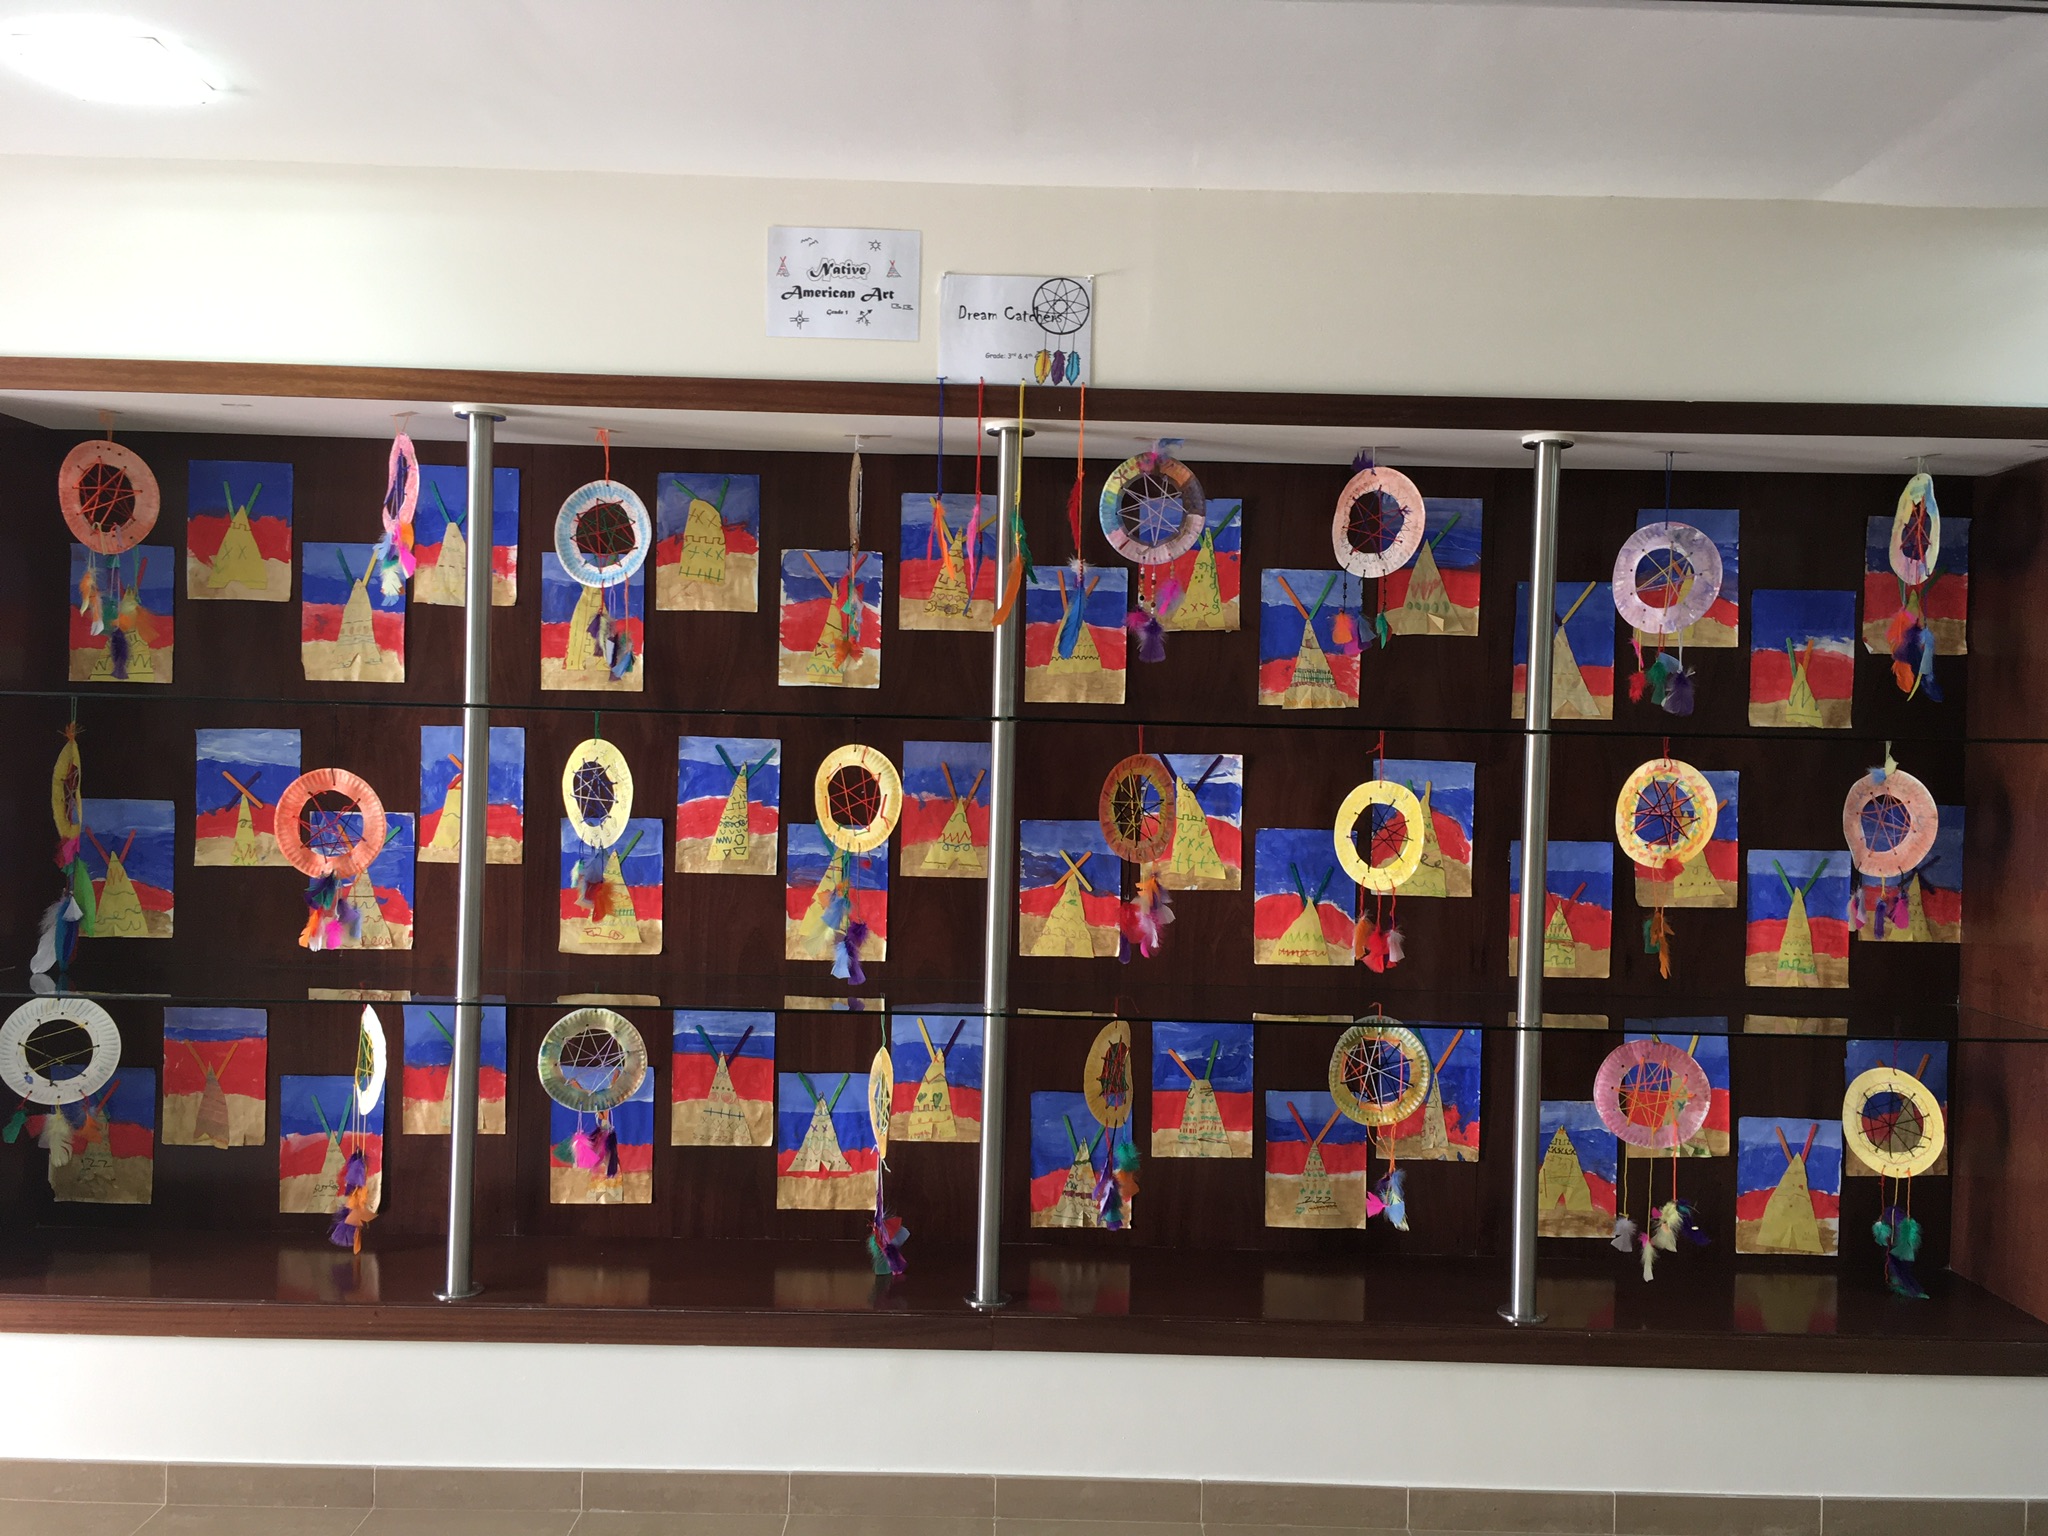
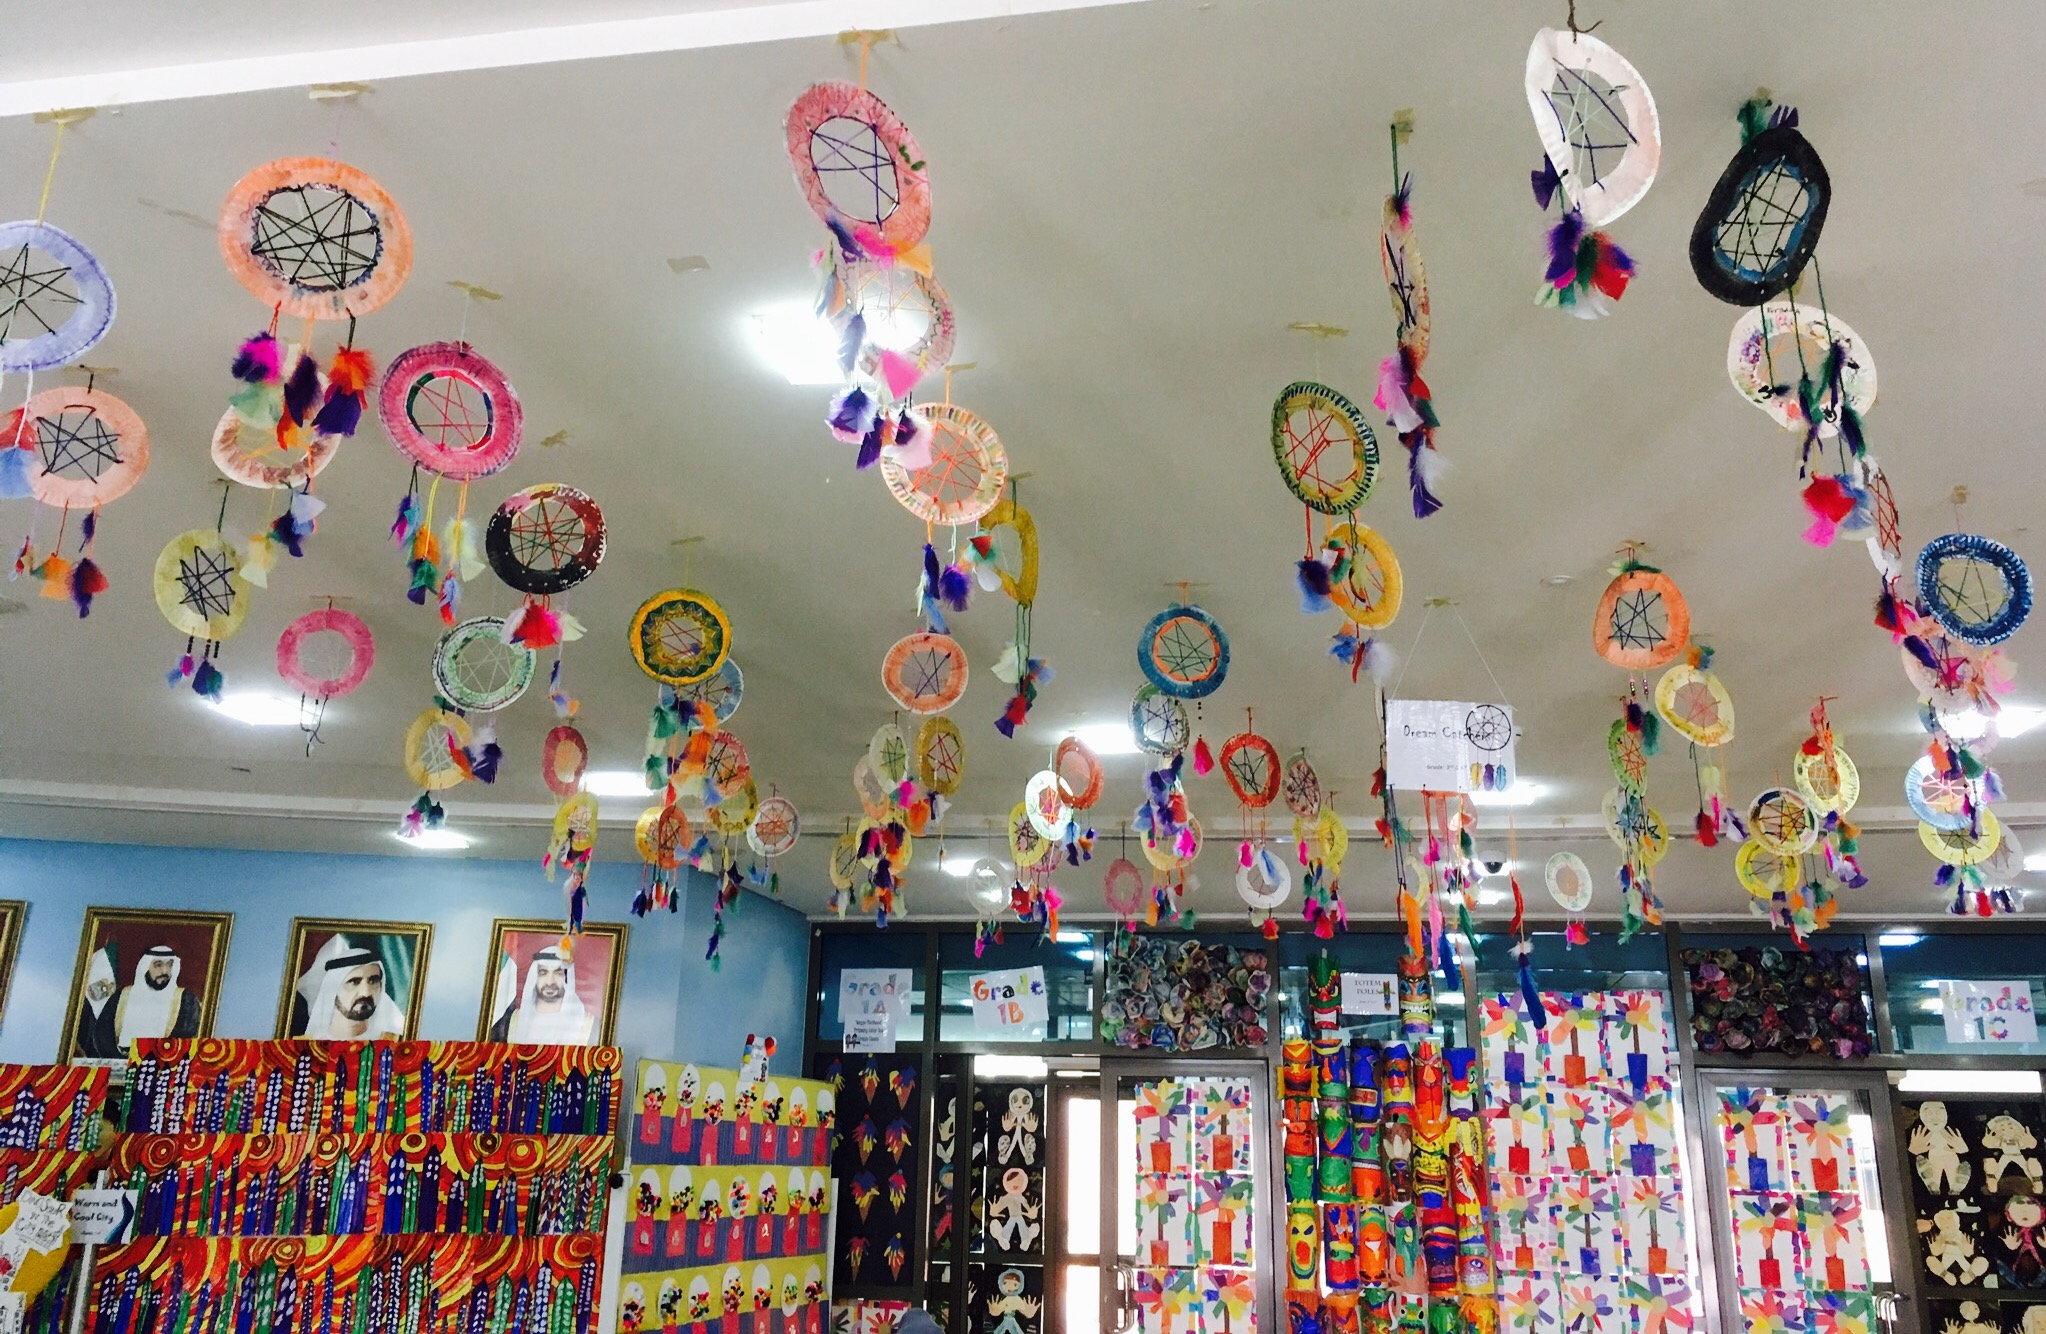
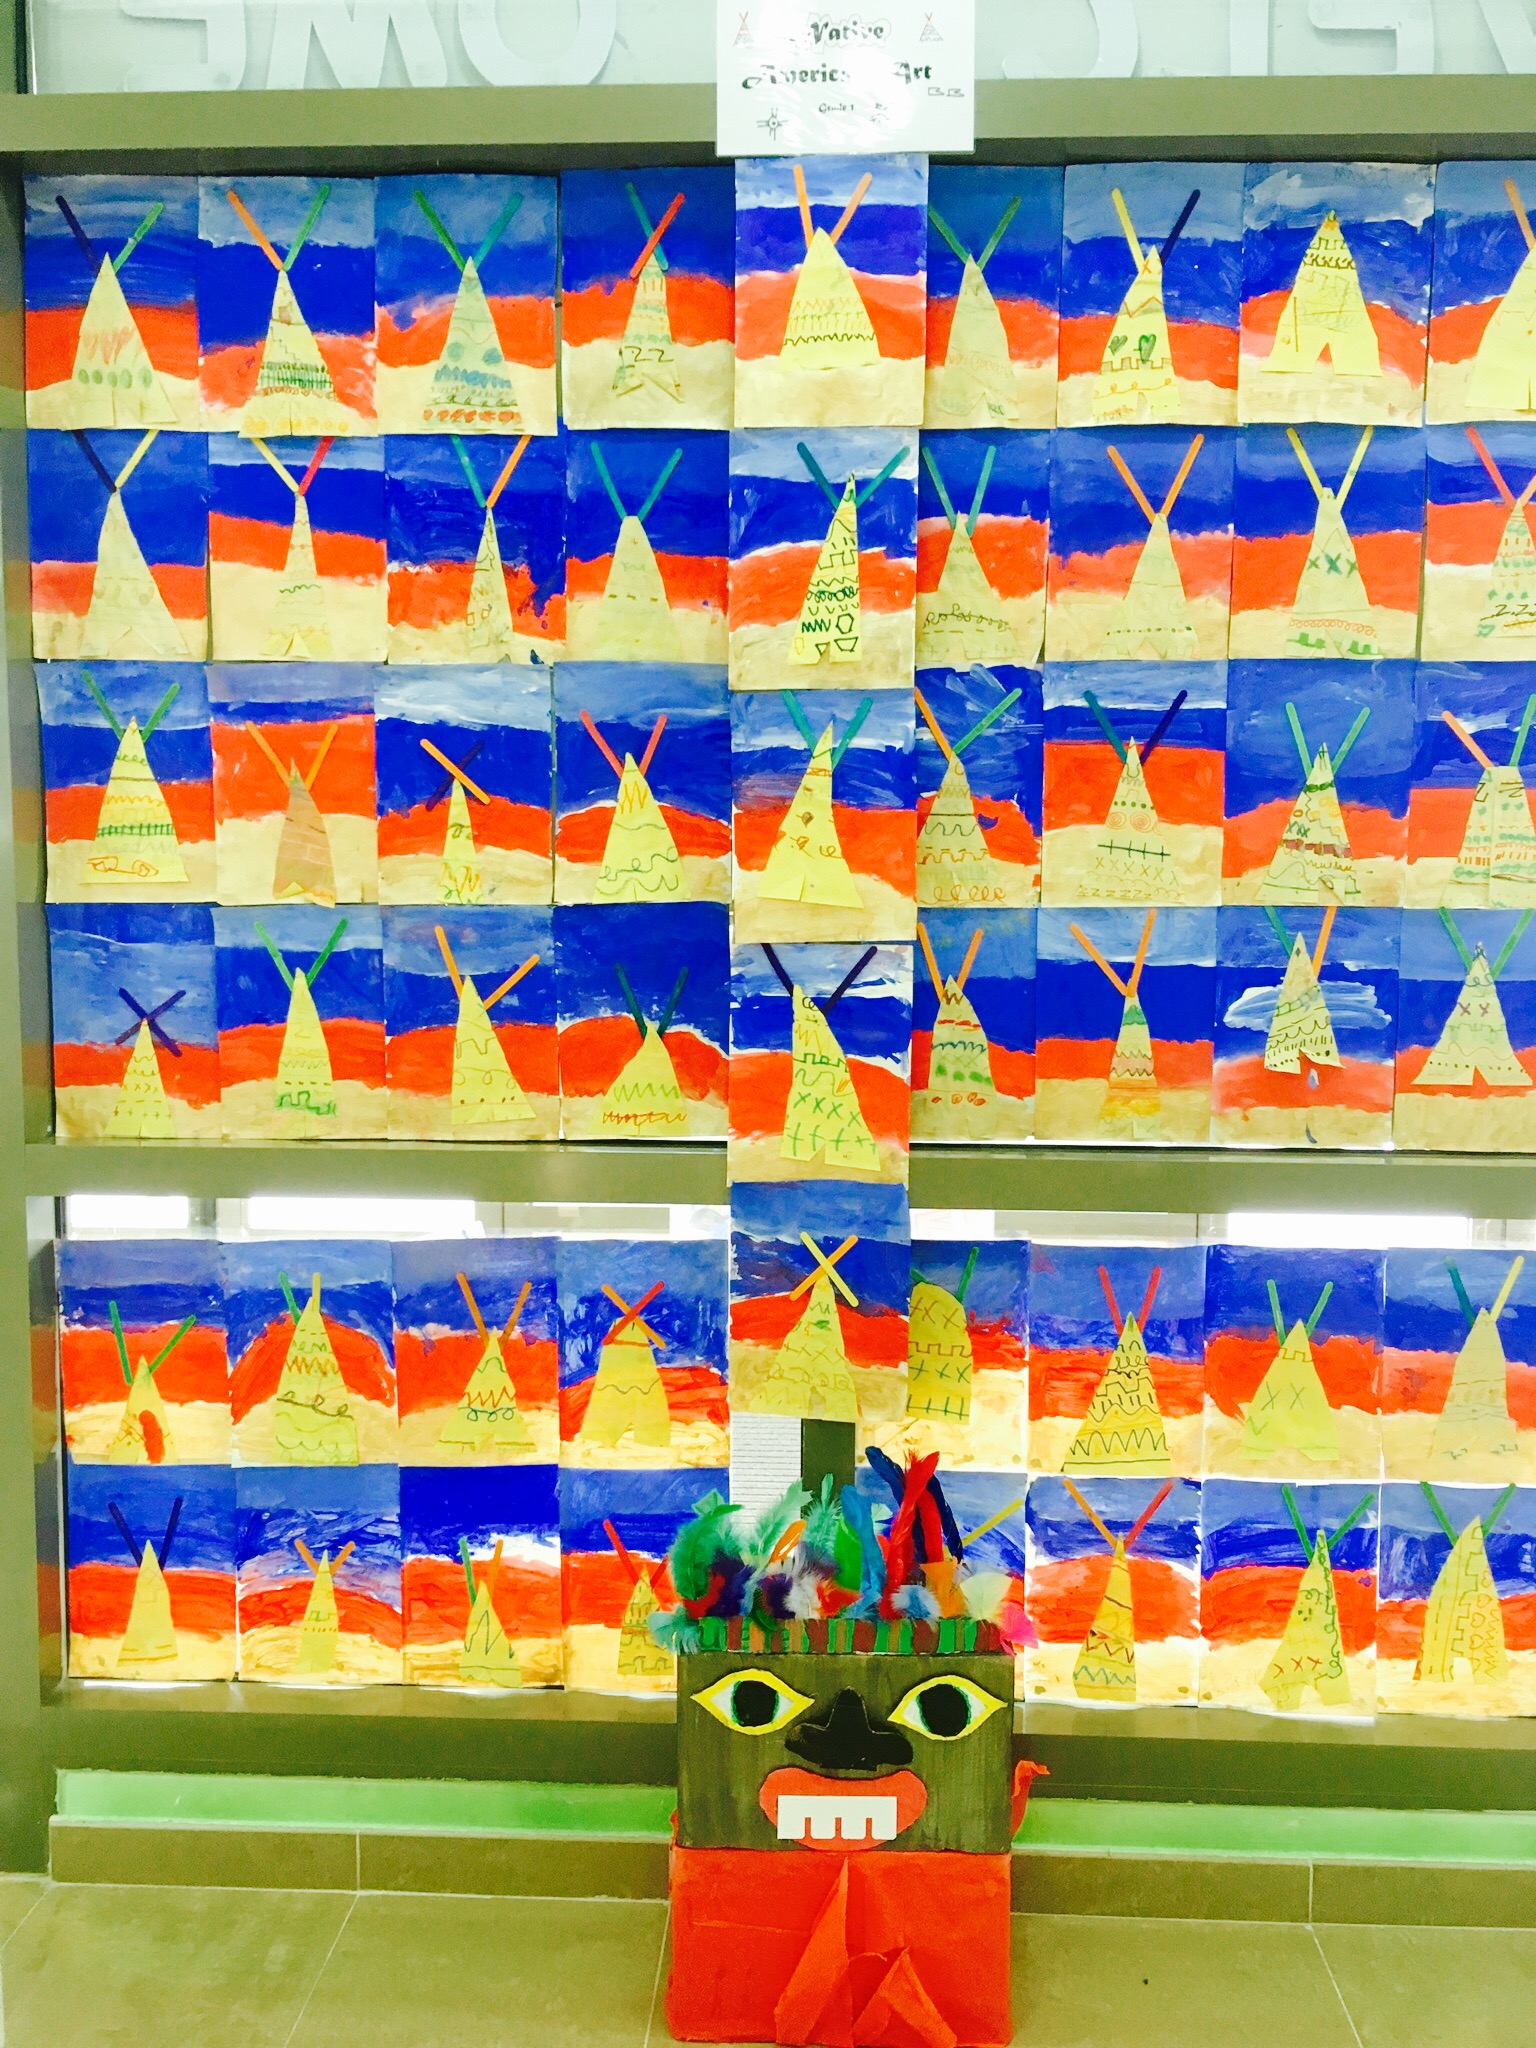
Dream Catchers display for Art Exhibition in School Lobby
1st Grade Native American Art
After discussing the history of Native Americans and their art, totem poles, tee-pees, dream catchers and watching a quick introduction video, we began our projects.
1st Grade Tee-Pee Project: Involved lines, shapes, foreground, middle ground, and background. They first used crayons to draw different lines on manila paper. Then they painted white paper using brown for foreground, red for middle ground, and blue for background. Next they drew a triangle on the back of their lined paper and cut it out. Then glued their triangle to their painting with the lines facing up. Then I gave them two Popsicle sticks to glue to the top of their Tee-pees.
4th Grade Dream Catchers: We used paper plates. I gave them reference sheets of native american symbols and we went over what they meant. They designed the rim of the plates with native american symbols and designs. Then they cut out the center of the plate and I had them use watercolors to paint the front and back of plate. Next I used a whole puncher to make holes around the inside of the plate and gave them weaving instructions and yarn. Once they were done weaving we added feathers and a loop of yarn to the top for hanging.
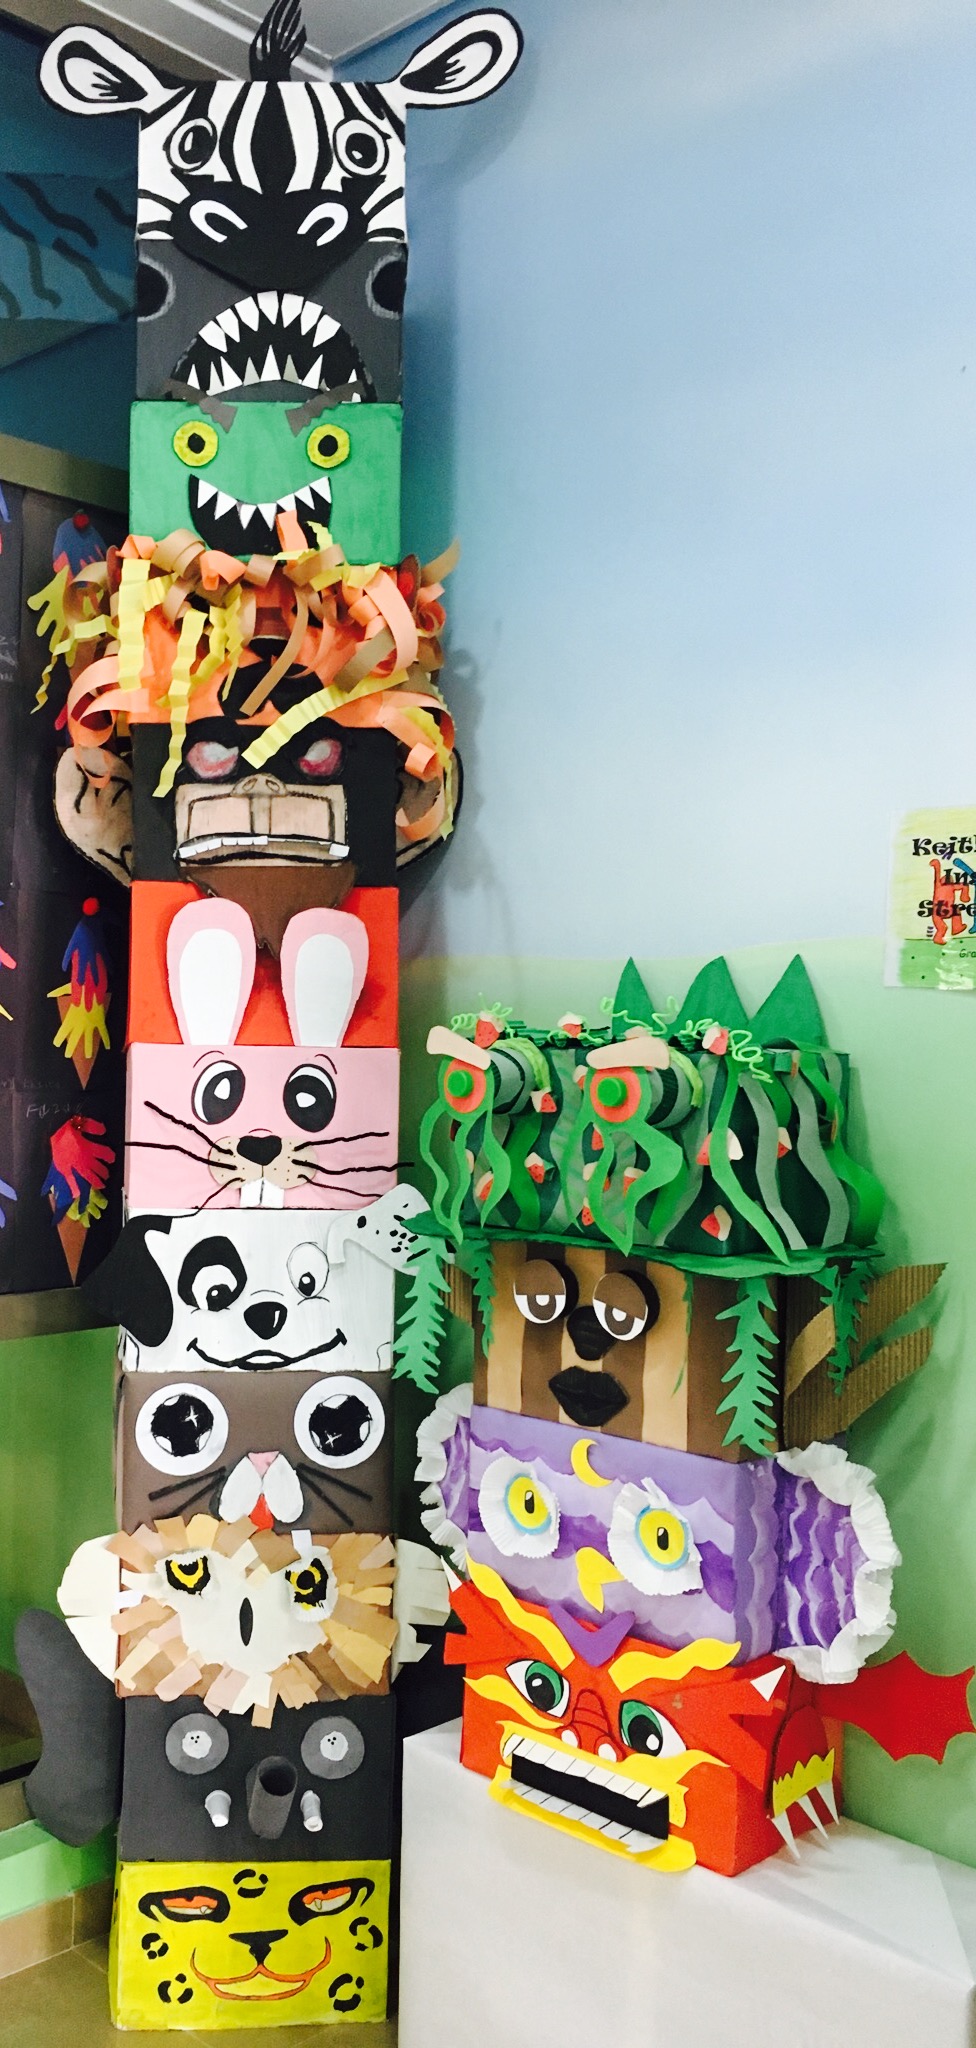
Through this lesson, students will learn about Native Americans from the northwest. Students will study the culture and artwork of these native people. The idea of stylizing artwork will also be addressed as students work together to make a two dimensional version of a totem pole. Finally, students will learn about symbolism and what various animals mean to the Native Americans of the northwest.
Boys- Students will choose one animal and draw it using native totem pole references.
Girls- Students will work with others at their table in order to create a totem pole.
Students will choose an animal that symbolizes their family or personality.
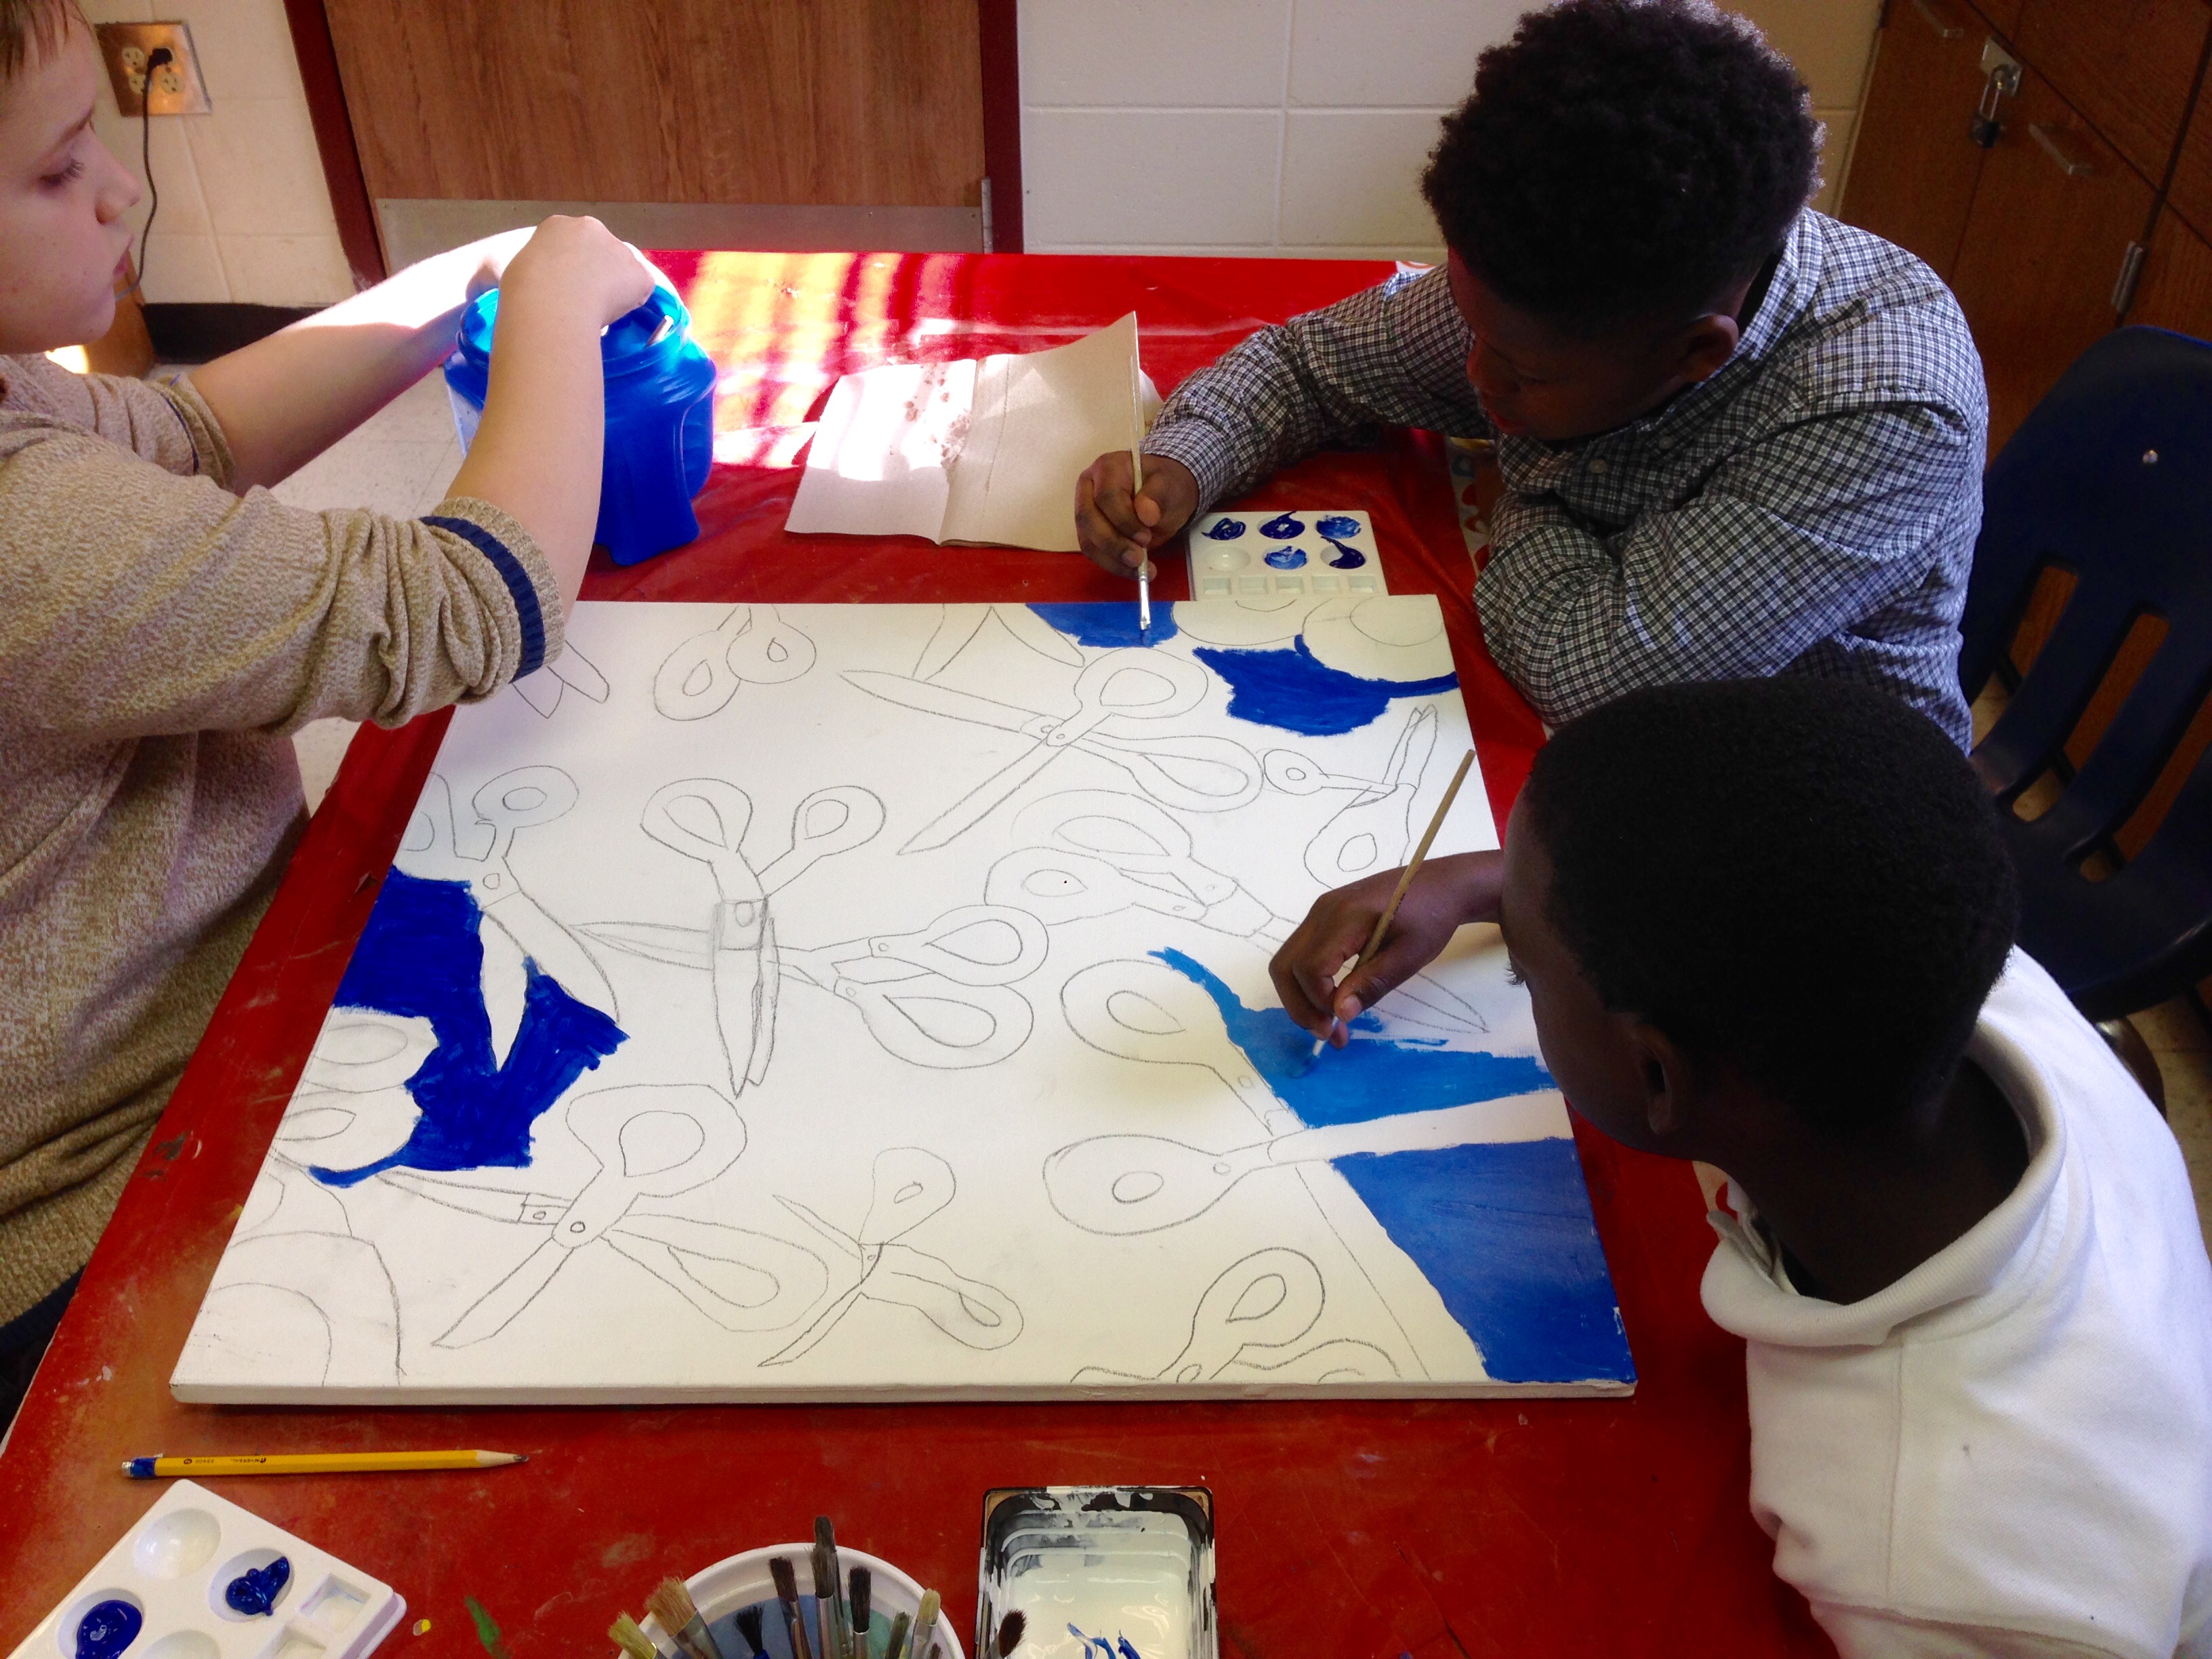
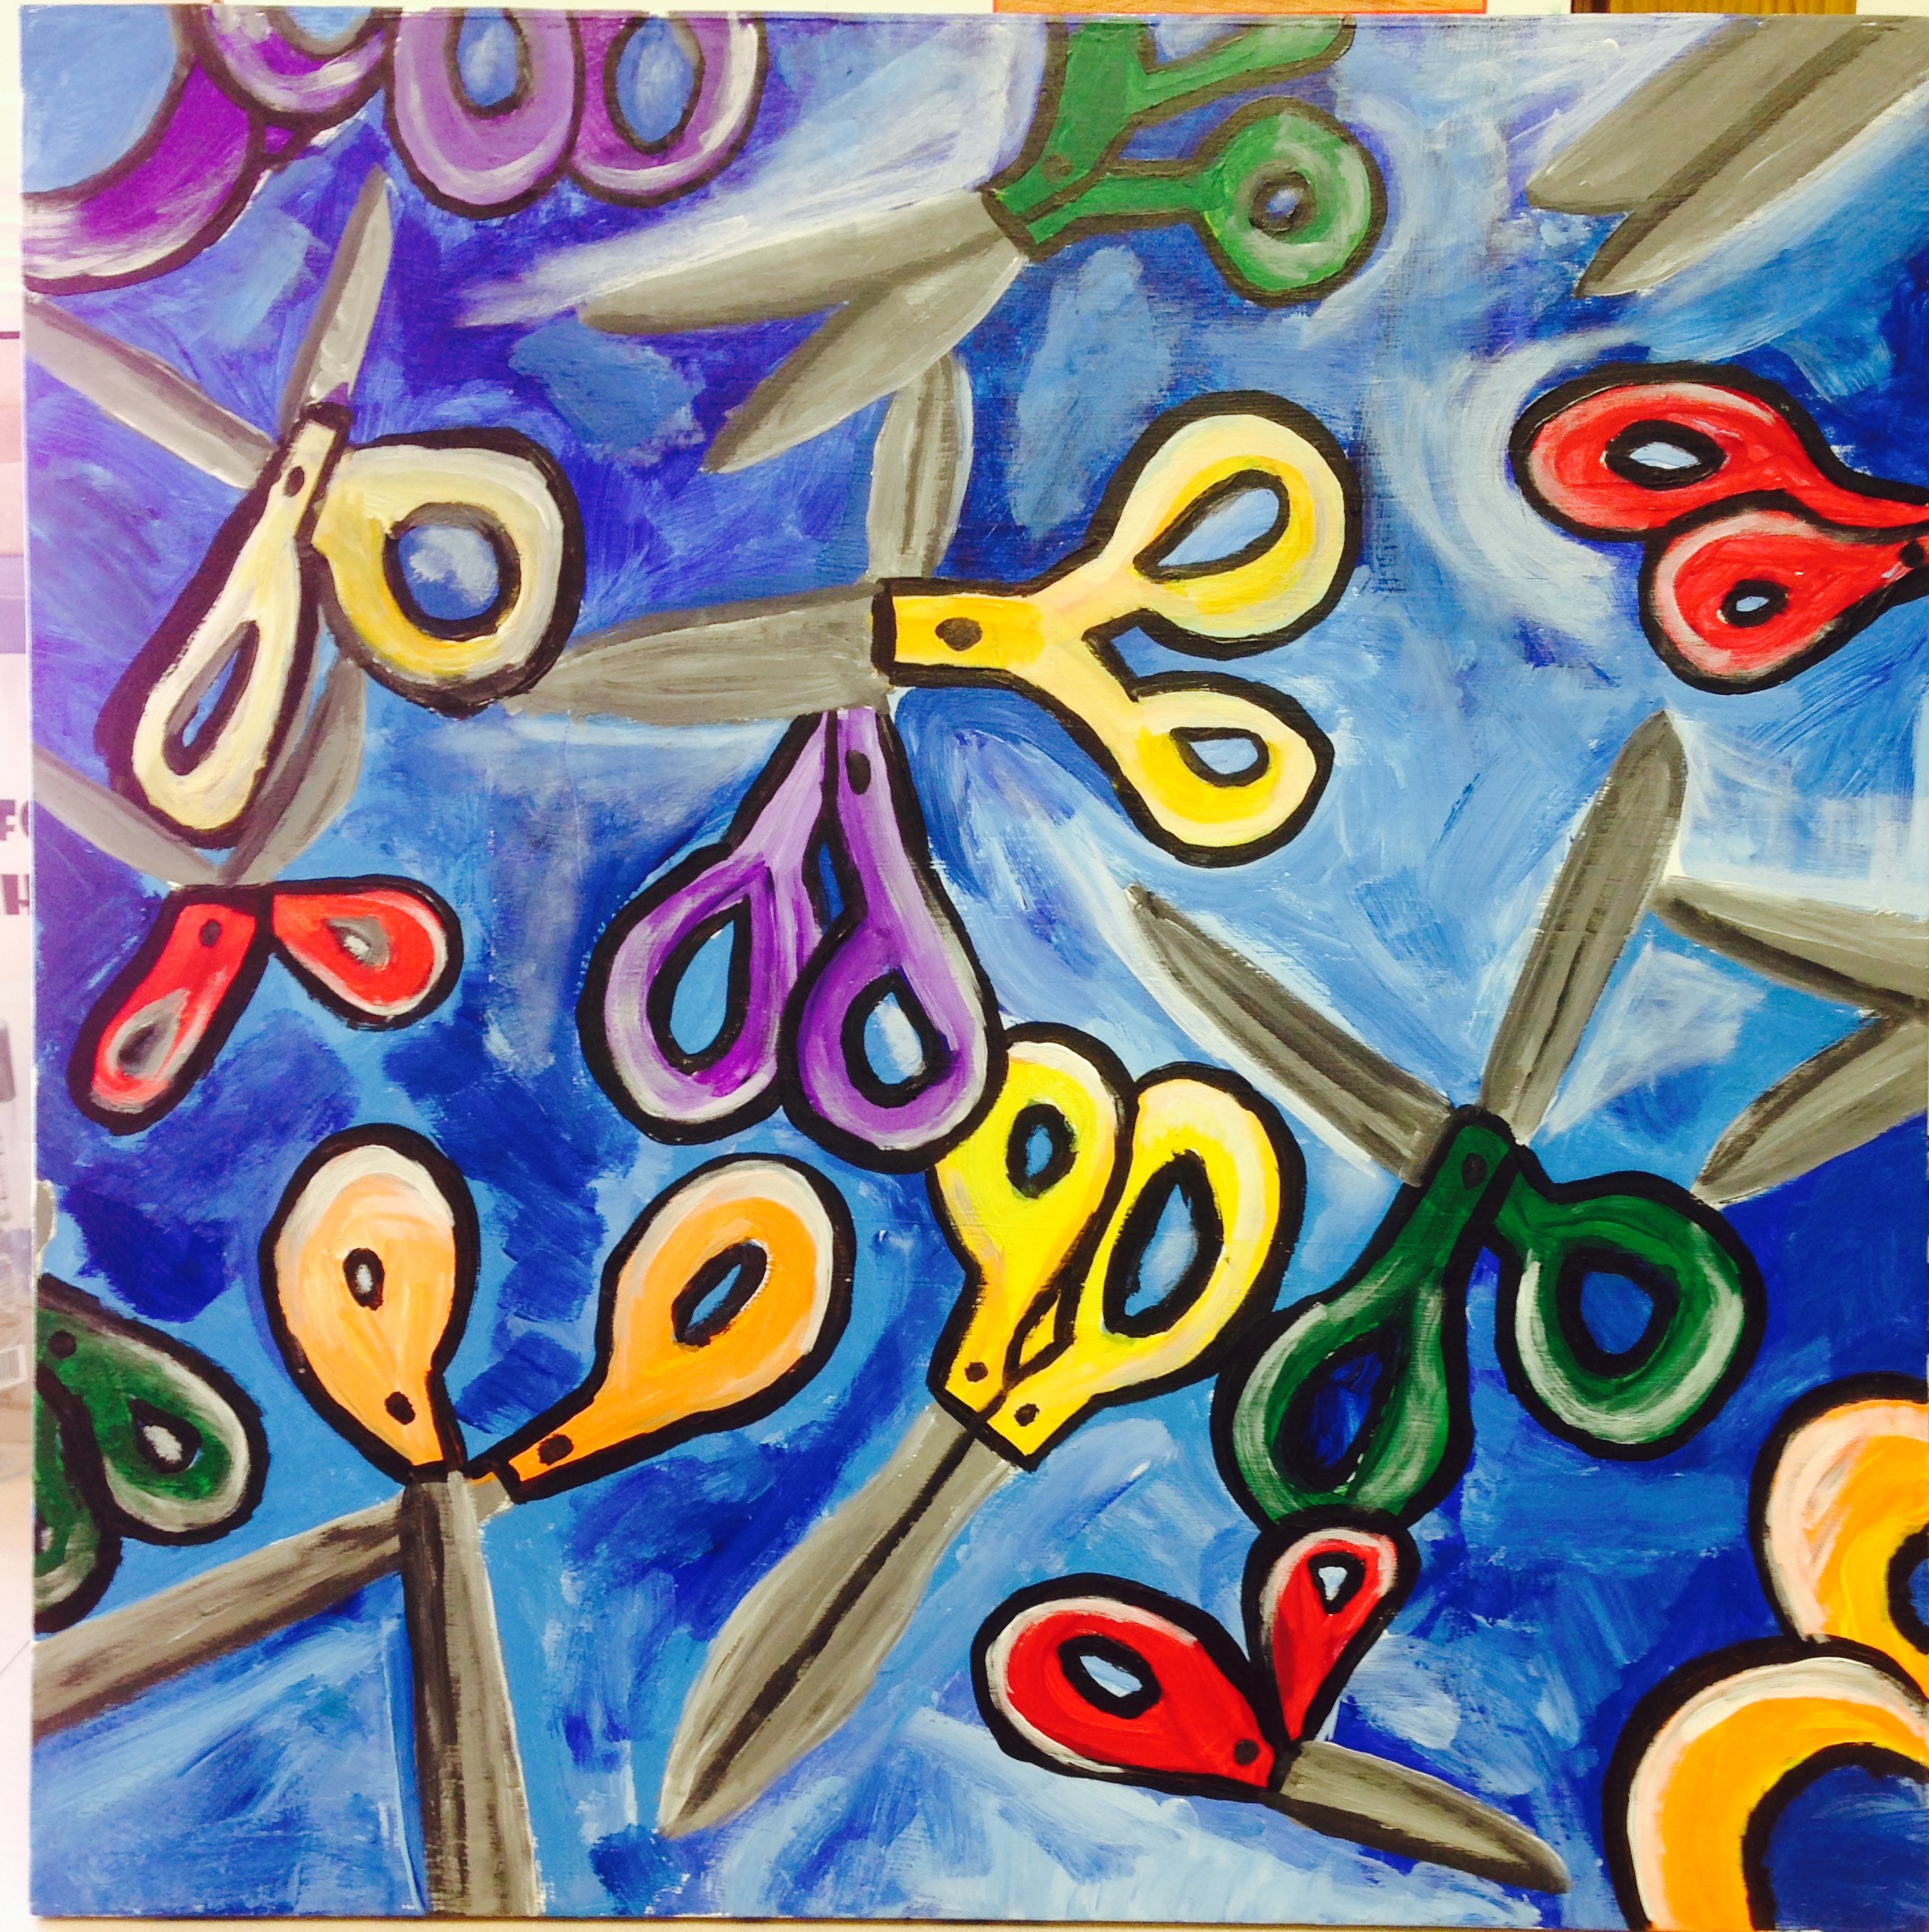
My 5th Grade boys won a County wide Contest doing this Collaborative Project. They were given a theme (Scissors) and a canvas. They came up with this composition. I am so proud of them, using what they learned (overlapping) in Art to create this masterpiece. 🎨✂️👏🏽🙌🏽
My second grade did this line project using the crayon resist technique. I painted the boards with the thick black lines and each team of students was given a board to use crayons to draw “The Lines of Design” (some were using color pencils) on the white space. Once the boards were all filled with lines. They used watercolor to paint the boards and watch their lines pop through the paint like magic. I then put all the boards together to create a mural for the Art Exhibition.
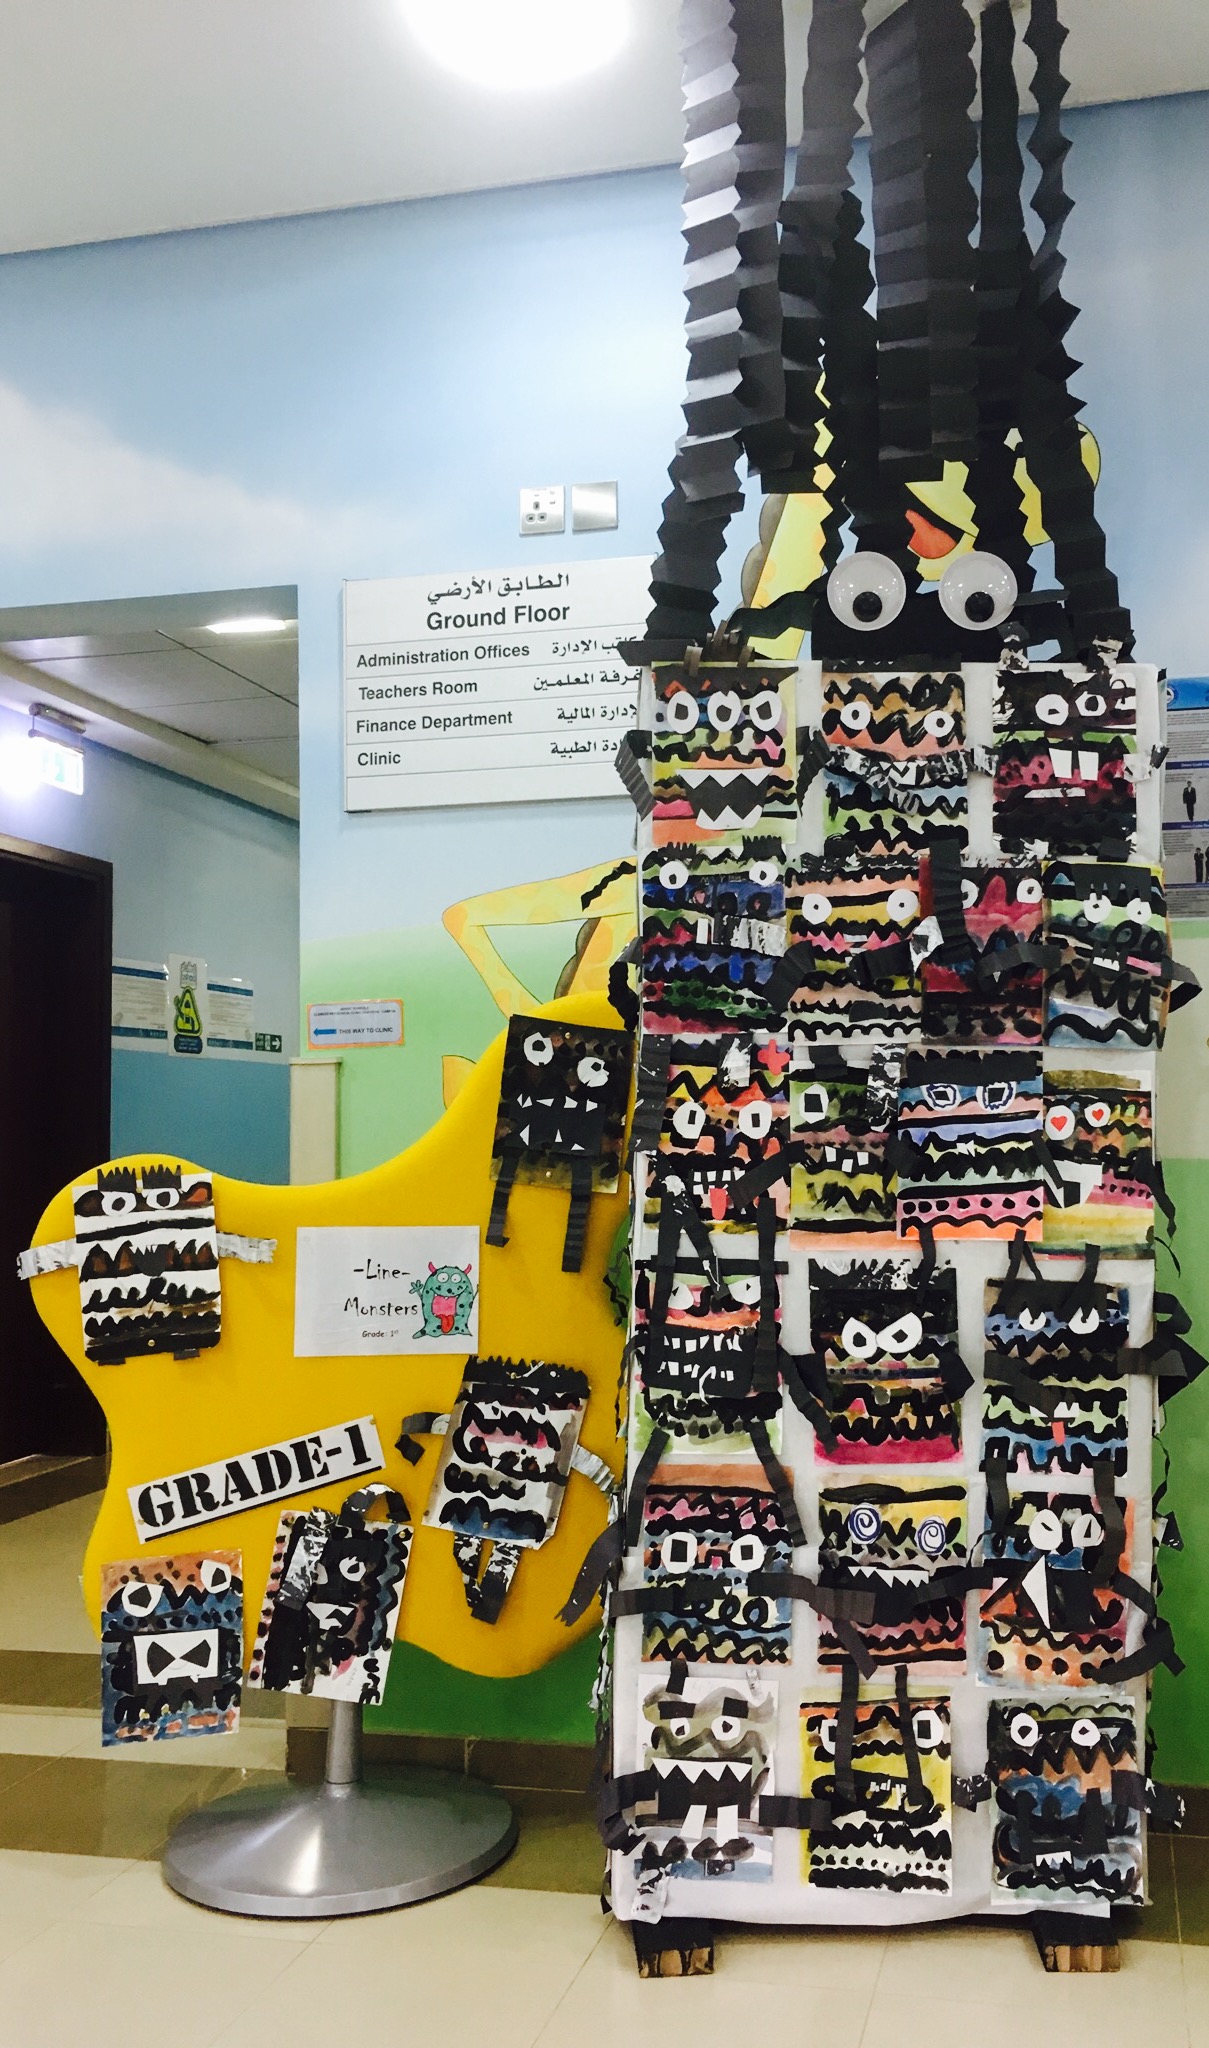
I first read my 1st graders “The Straight Line Wonder”.
I have them act out the book with movement using their bodies as if they were lines, they LOVE it! After reviewing all the famous lines, they are given black tempera paint to draw the lines.
On day two once their lines have dried, they are given watercolors to paint each section in between the lines.
On day three they get to make their monsters cutting out eyes, mouth, teeth, legs, arms, etc.
I then created the huge “Line Monster” out of their work for the Art Exhibition.
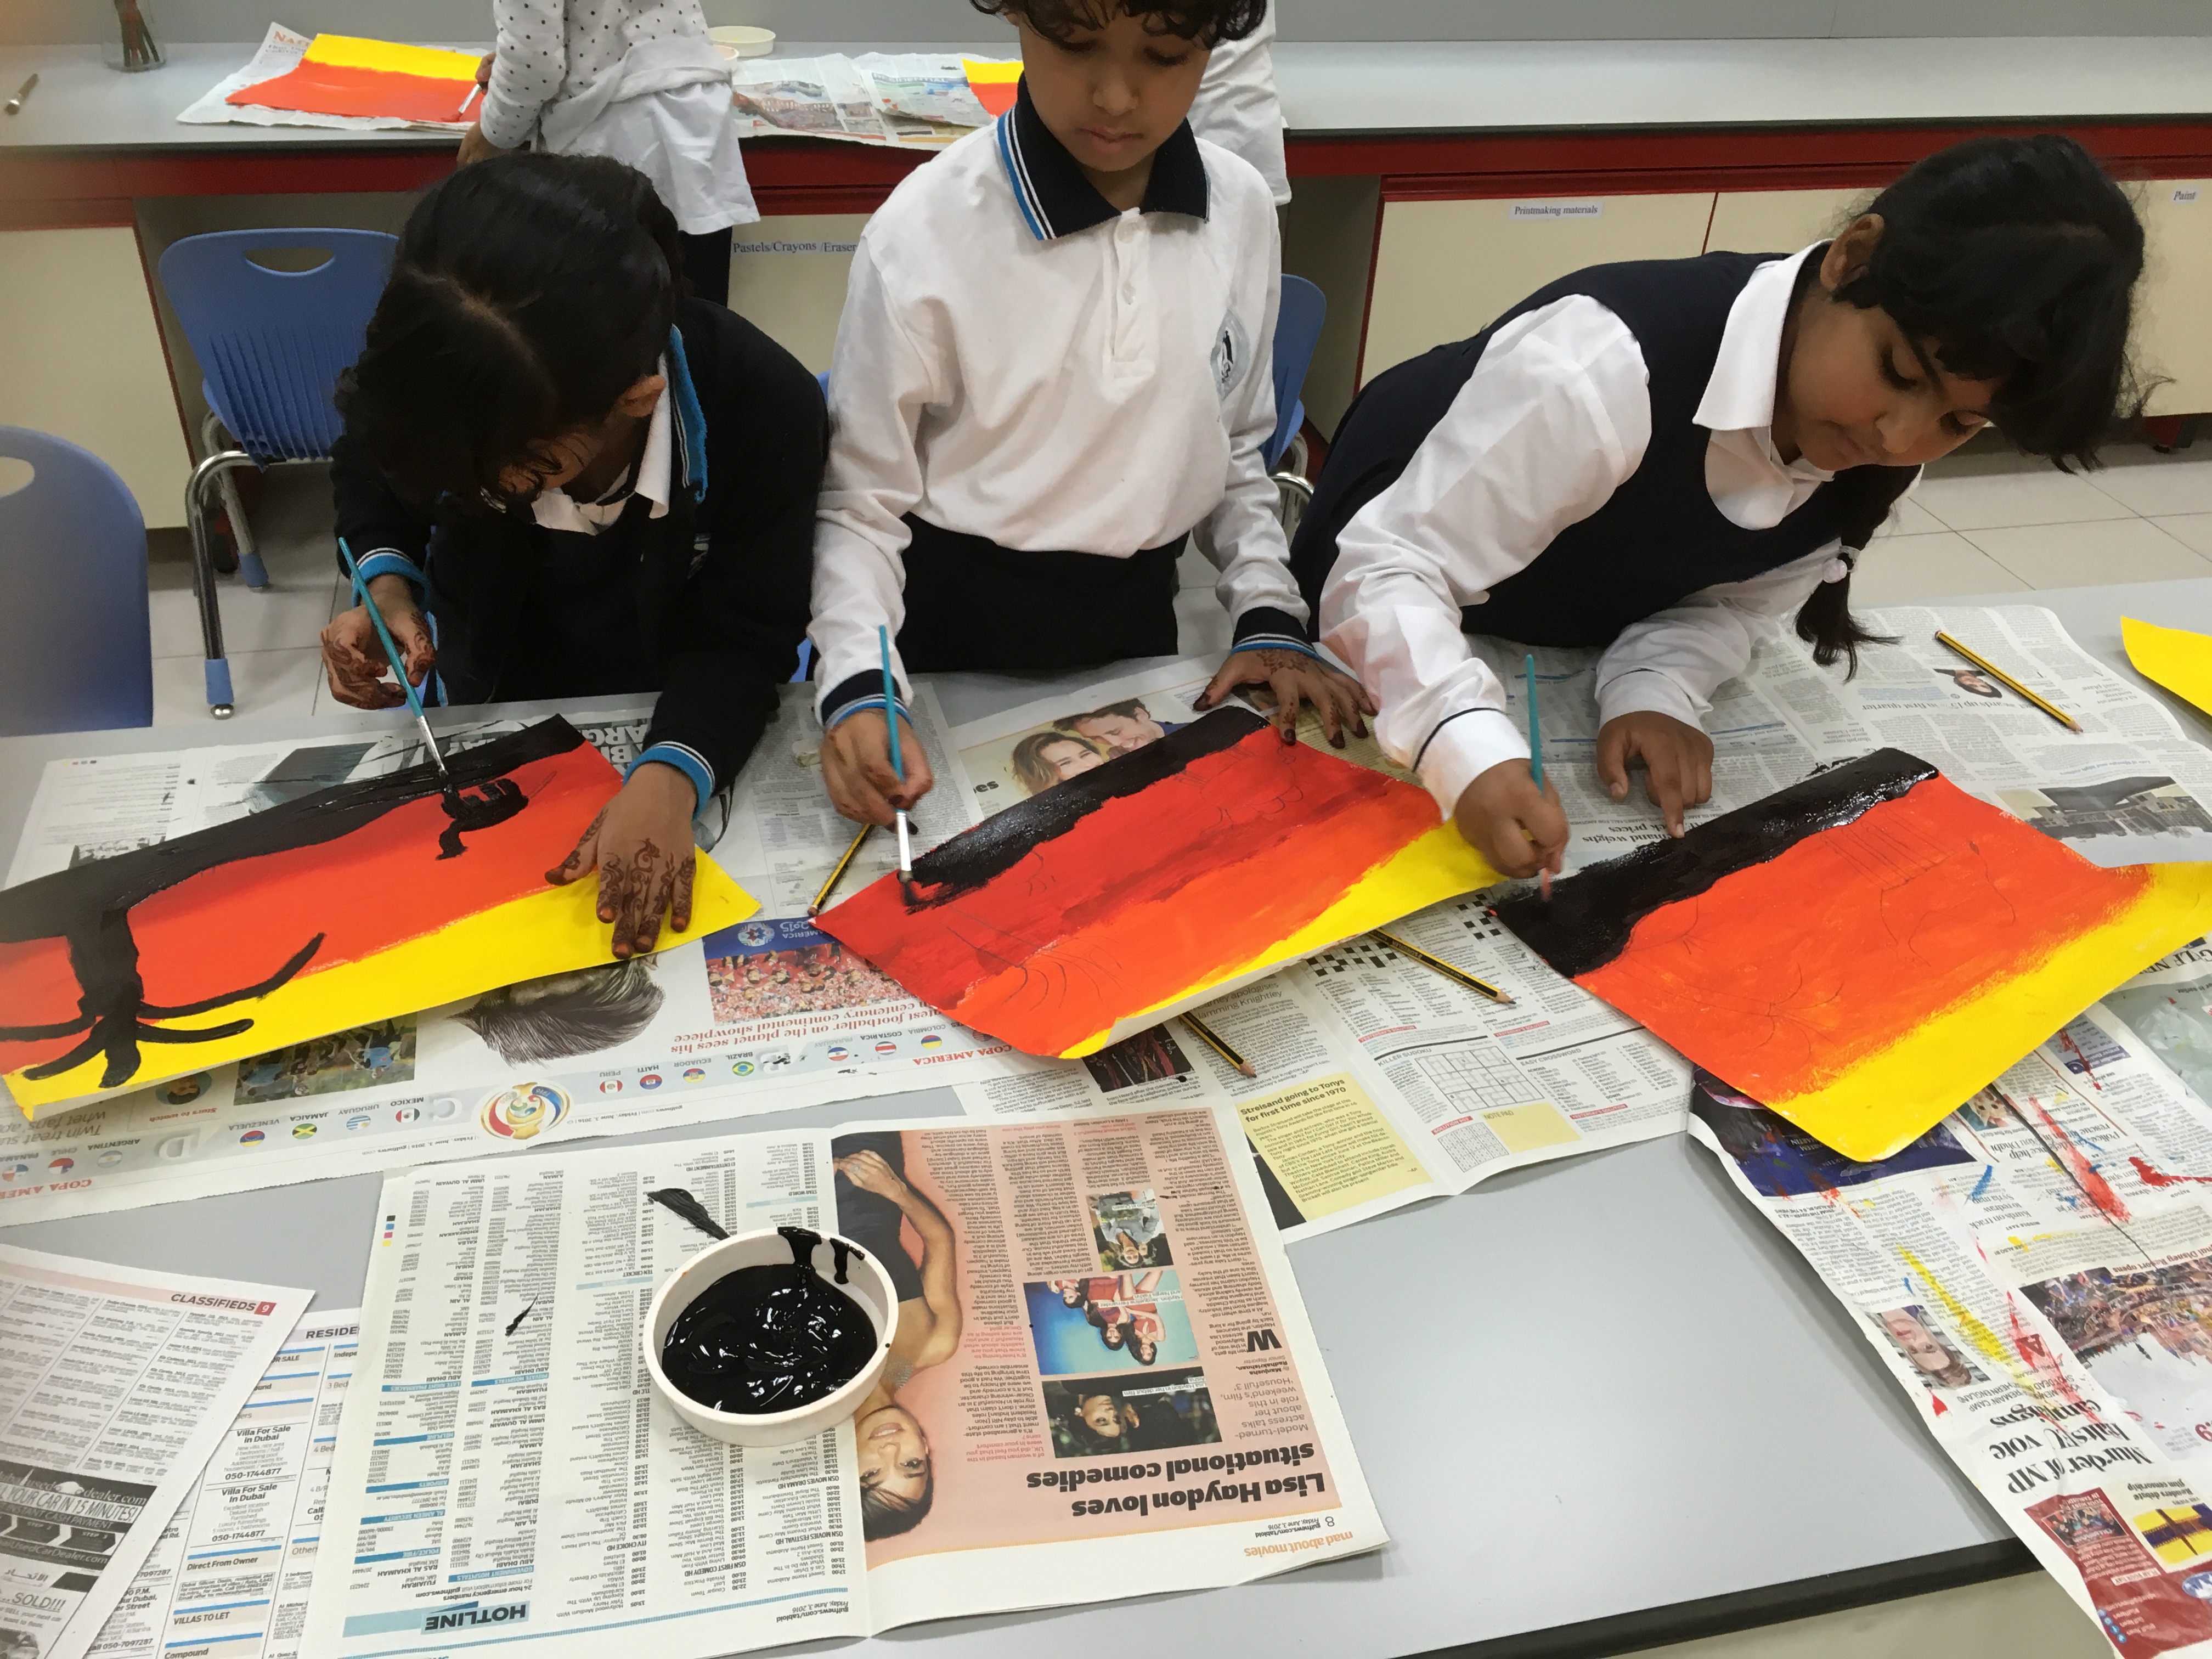
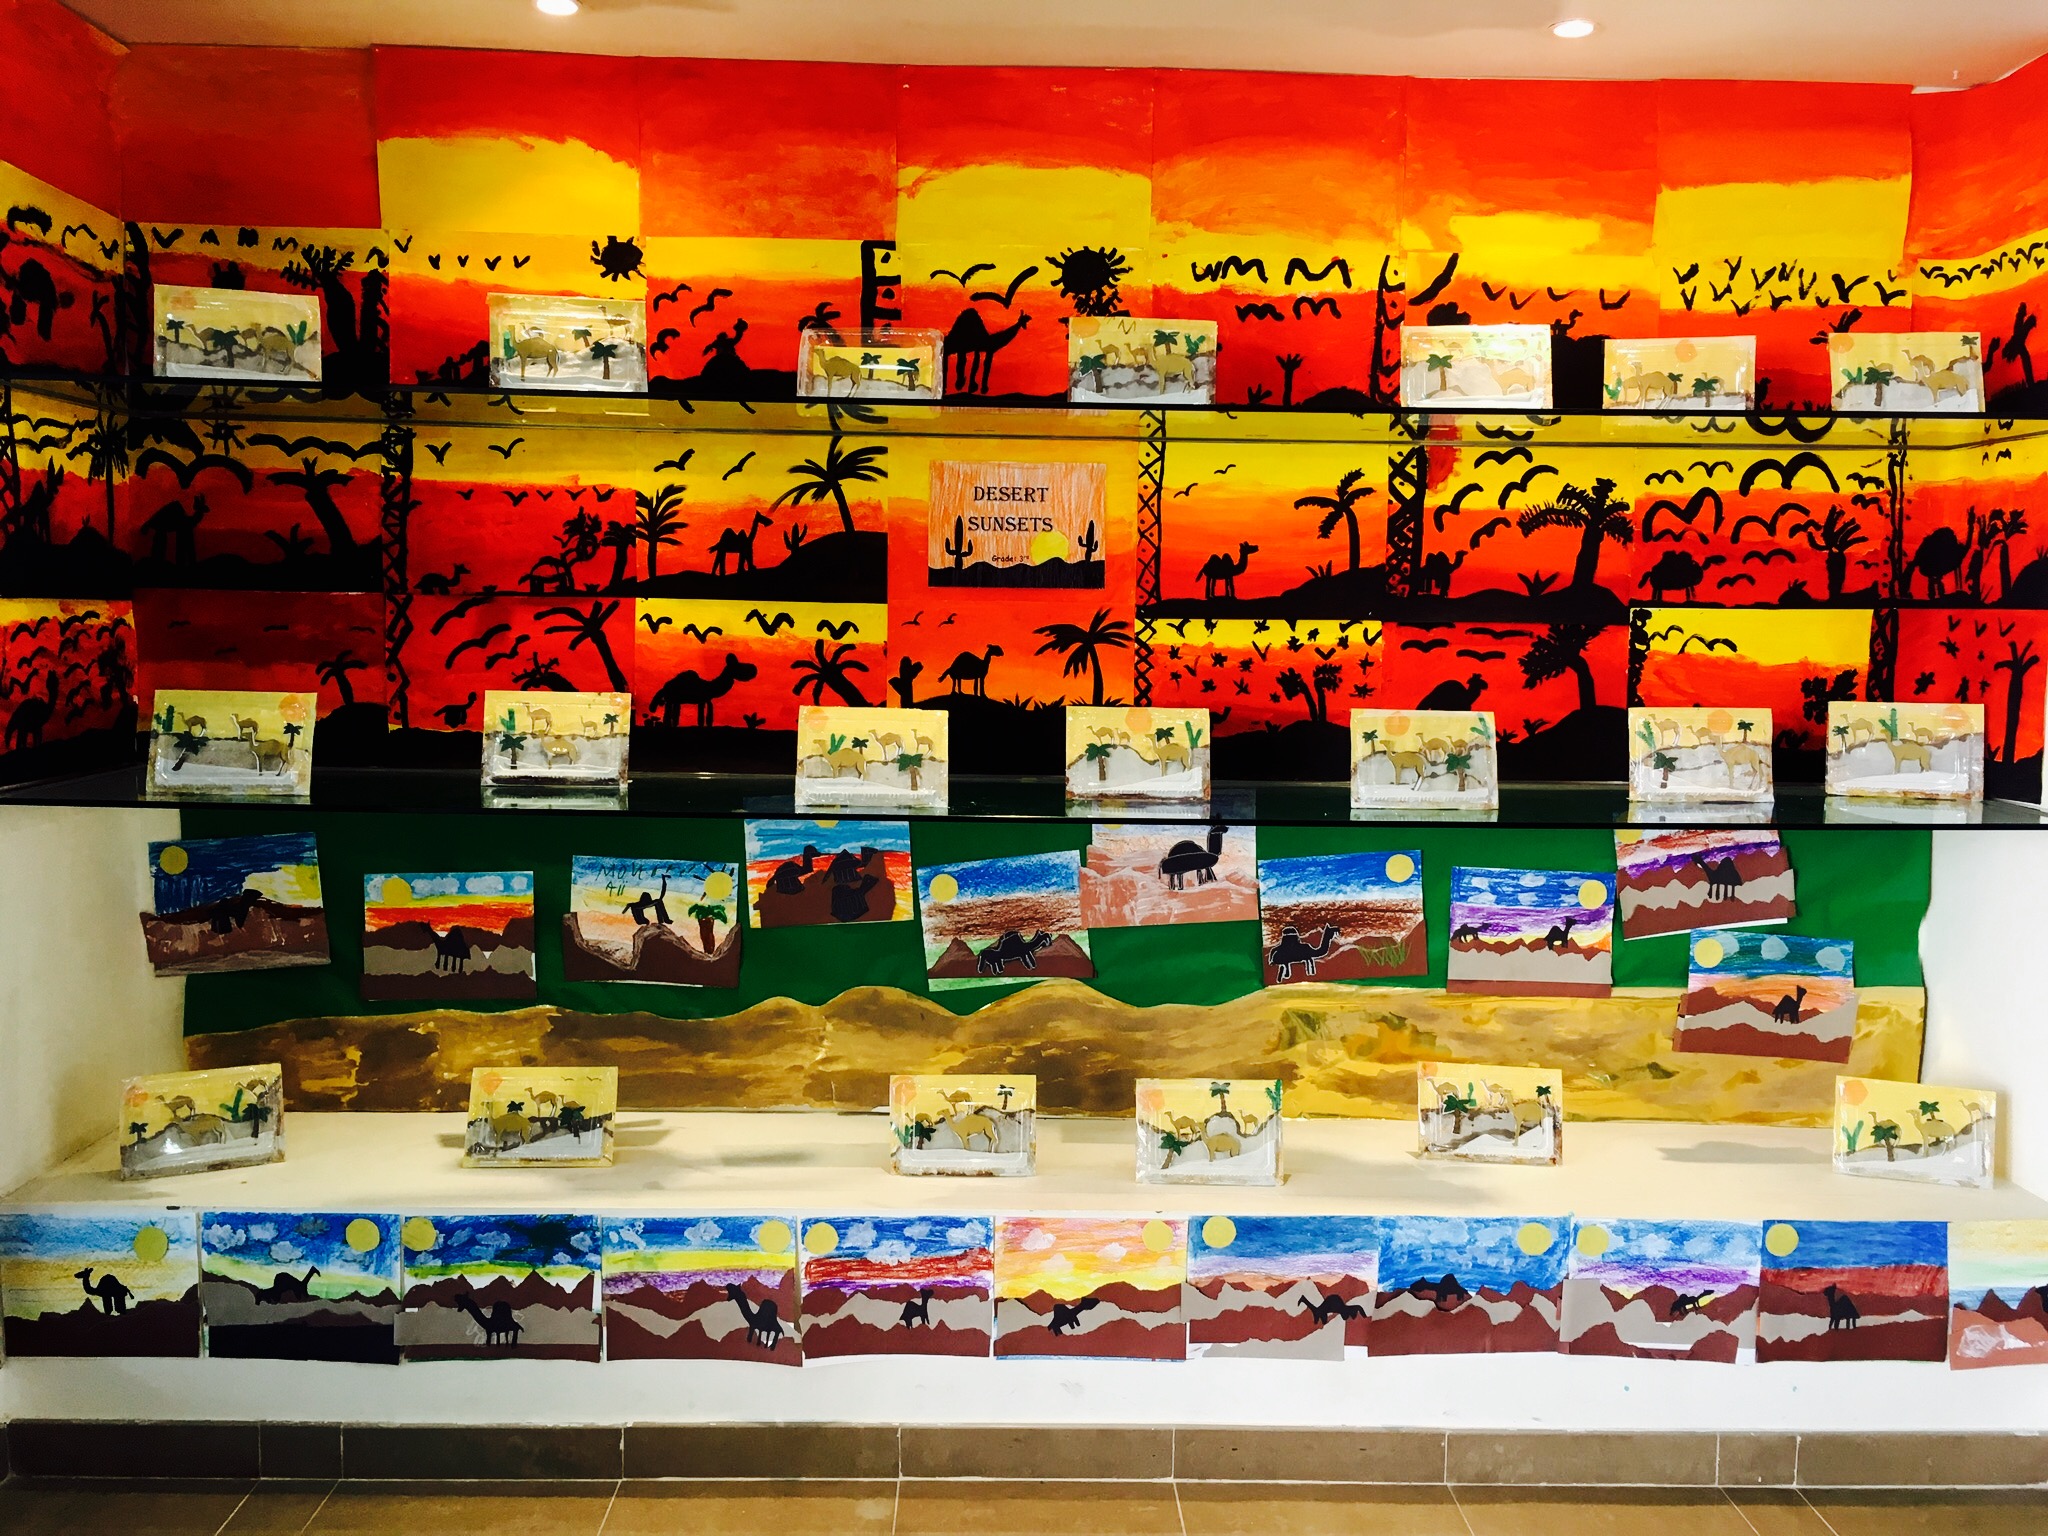
My 4th Grade girls learned how to paint silhouettes. They first used red and yellow paint to blend the background sunset. They then painted camels and palm trees with black paint.
My 1st graders made deserts in a box. I found this idea on Pinterest and fell in love with it. Great for teaching foreground, middle ground, and background. Picture doesn’t do them justice.
Lastly my 3rd Grade boys used oil pastel for the background of their landscapes. Then ripped construction paper for foreground and middle ground layers. Lastly they drew camels on black paper and glued them onto their landscapes.
I absolutely Love how they all came together to create this dynamic display for the schools entrance.