
Displays
-
Pop Art -Andy Warhol Prints
My Grade 4’s created Andy Warhol inspired prints of themselves using transparency paper and neon acrylic paints. I took their selfies and printed them out. They then made a stencil of their portraits and used contrasting colors to paint the positive and negative space of their images. My Grade 3’s helped by painting the Jackson… Read more
-
Grade 5 Still Life
This unit incorporated a variety of elements and principles of art. The students began learning about Value and how to shade from dark to light and vice verse. I then taught them about form and how using value can transform a fruit from appearing flat to round. I did this with an apple, showing them… Read more
-
Sharks of the Ocean
One of my many door designs. I did this to motivate my students. I showed them a inspirational video by Demarjay Smith https://youtu.be/bniI8NUwoRU This kid is awesome. Moral of the story is you have to work hard and never give up. Don’t put yourself down, always keep yourself up. As long as you keep that… Read more
-
Owls
My first graders painted owls: Drawing Process: The owls body, including wings, head and ears Add skinny legs Add dots for the pupils Painting Process: White- owls body, including wings, head and ears Black- outline,skinny legs, pupils Black- add small feather strokes…little “u’s” White-Snowy background Lastly they were given a strip of brown construction paper to… Read more
-
Desert Sunsets 🌅
My 4th Grade girls learned how to paint silhouettes. They first used red and yellow paint to blend the background sunset. They then painted camels and palm trees with black paint. My 1st graders made deserts in a box. I found this idea on Pinterest and fell in love with it. Great for teaching foreground,… Read more
-
-
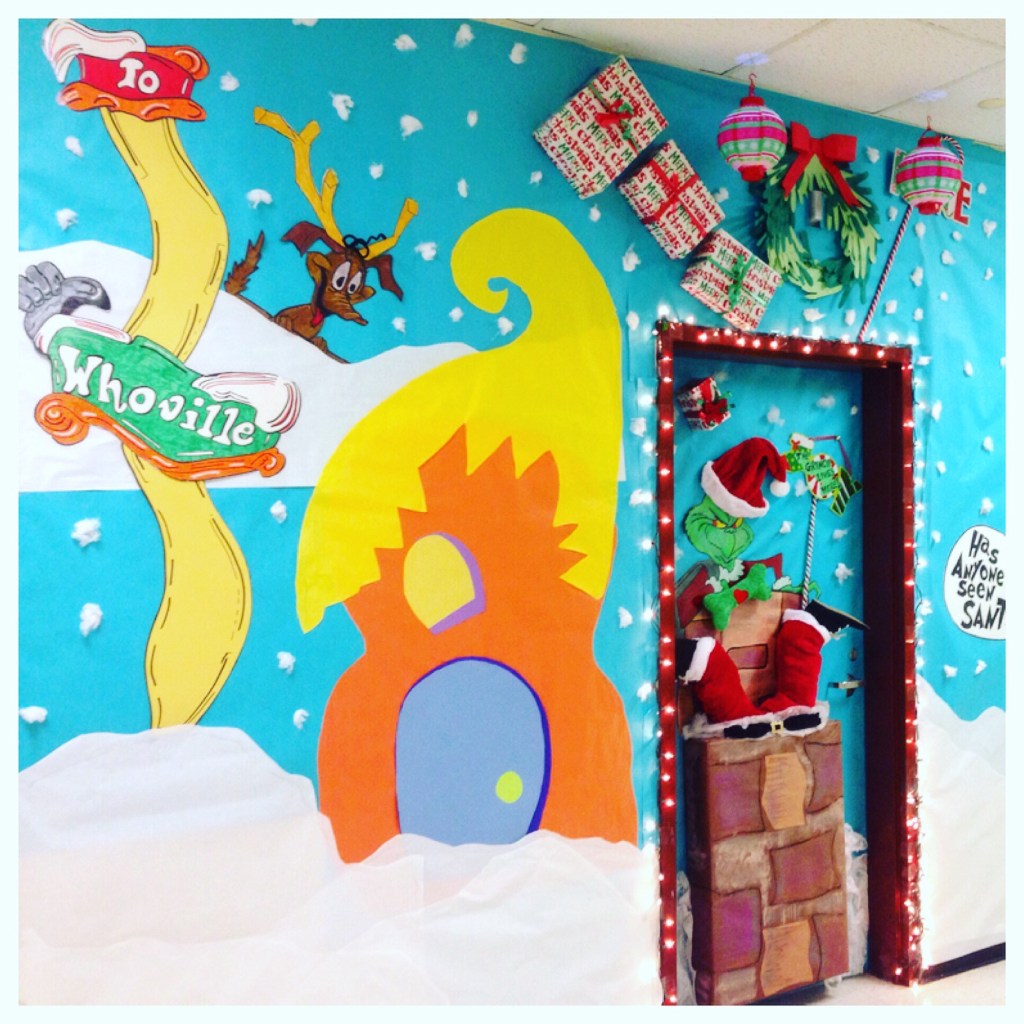
How “The Grinch” Stole Christmas!
Every year I do a unit on Dr. Seuss’s “How the Grinch Stole Christmas” and every year my displays get bigger and more creative. At the end of my unit the last day before Christmas break I have a Grinch Party. My students enjoy Grinchy treats while watching the movie. I hope my displays will… Read more
