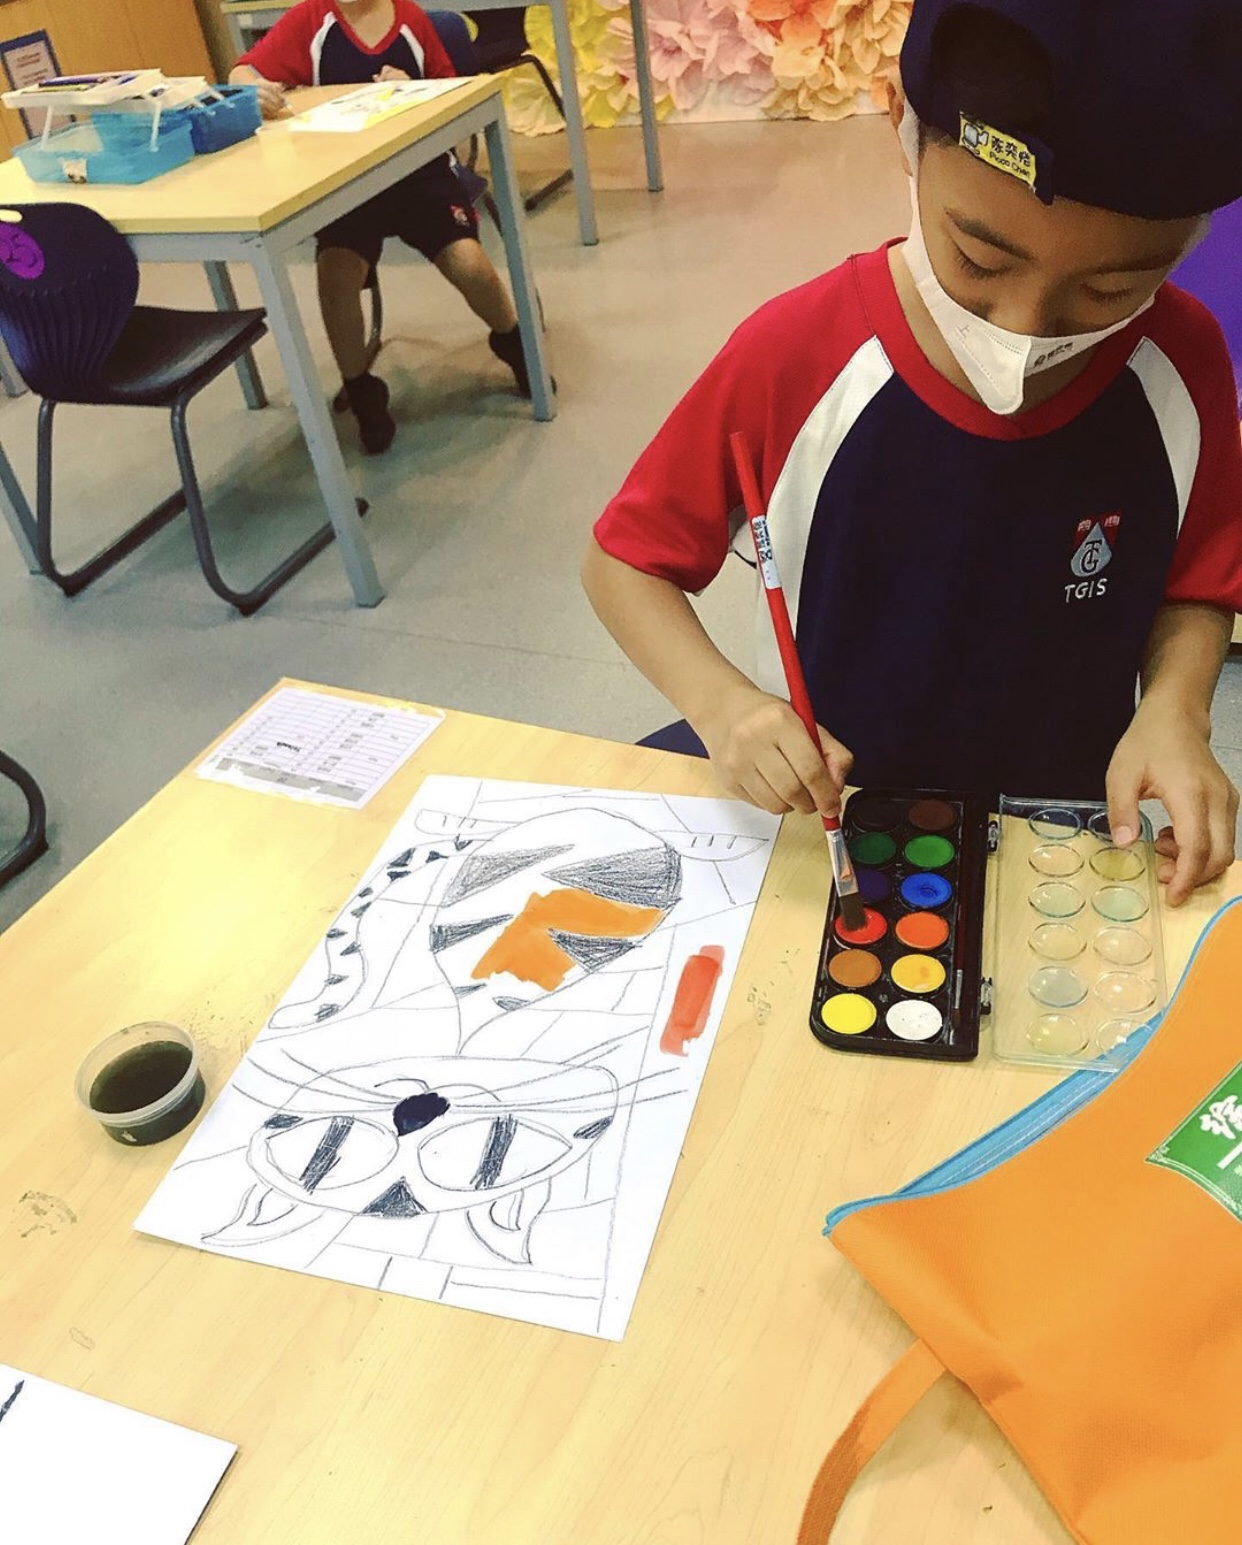
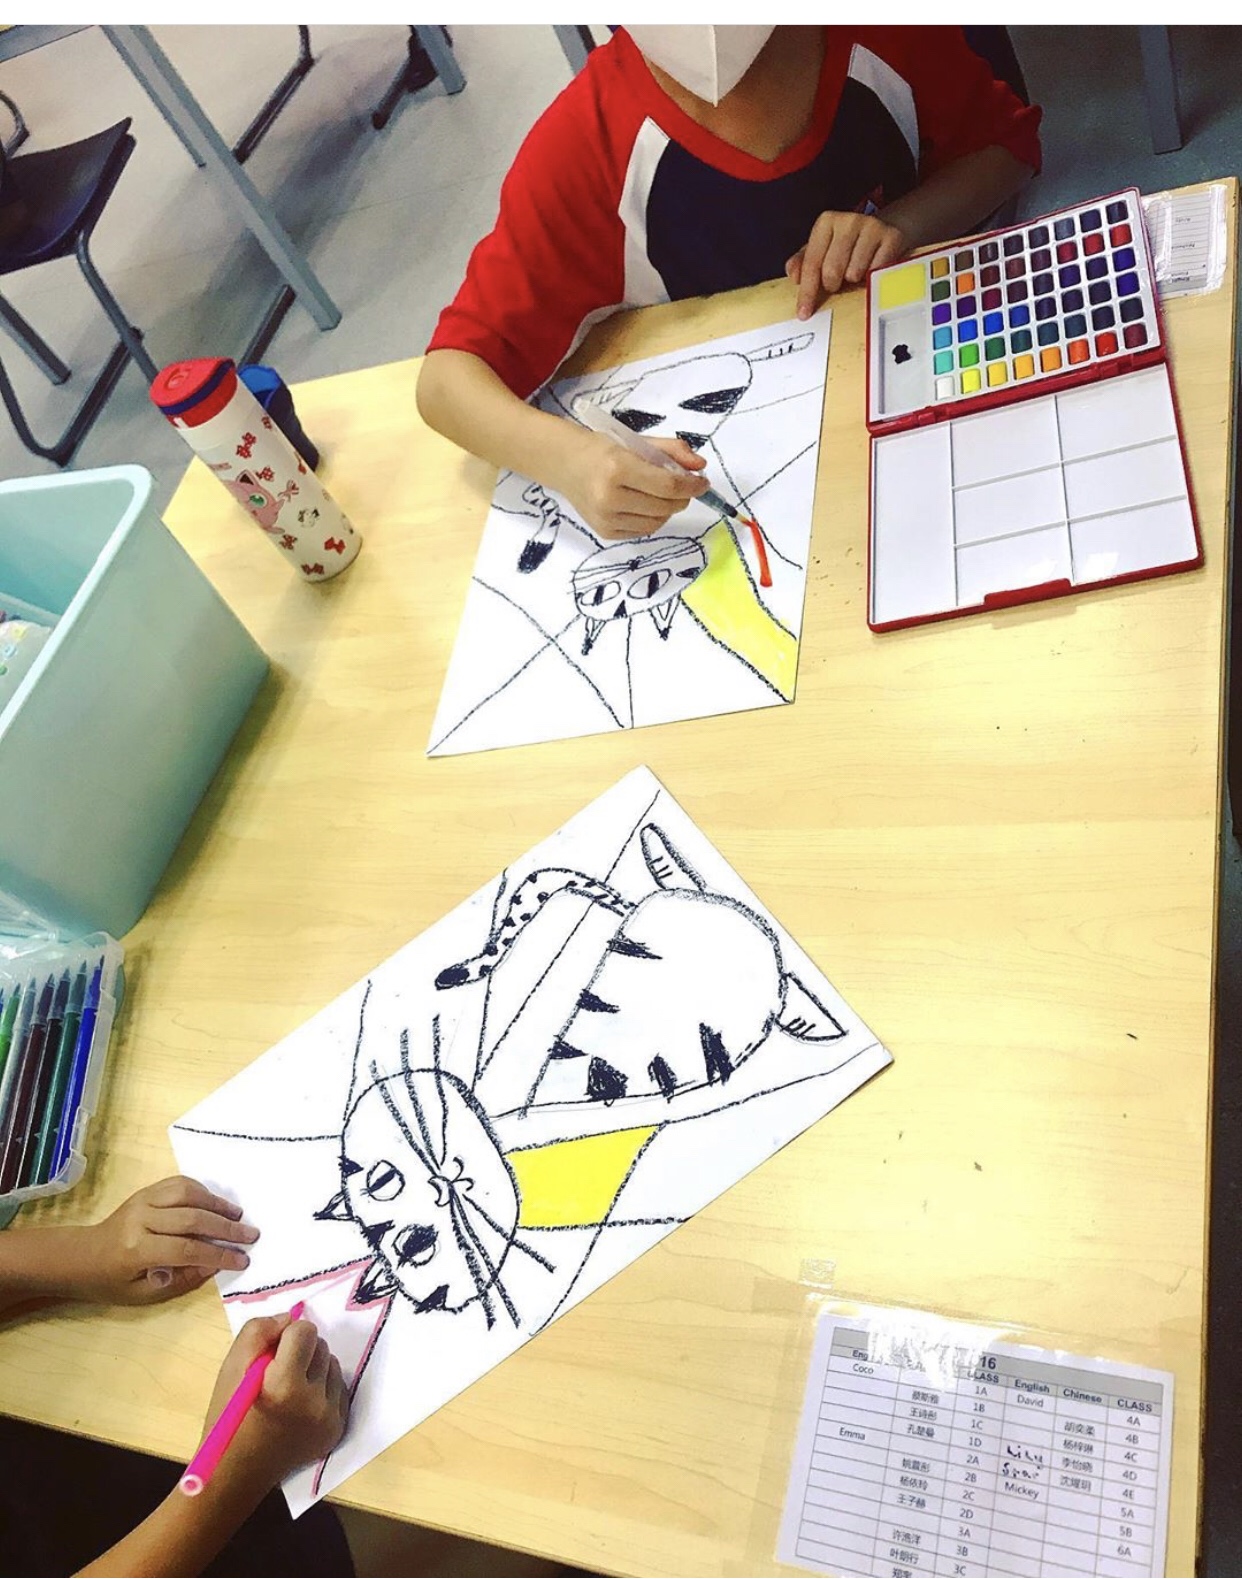
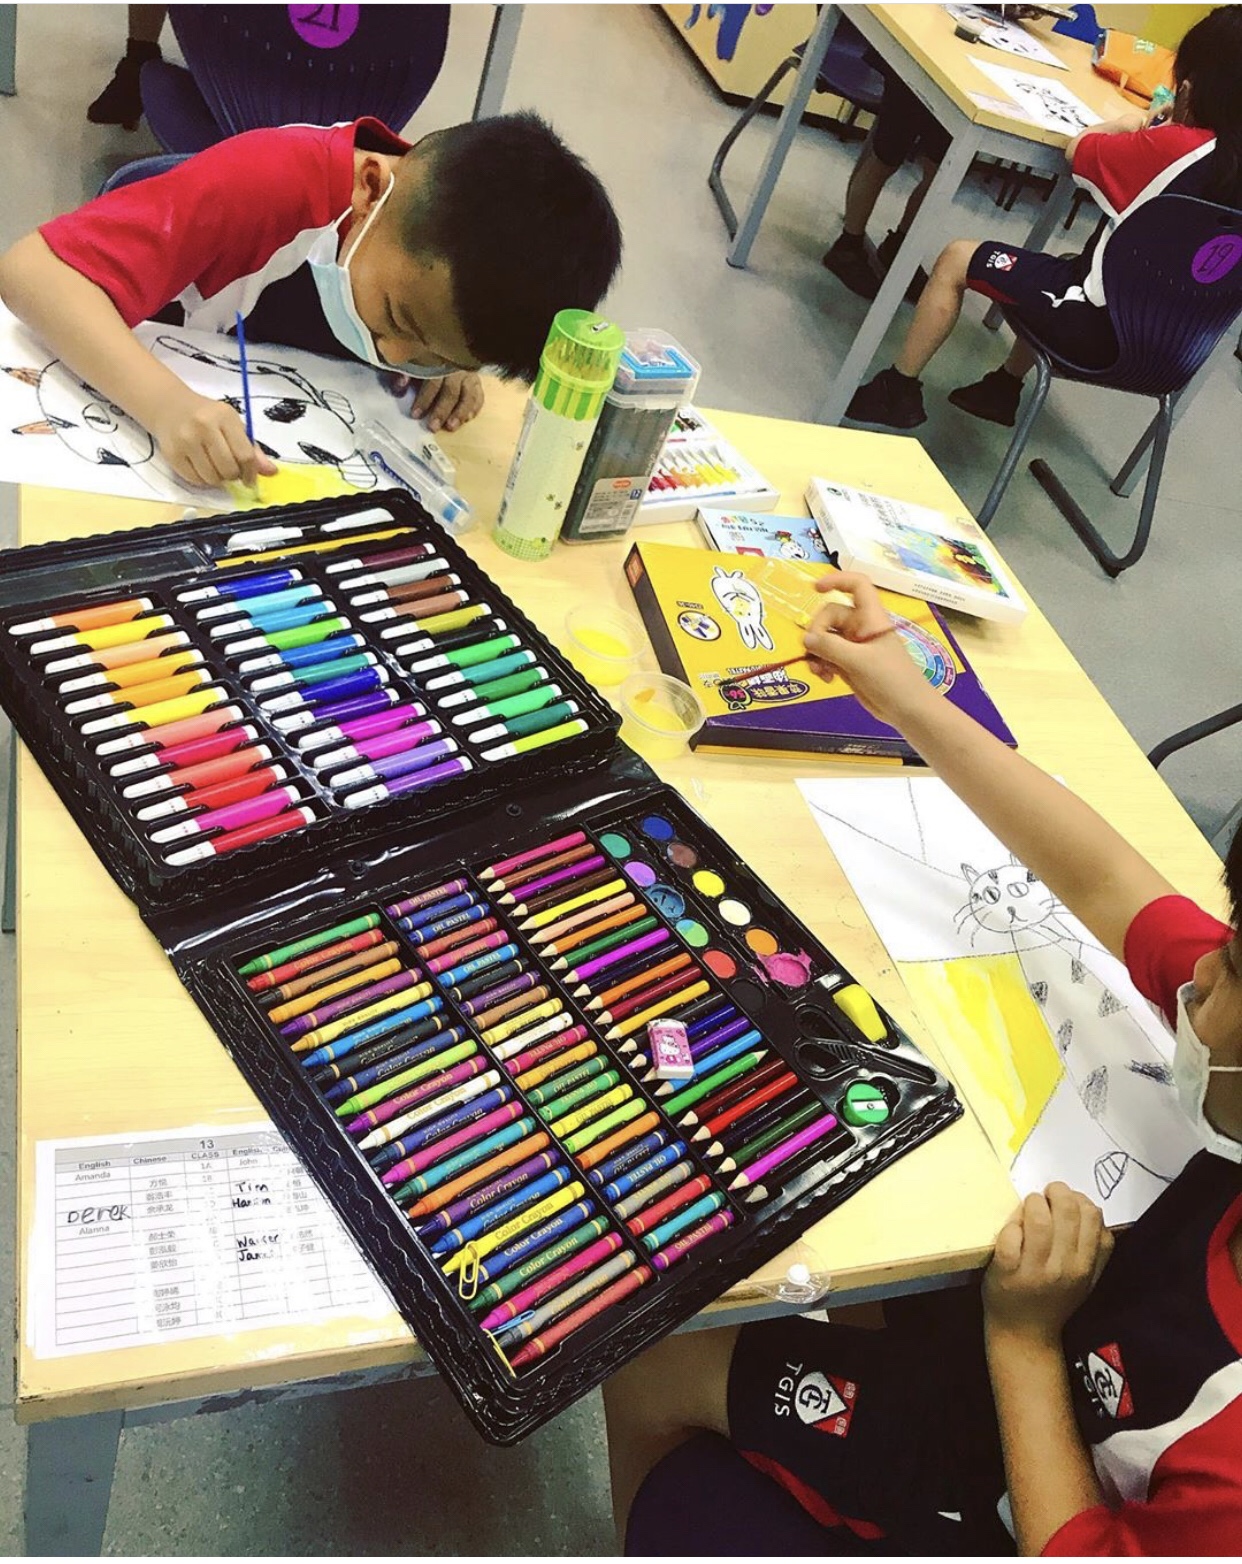
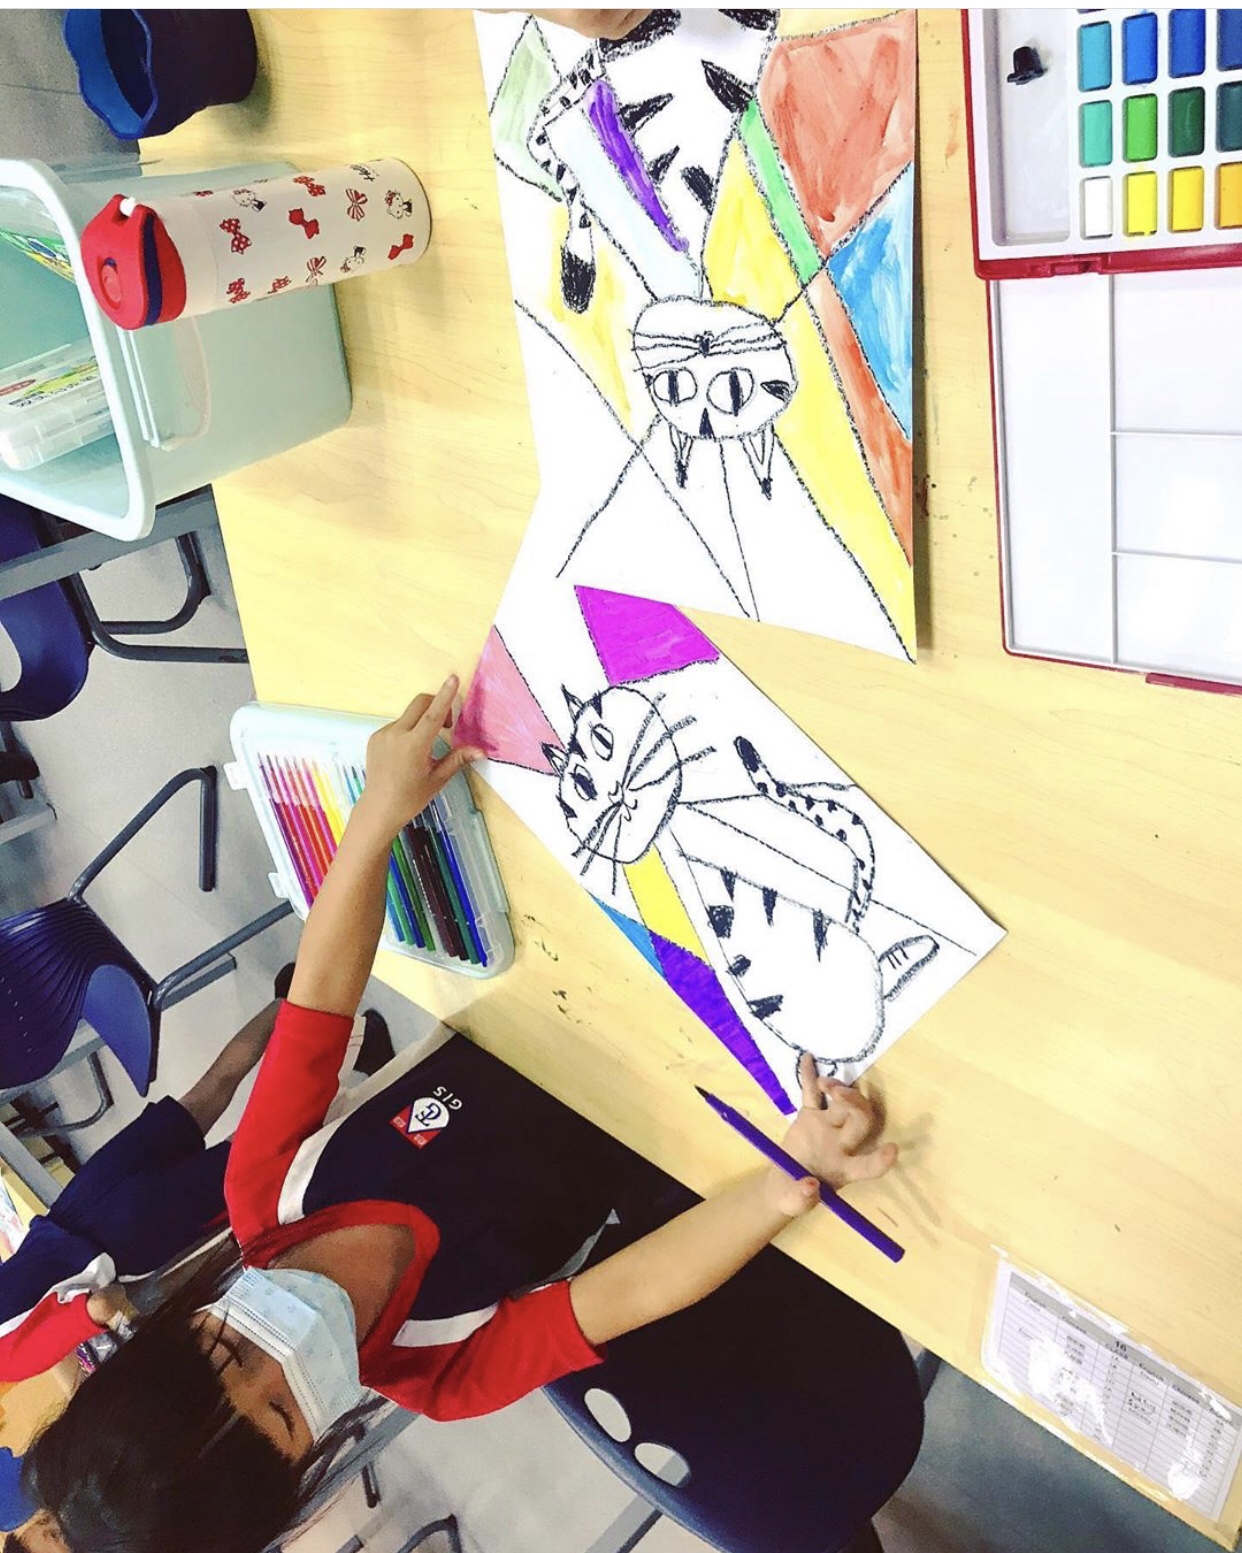
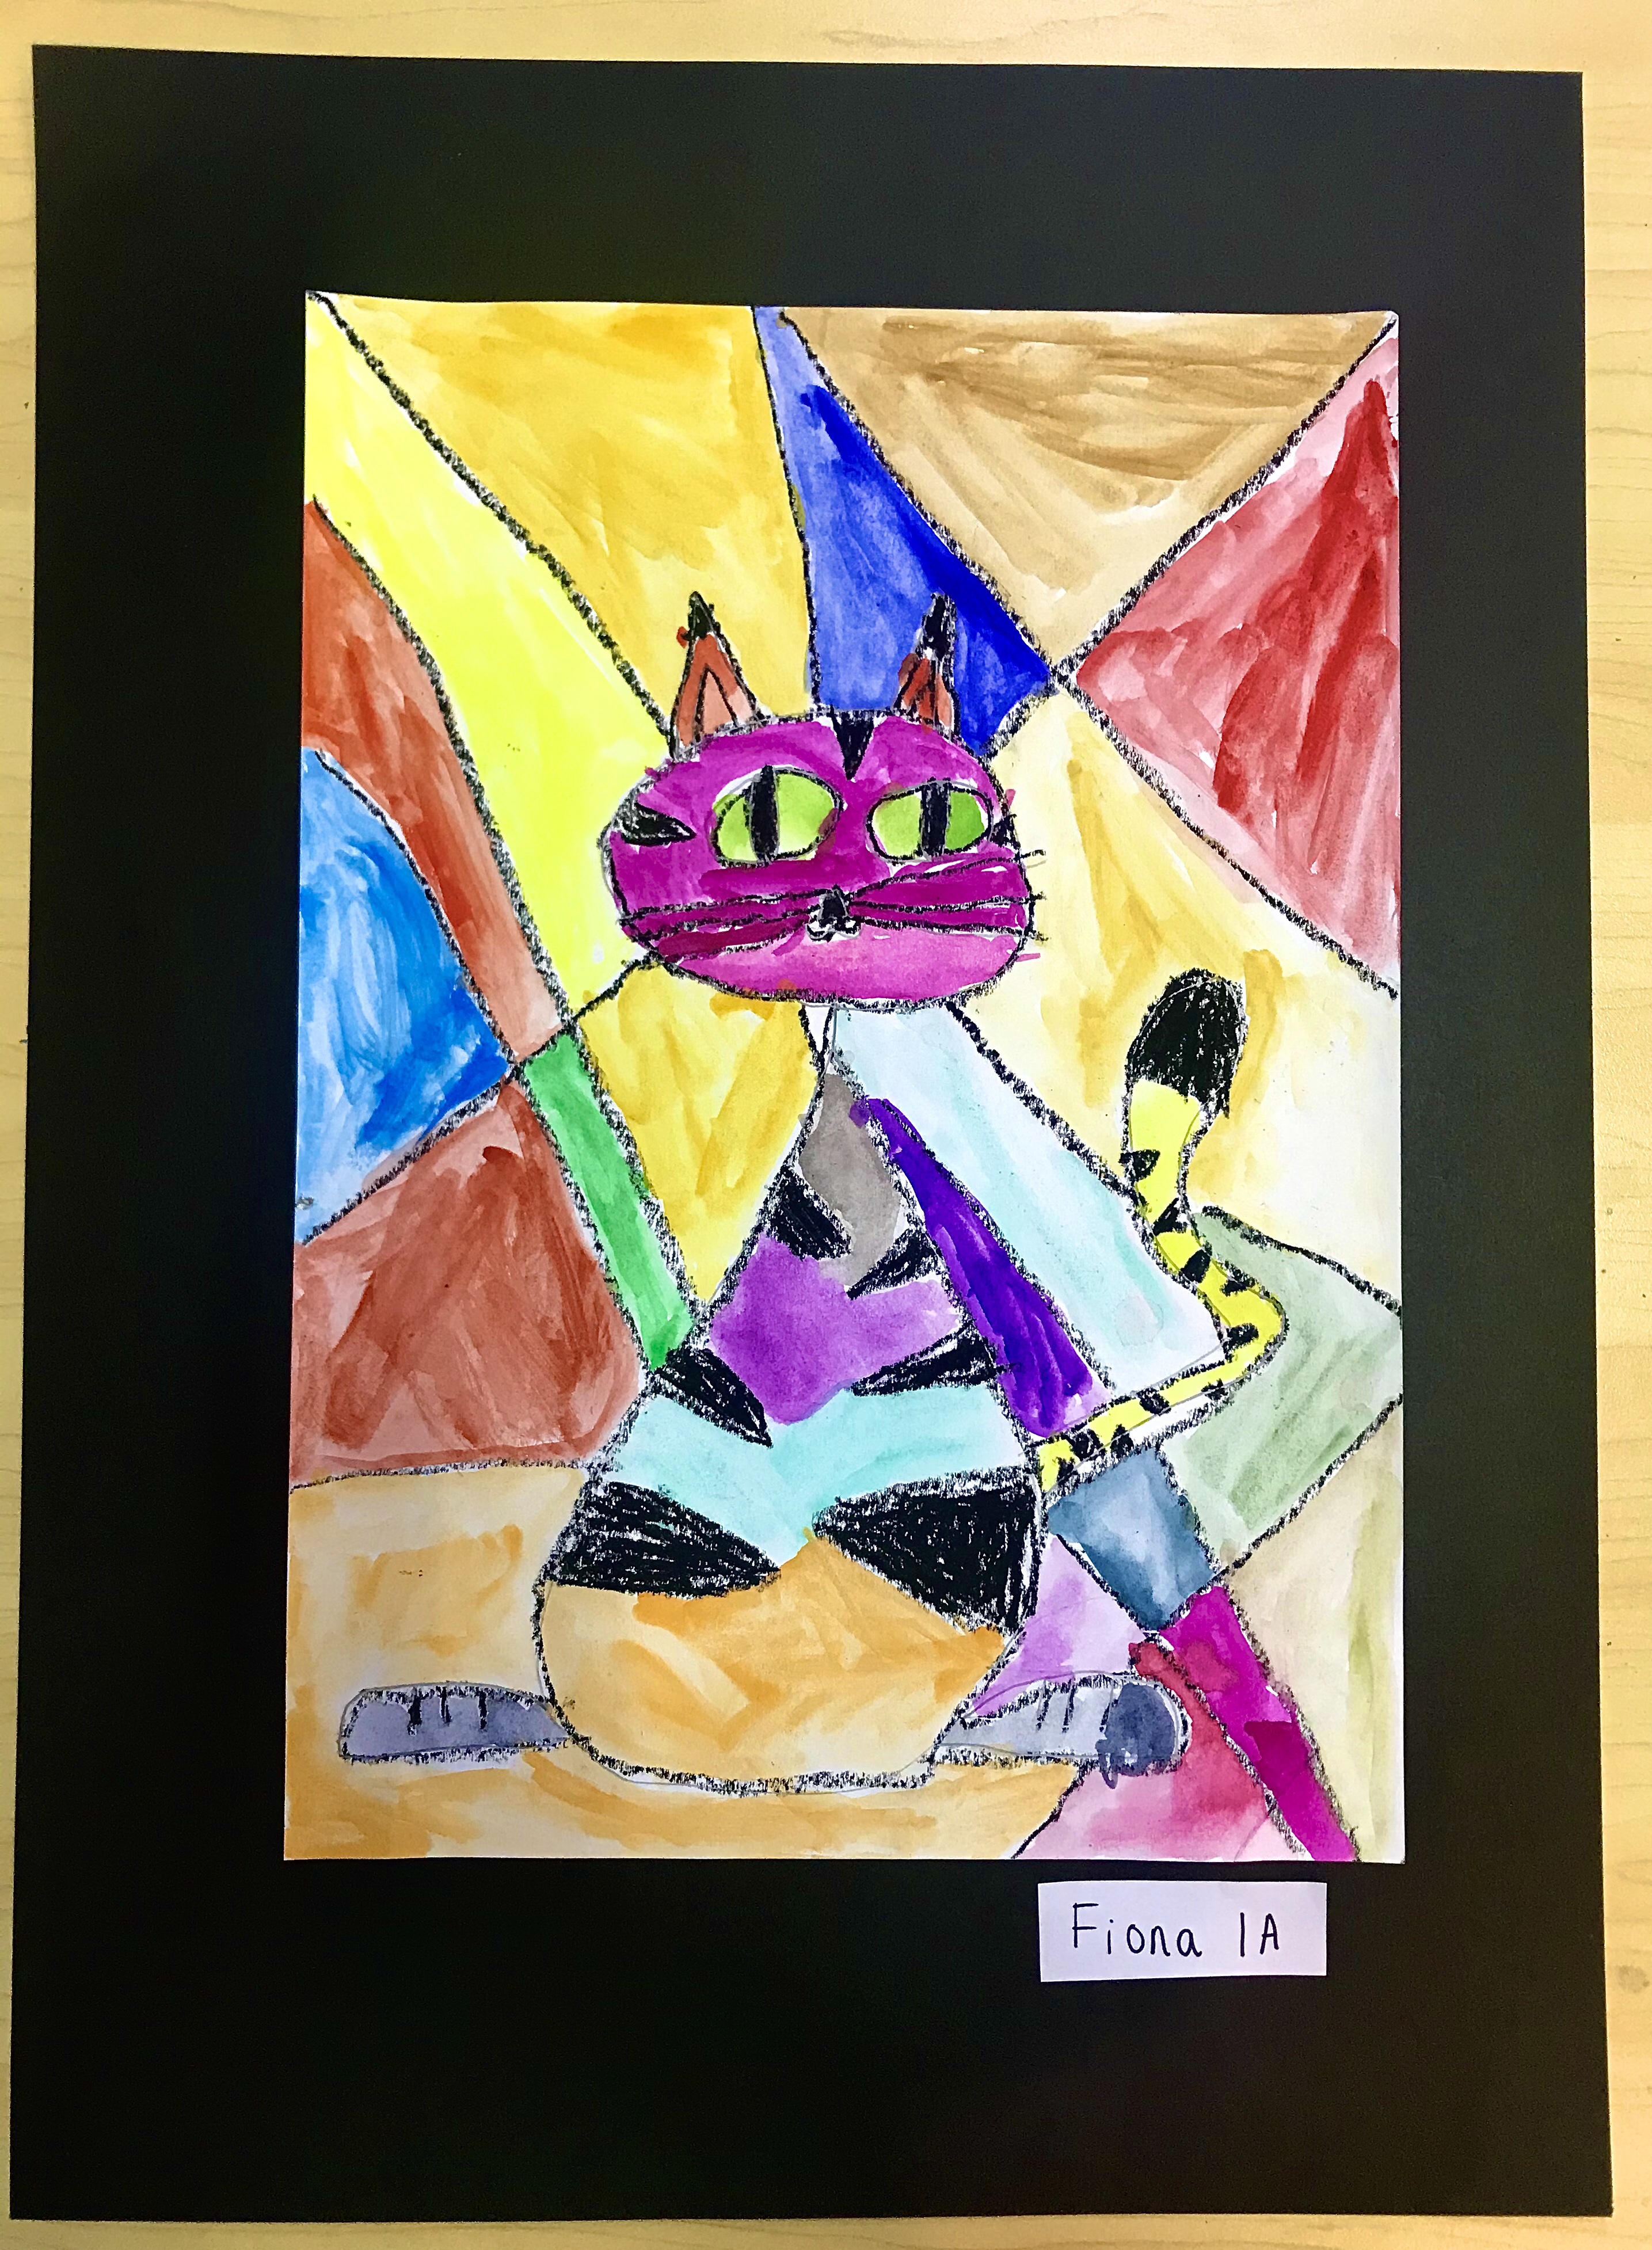
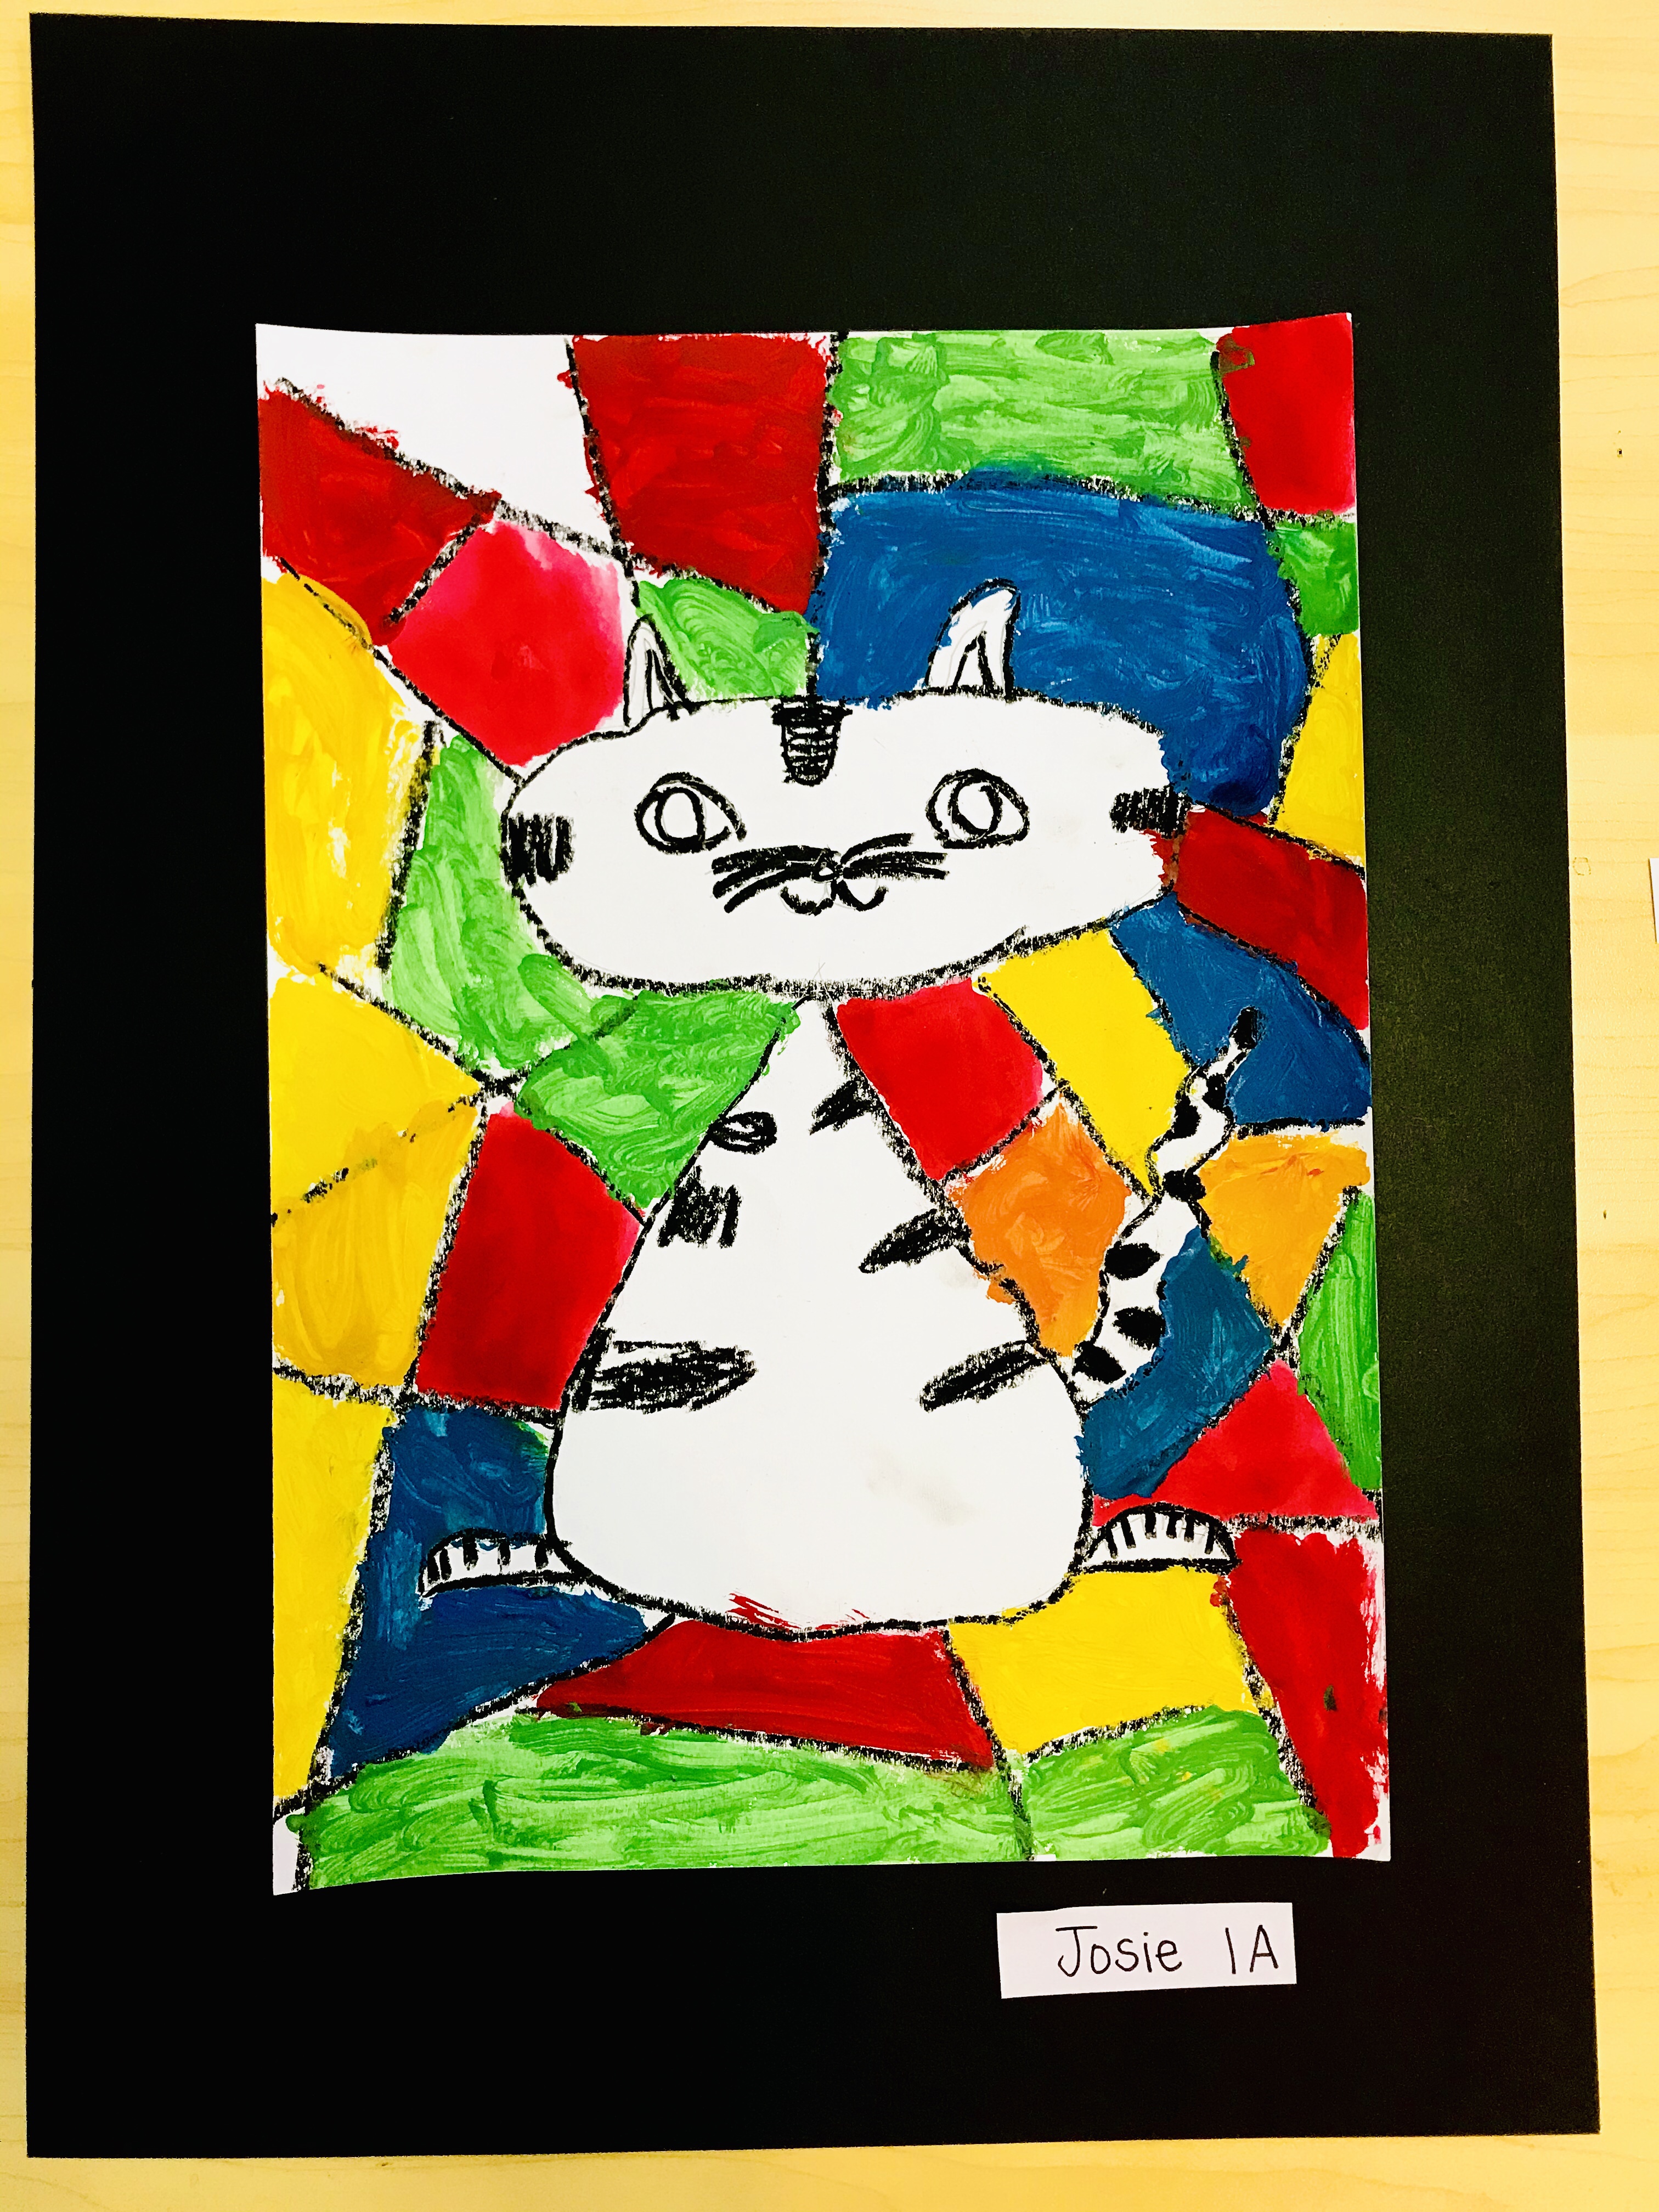
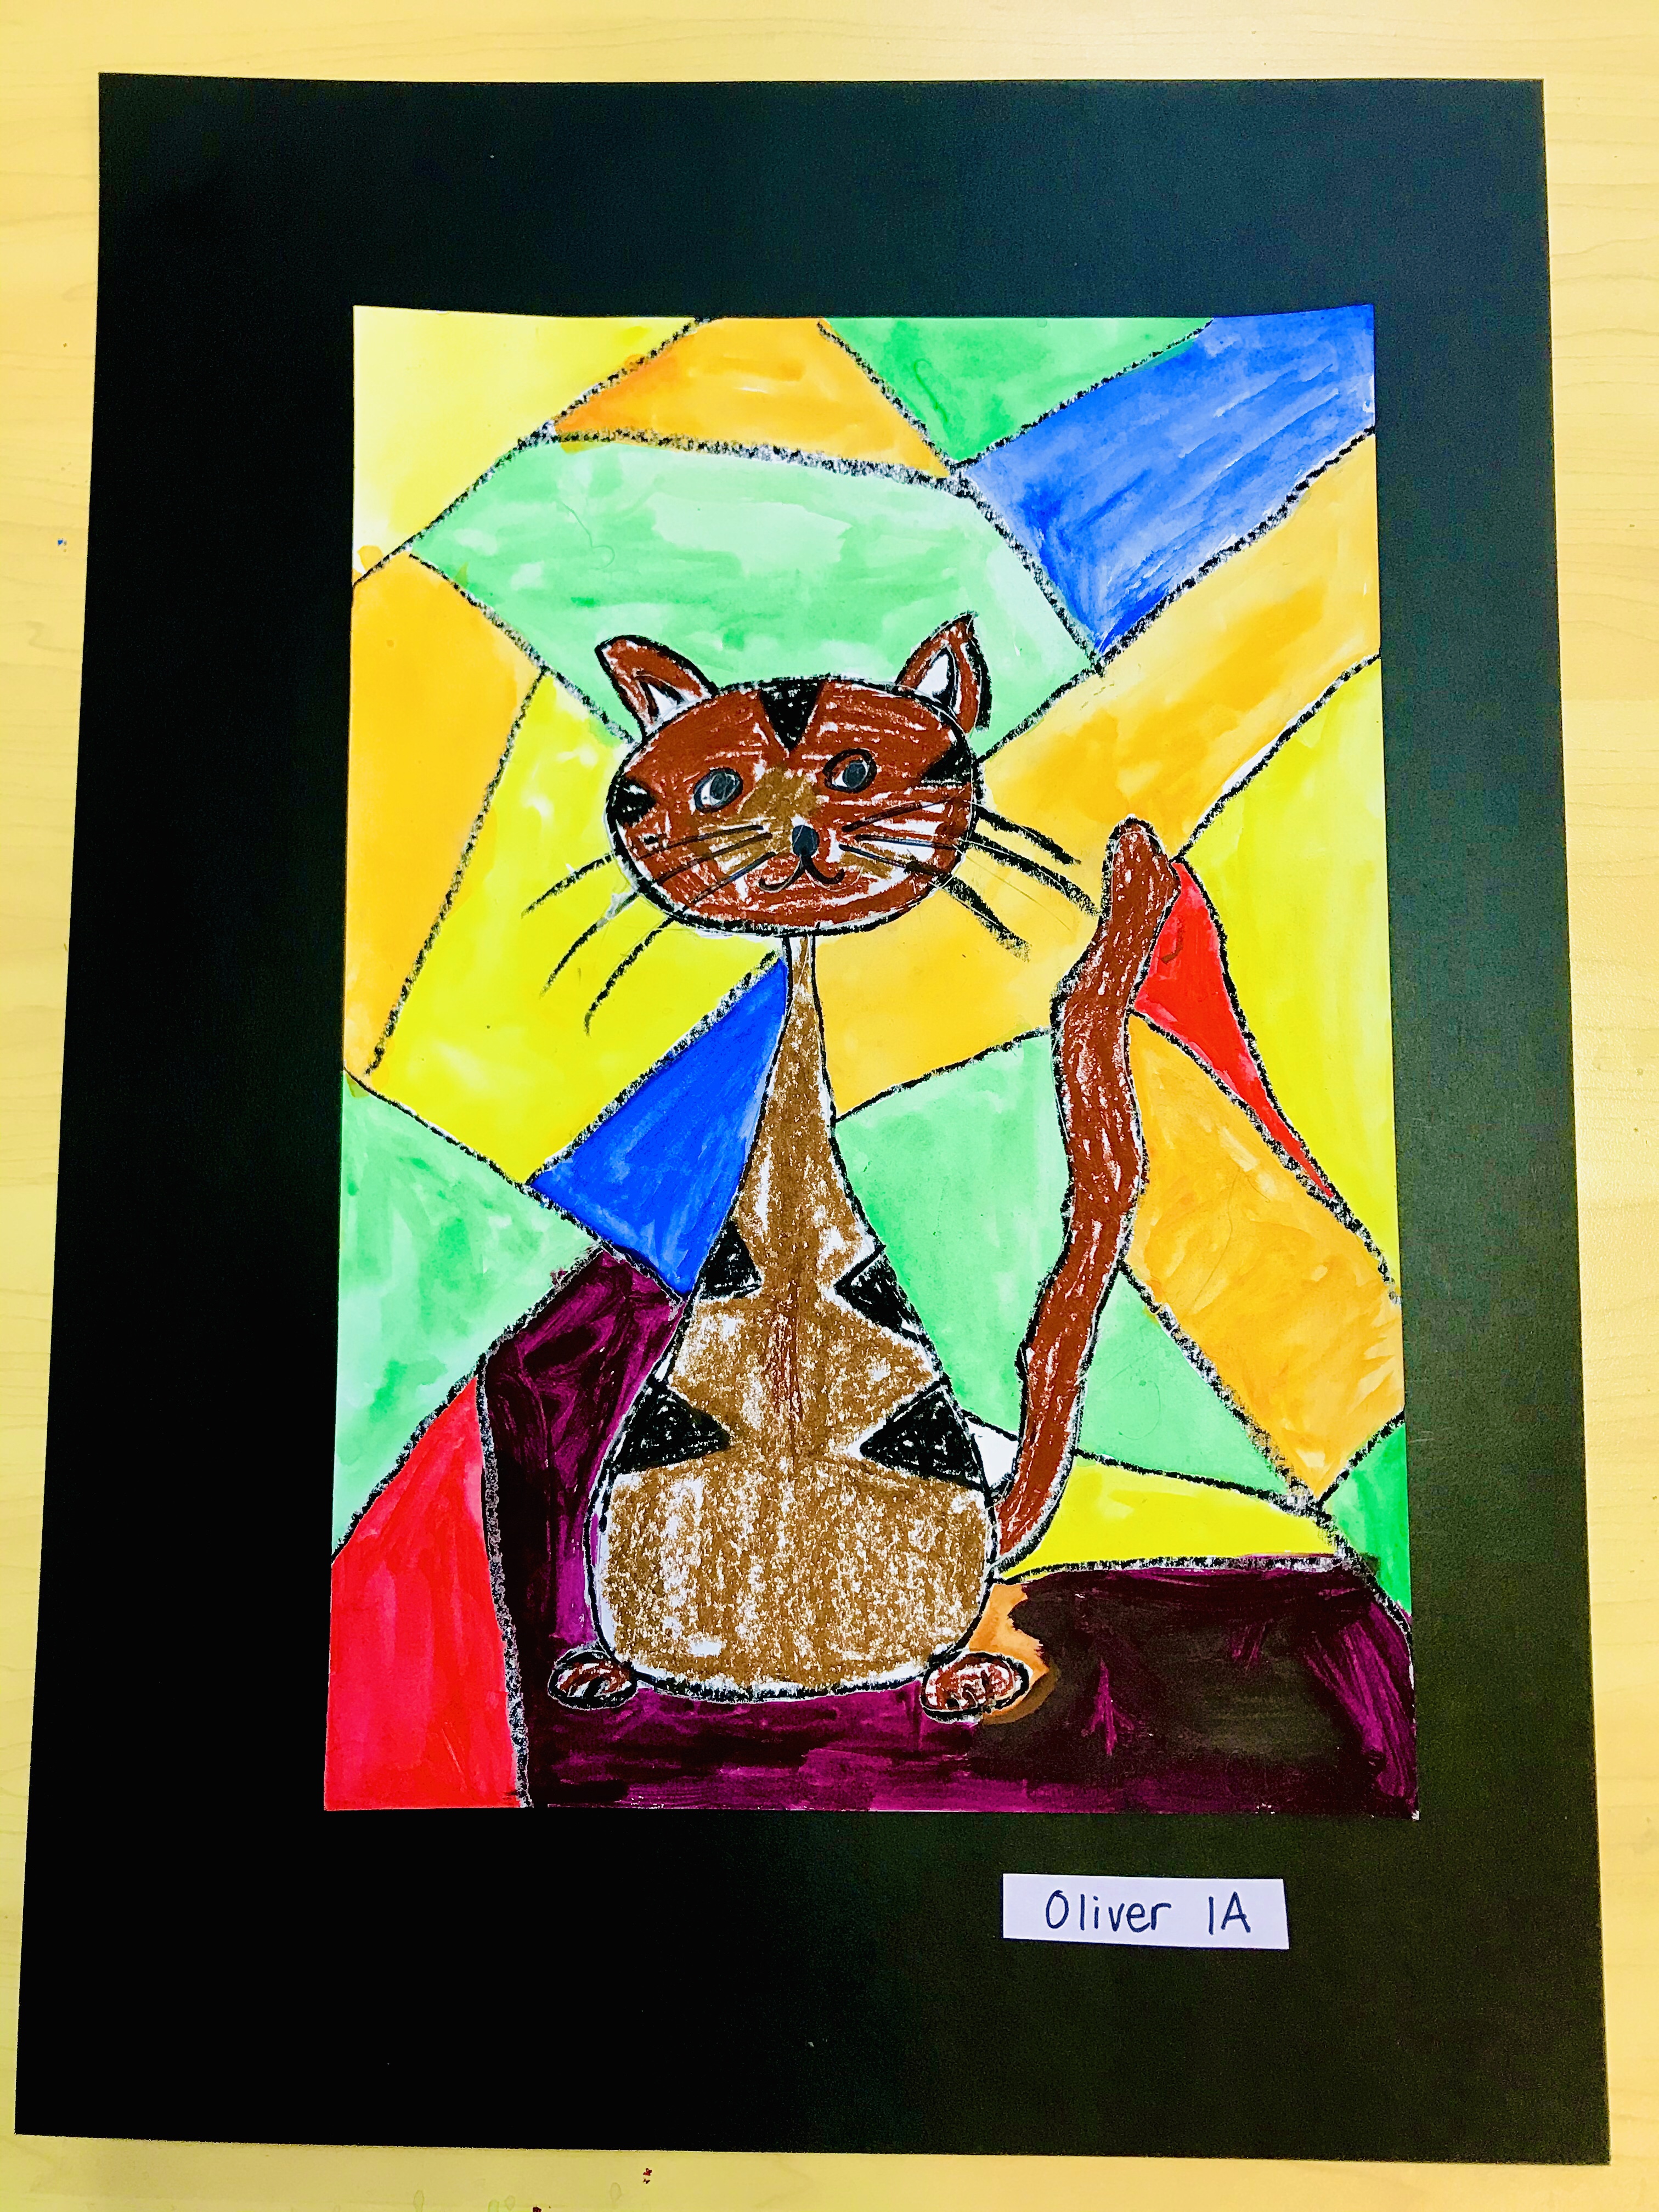
My first grade did an amazing job drawing their cats and adding geometric shapes in the background.
They developed skills in flow drawing which is an art technique developed by artycrafykids.com to encourage children to understand shapes and create them in a freer way.
Students were encouraged to discover a natural flow, bringing mindfulness to the creative process.
Students enhanced their drawing by adding personality and geometric shapes in the background.
Students experimented with a mixture of mediums.
You can find more about this lesson including video tutorials at http://www.artycraftykids.com they have amazing art lessons to encourage students to express themselves creatively and artistically. ❤️🎨
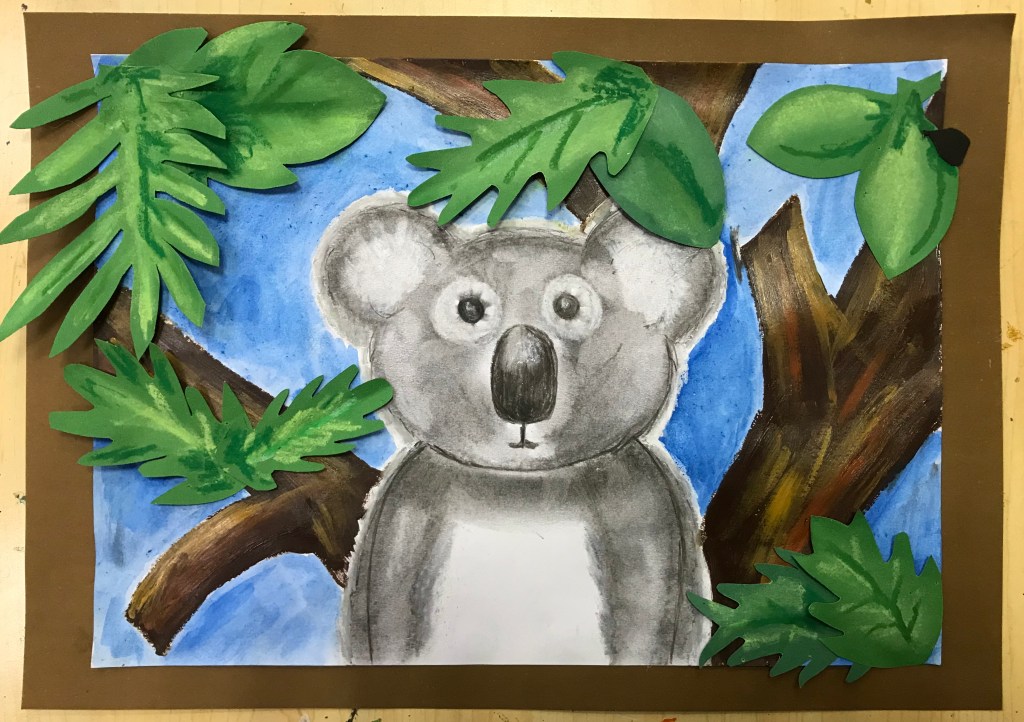
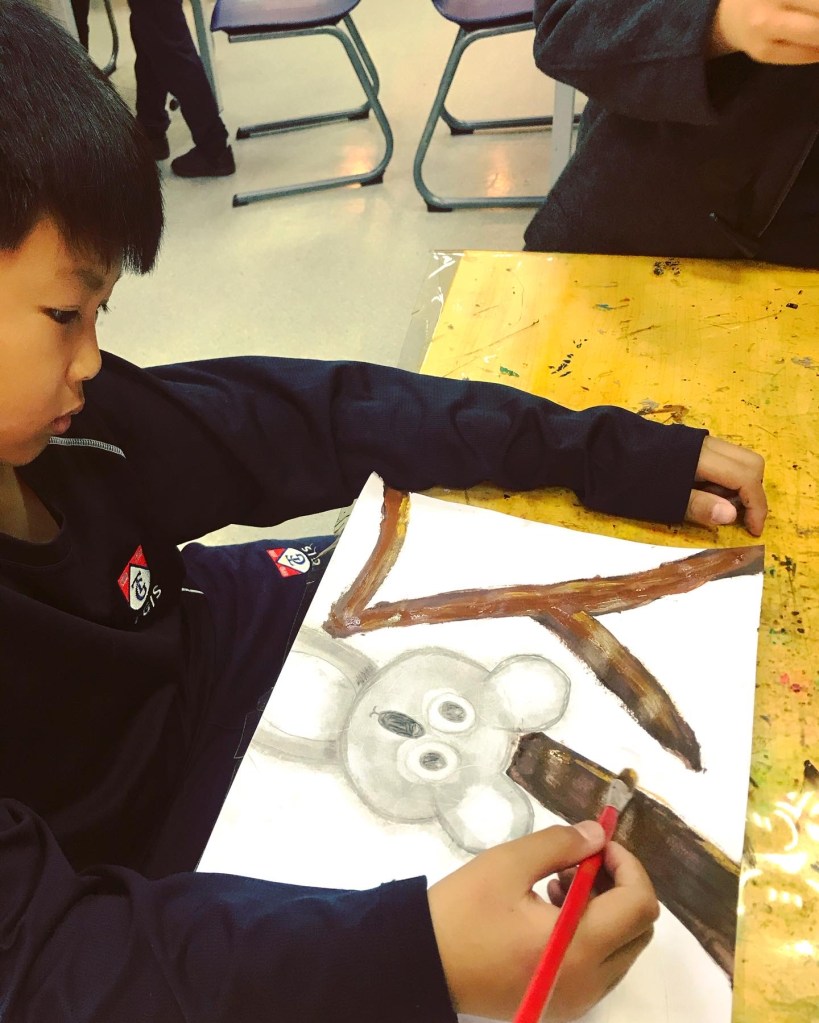
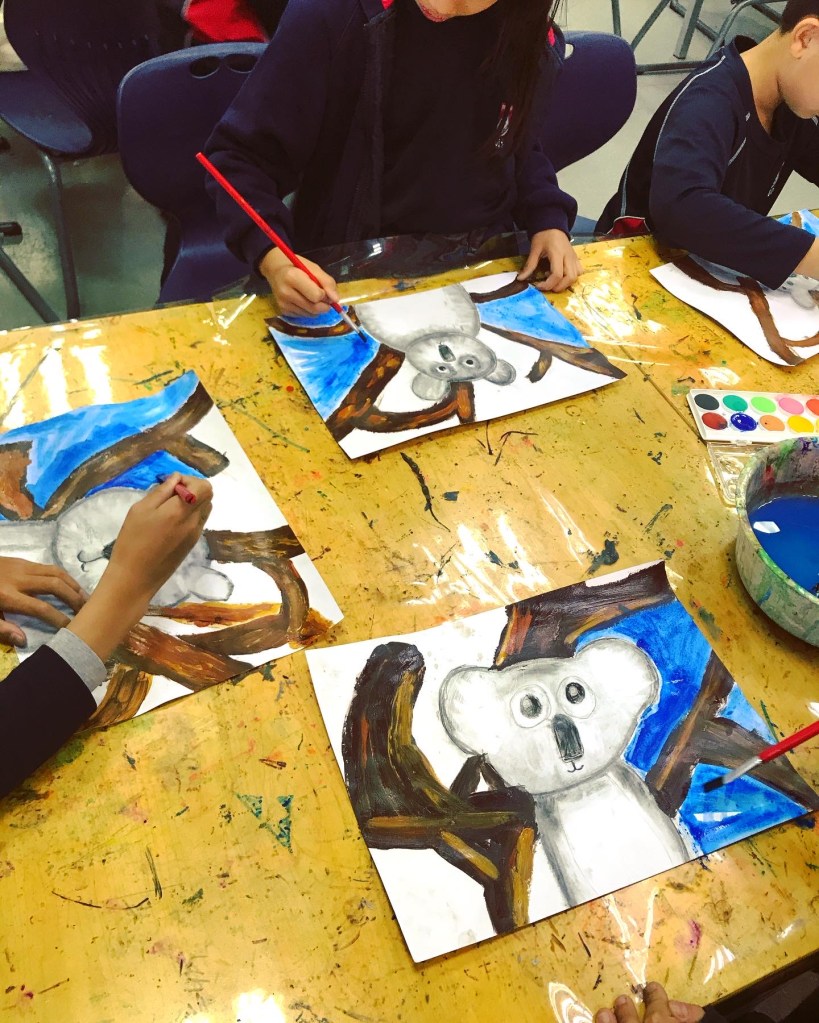
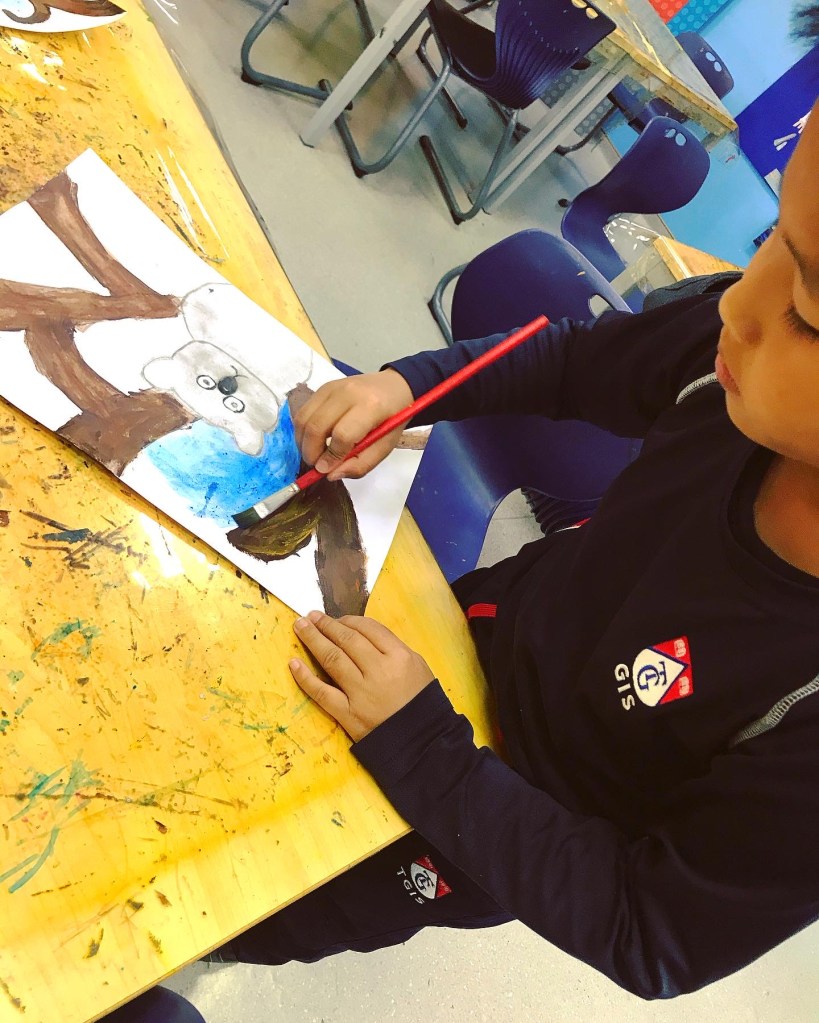
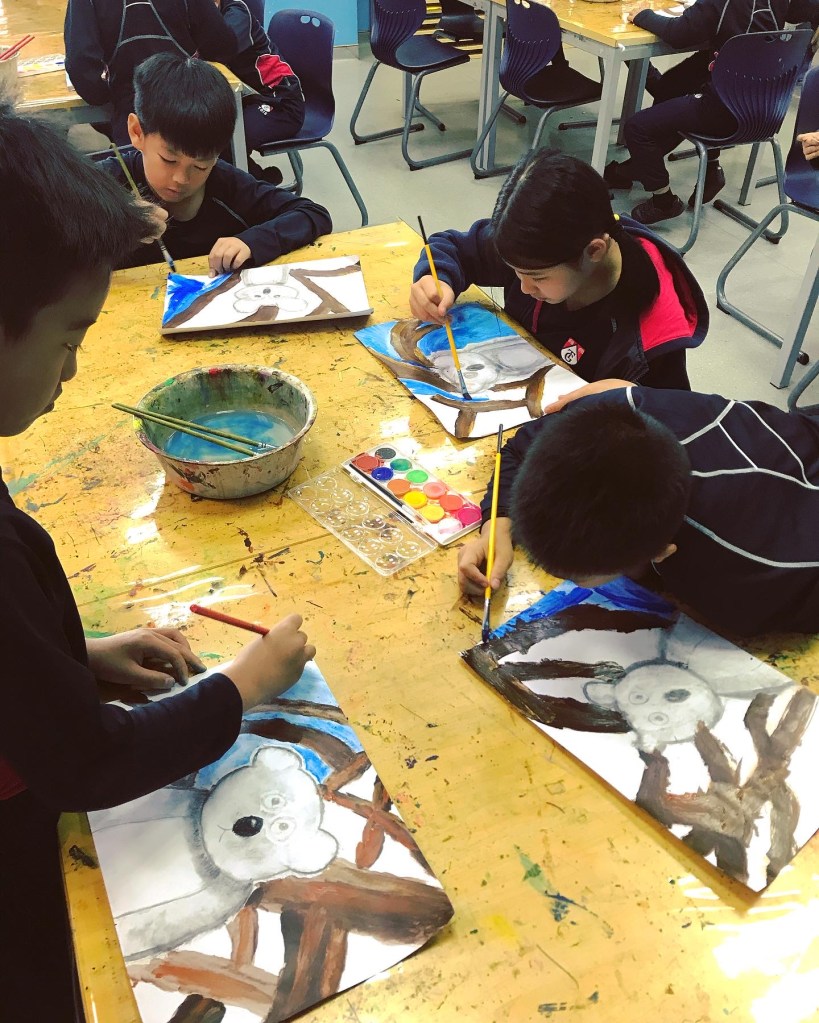
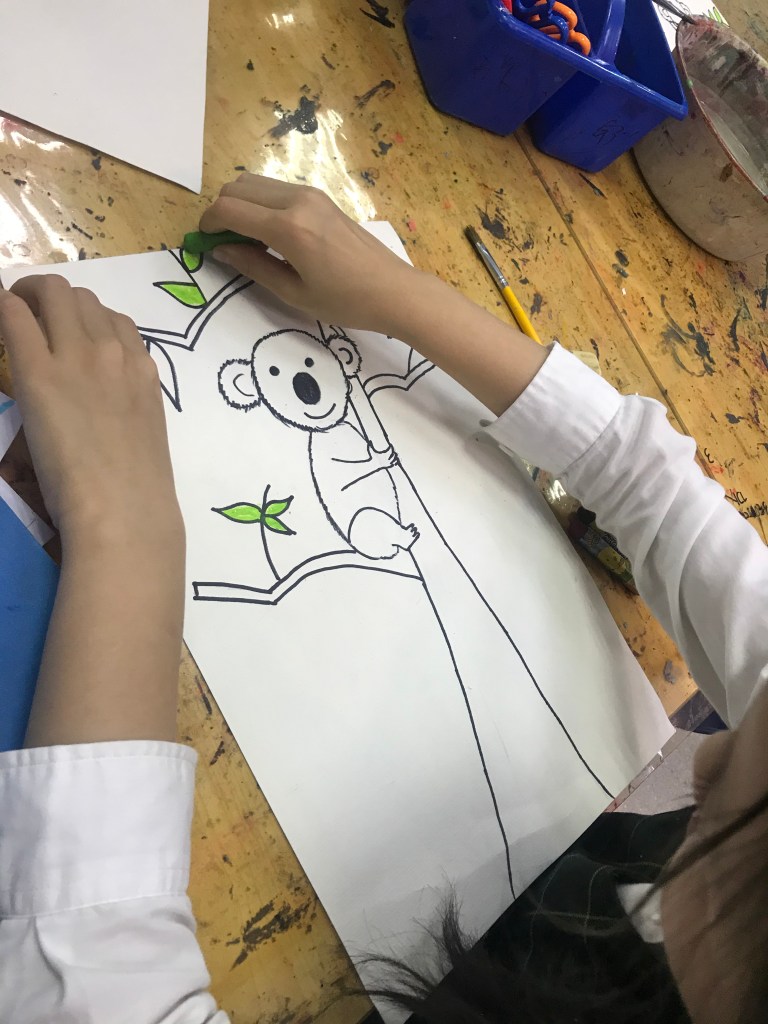
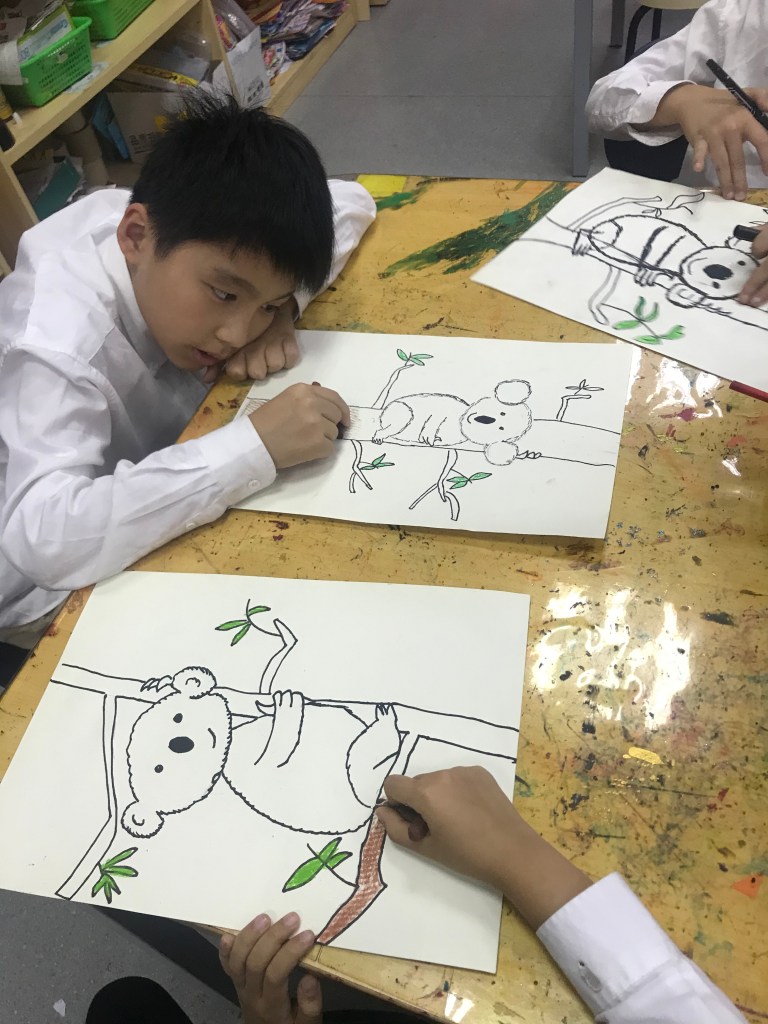
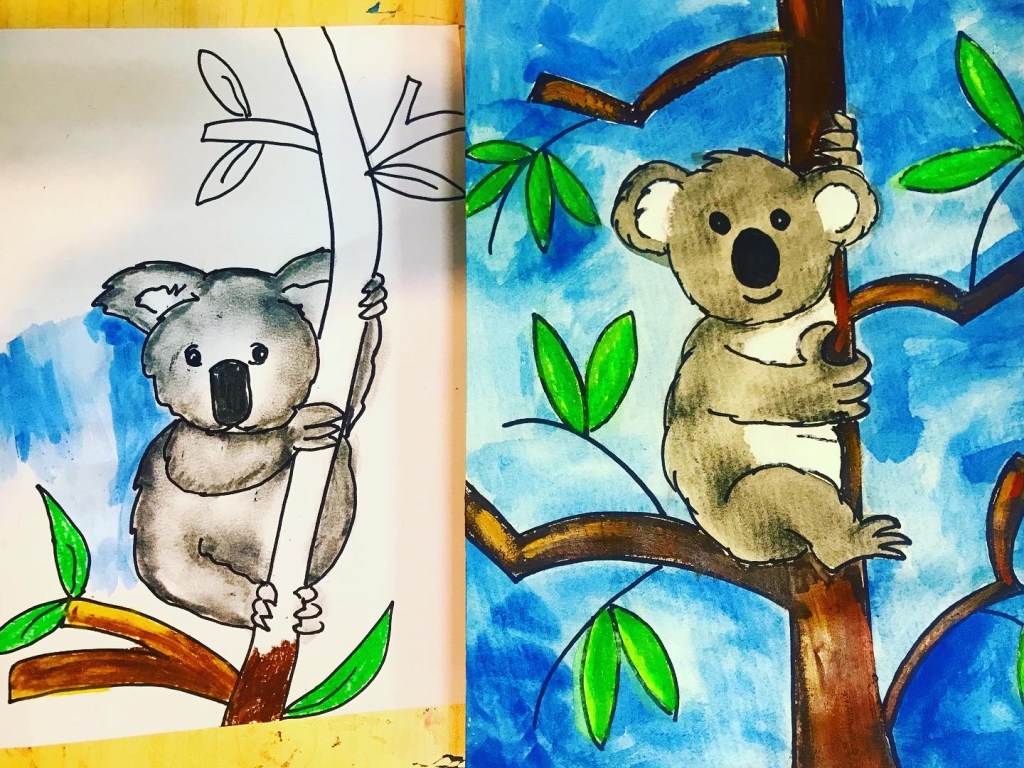
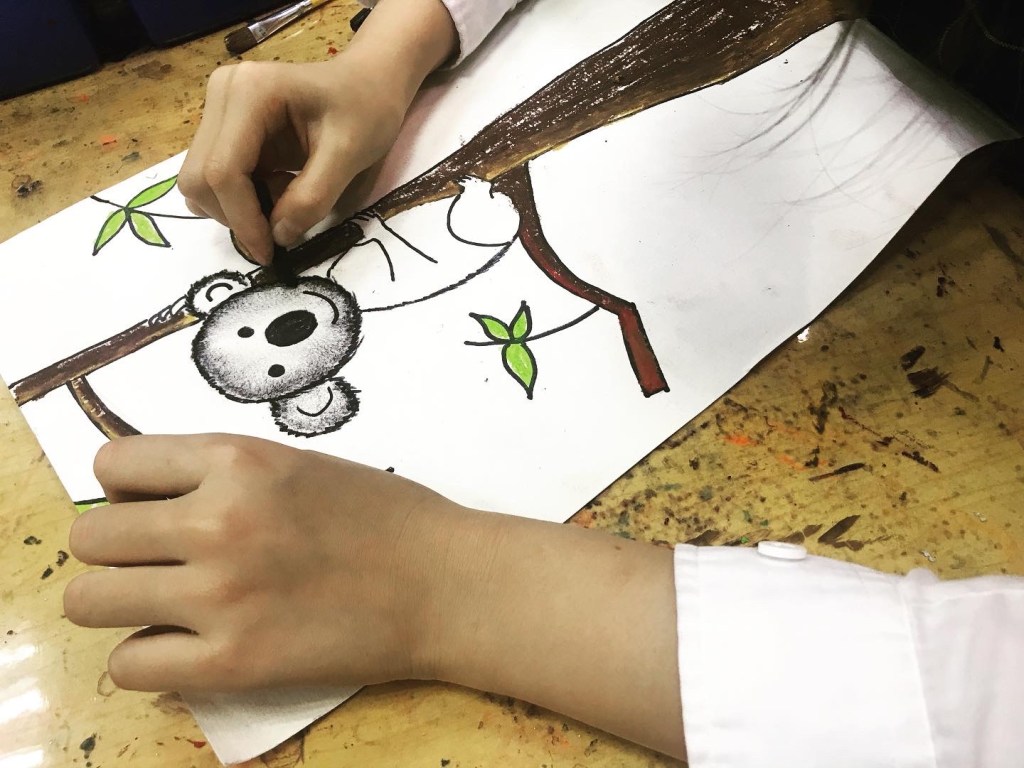
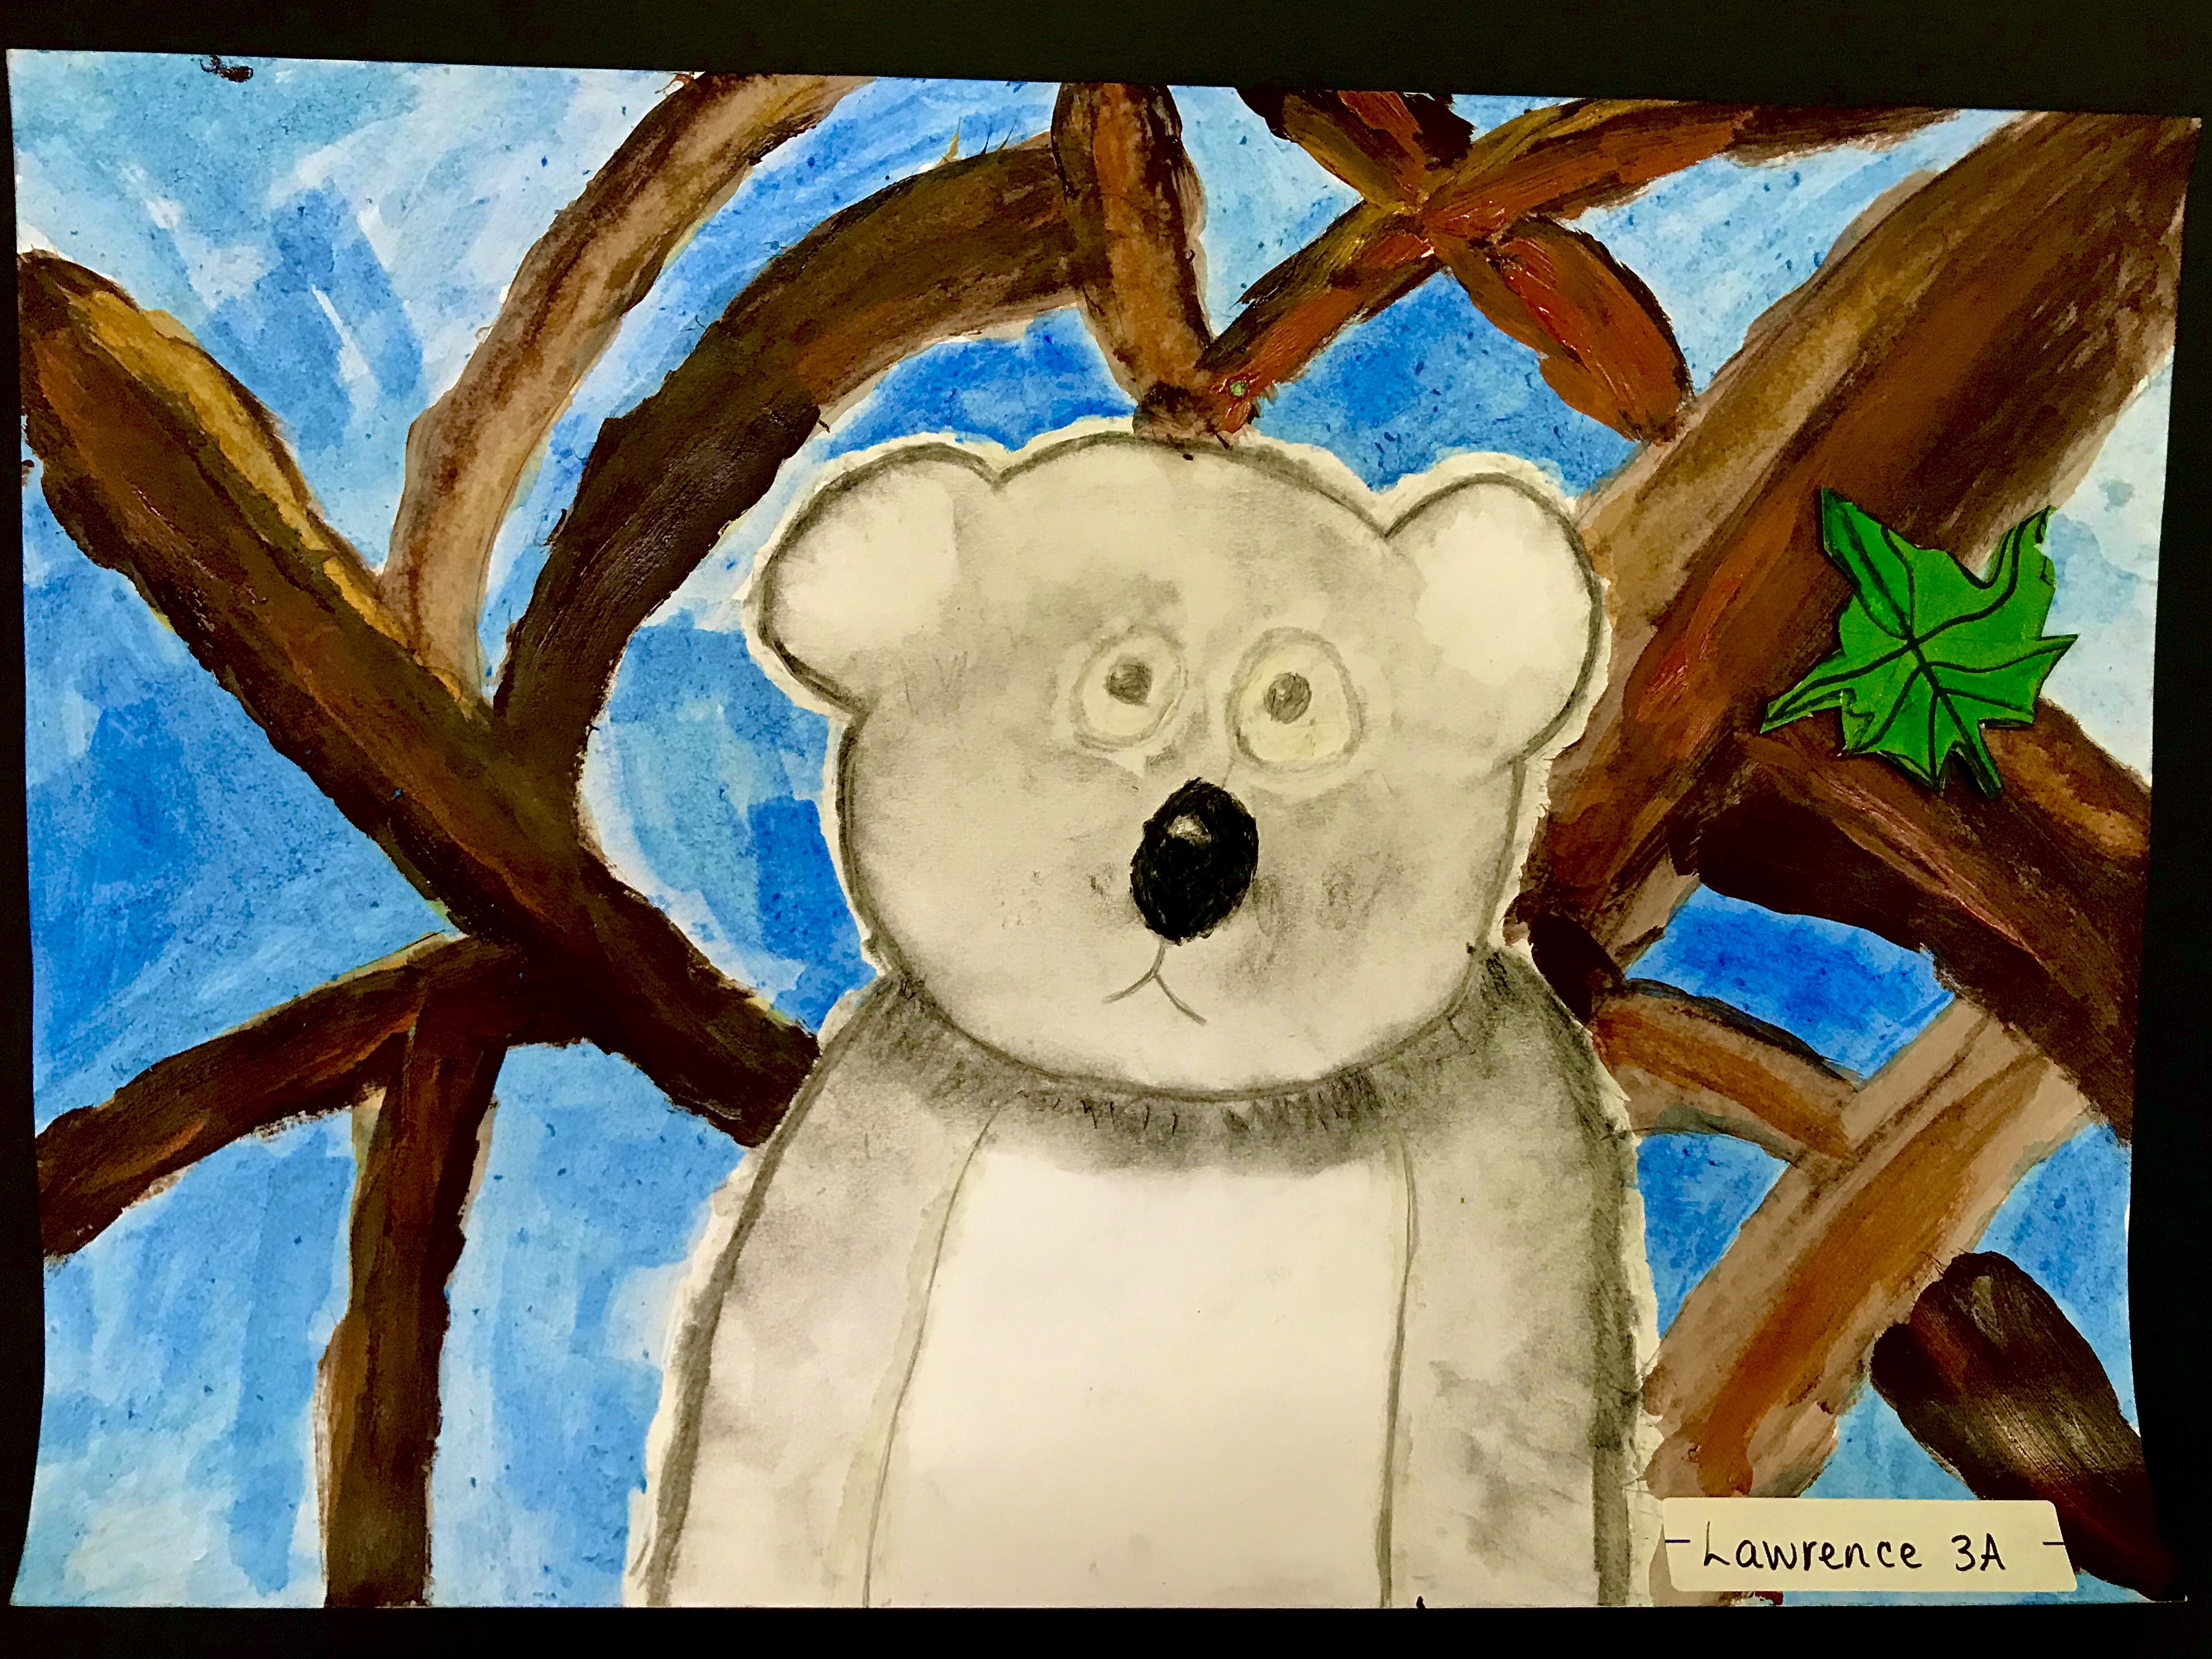
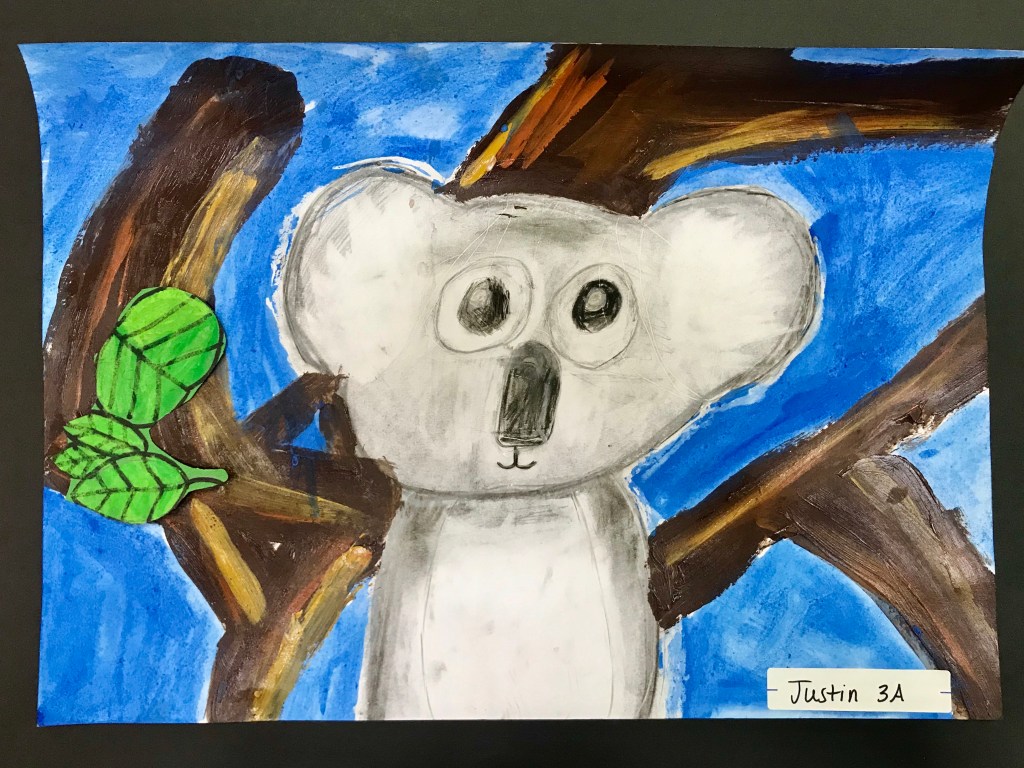
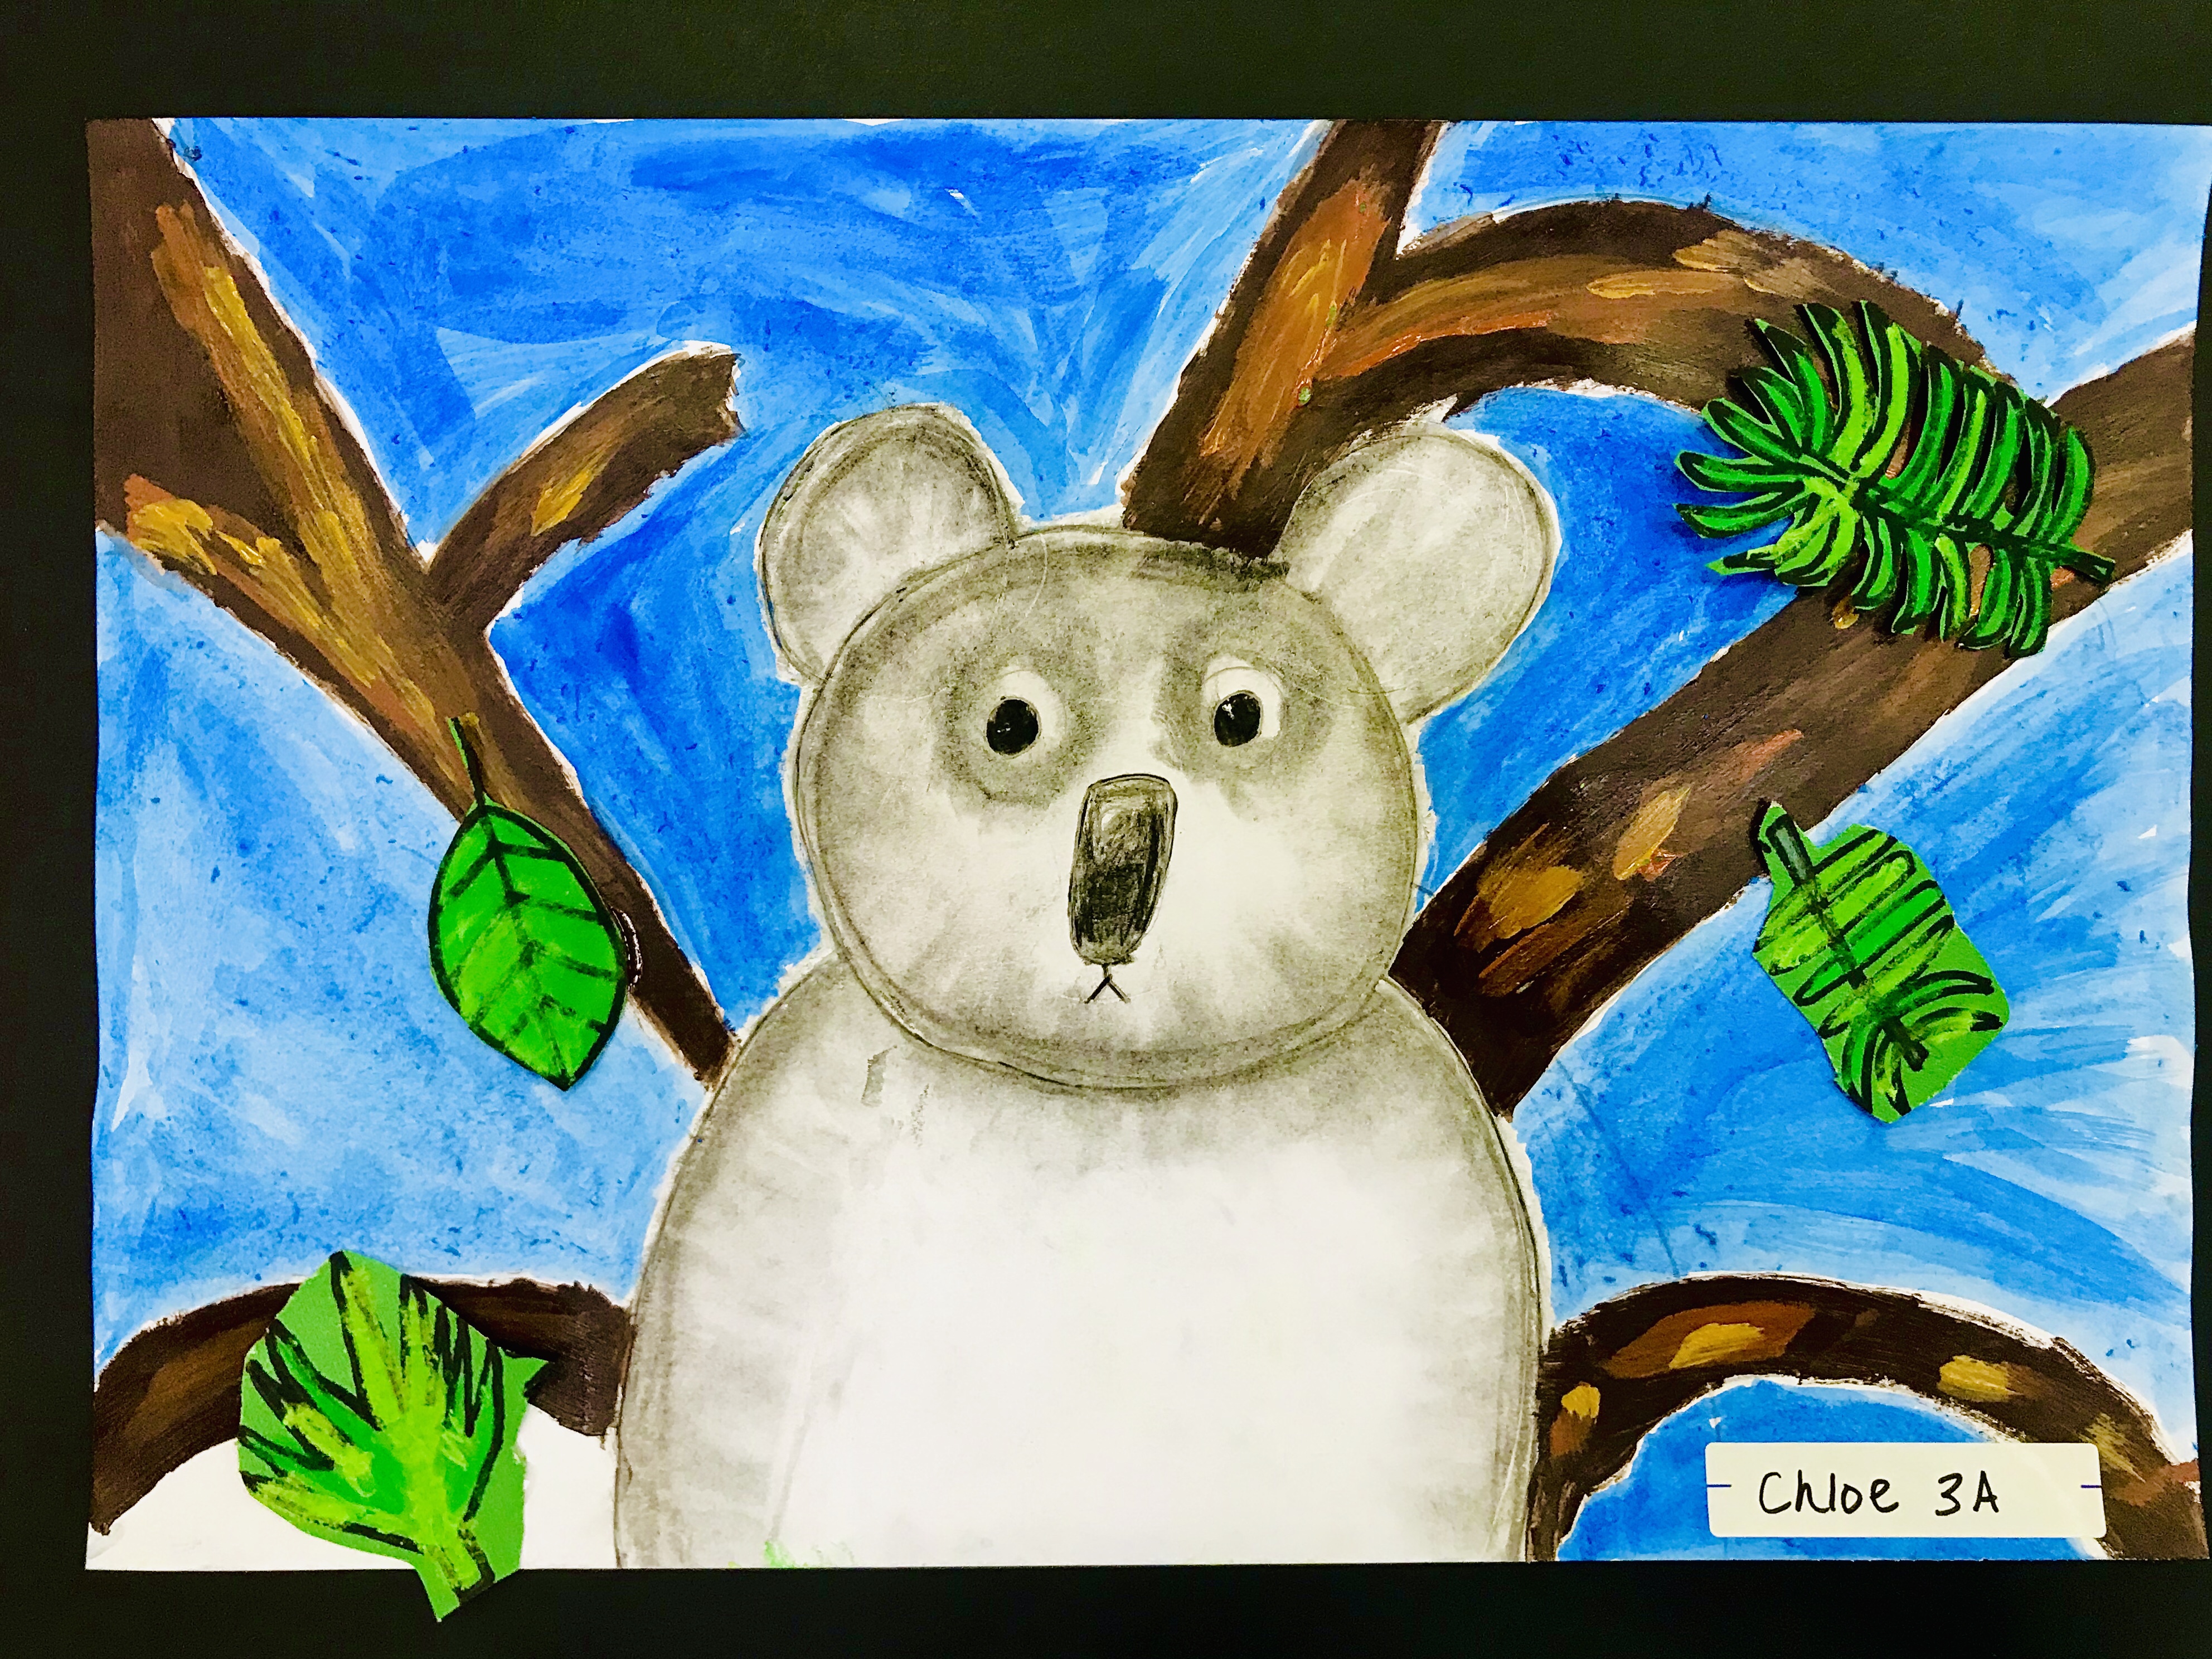
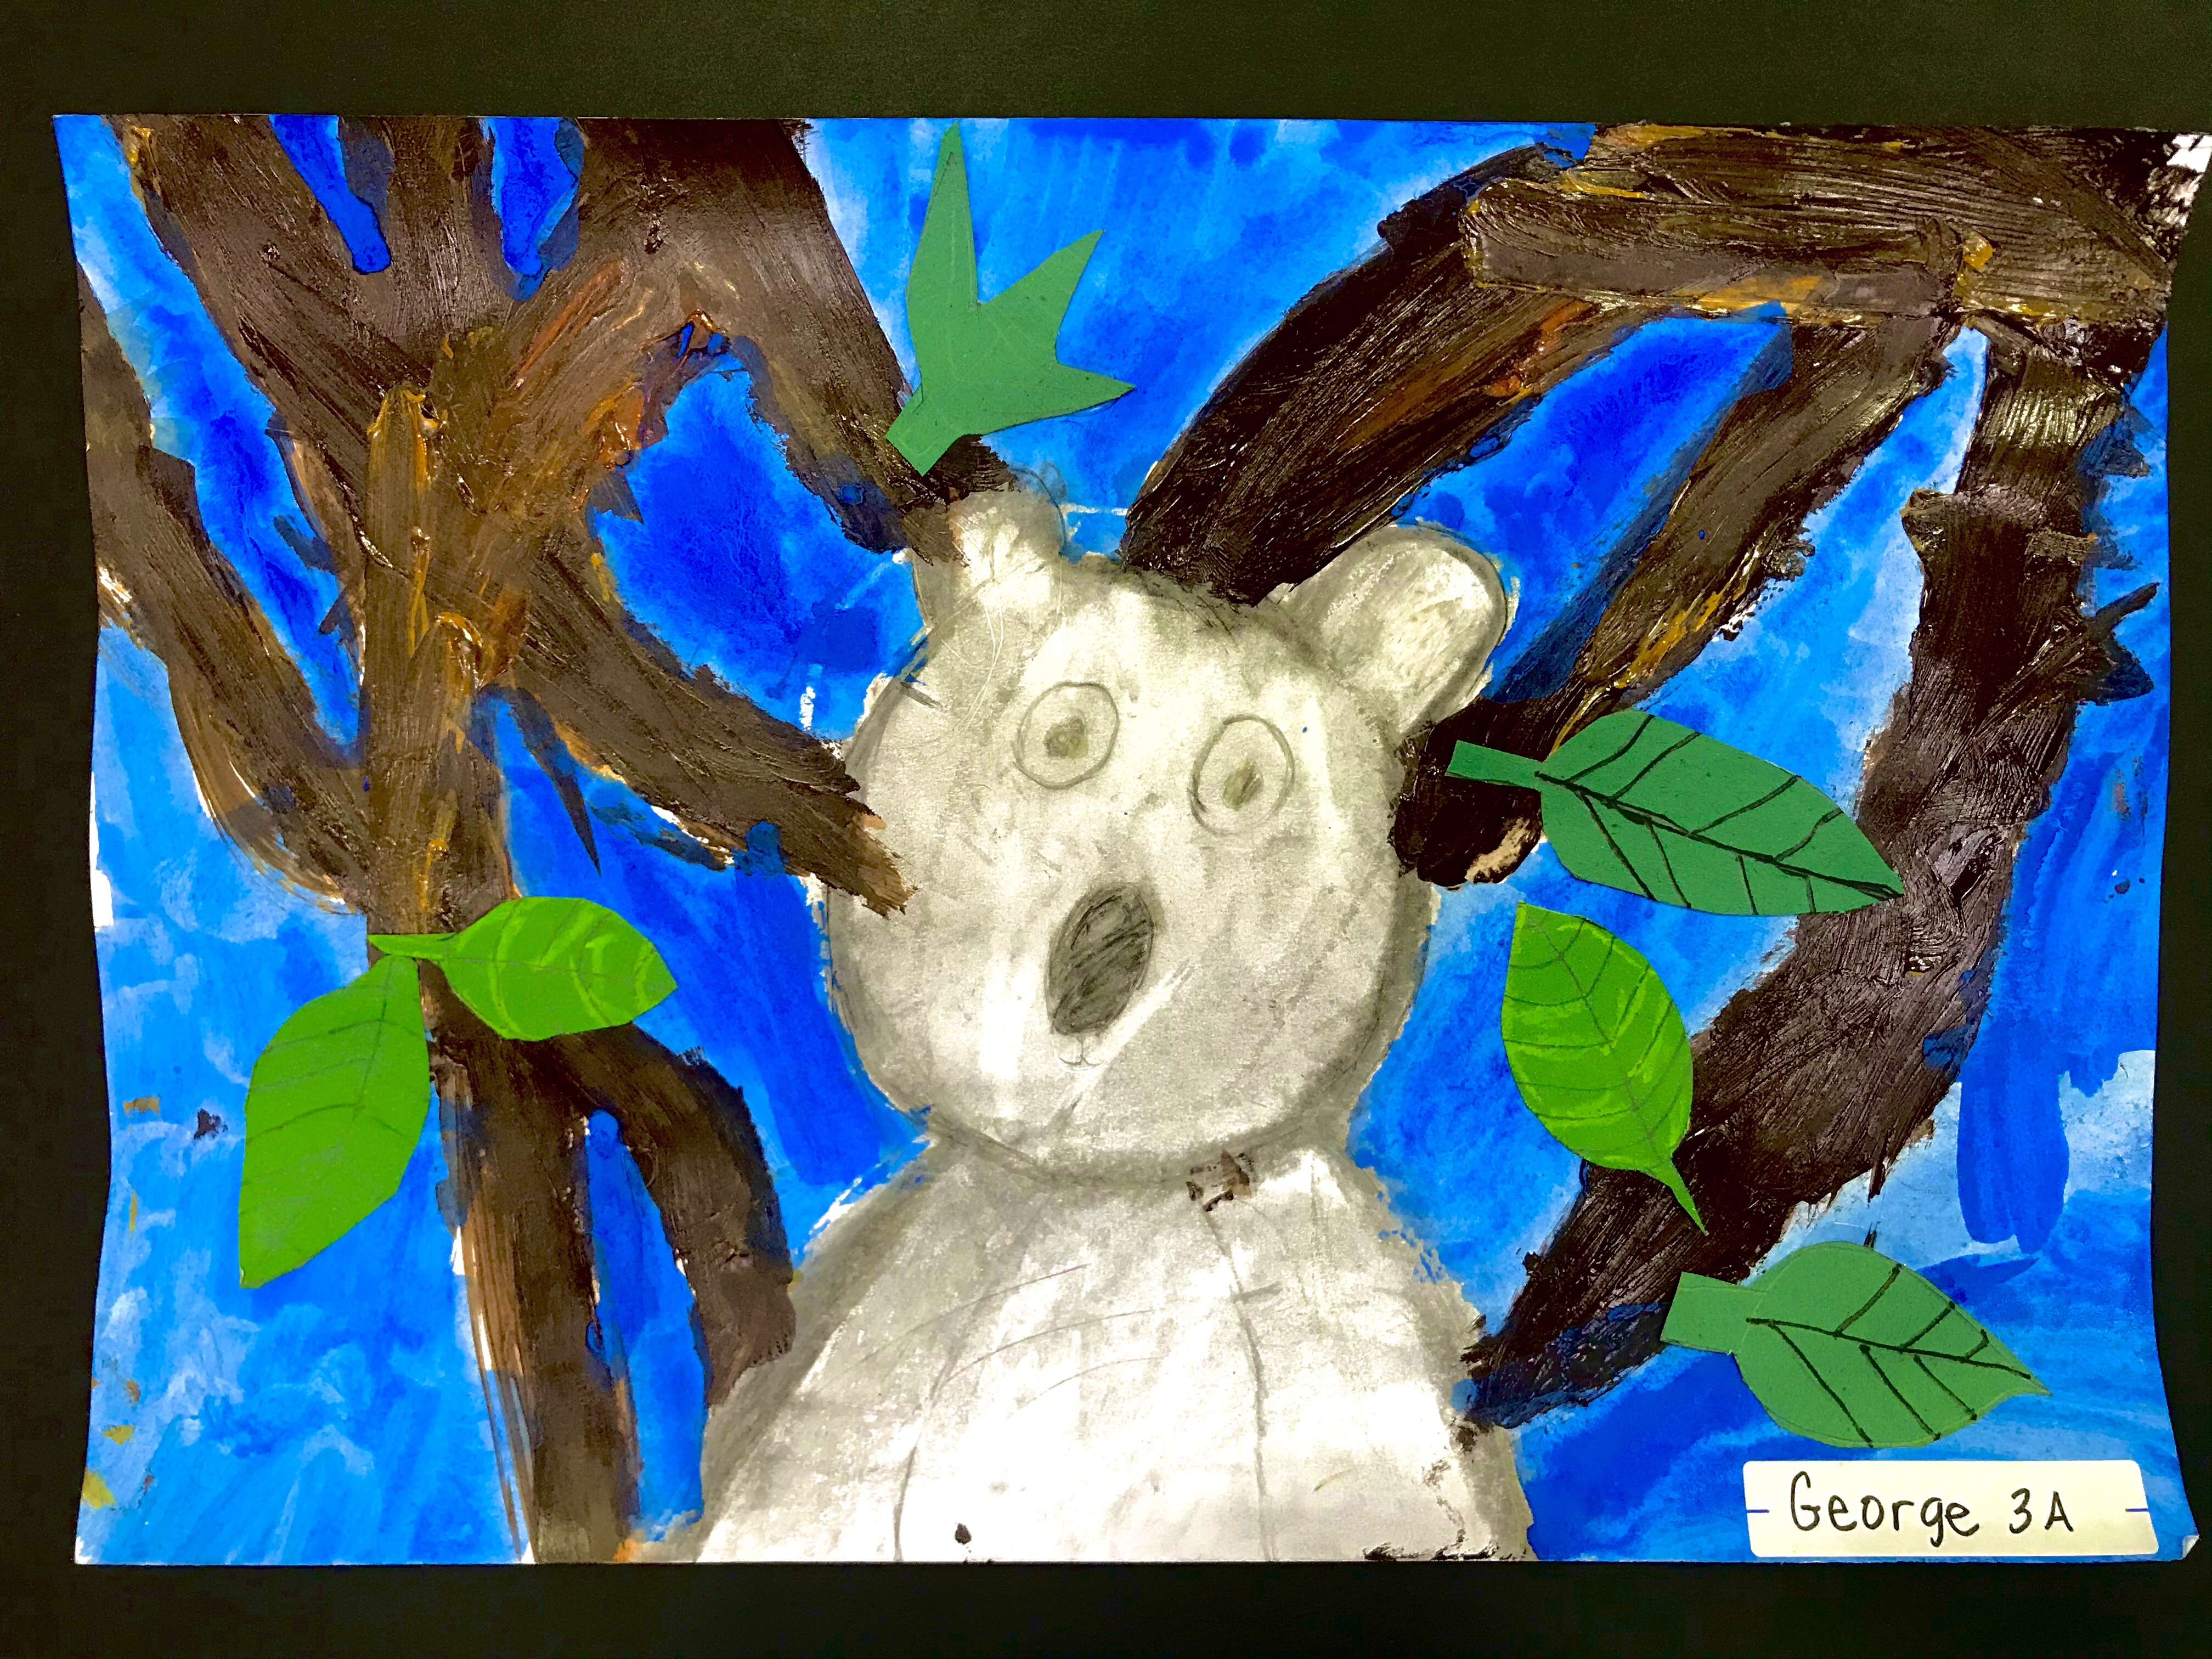
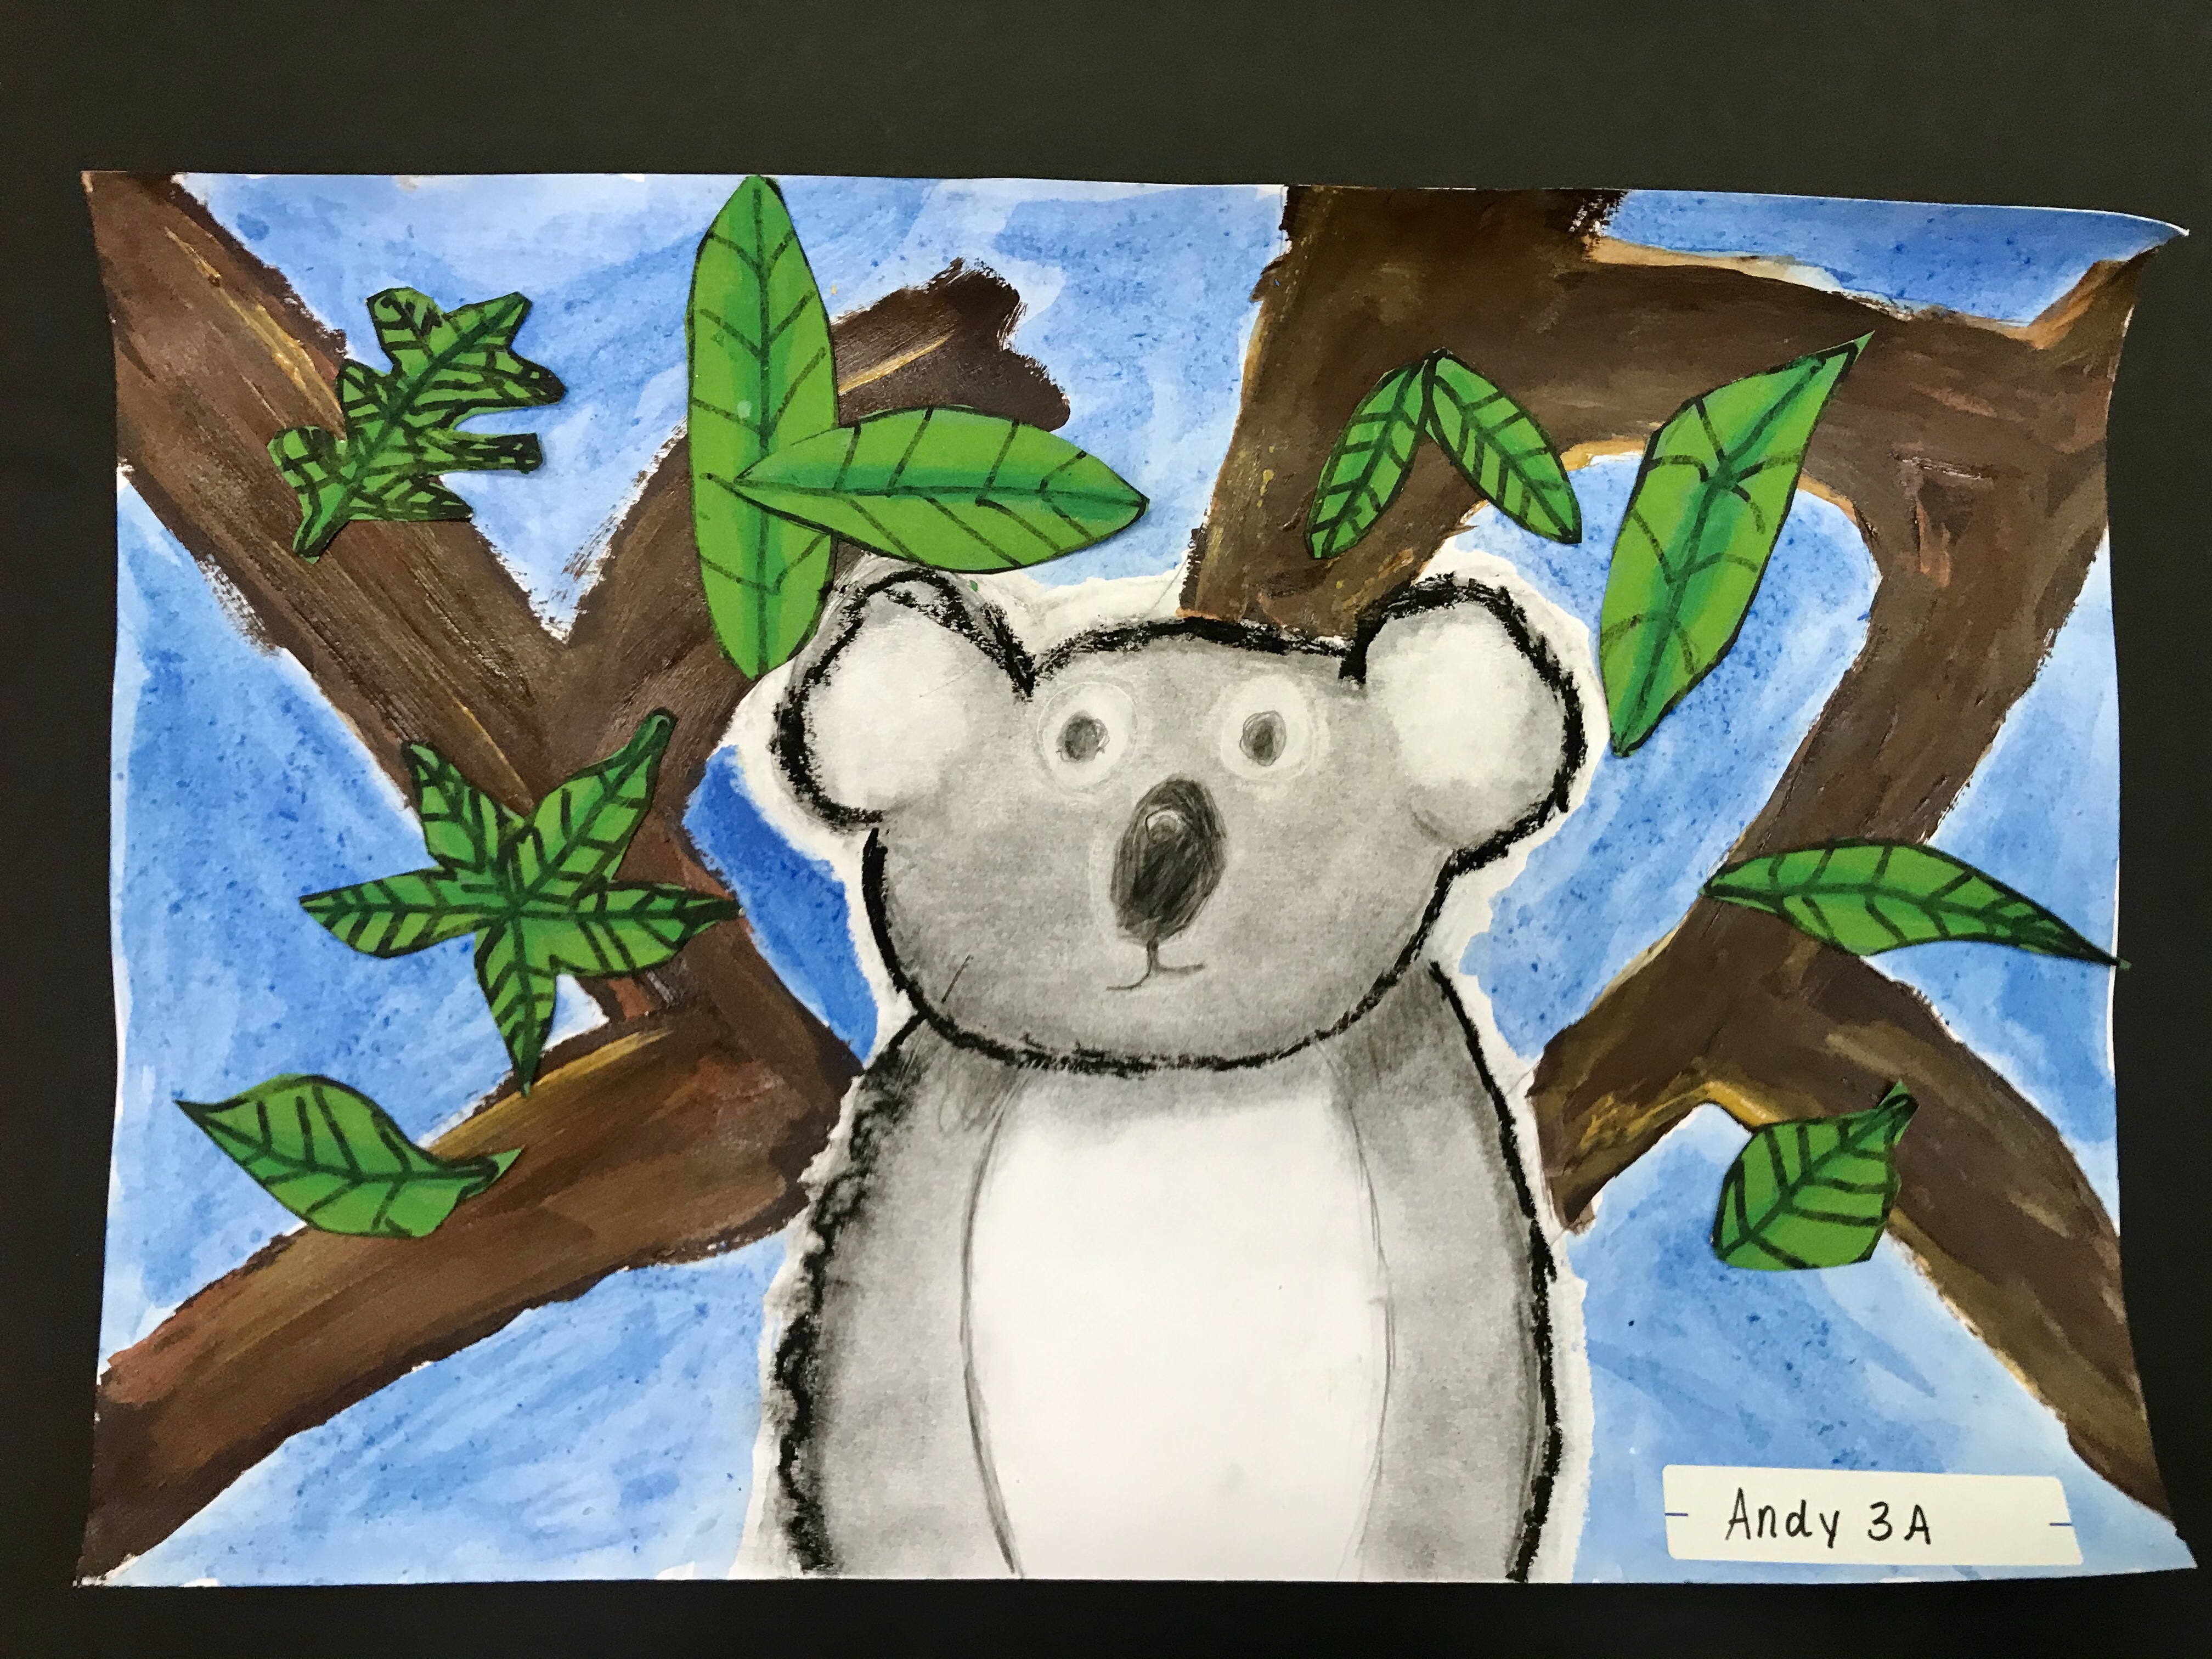
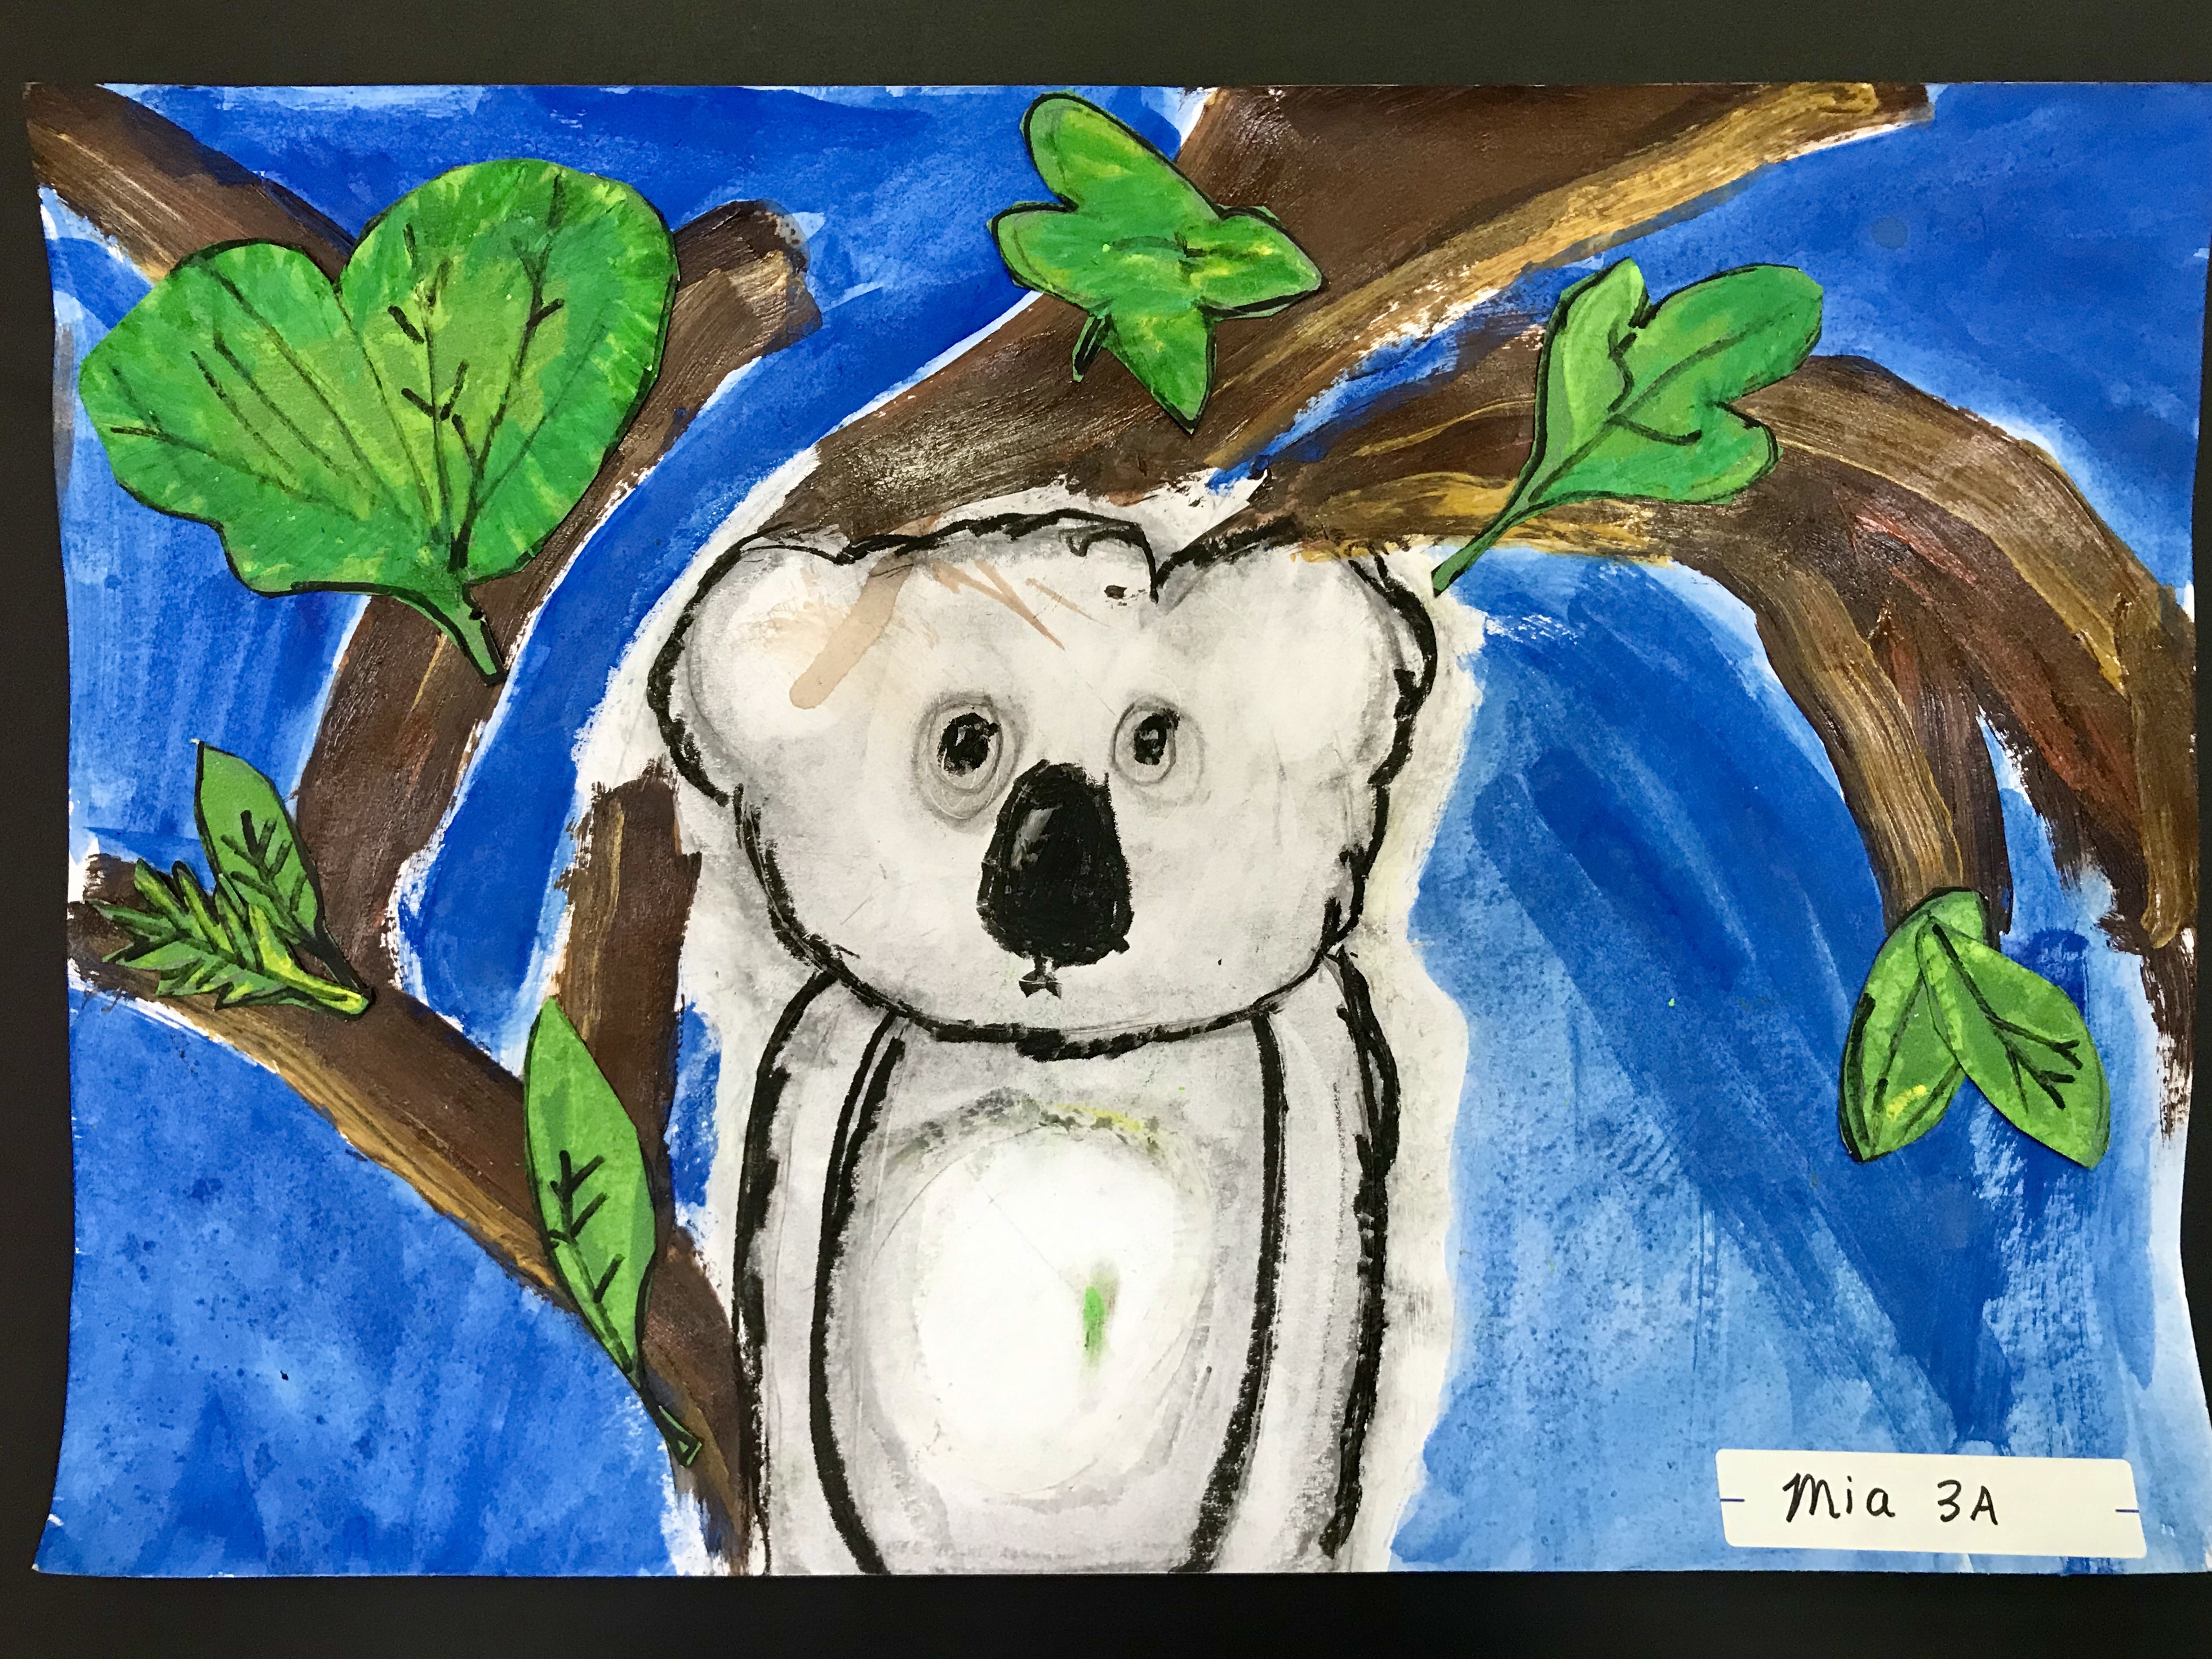
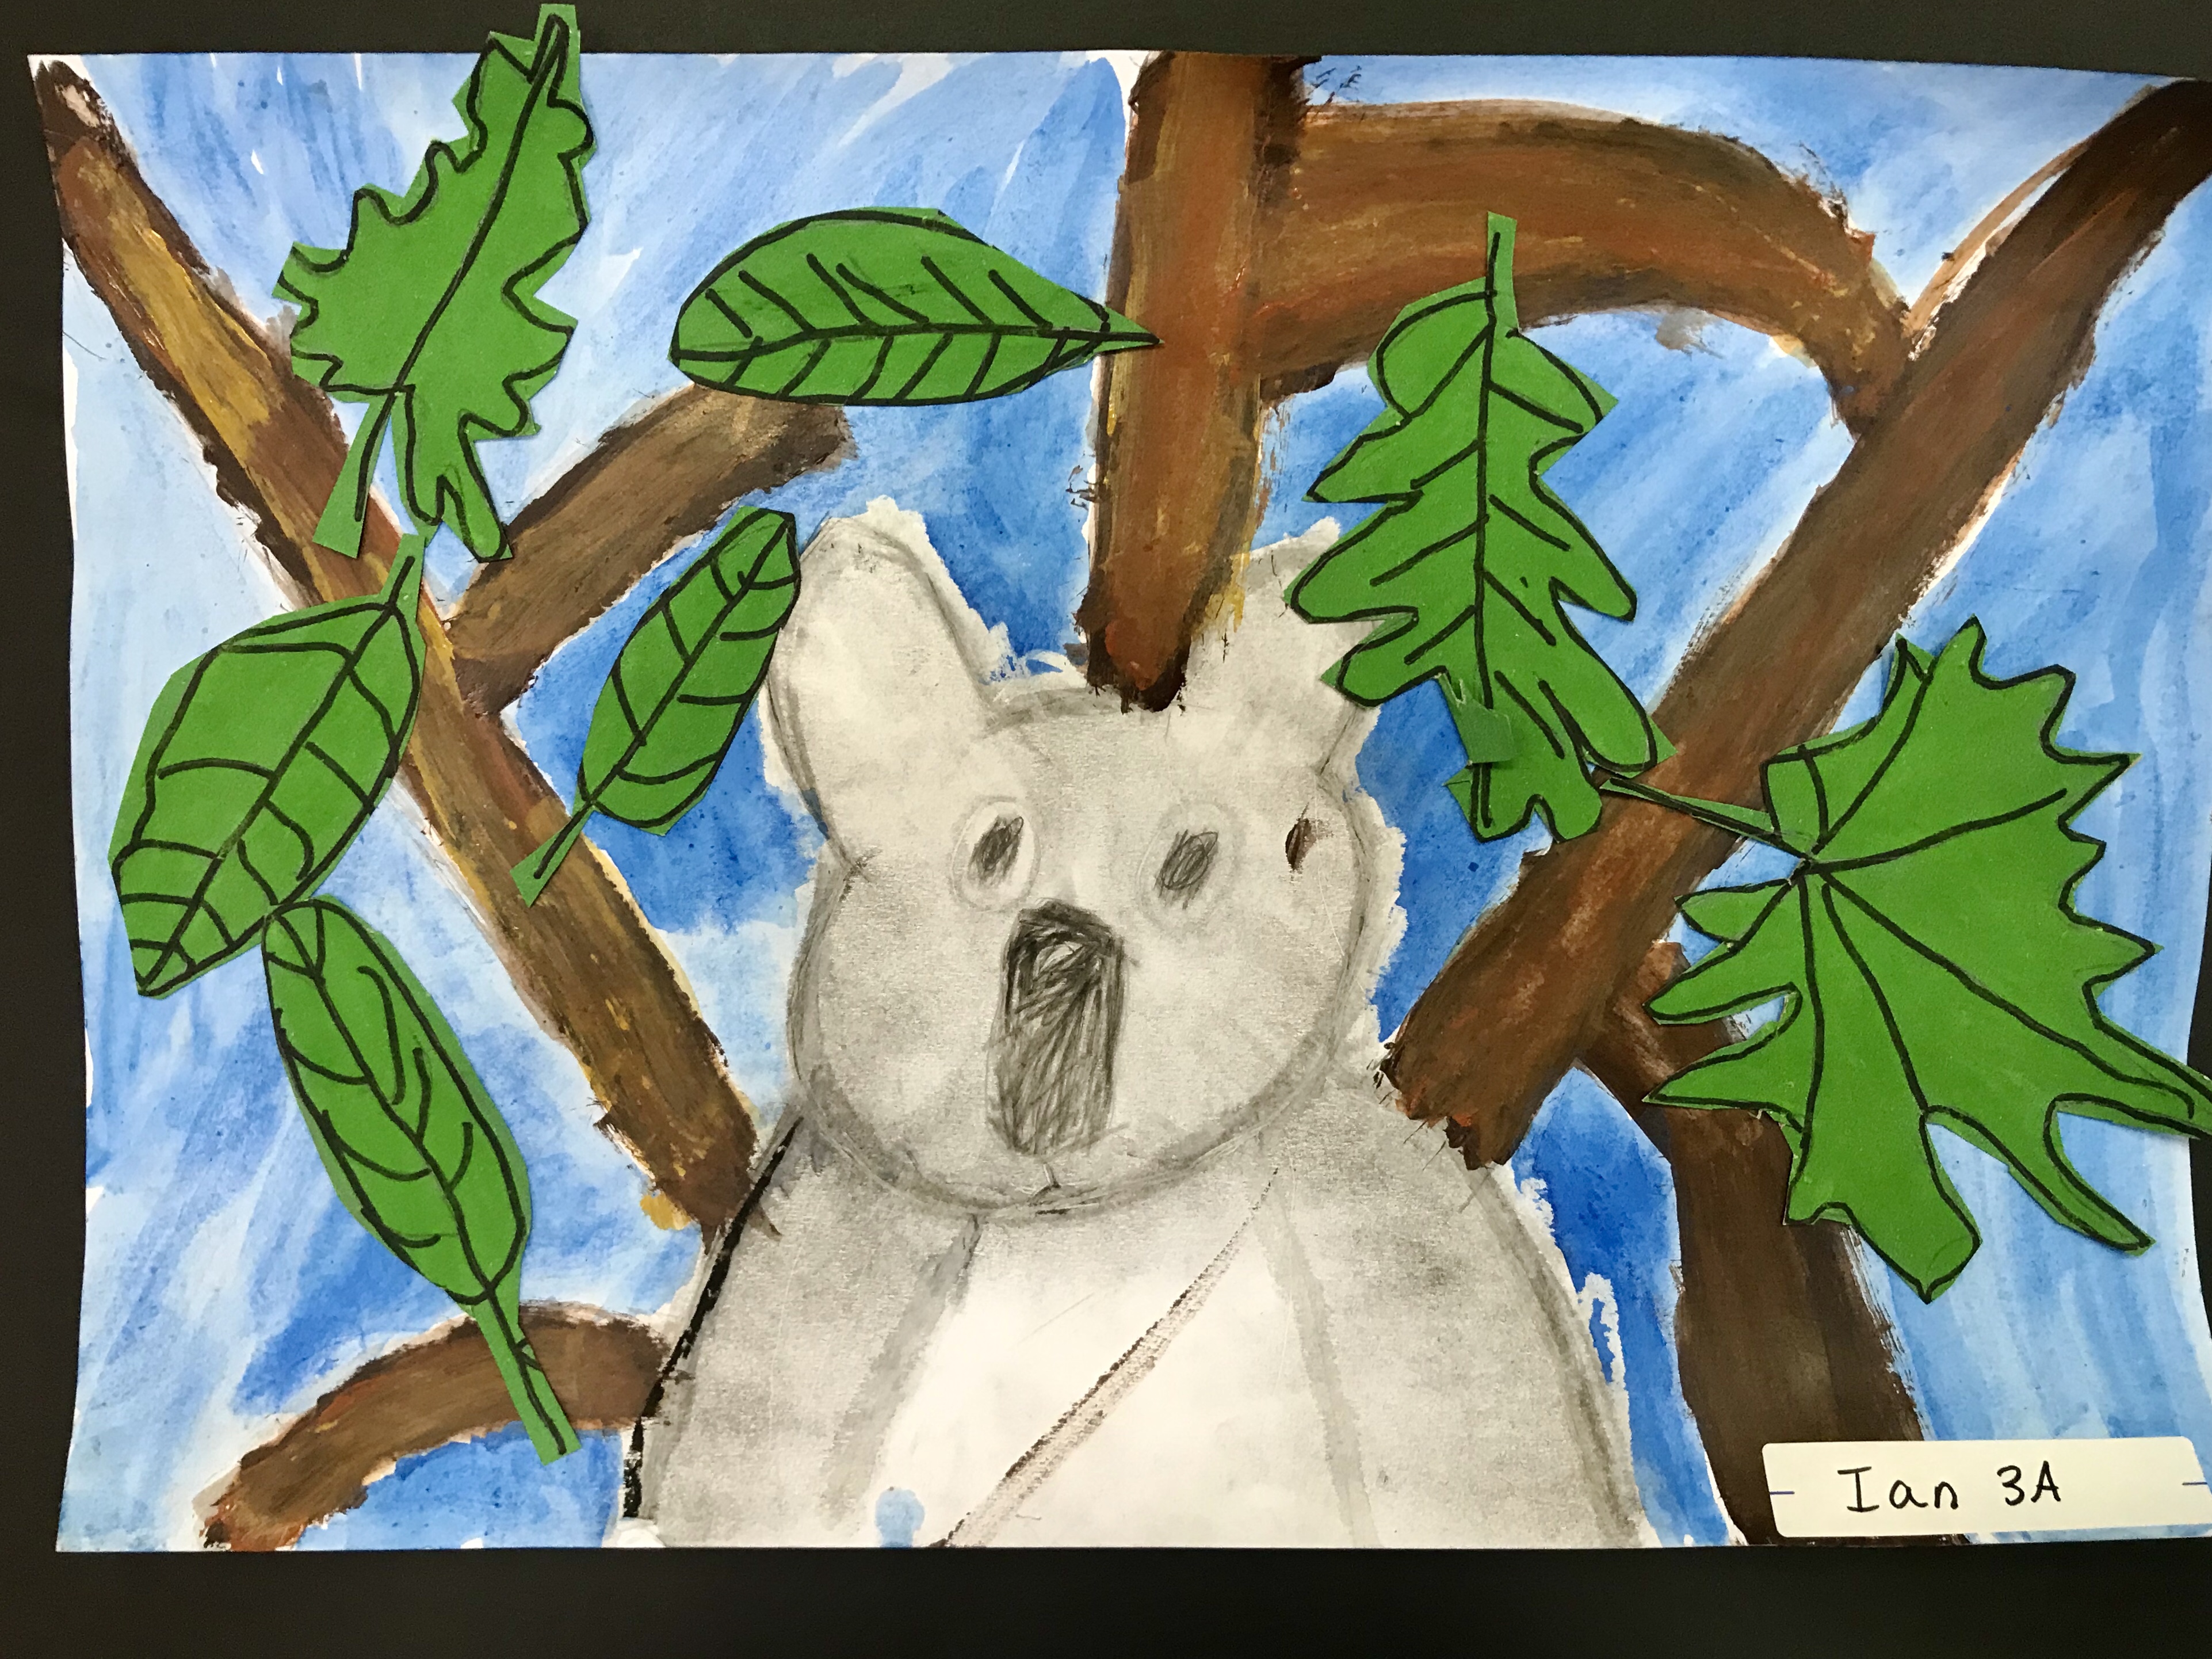
My Grade 3’s learning about the element of art “Value”. After discussing the brush fires in Australia they did a guided drawing activity of a Koala. They developed skills in shading and blending using charcoal, oil pastels, and acrylic paints. Watercolors were used to paint the background. Leaves were drawn by observation, value was added using oil pastels then pasted as the last step. 😍🐨❤️🇦🇺
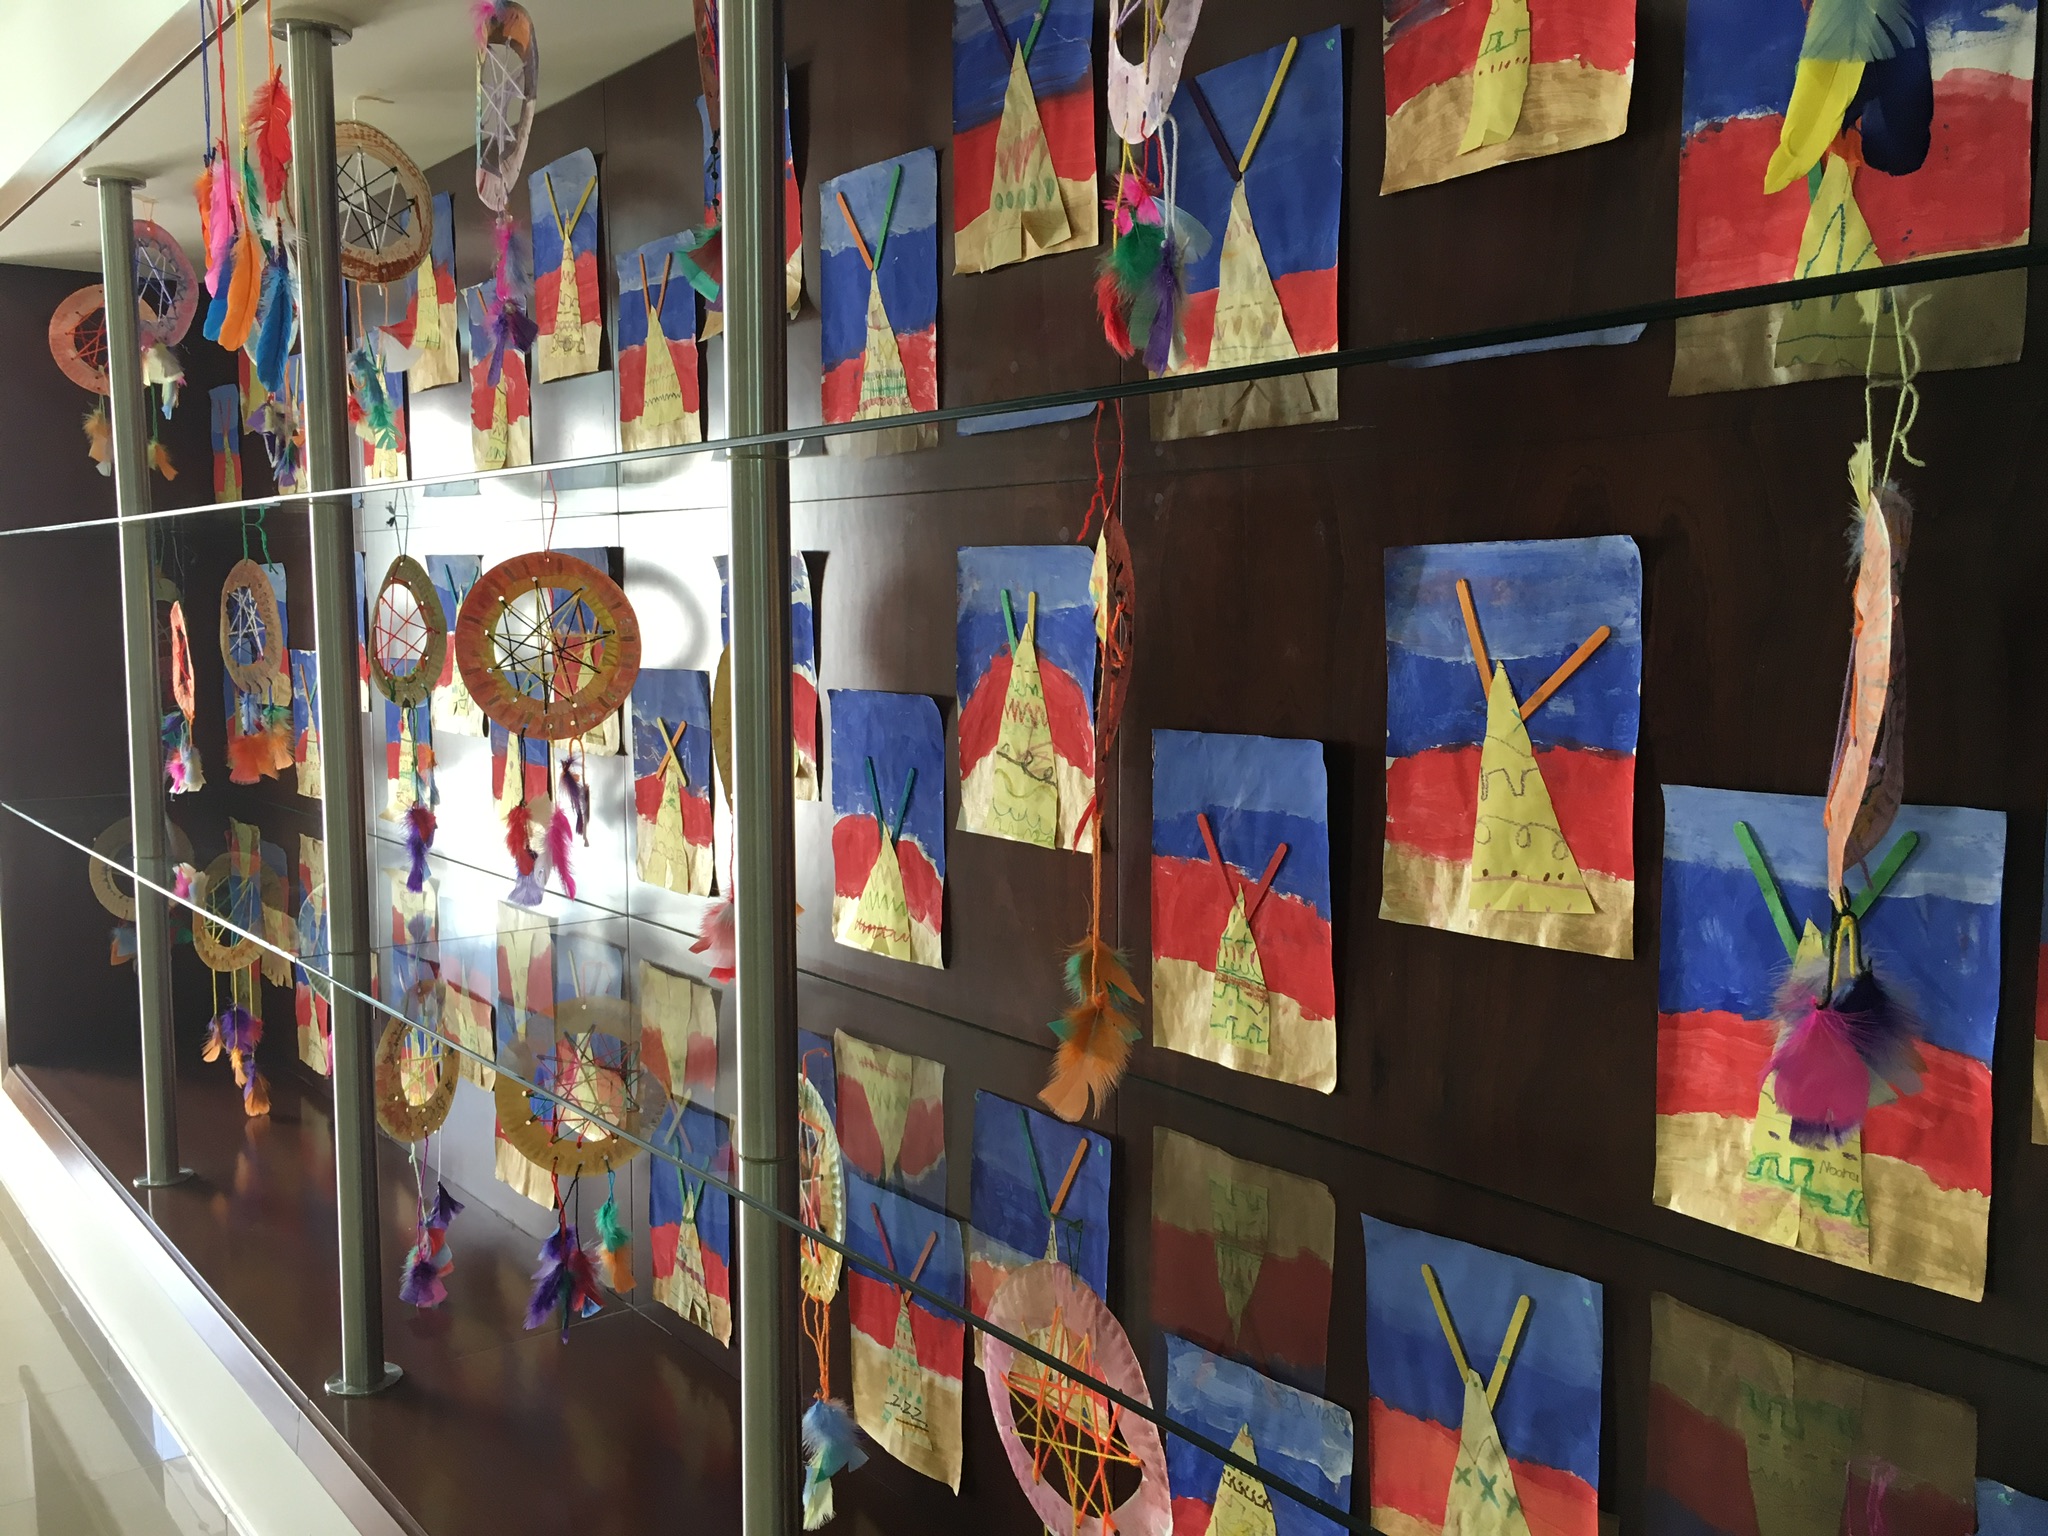
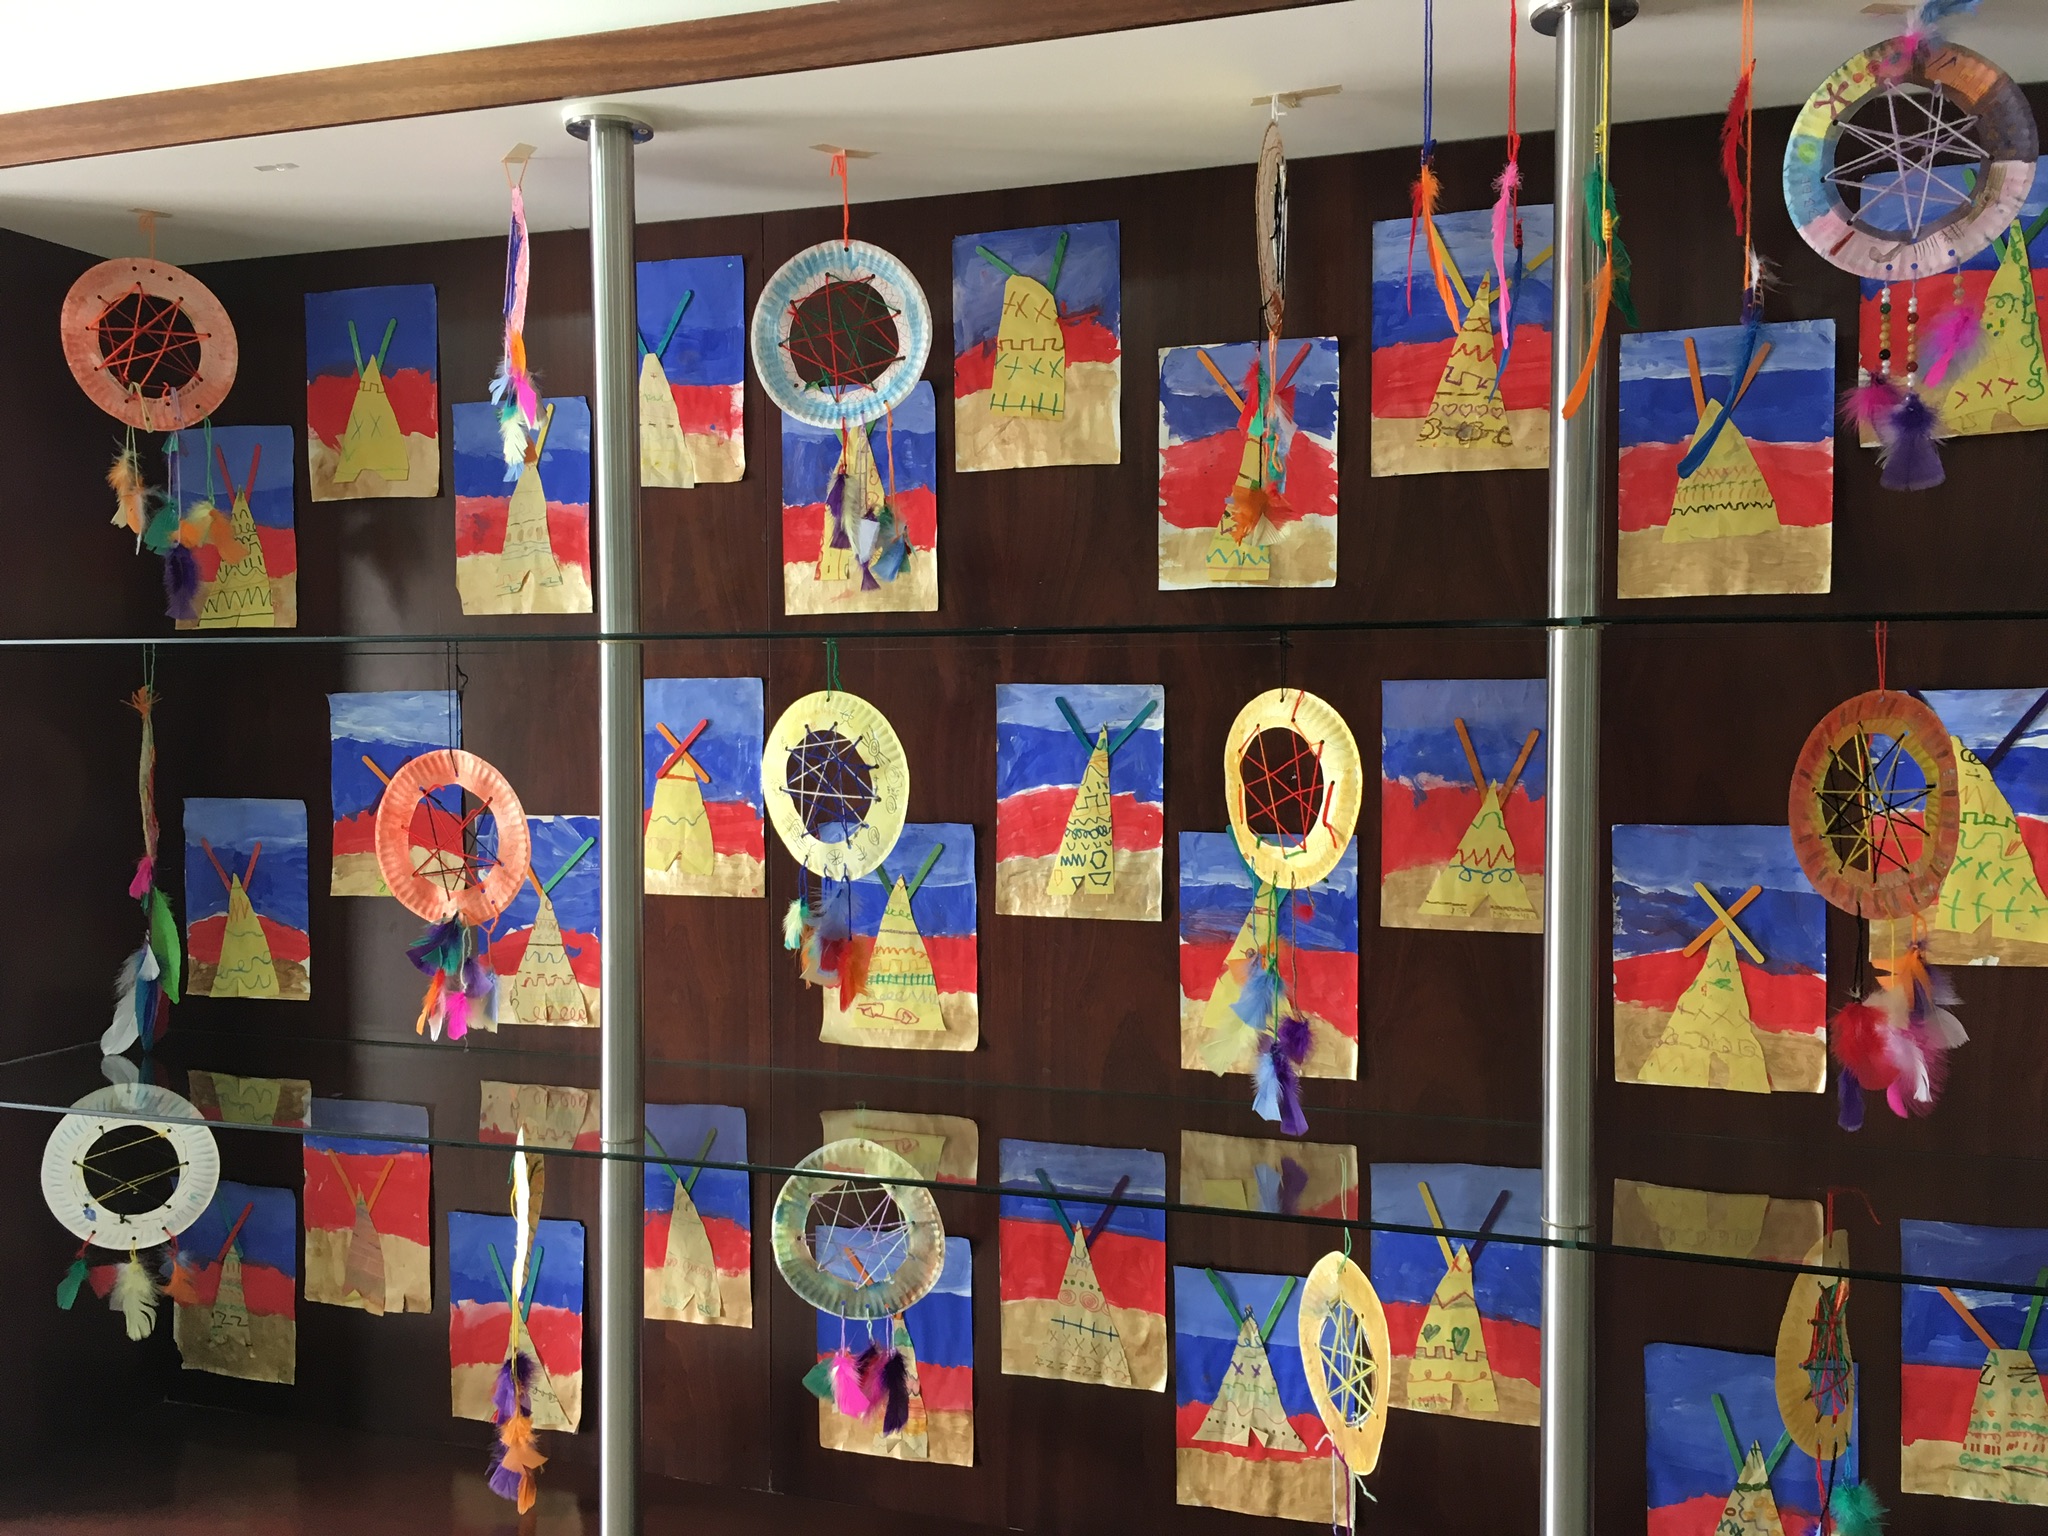
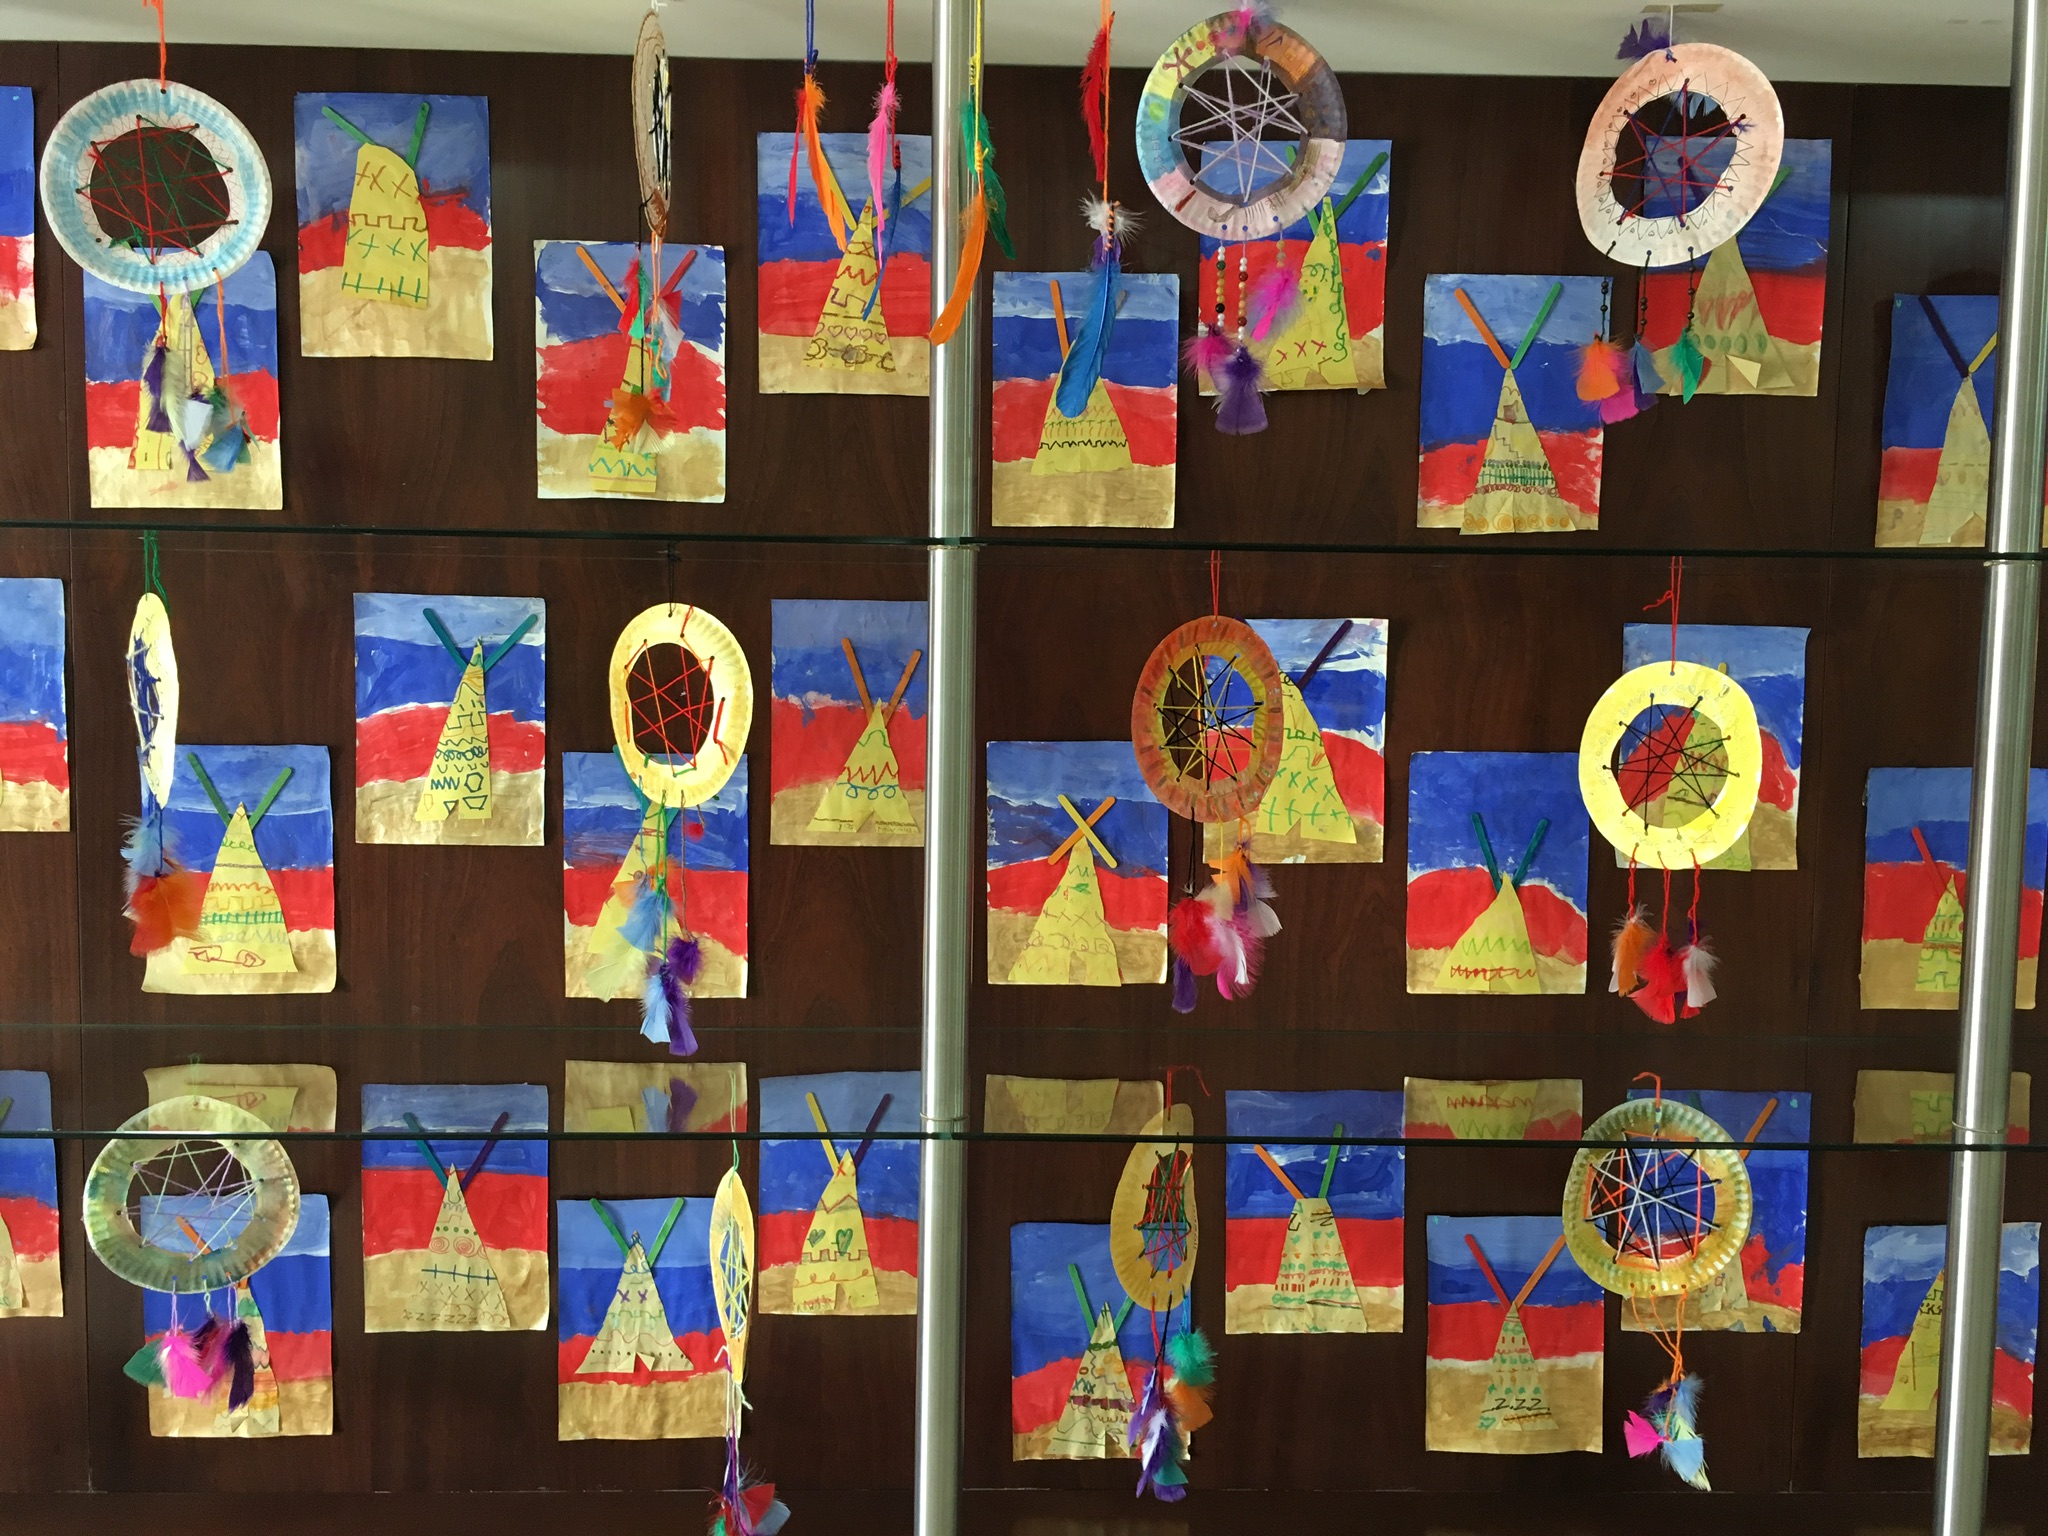
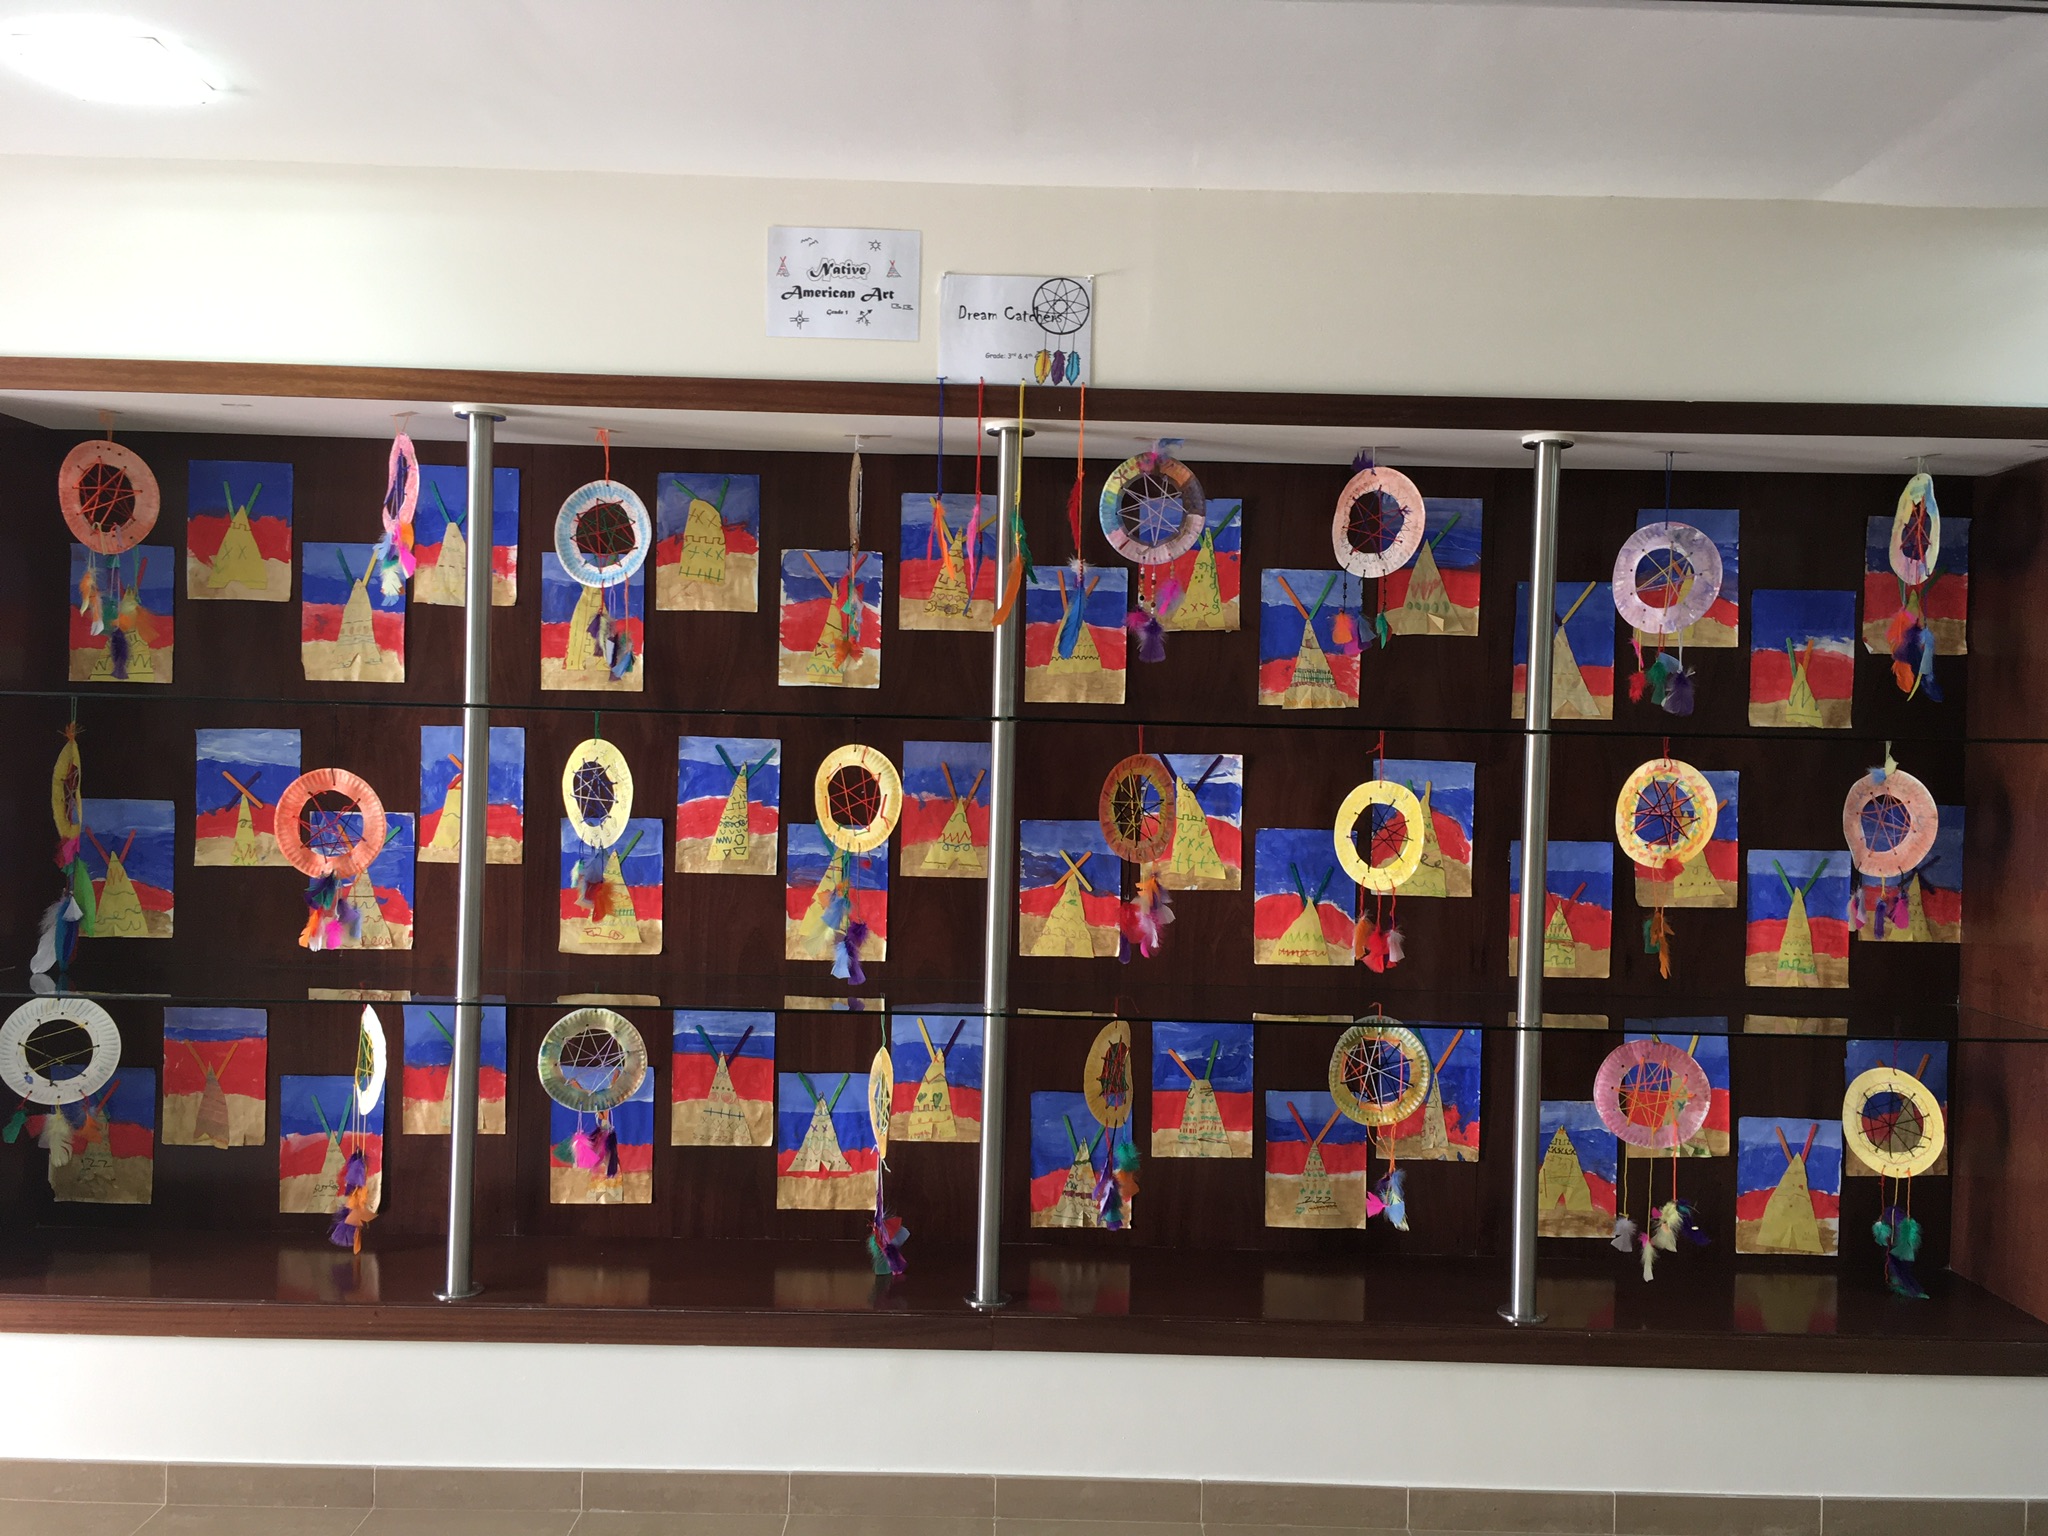
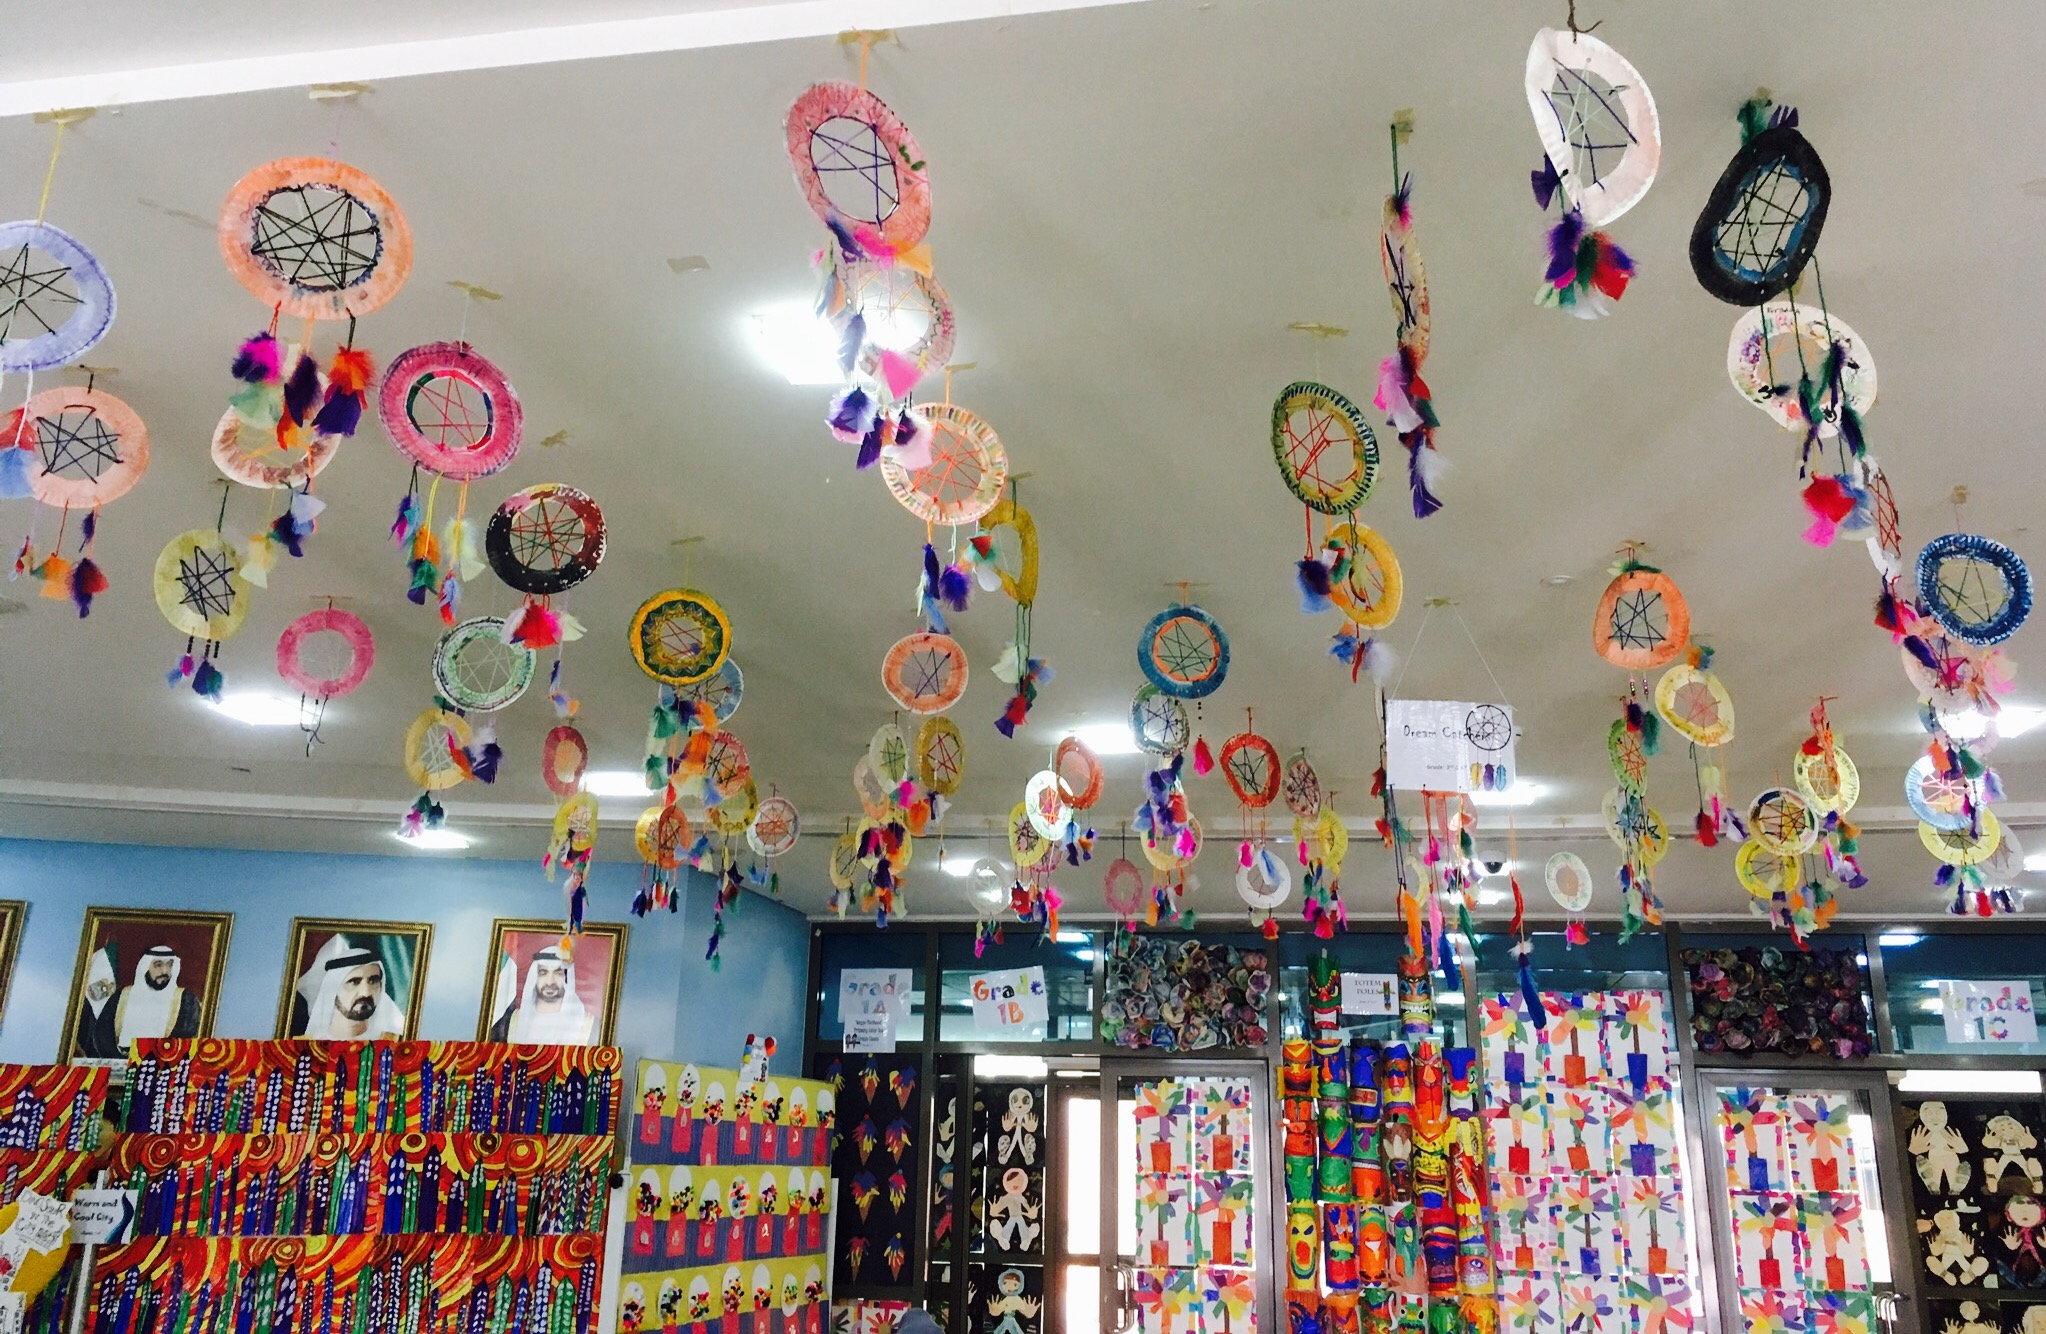
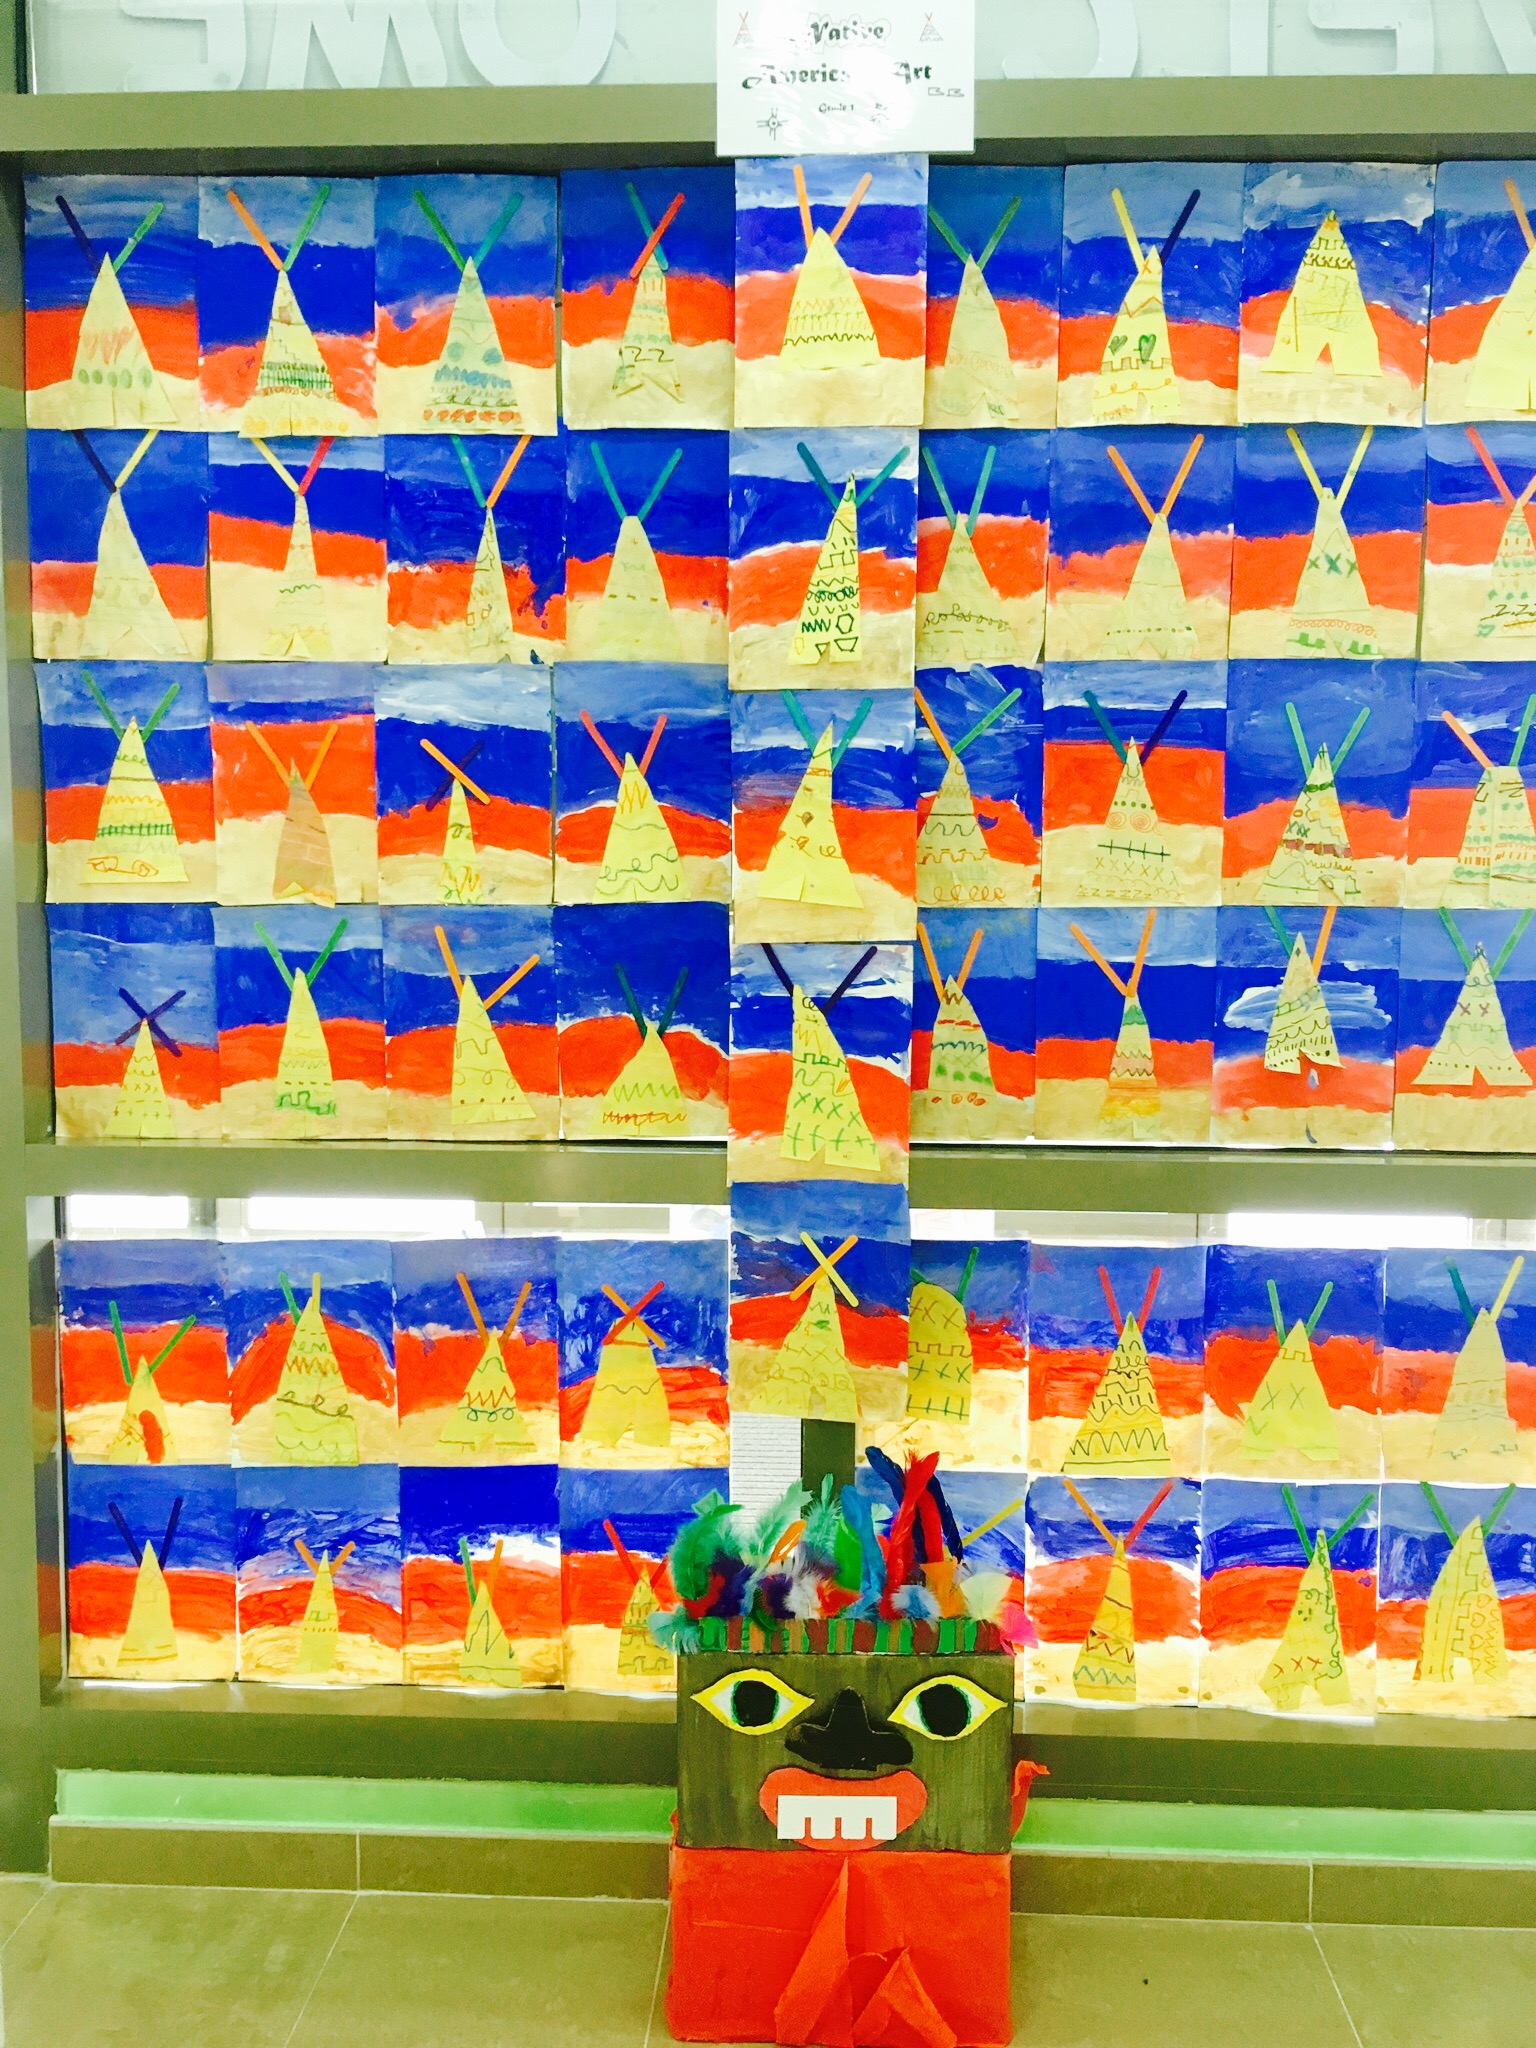
Dream Catchers display for Art Exhibition in School Lobby
1st Grade Native American Art
After discussing the history of Native Americans and their art, totem poles, tee-pees, dream catchers and watching a quick introduction video, we began our projects.
1st Grade Tee-Pee Project: Involved lines, shapes, foreground, middle ground, and background. They first used crayons to draw different lines on manila paper. Then they painted white paper using brown for foreground, red for middle ground, and blue for background. Next they drew a triangle on the back of their lined paper and cut it out. Then glued their triangle to their painting with the lines facing up. Then I gave them two Popsicle sticks to glue to the top of their Tee-pees.
4th Grade Dream Catchers: We used paper plates. I gave them reference sheets of native american symbols and we went over what they meant. They designed the rim of the plates with native american symbols and designs. Then they cut out the center of the plate and I had them use watercolors to paint the front and back of plate. Next I used a whole puncher to make holes around the inside of the plate and gave them weaving instructions and yarn. Once they were done weaving we added feathers and a loop of yarn to the top for hanging.
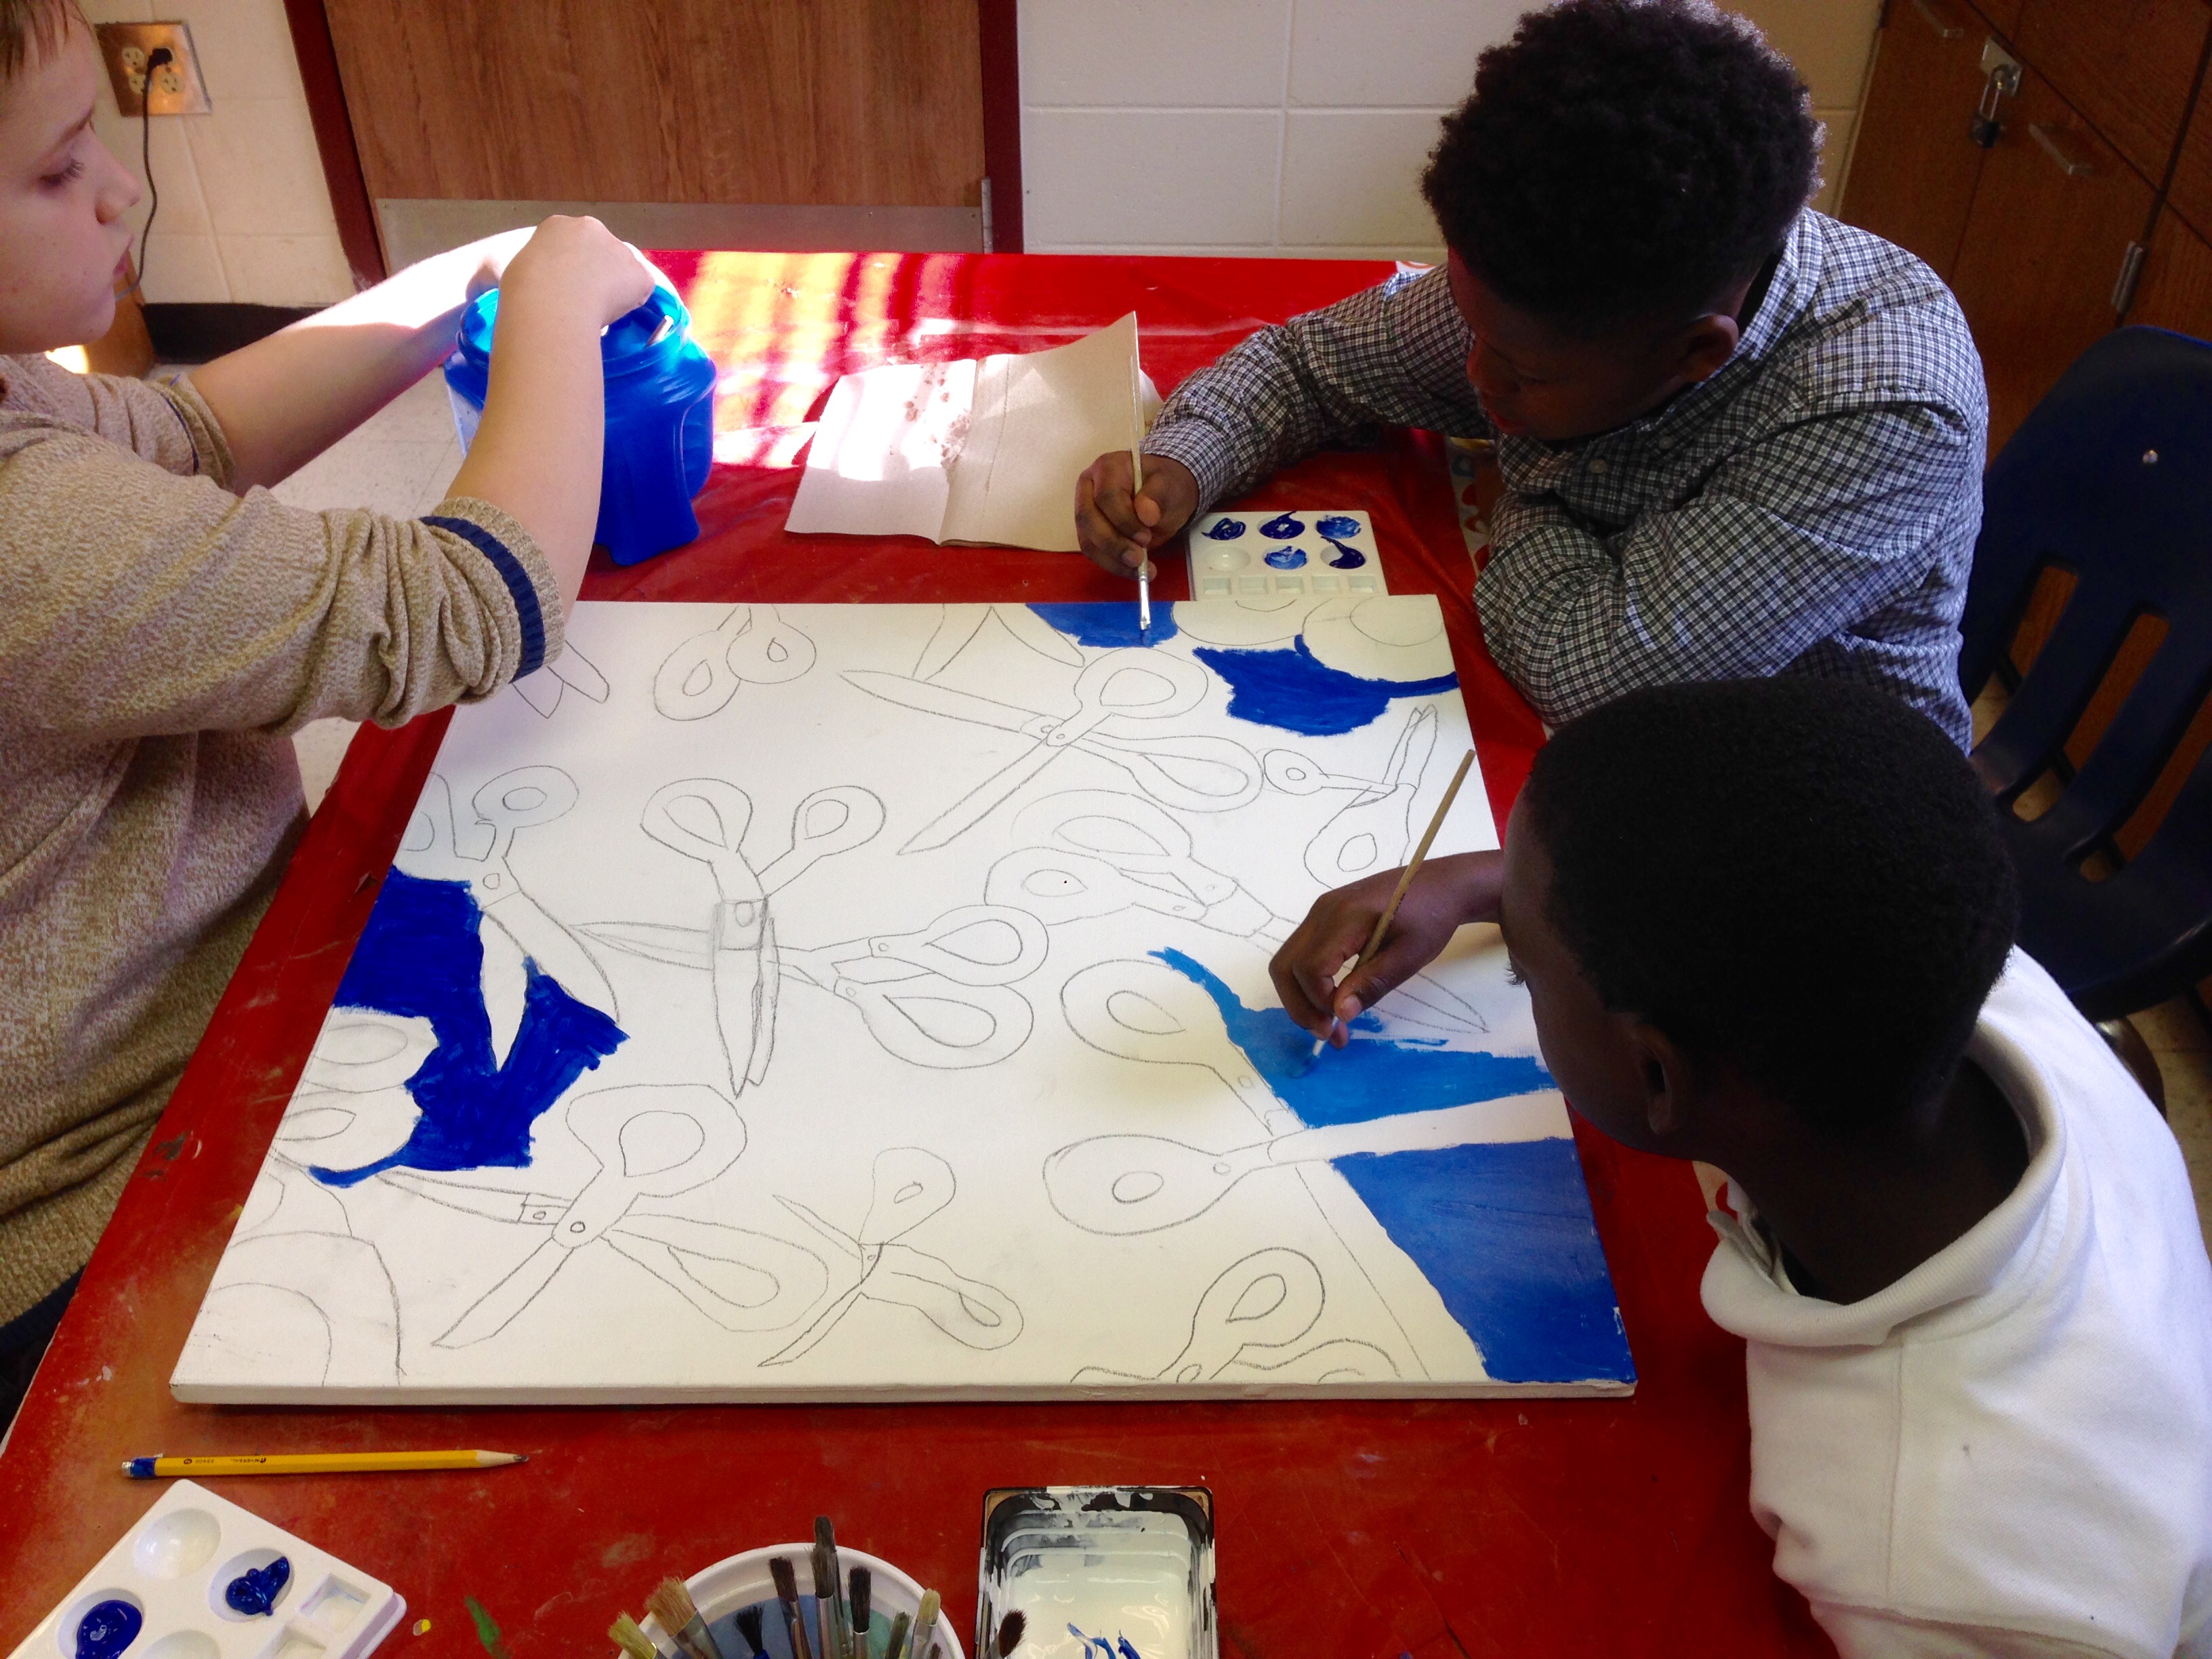
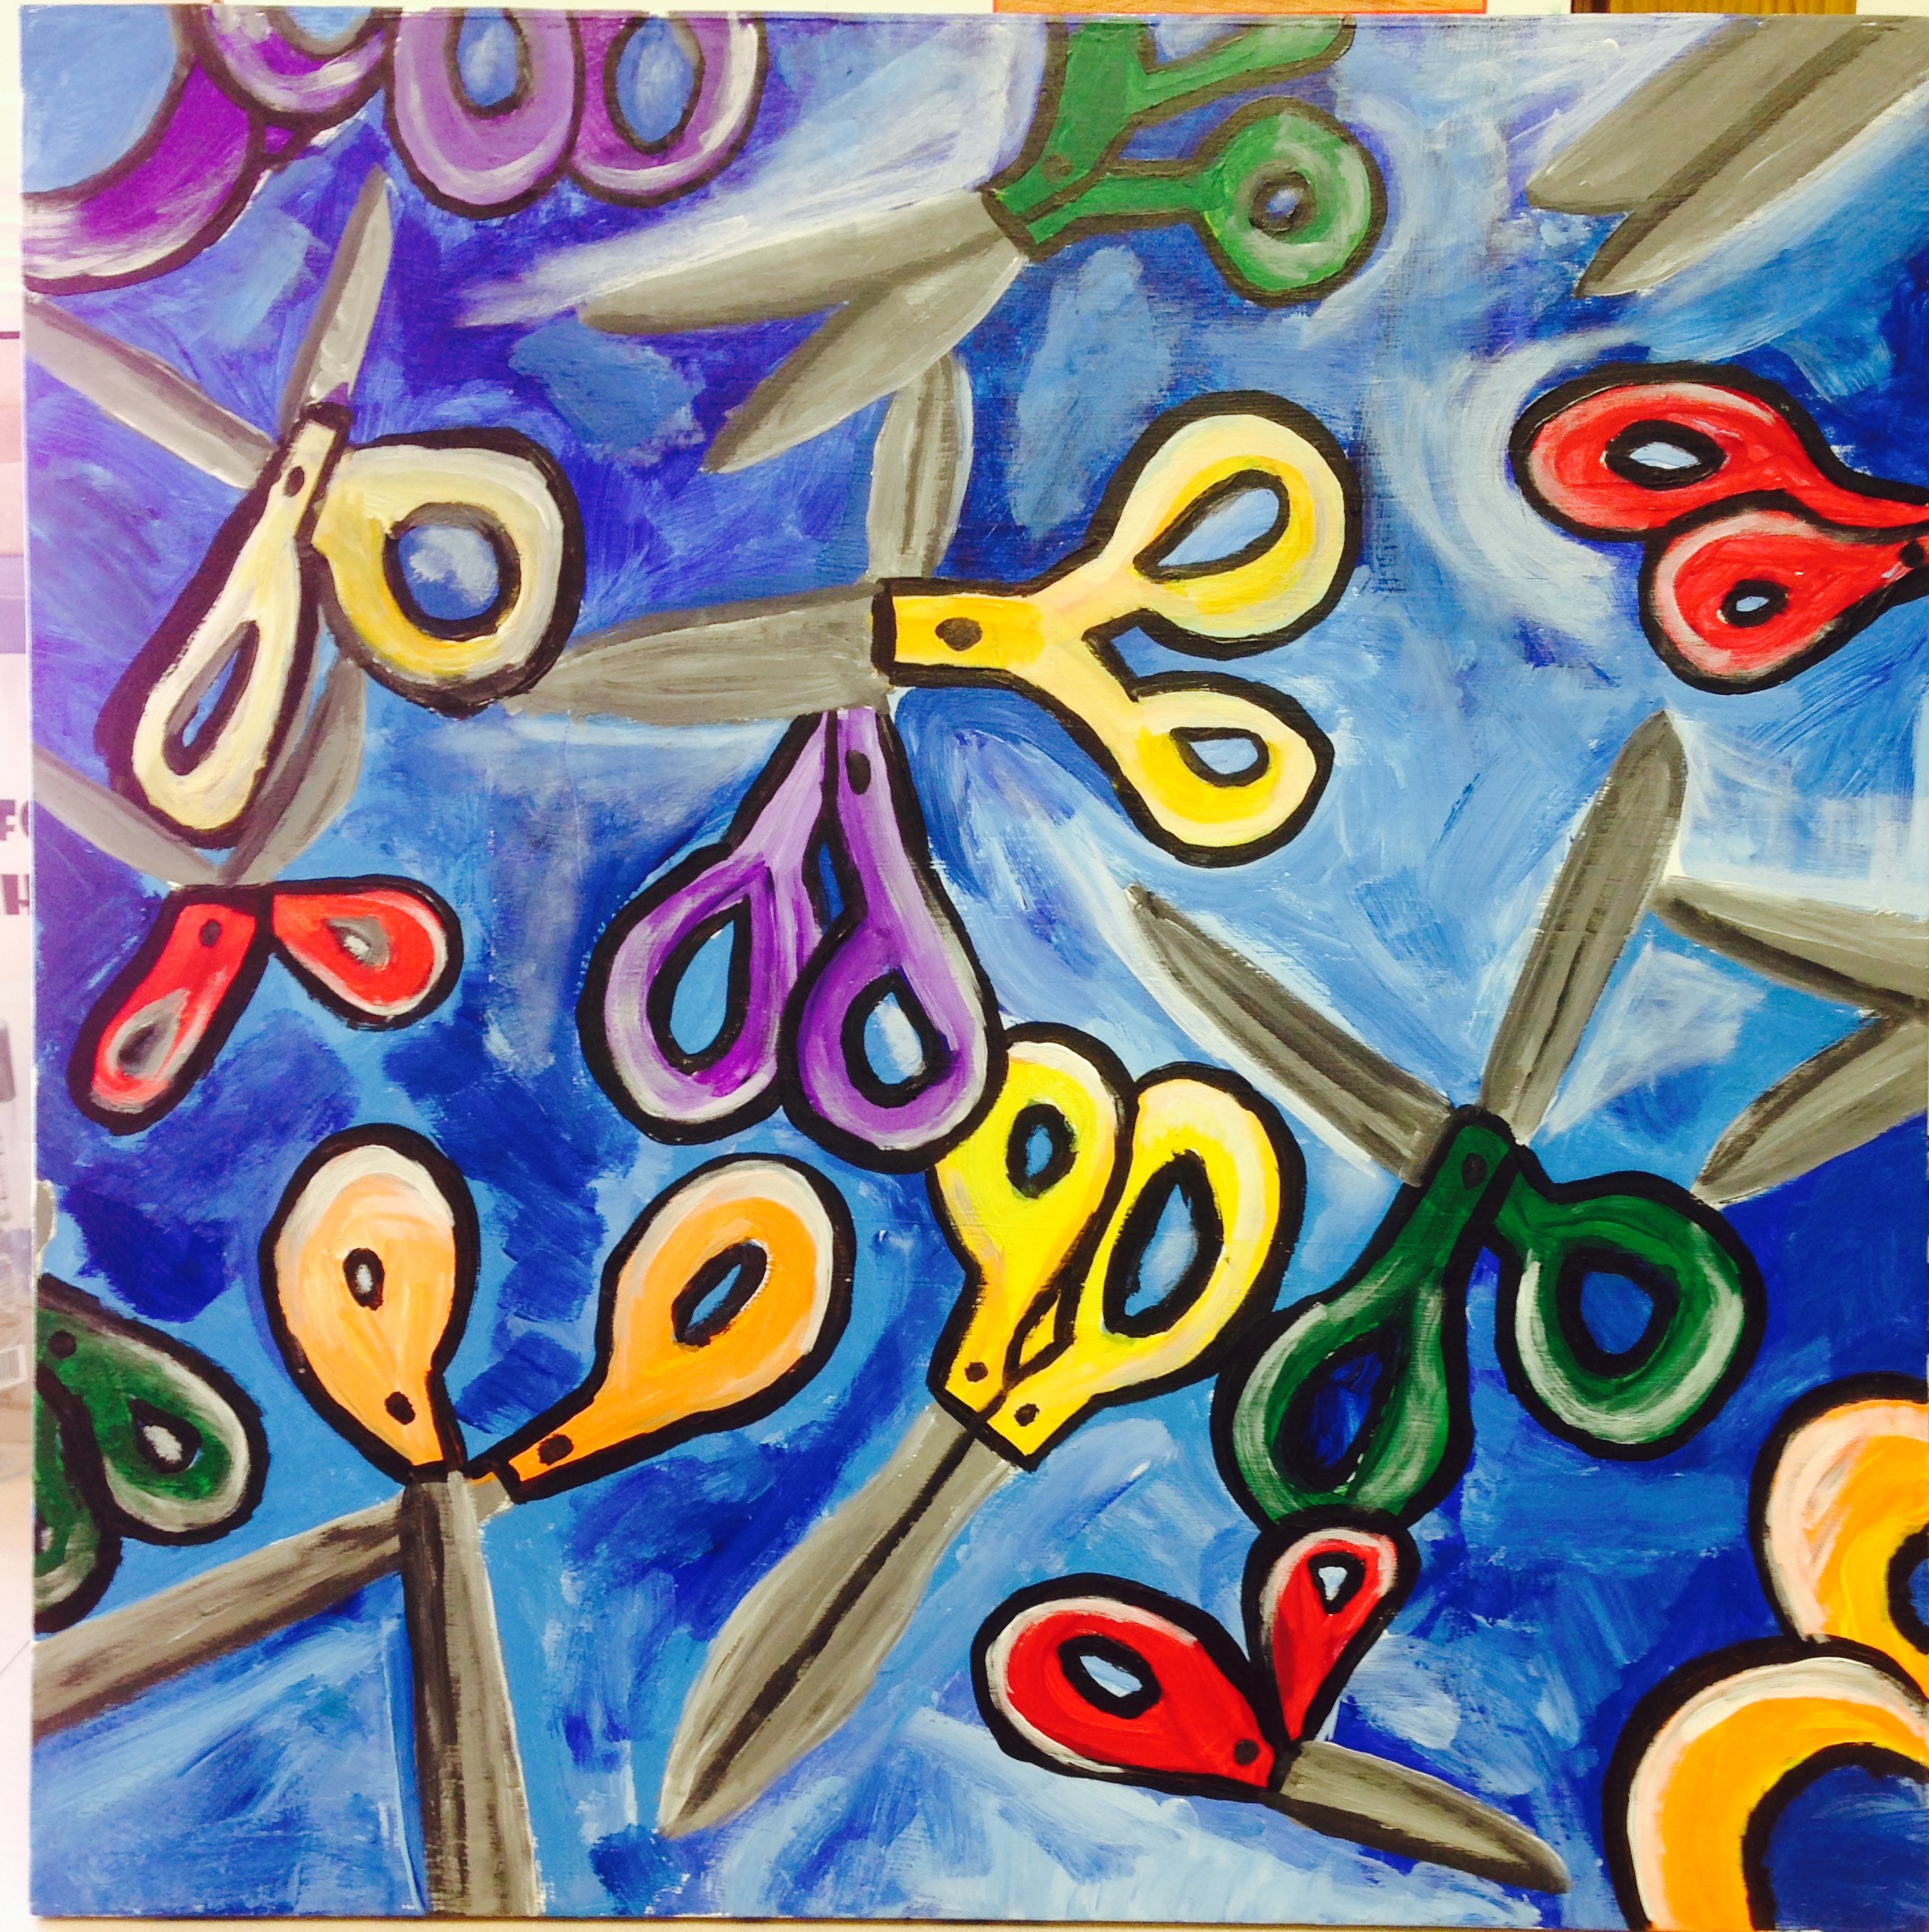
My 5th Grade boys won a County wide Contest doing this Collaborative Project. They were given a theme (Scissors) and a canvas. They came up with this composition. I am so proud of them, using what they learned (overlapping) in Art to create this masterpiece. 🎨✂️👏🏽🙌🏽
My second grade did this line project using the crayon resist technique. I painted the boards with the thick black lines and each team of students was given a board to use crayons to draw “The Lines of Design” (some were using color pencils) on the white space. Once the boards were all filled with lines. They used watercolor to paint the boards and watch their lines pop through the paint like magic. I then put all the boards together to create a mural for the Art Exhibition.
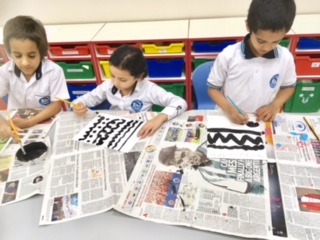
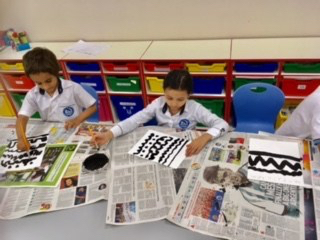
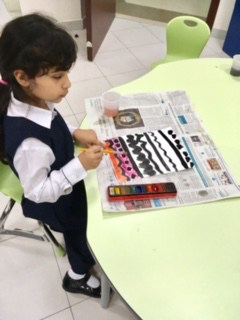
I first read my 1st graders “The Straight Line Wonder”.
I have them act out the book with movement using their bodies as if they were lines, they LOVE it! After reviewing all the famous lines, they are given black tempera paint to draw the lines.
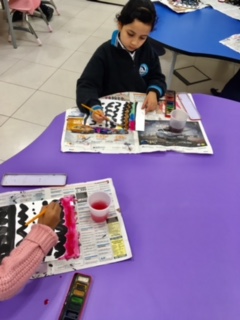
On day two once their lines have dried, they are given watercolors to paint each section in between the lines.
On day three they get to make their monsters cutting out eyes, mouth, teeth, legs, arms, etc.
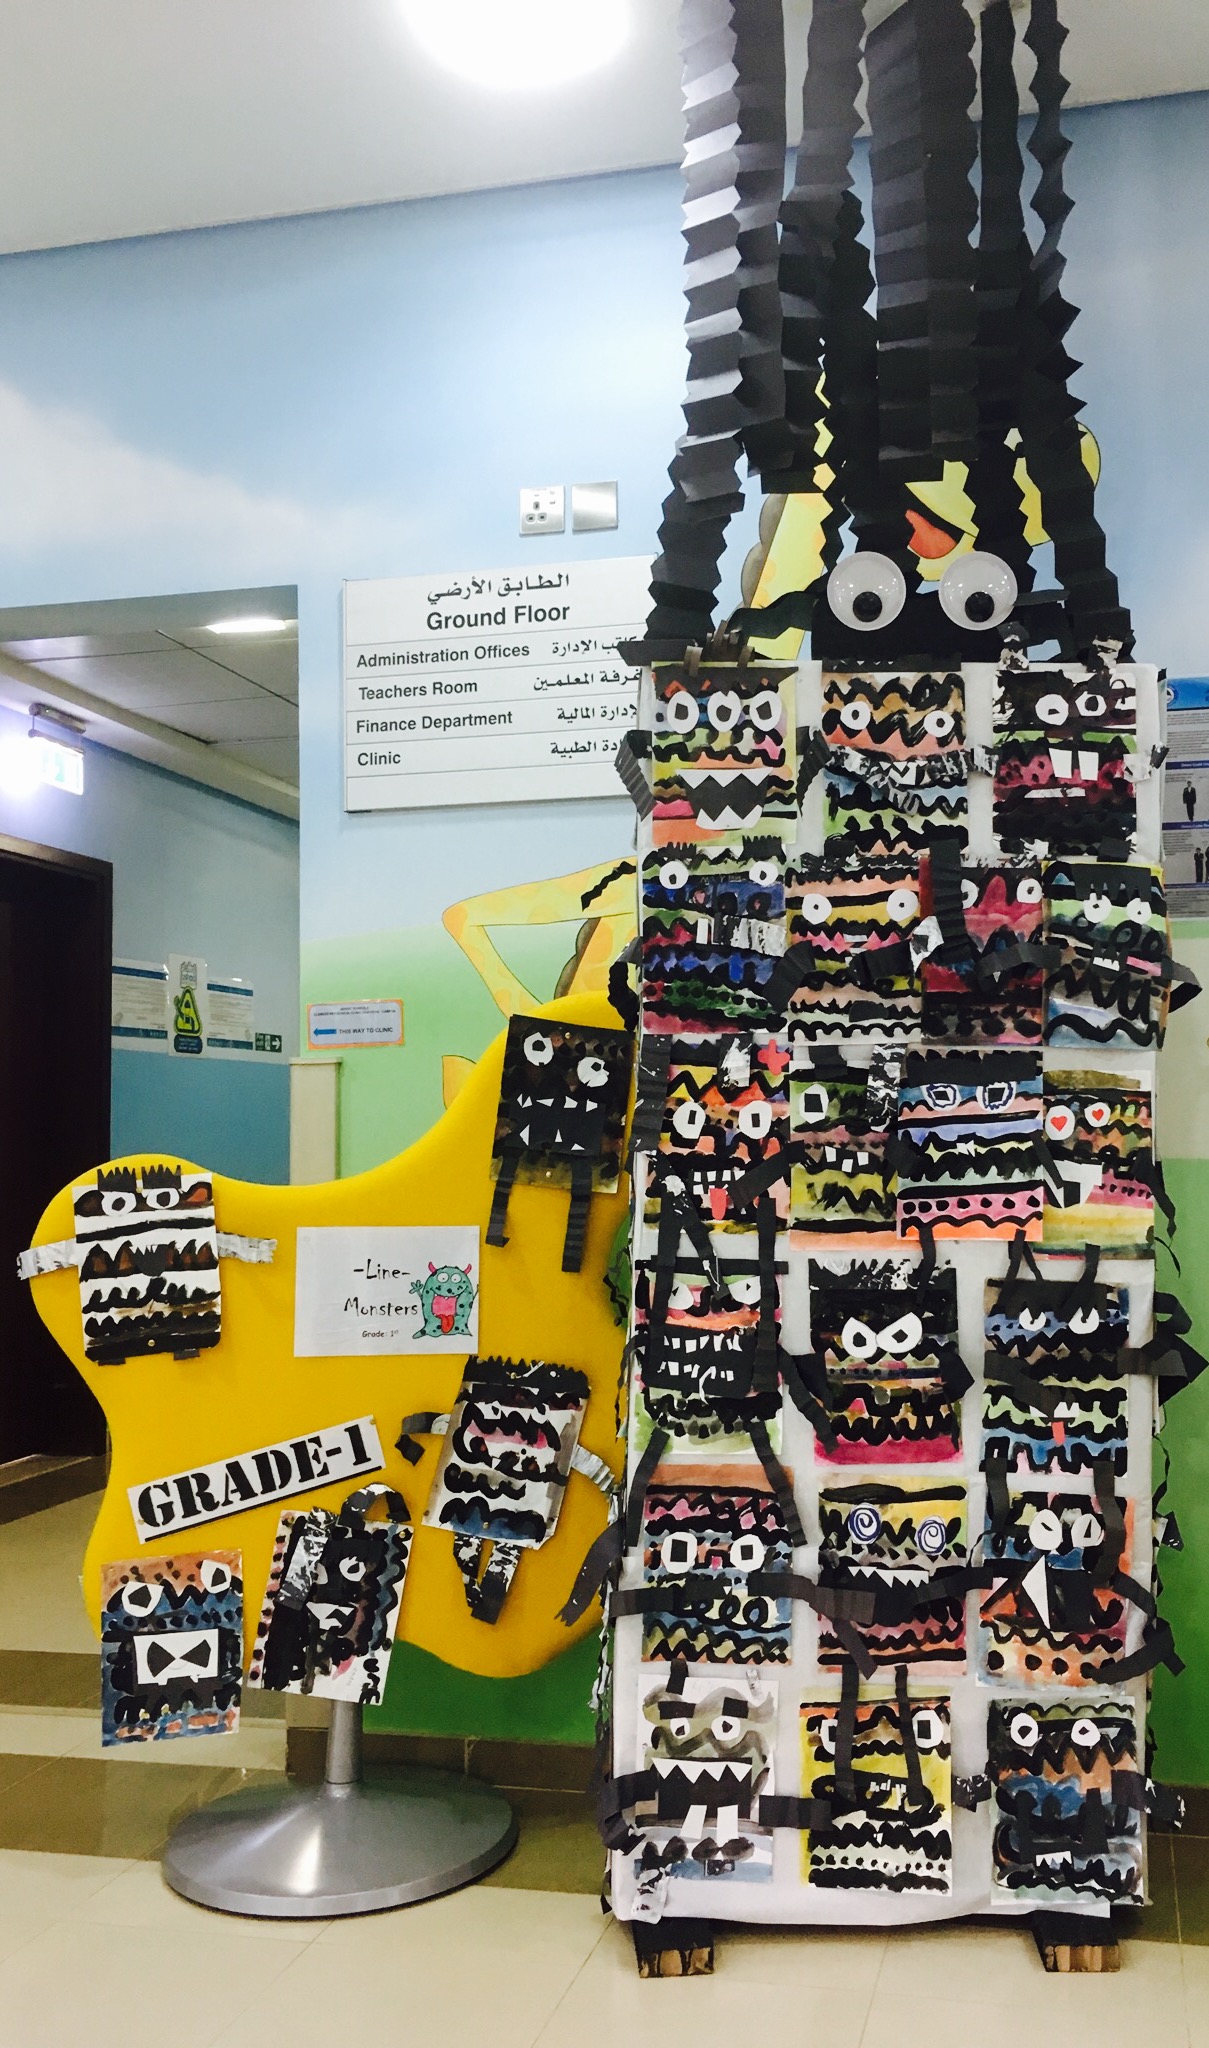
I then created the huge “Line Monster” out of their work for the Art Exhibition.
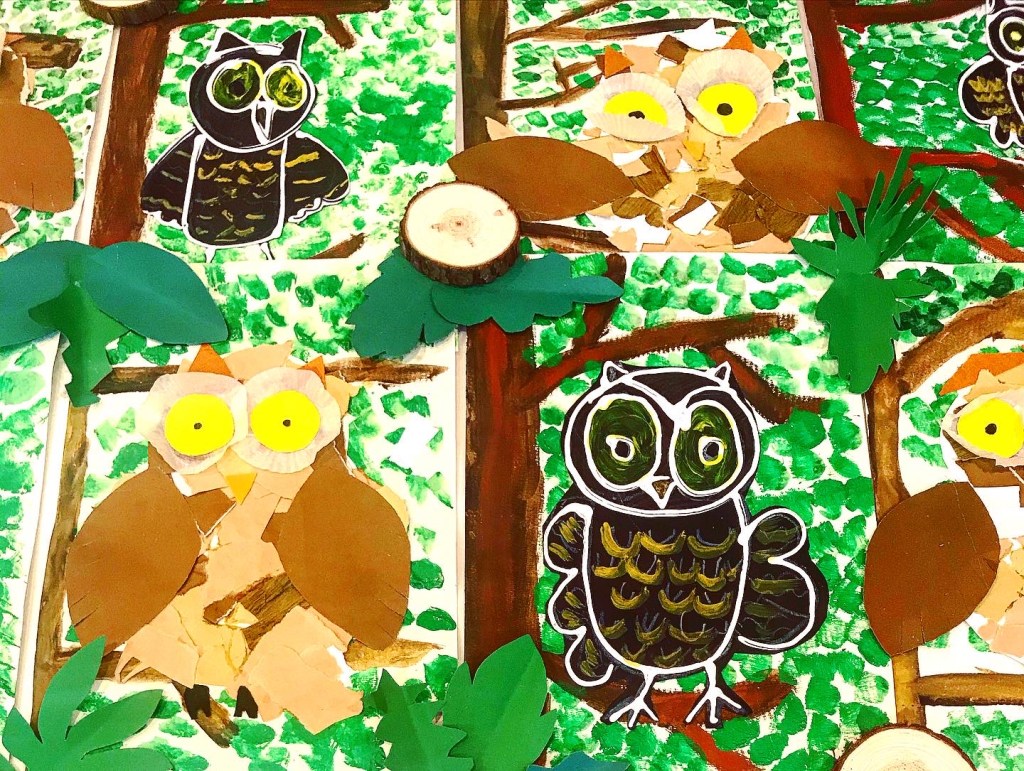
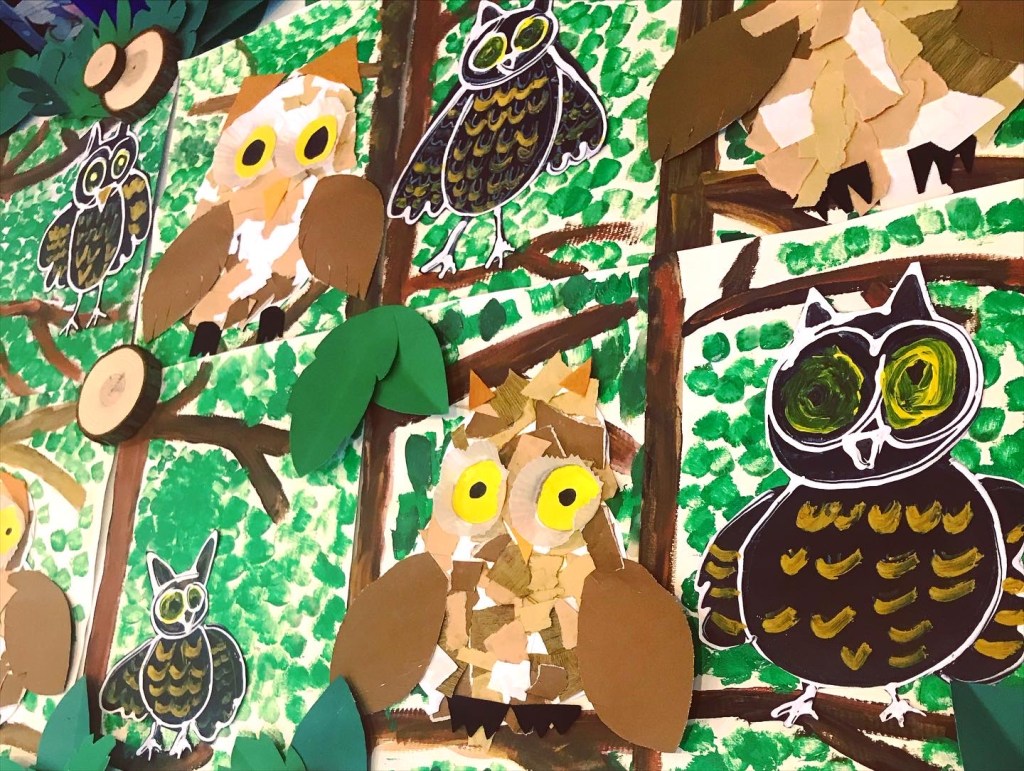
Lastly they were given a strip of brown construction paper to make a branch and glue under the feet.
Can you say ADORABLE!…I found this on Pinterest and had to do this project with my students so I must share because the Pinterest post did not have directions just a image. Have Fun!!
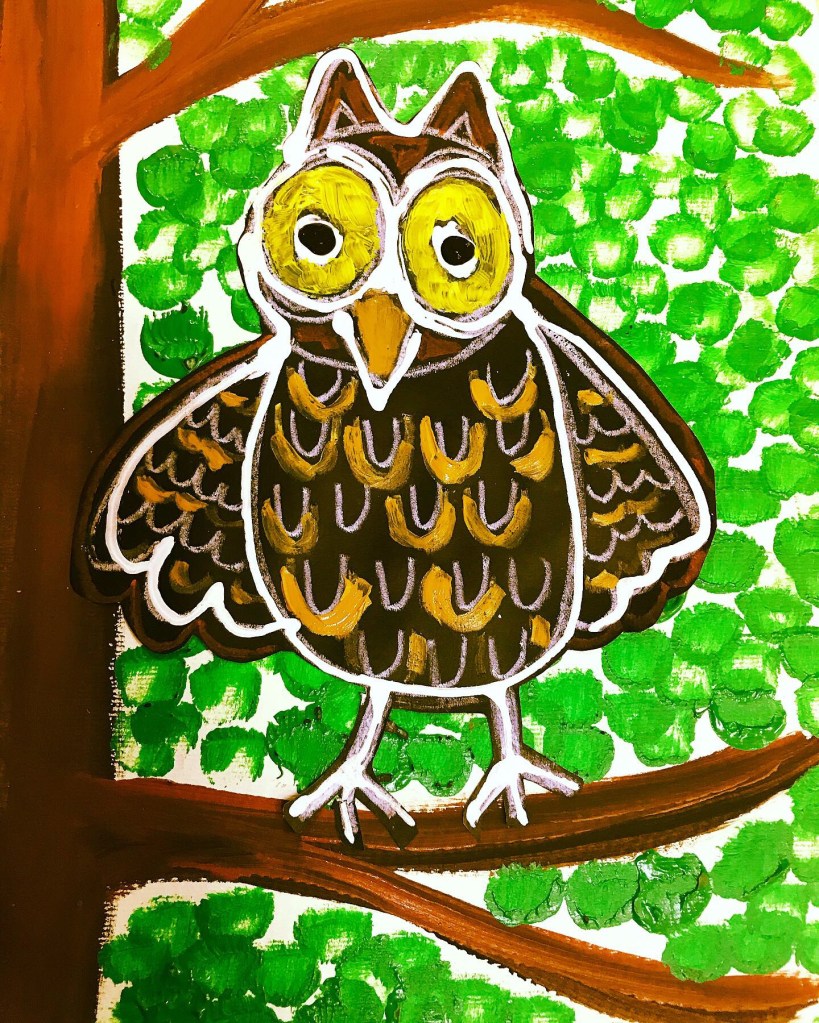
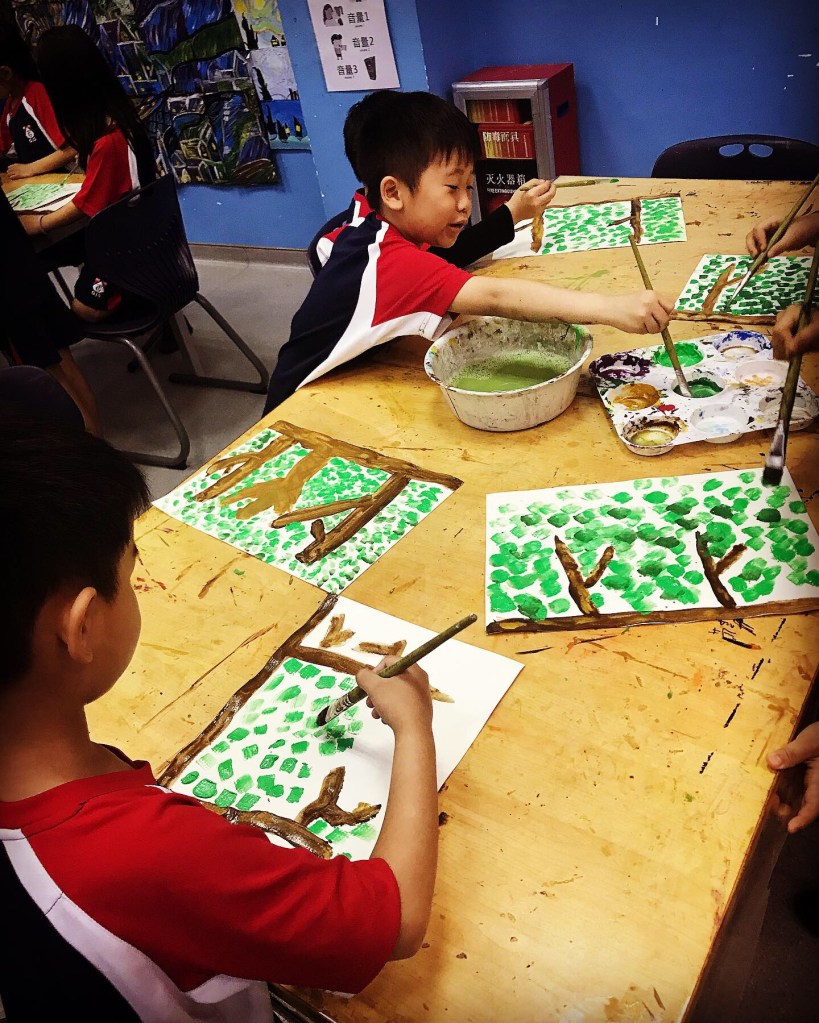
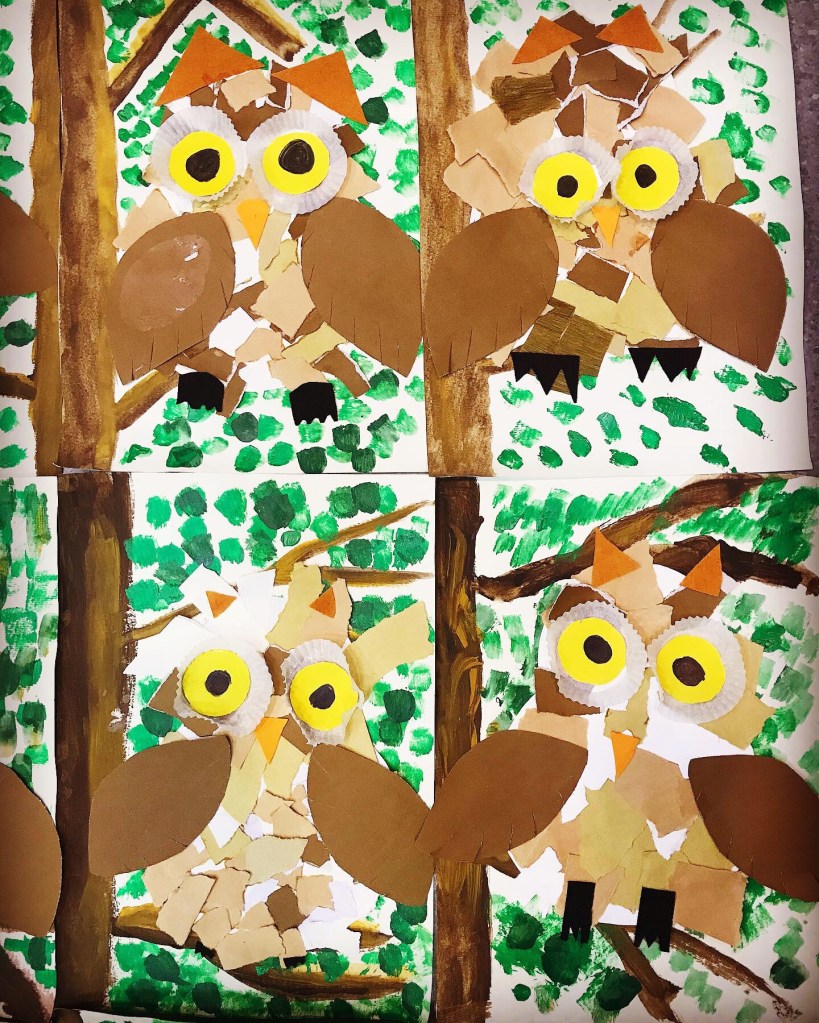
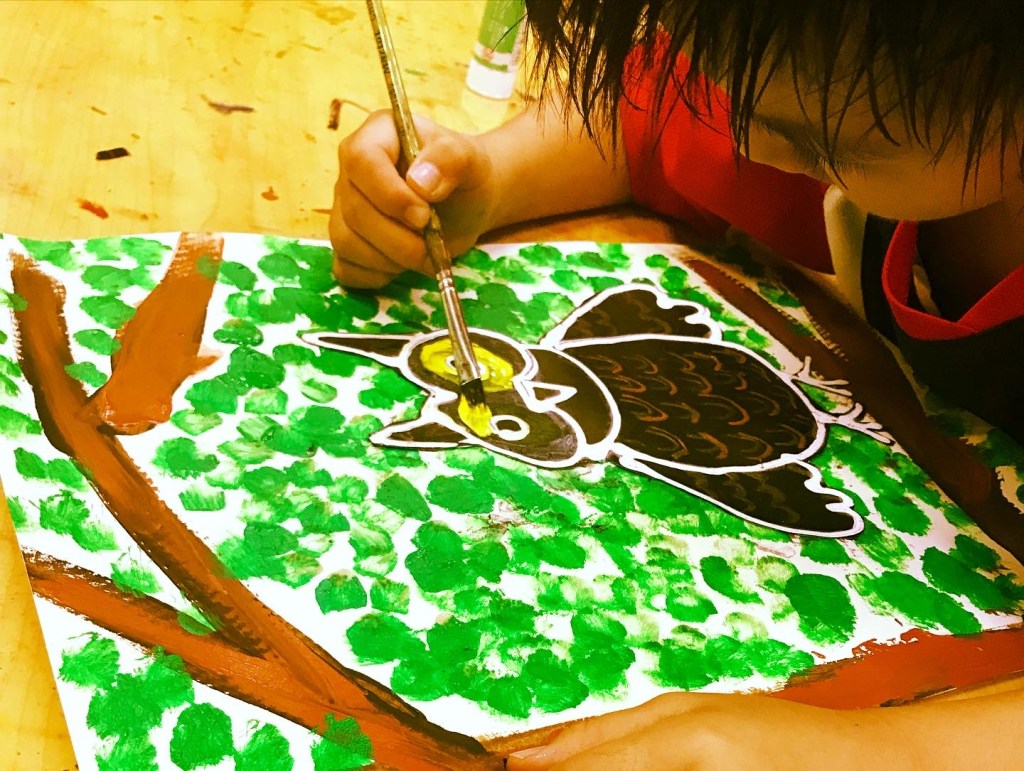
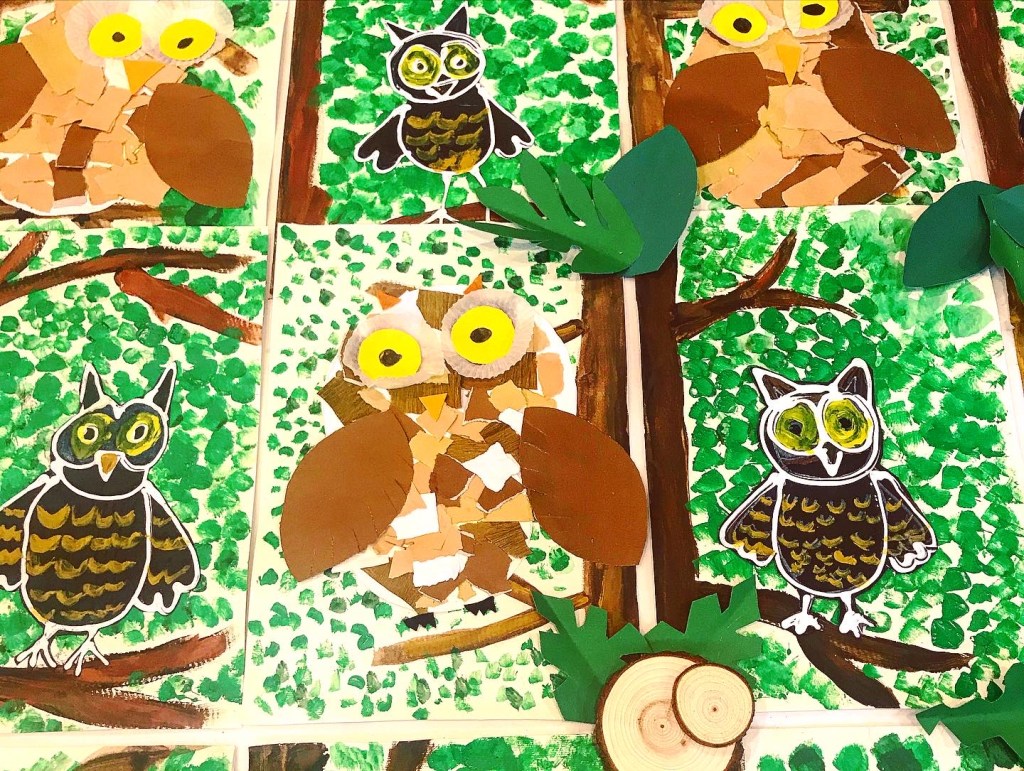
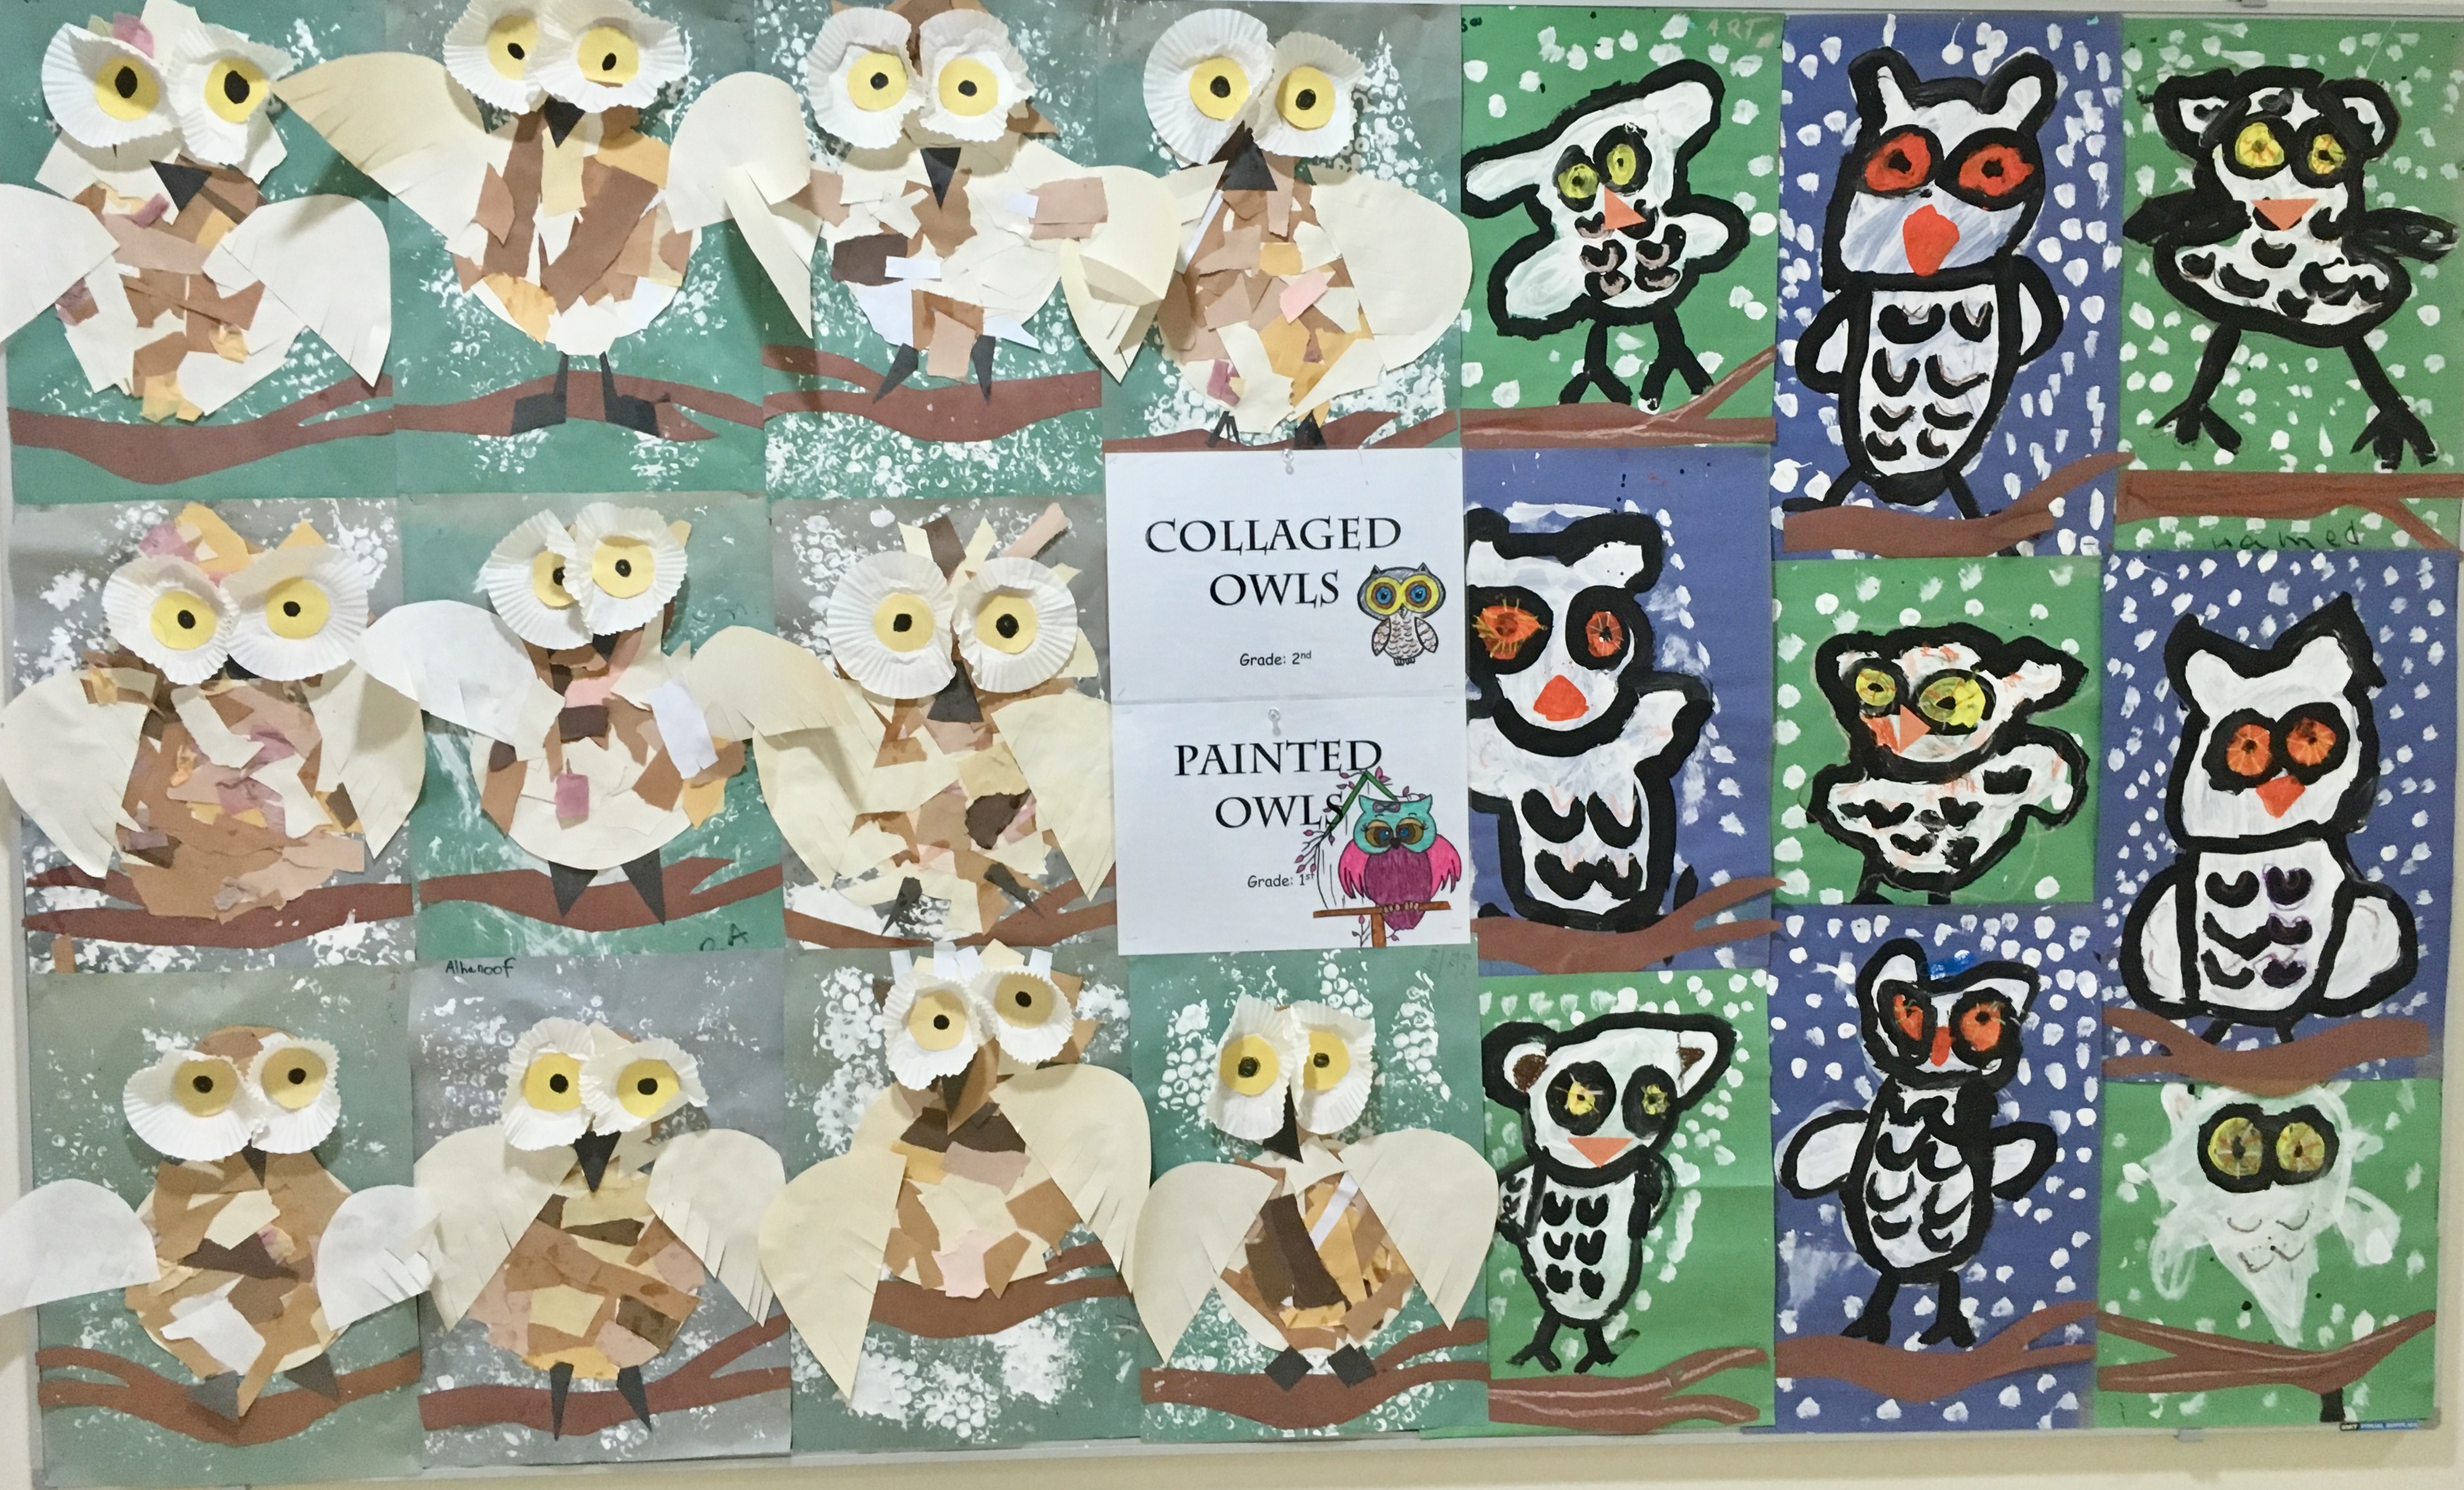
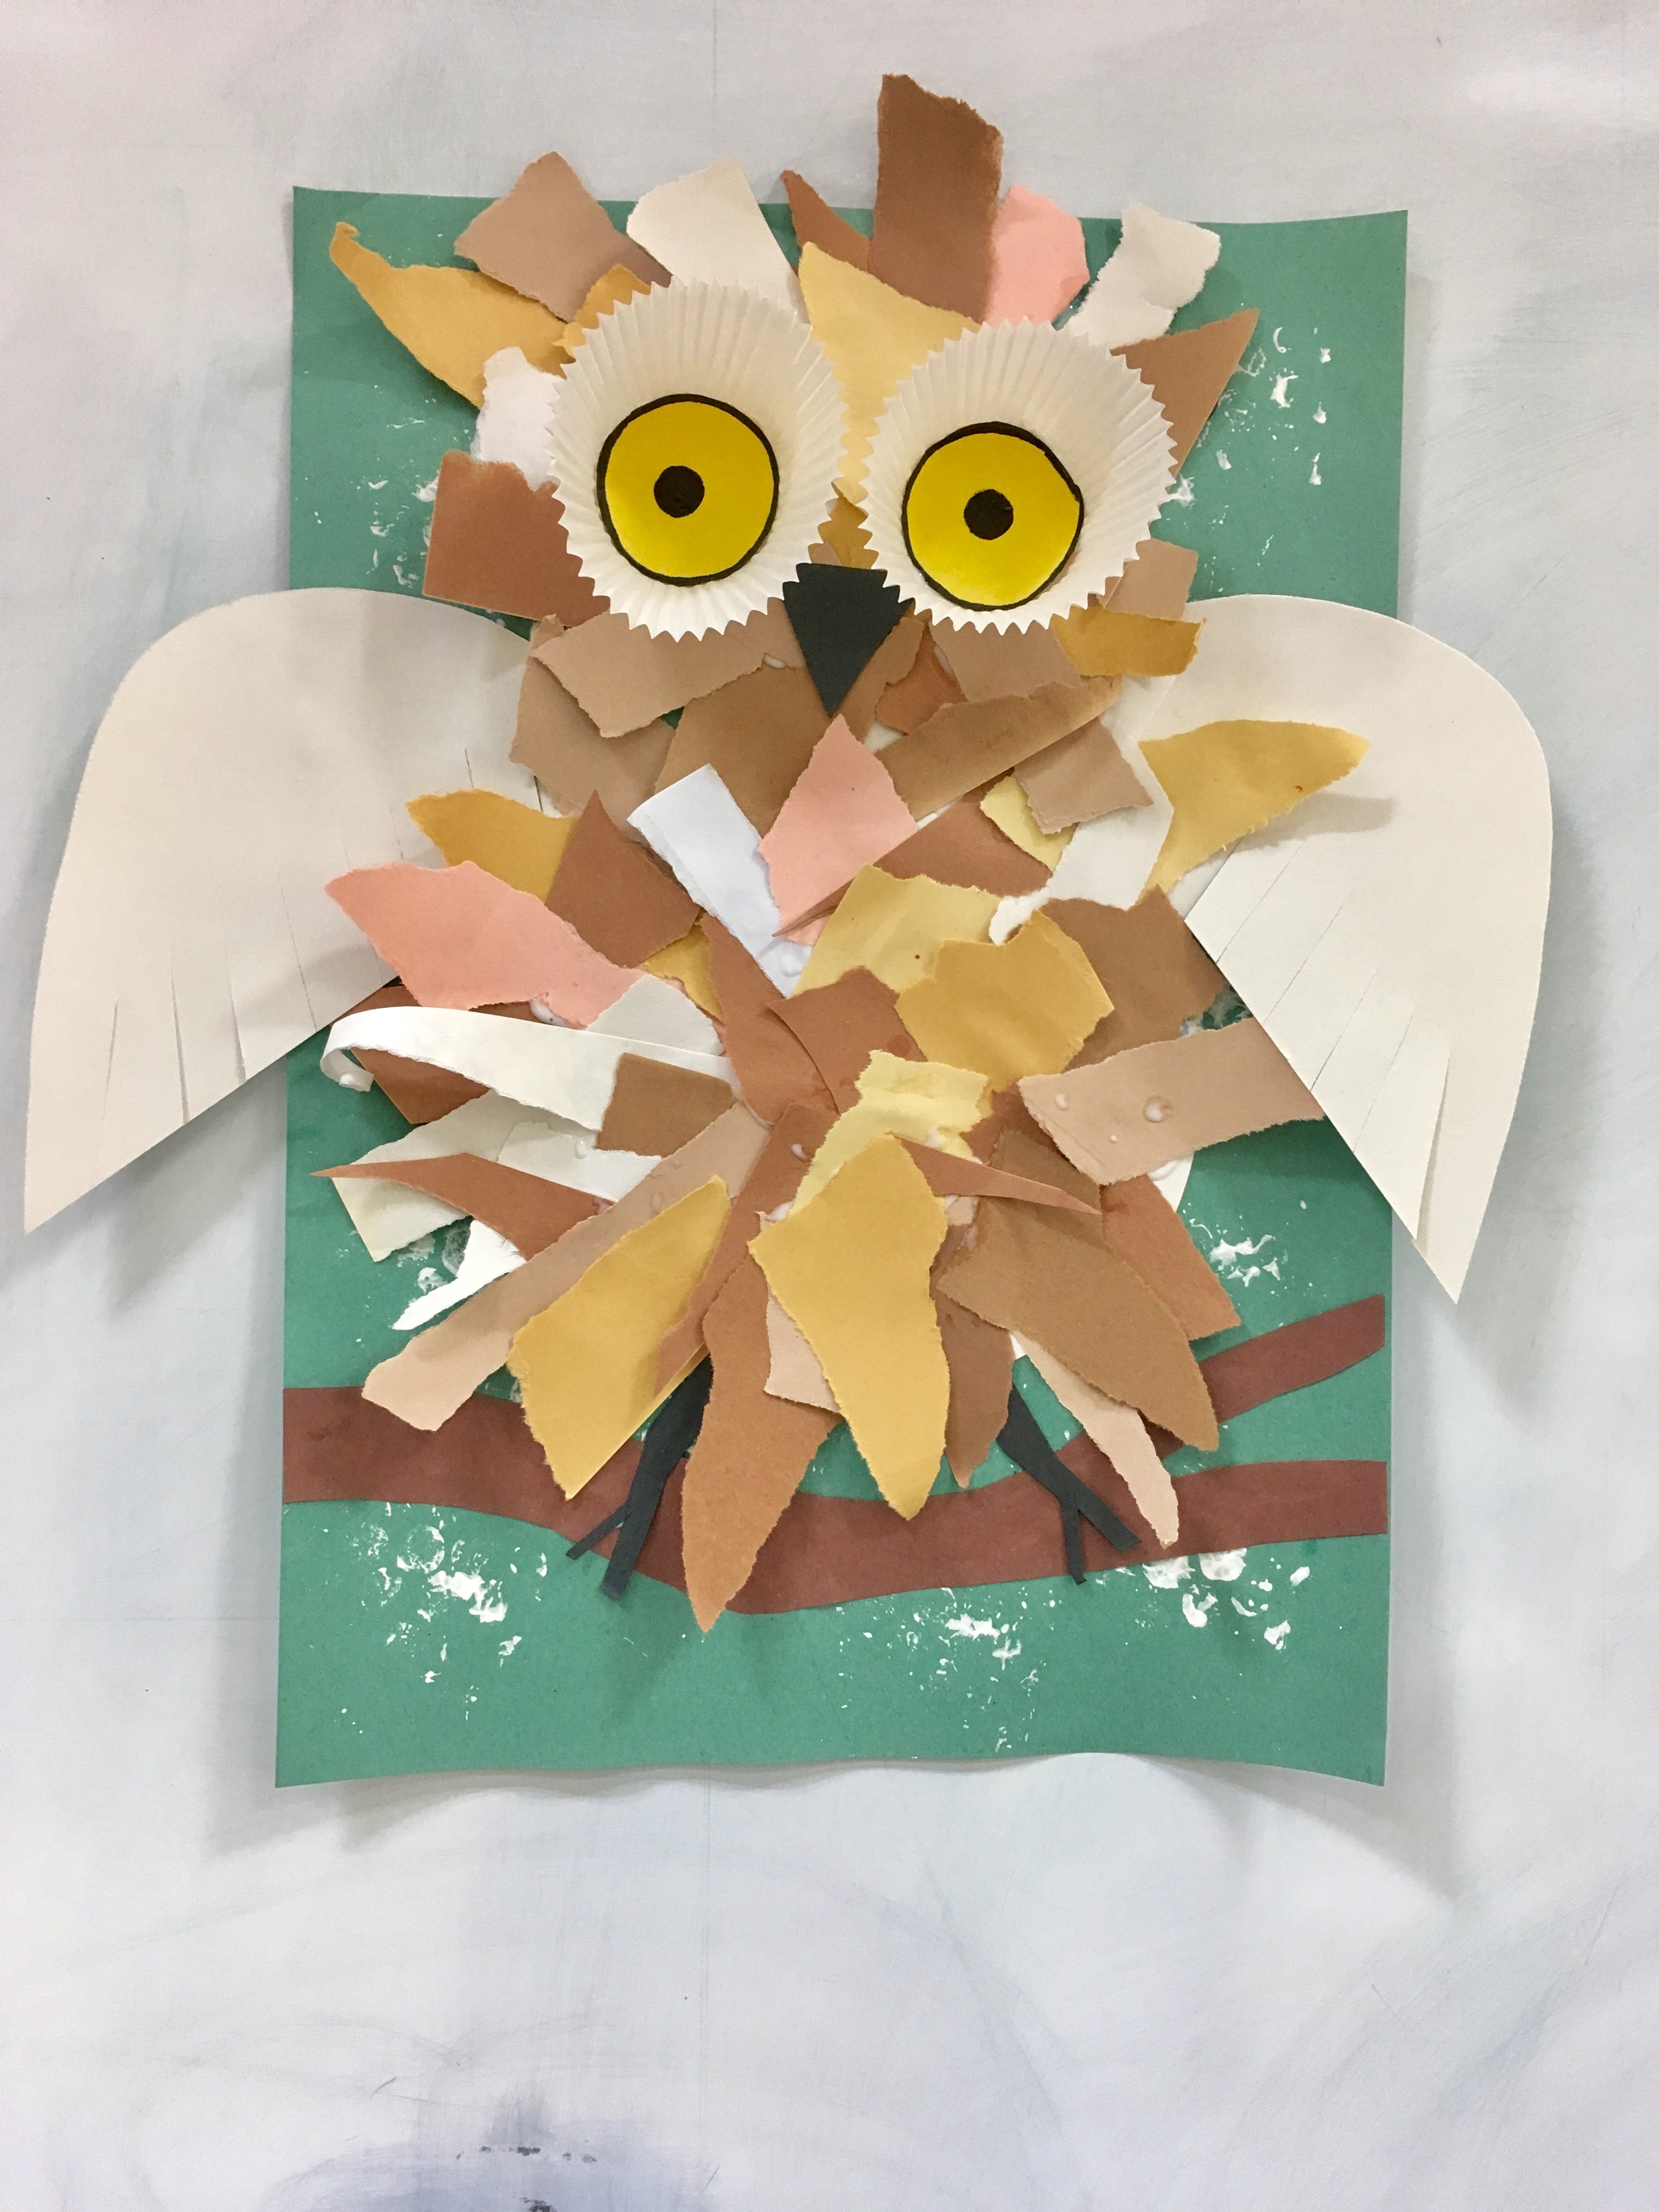
My second grade did collage owls:
Process:
Paint snow all over their construction paper and glue a brown branch to the bottom of their paper.
They were given two circle templates for the body, to trace, cut out and glue onto paper above the branch.
Use small pieces of torn paper to fill in the body.
Two cupcake liners for eyes, use yellow paper for the circles inside.
Use a small piece of black construction paper to make a beak, legs and feet.
Lastly fold paper and trace wing template, cut out and glue them on the sides of the owl.
My 2nd Graders learned how to draw different types of insects. They first traced a template of a jar. Then they drew their bugs inside the jar. I then had them trace their drawing with a black oil pastel/ black crayons will also work. Then they used watercolors to paint their bugs and their jar. Lastly they cut out their jars and counted the bugs inside.