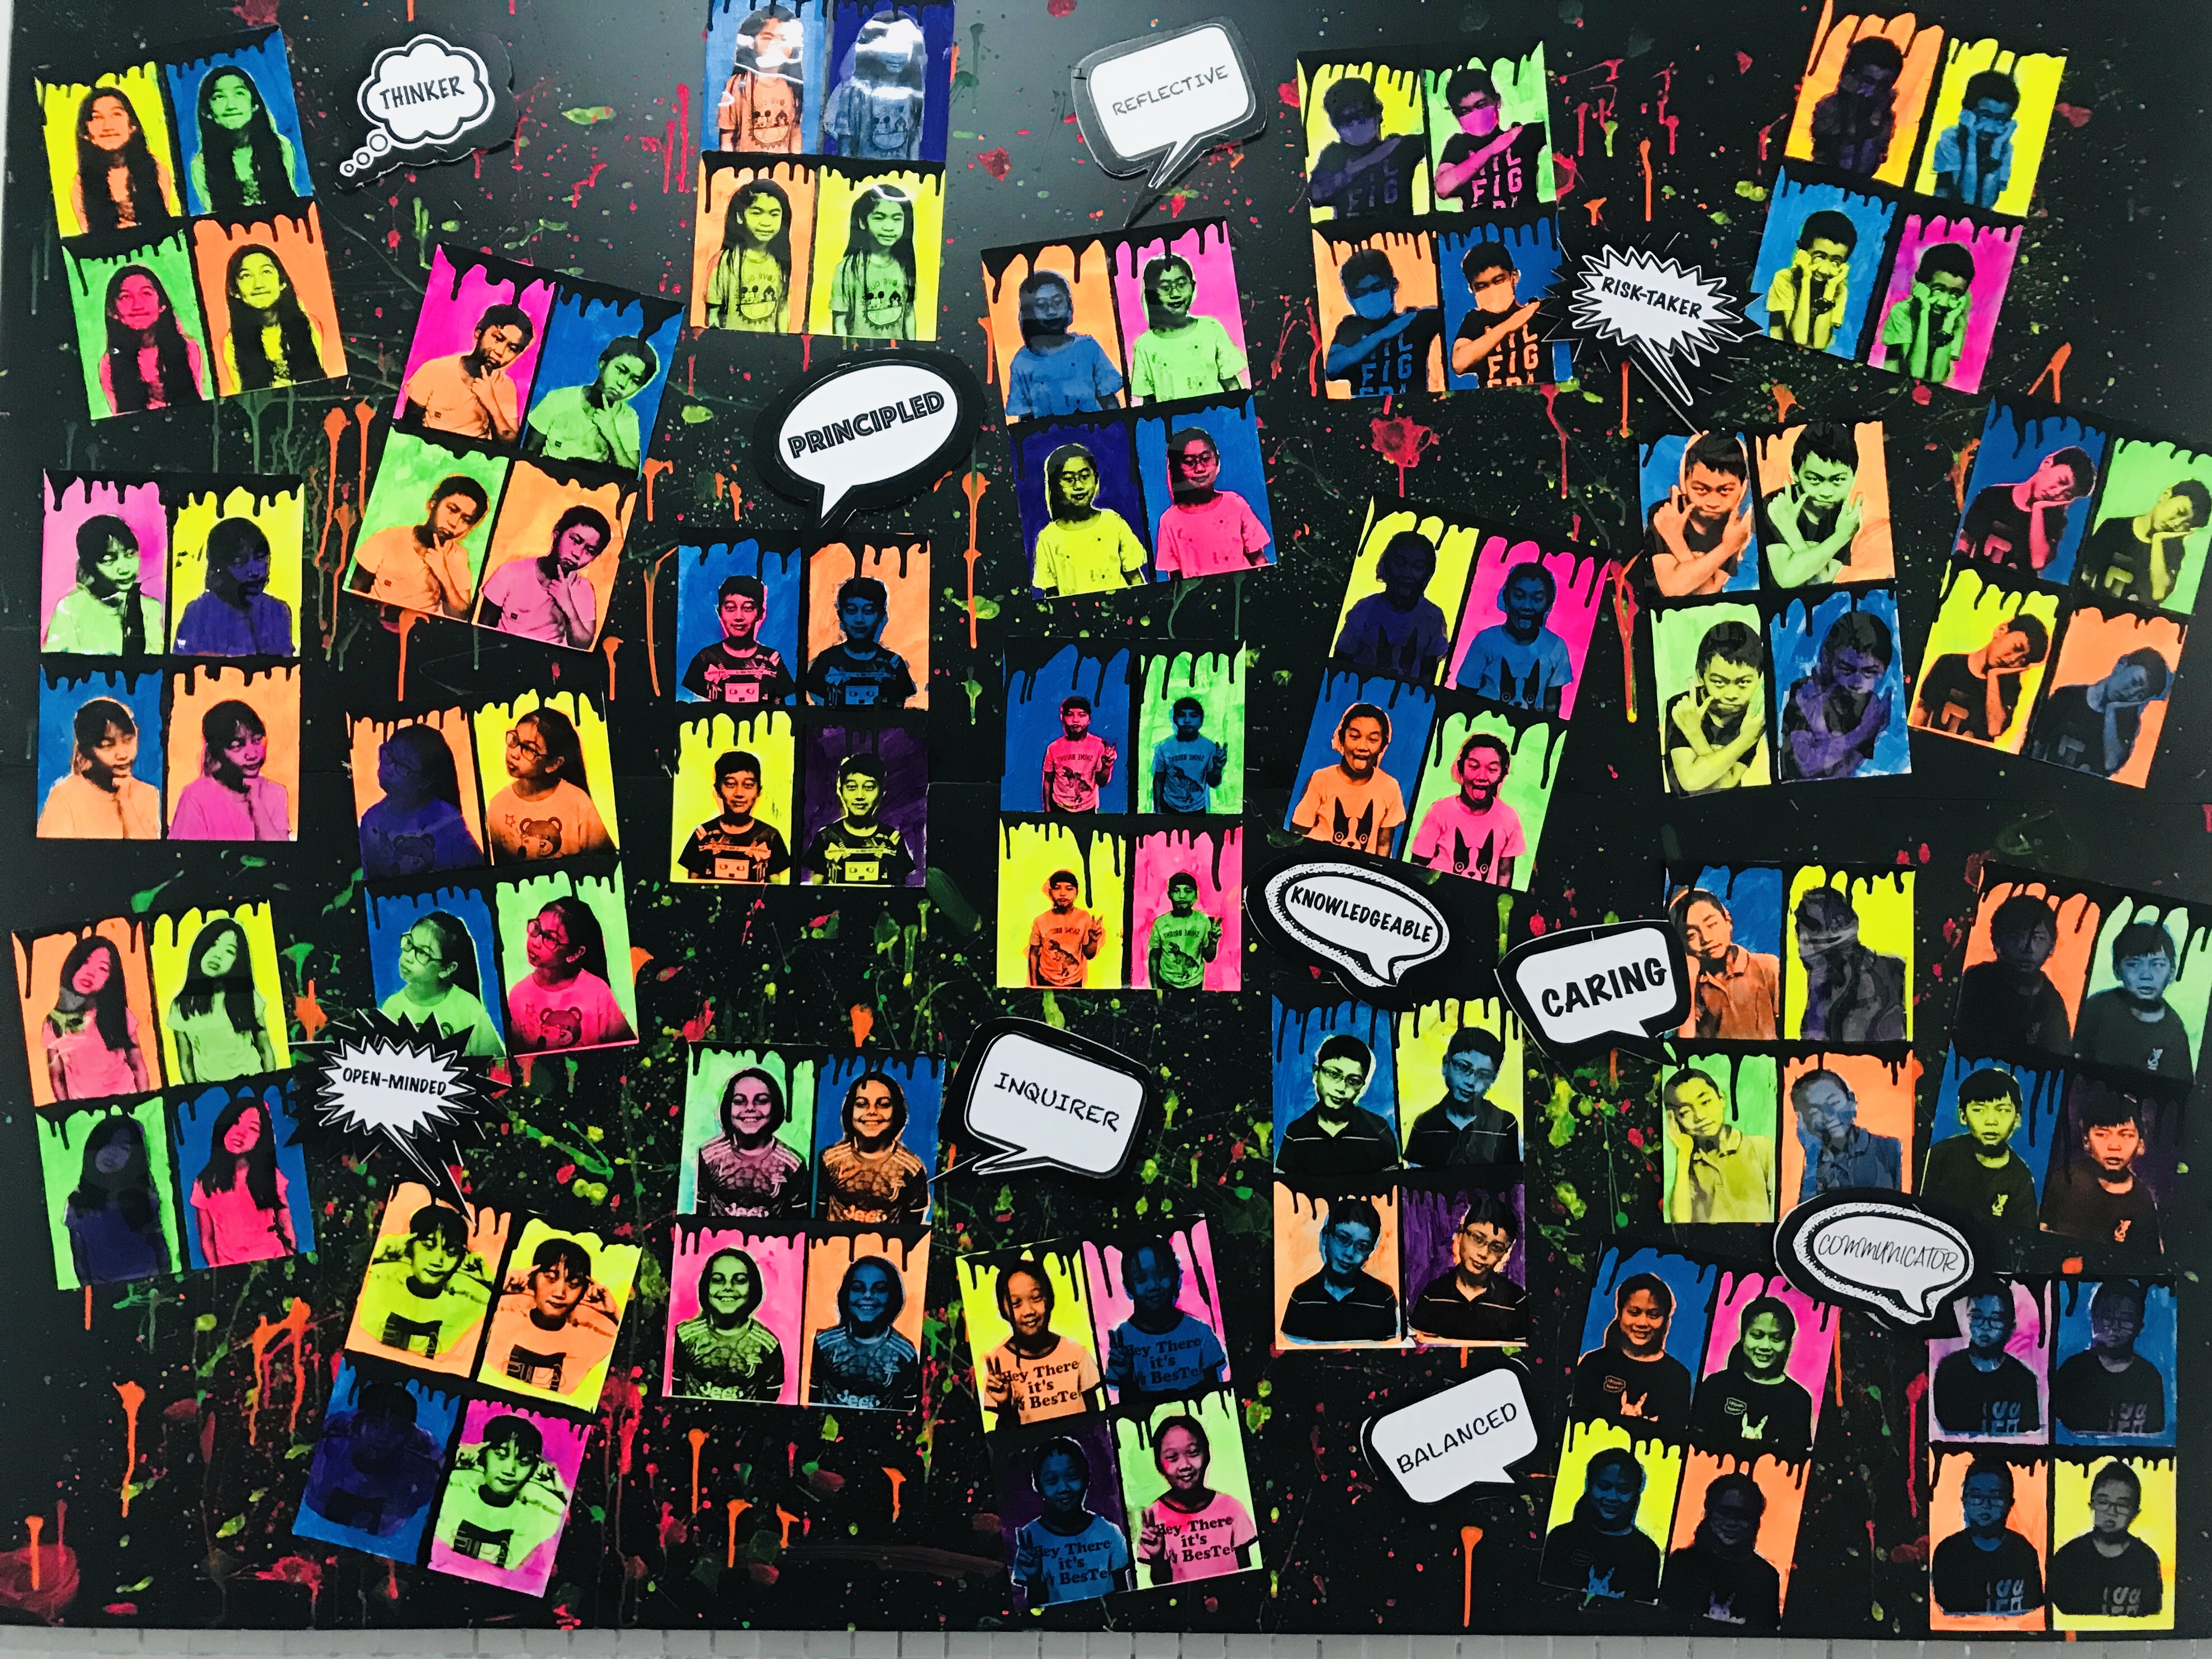
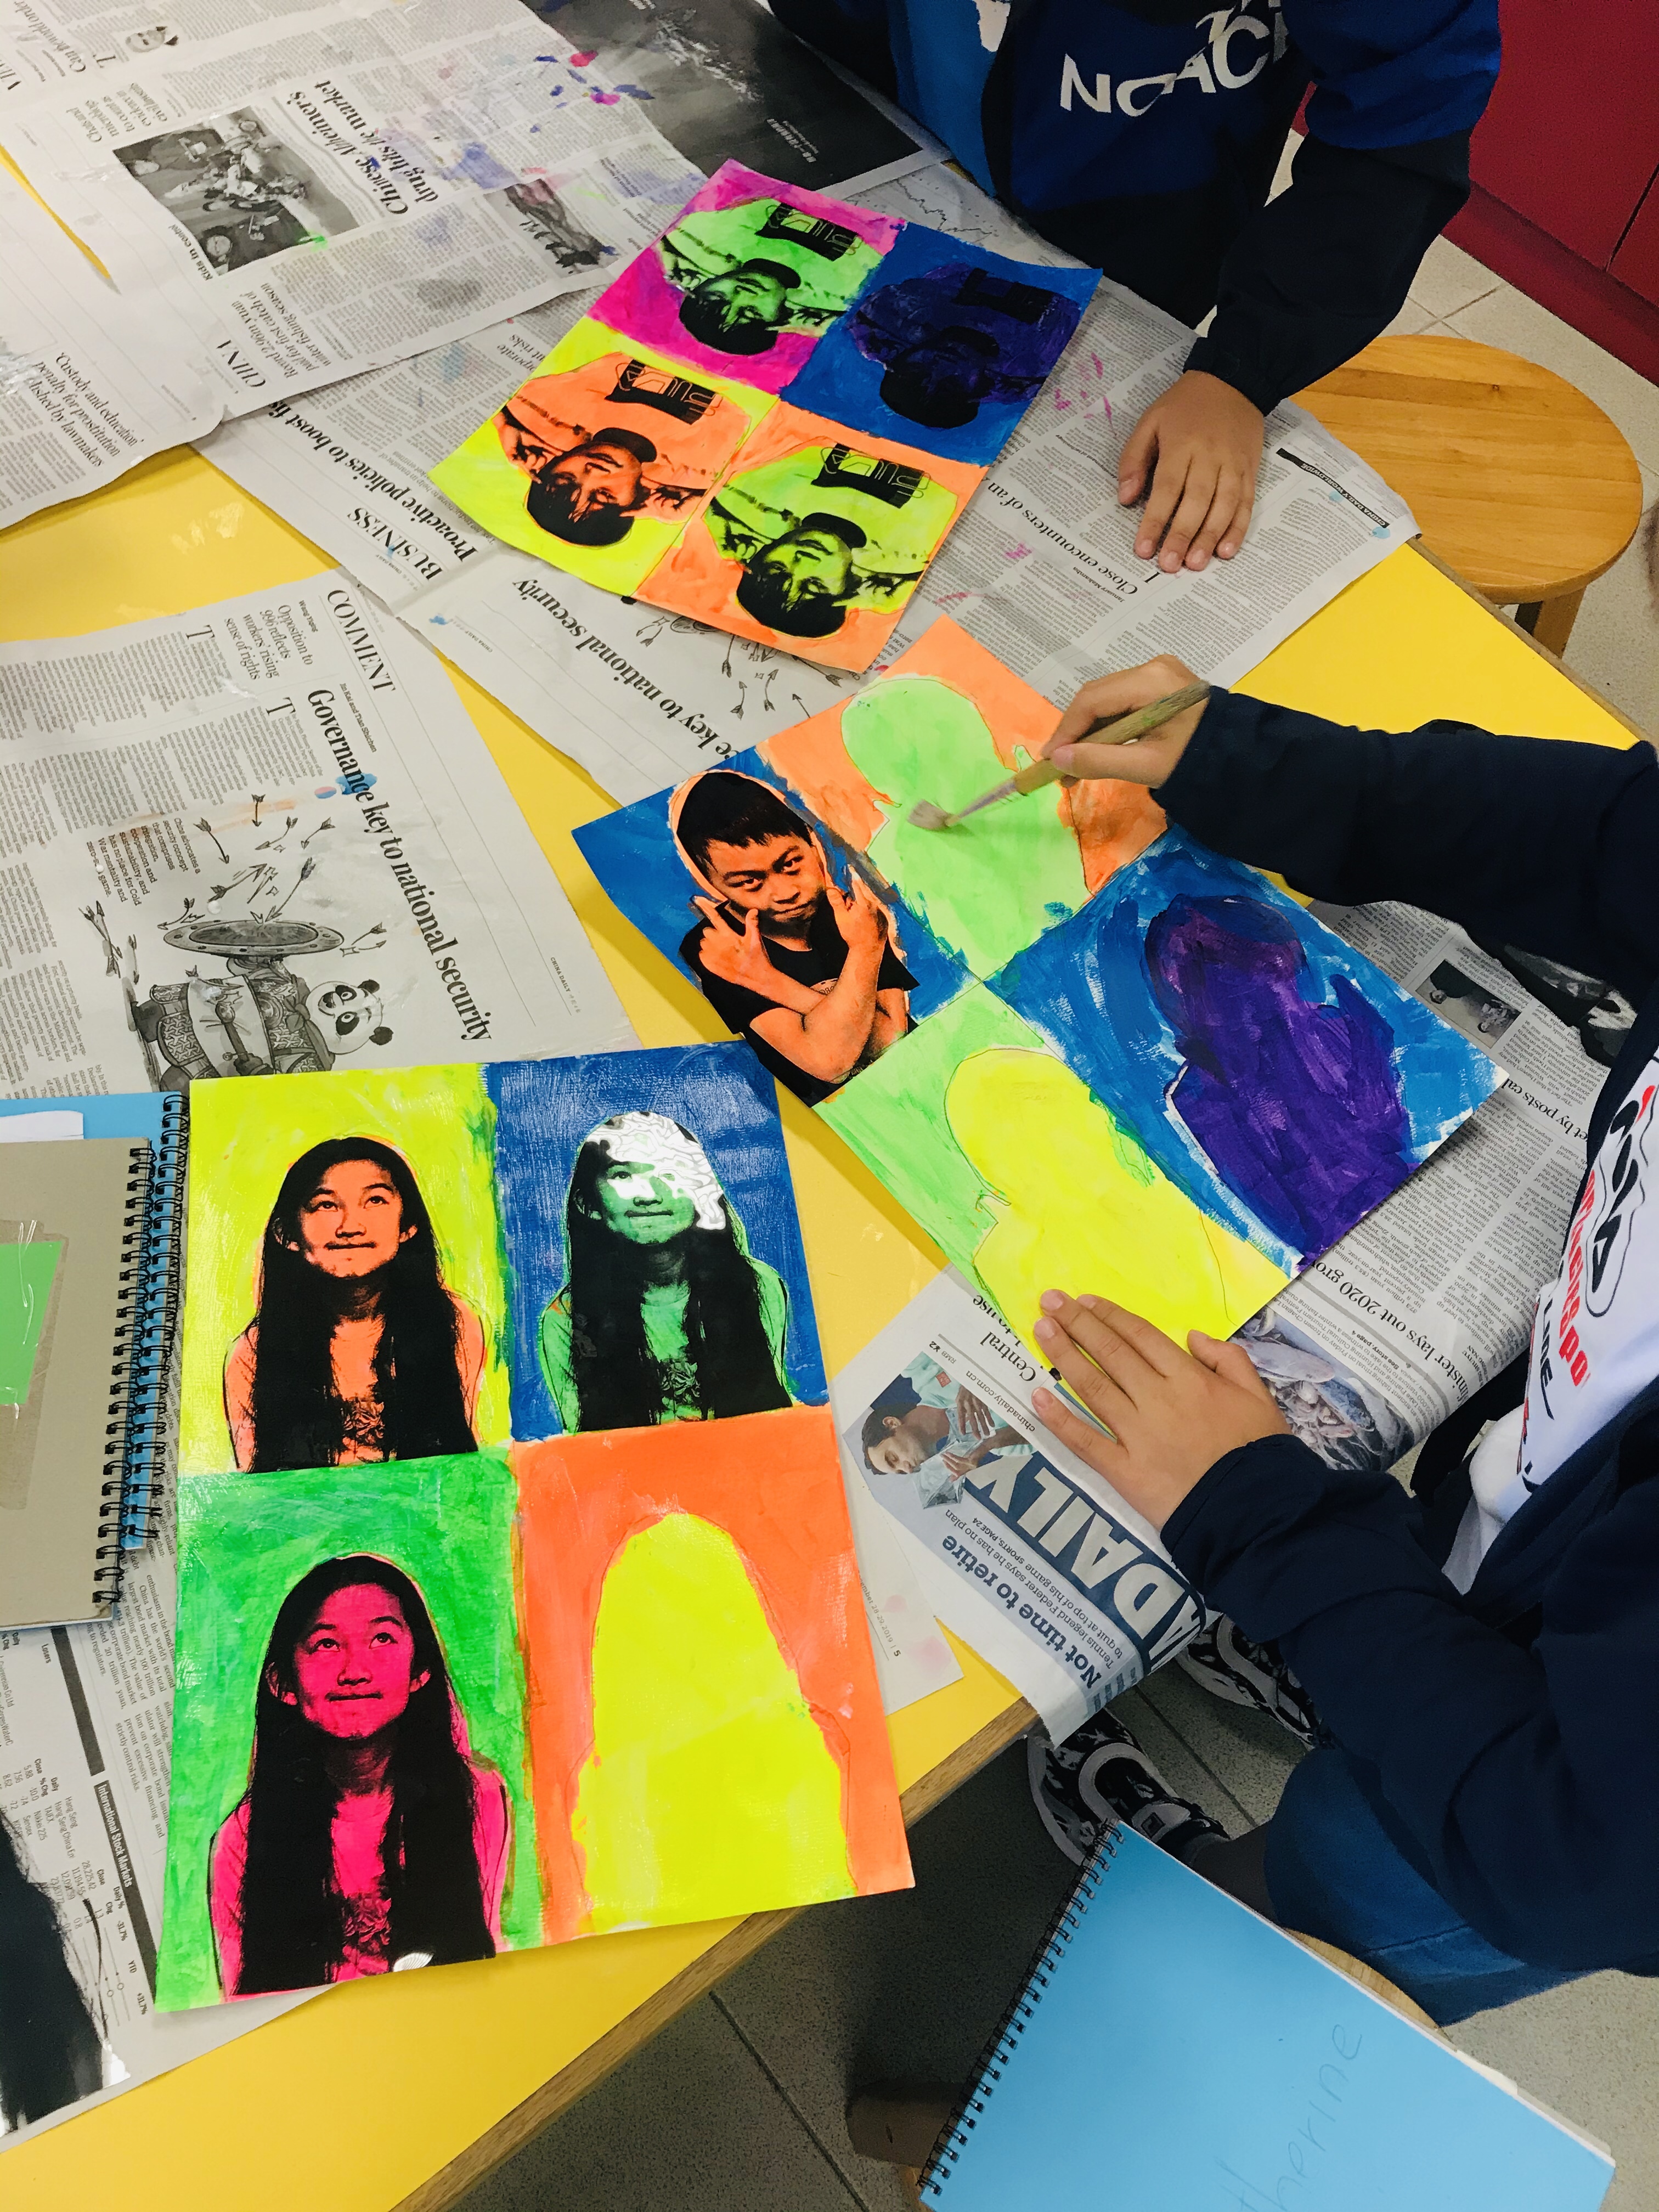
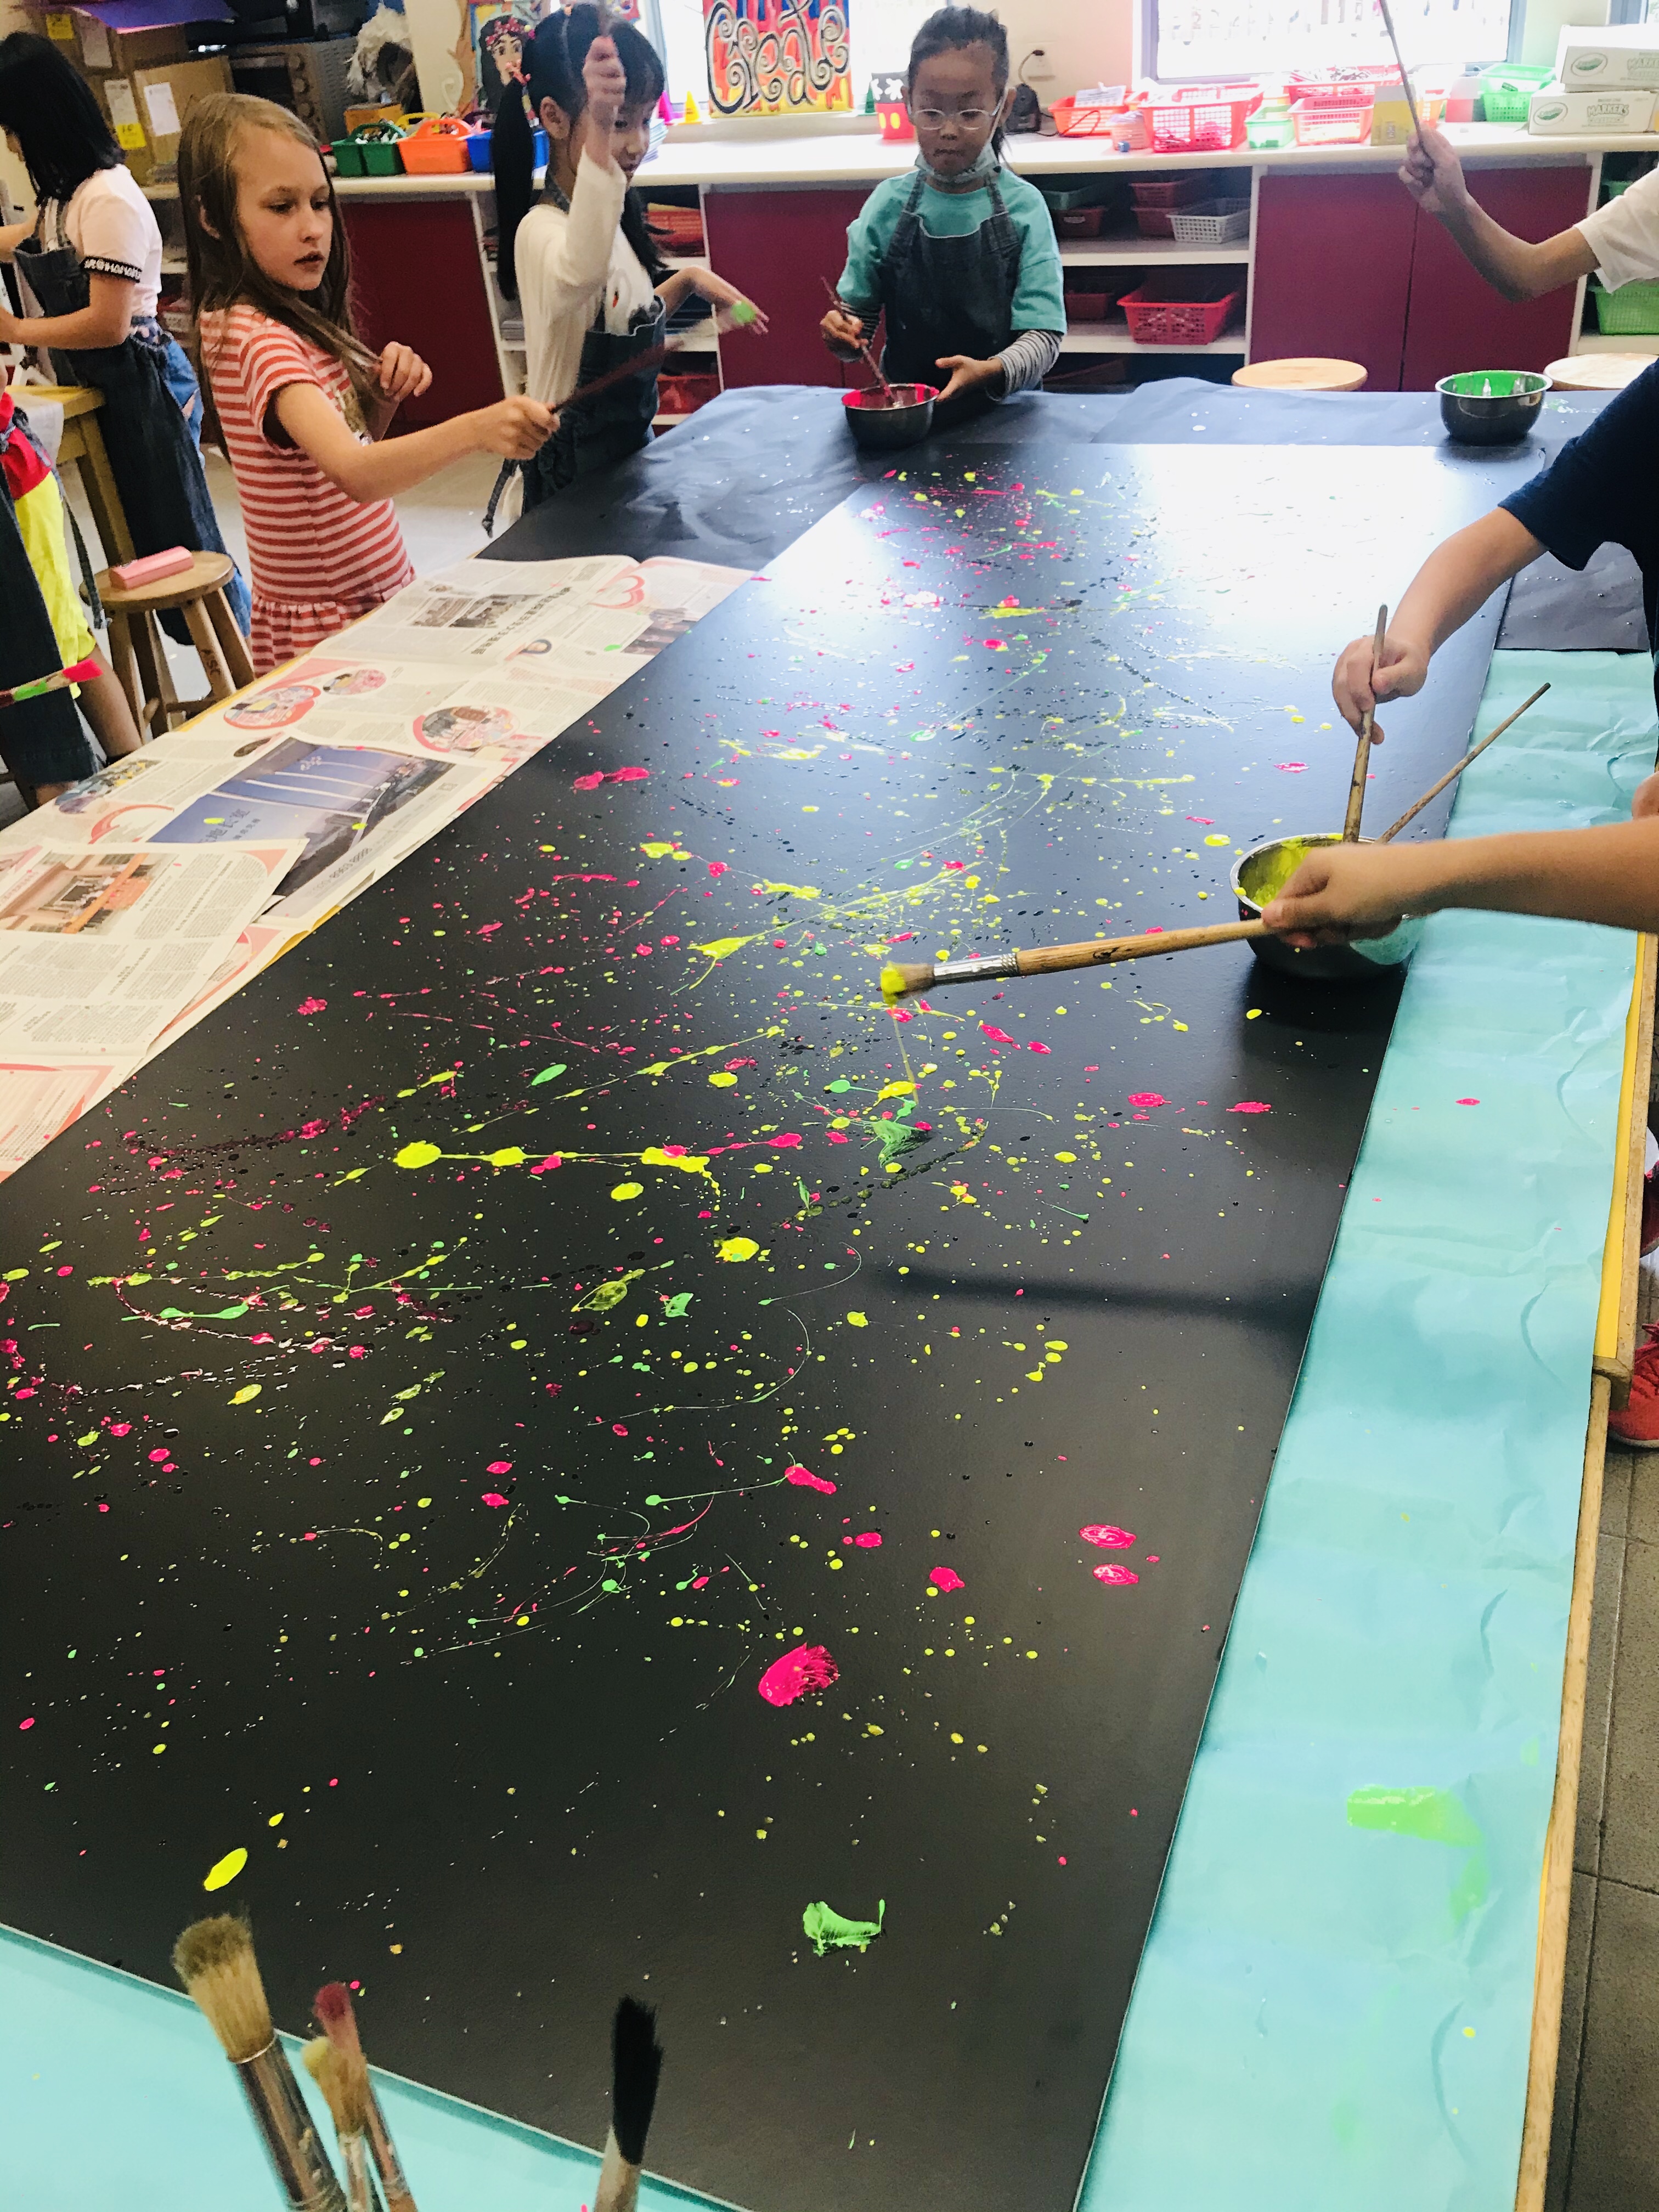
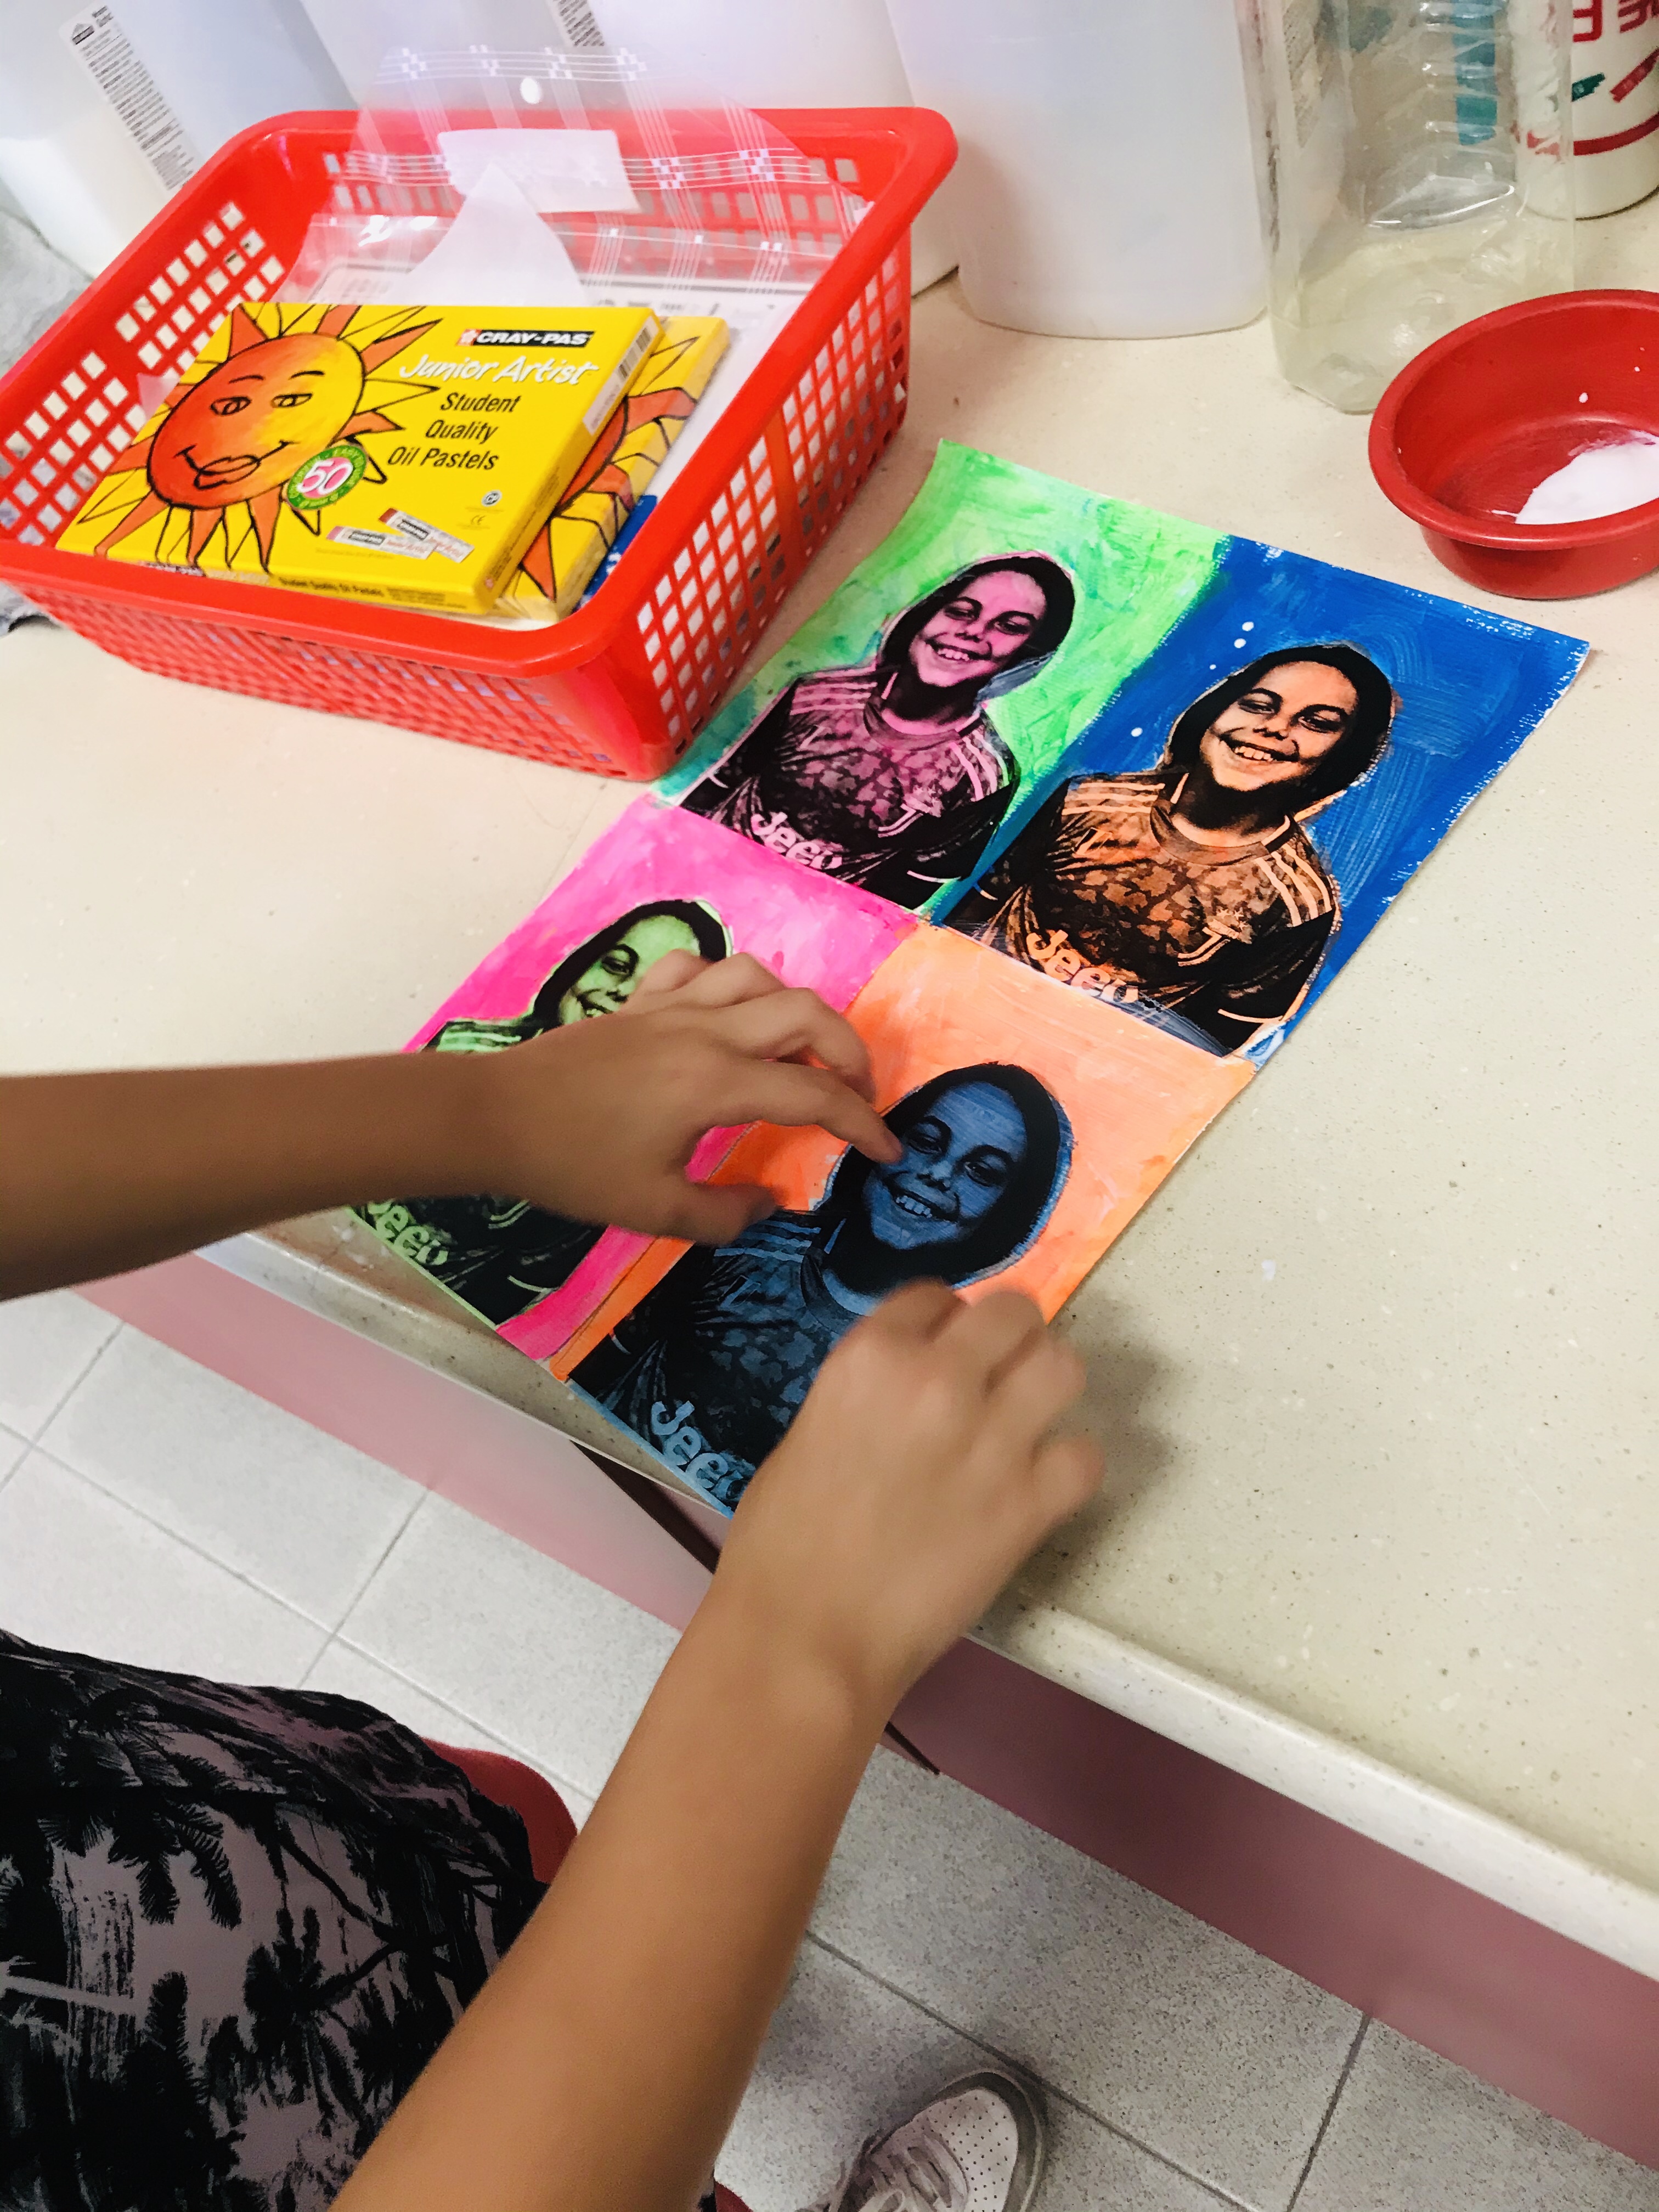
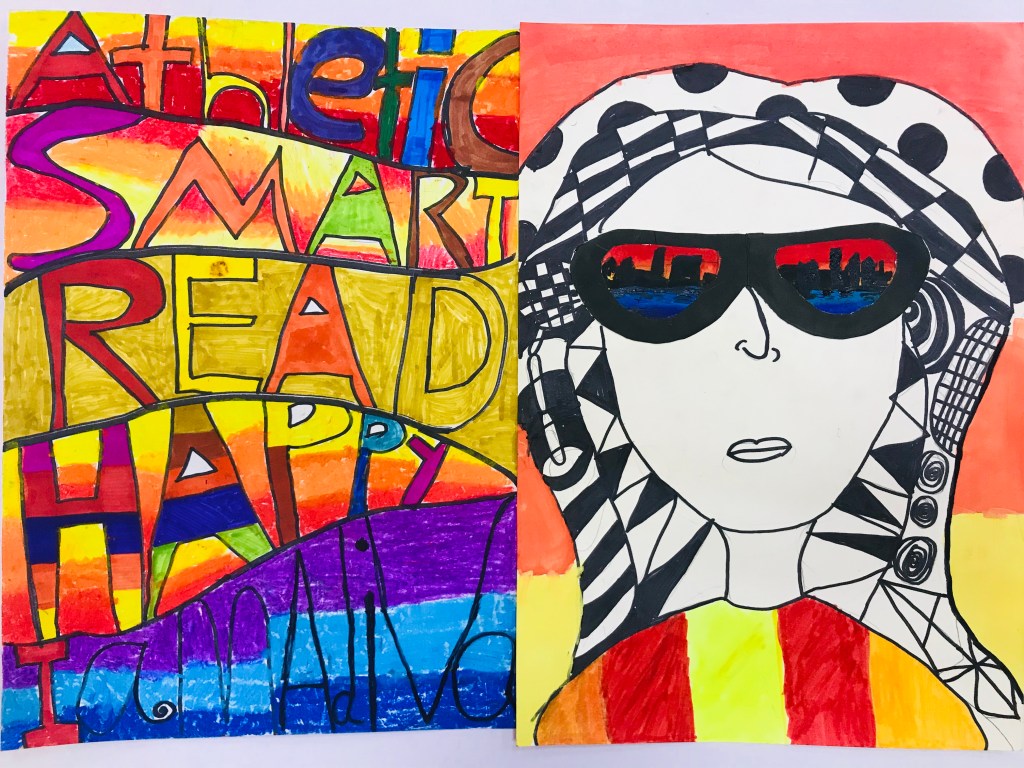
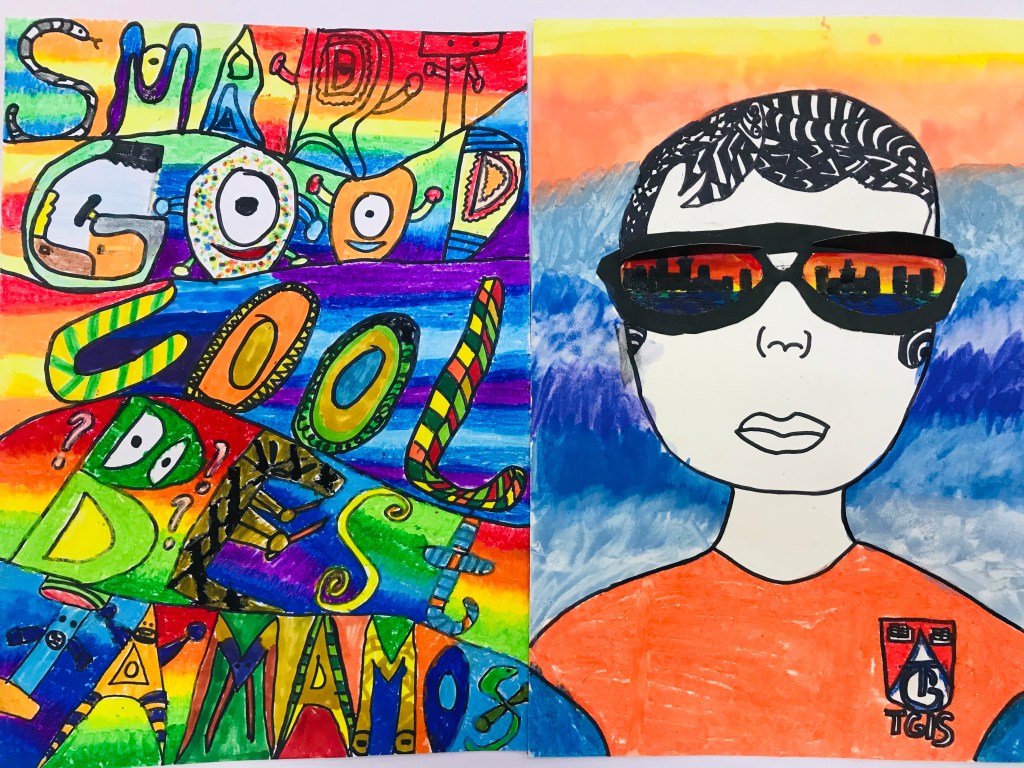
My Grade 4’s created Andy Warhol inspired prints of themselves using transparency paper and neon acrylic paints. I took their selfies and printed them out. They then made a stencil of their portraits and used contrasting colors to paint the positive and negative space of their images. My Grade 3’s helped by painting the Jackson Pollock inspired background. We then incorporated the PYP Learner profile for our lobby display. ❤️🎨
Category Archives: 4th Grade Lessons


Astronauts in Space
Grade 4 learned how to draw an astronaut through a guided drawing tutorial from Art for Kids Hub YouTube channel. Students then developed skills in drawing and blending using chalk and oil pastels as they created an outer space background on construction paper. Once students finished their backgrounds we mounted their astronaut using card stock and mounting tape to give it a 3D effect. 🚀👩🏼🚀☄️💫


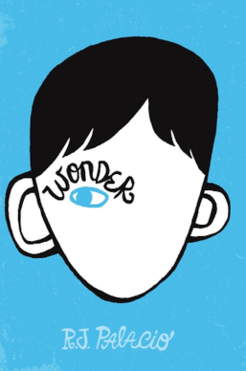
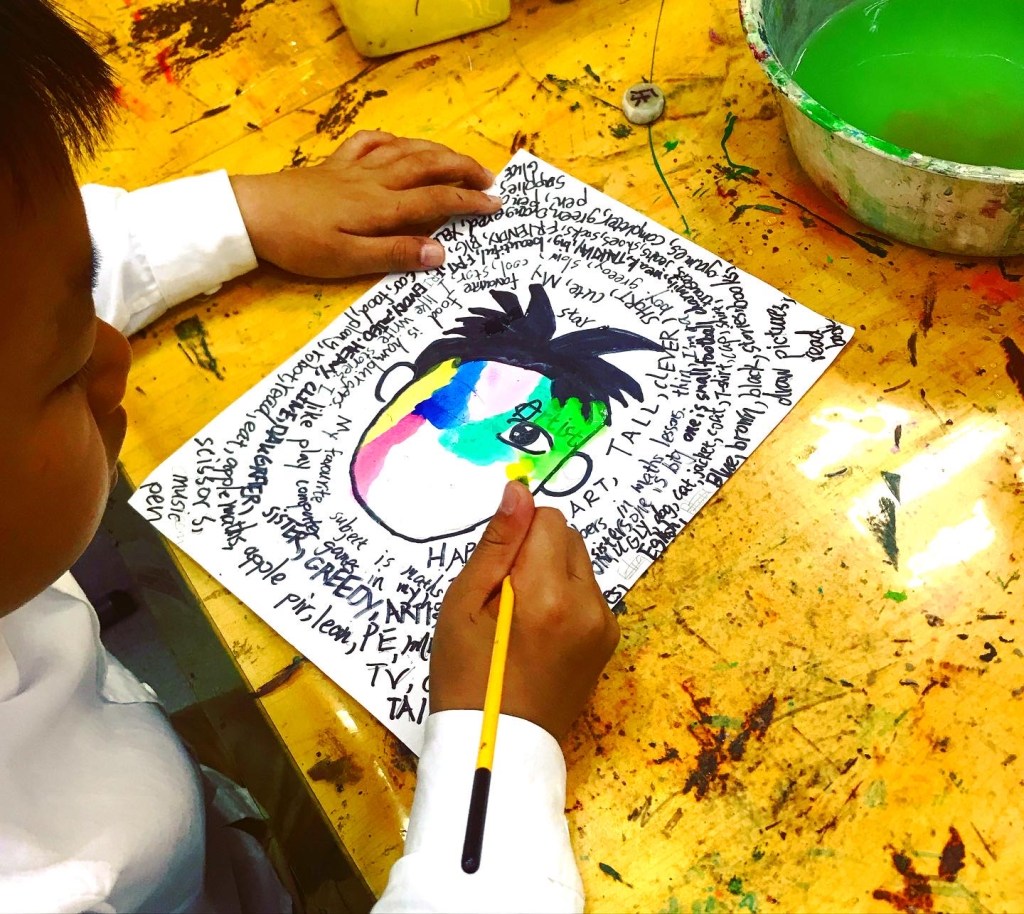
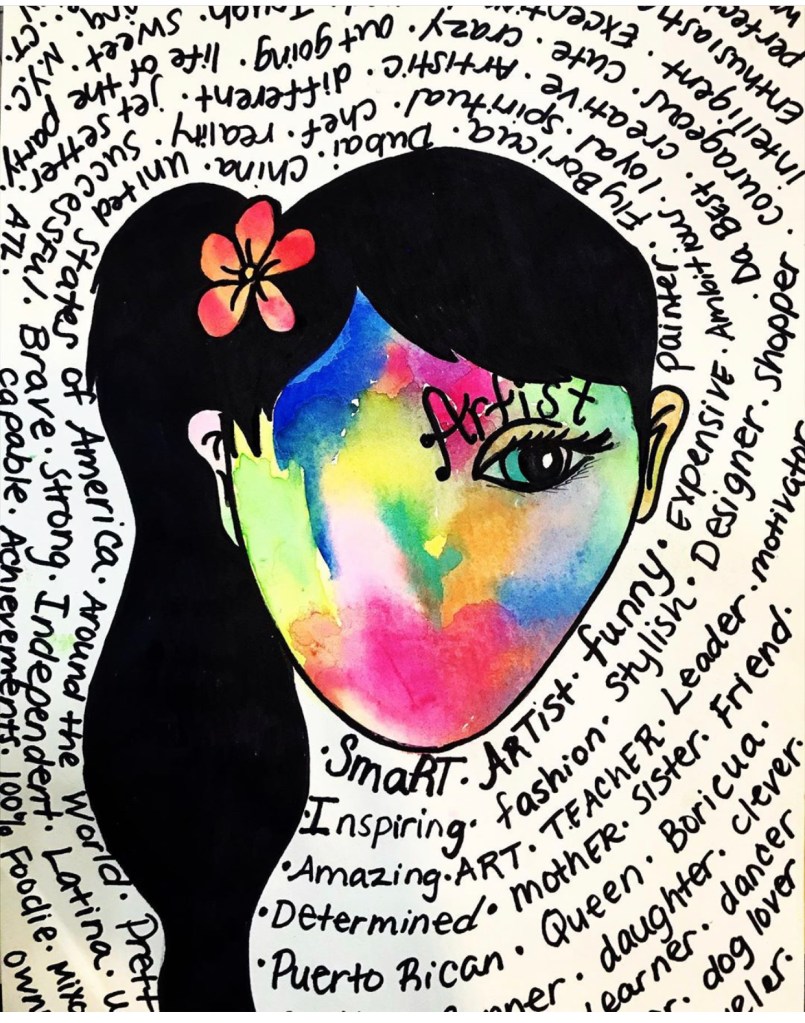
Wonder
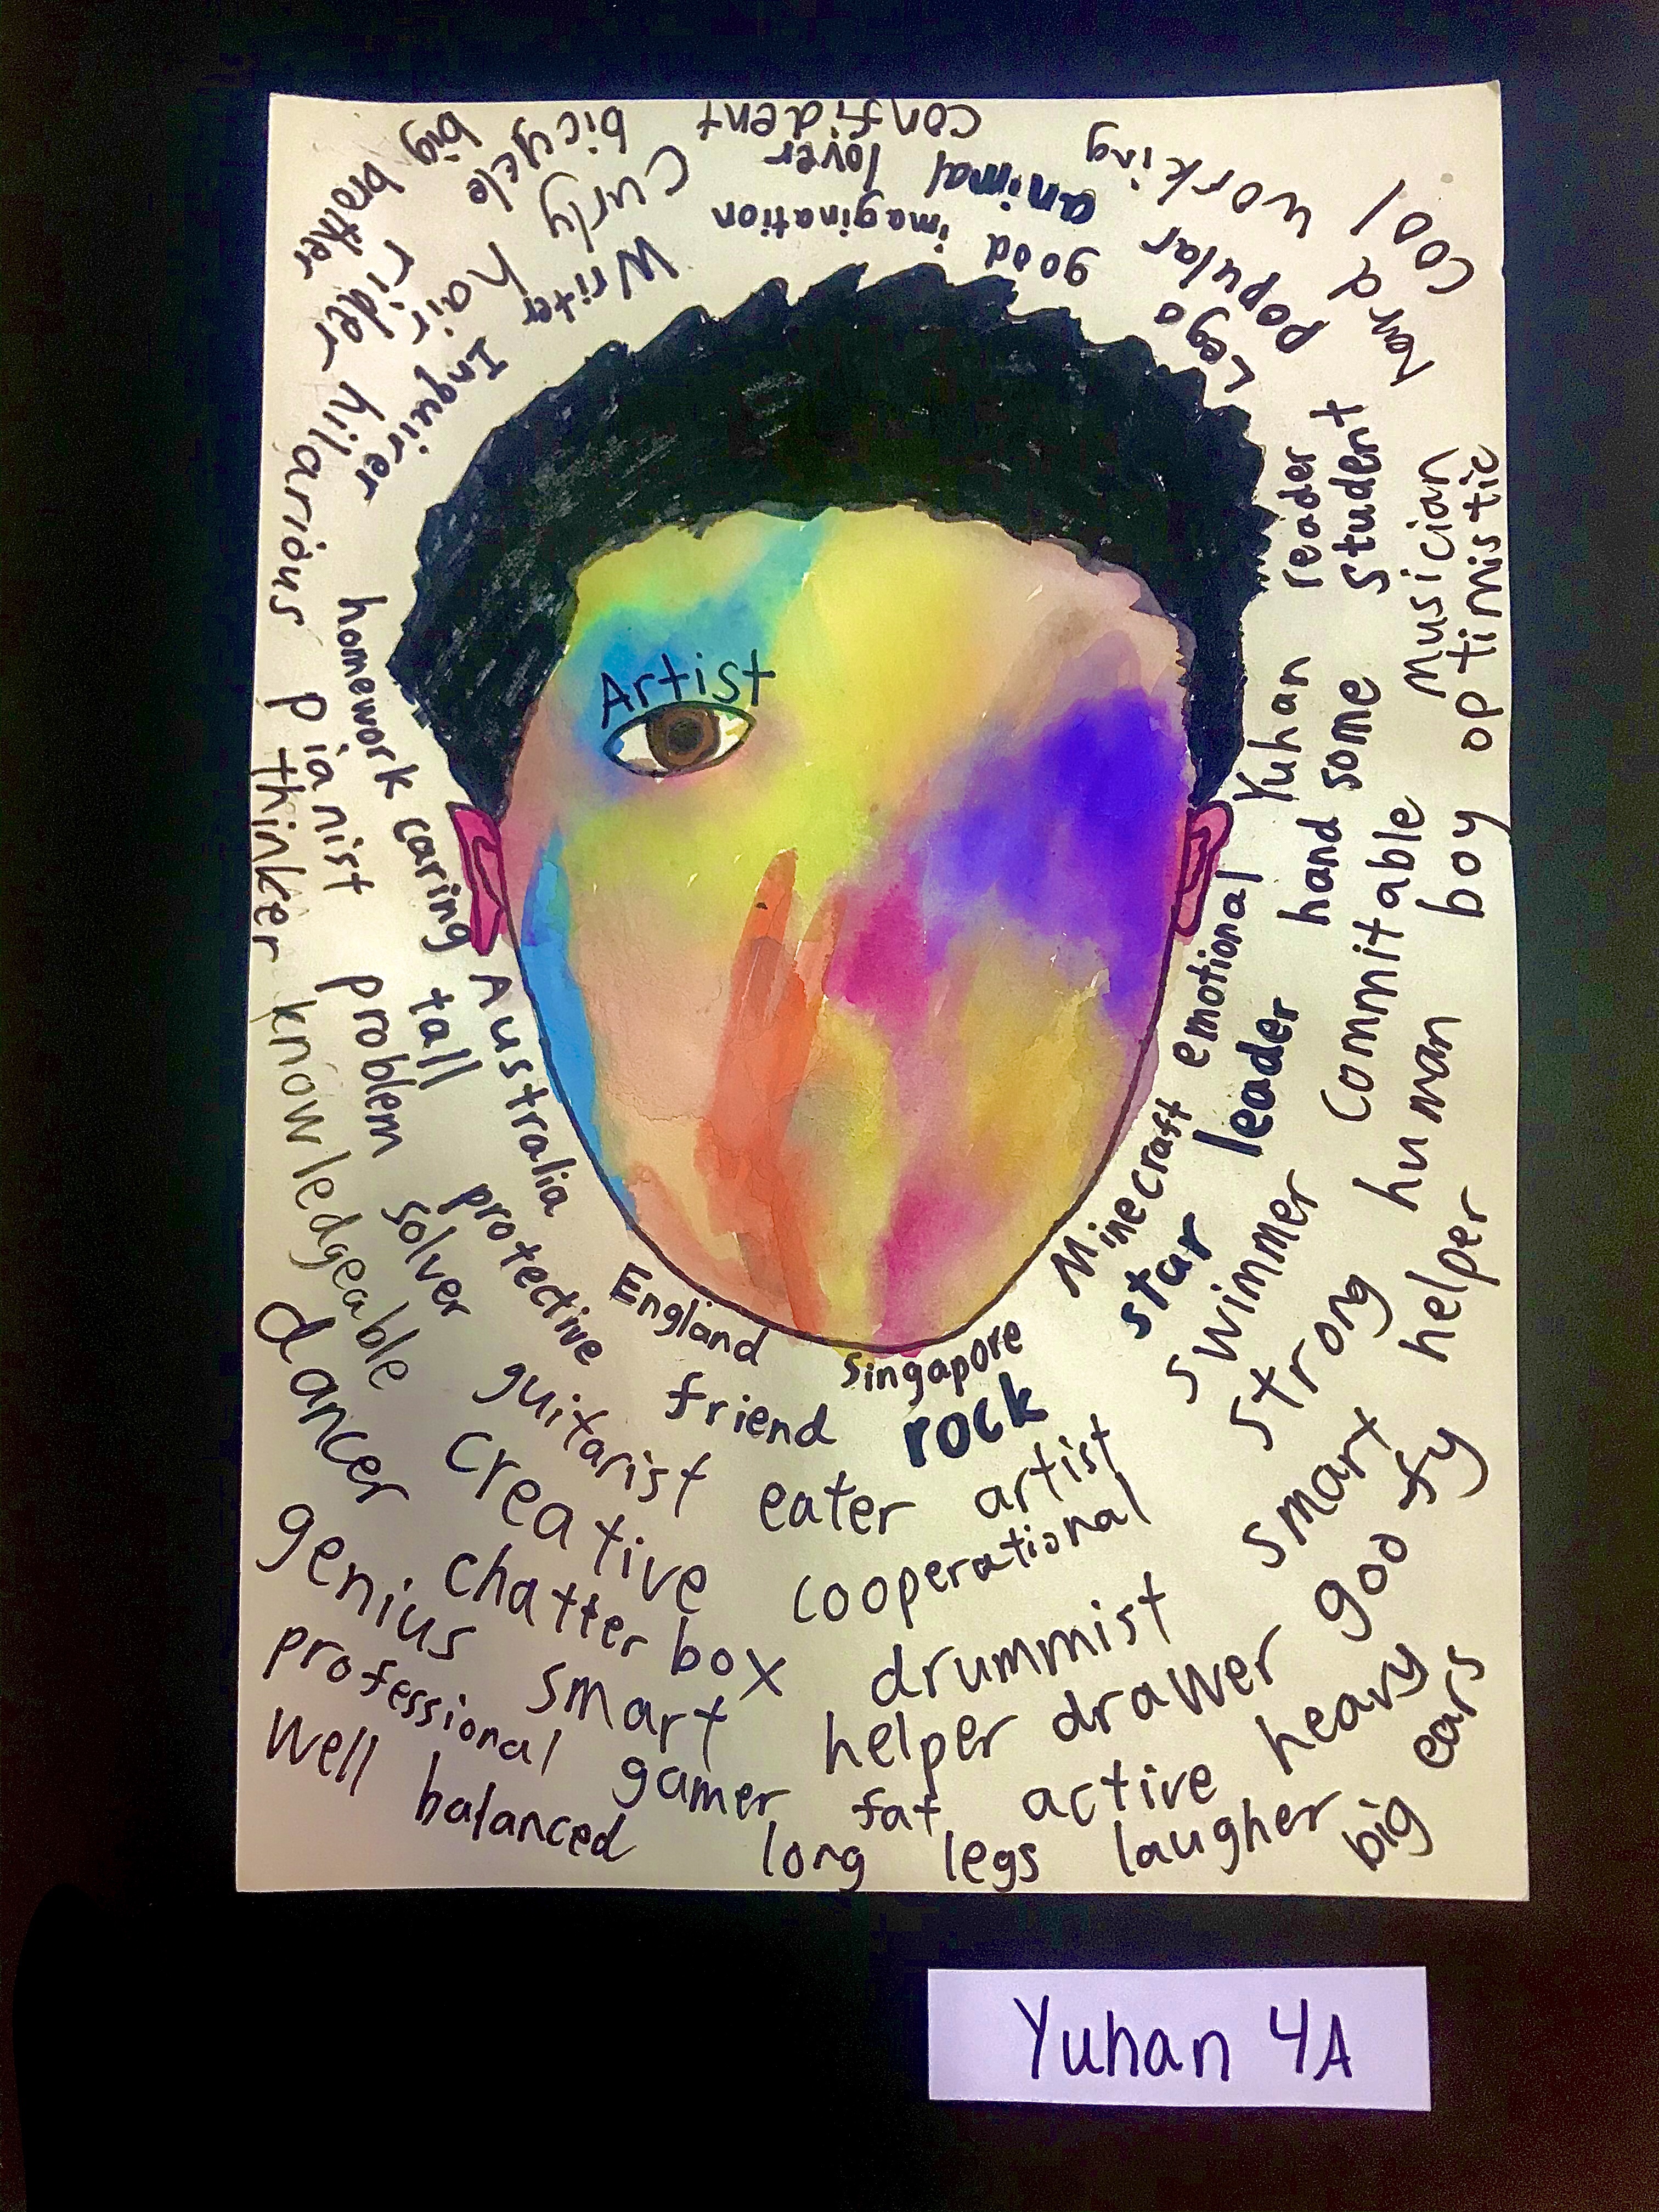
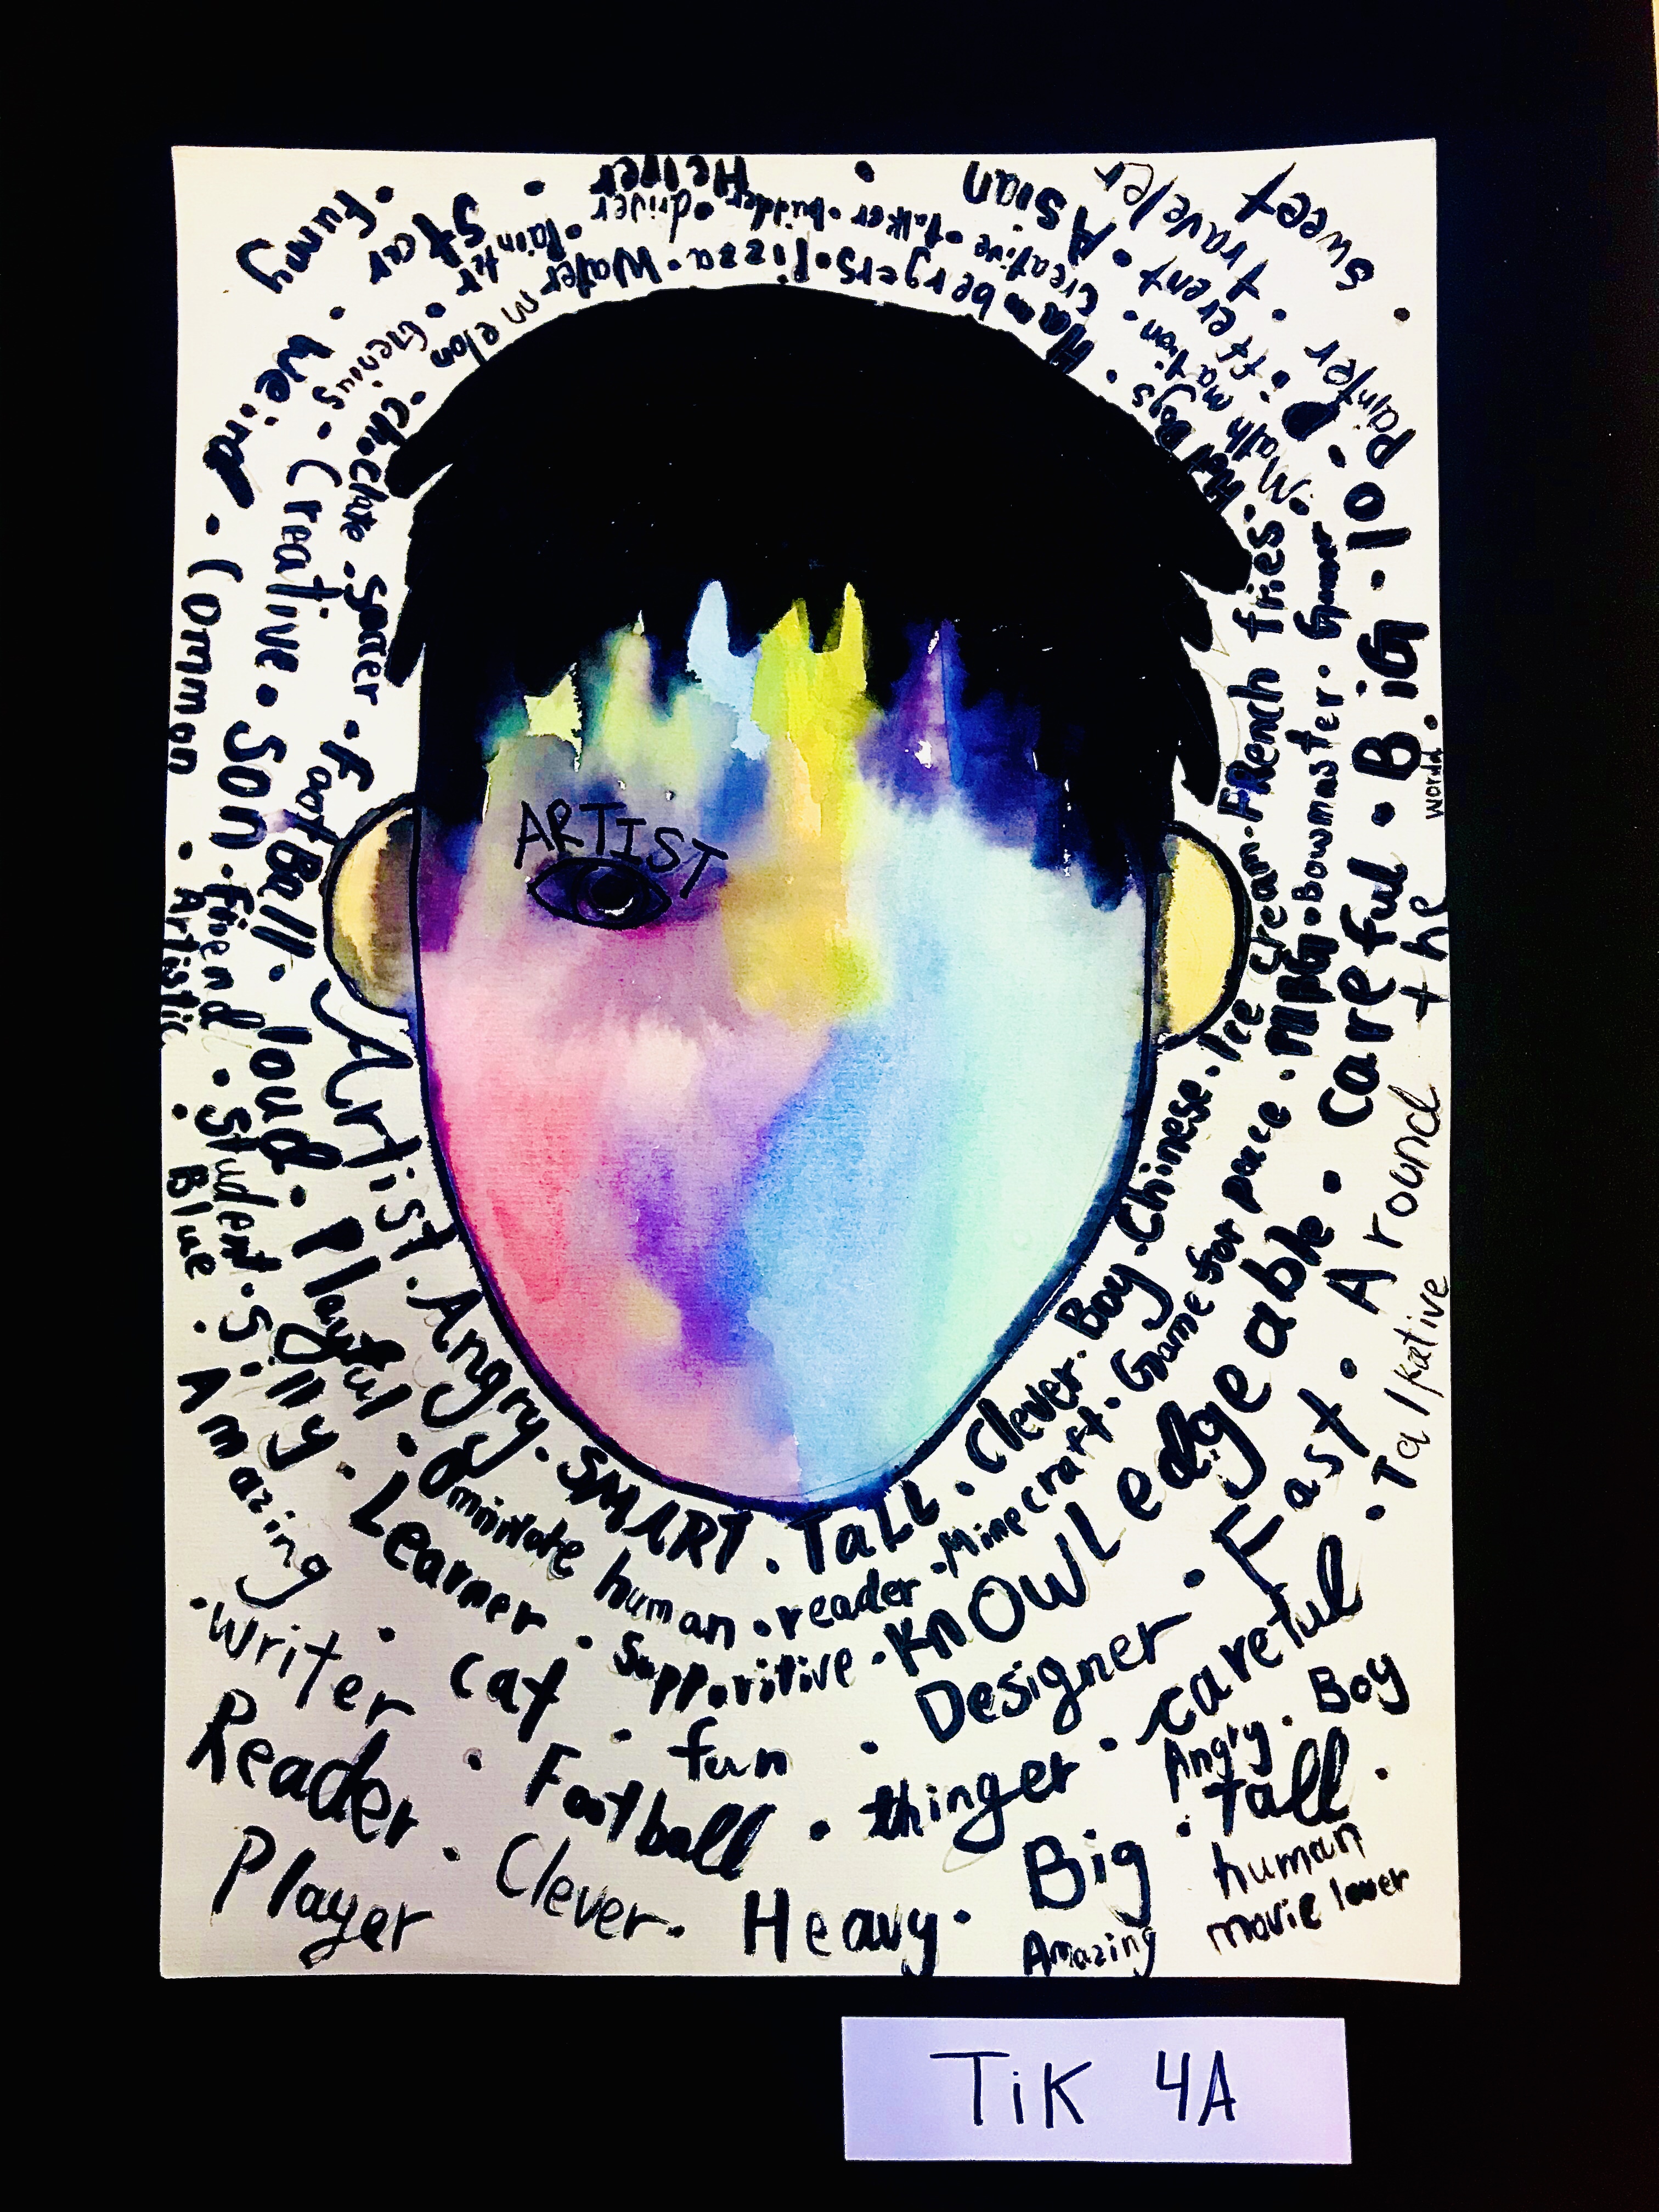
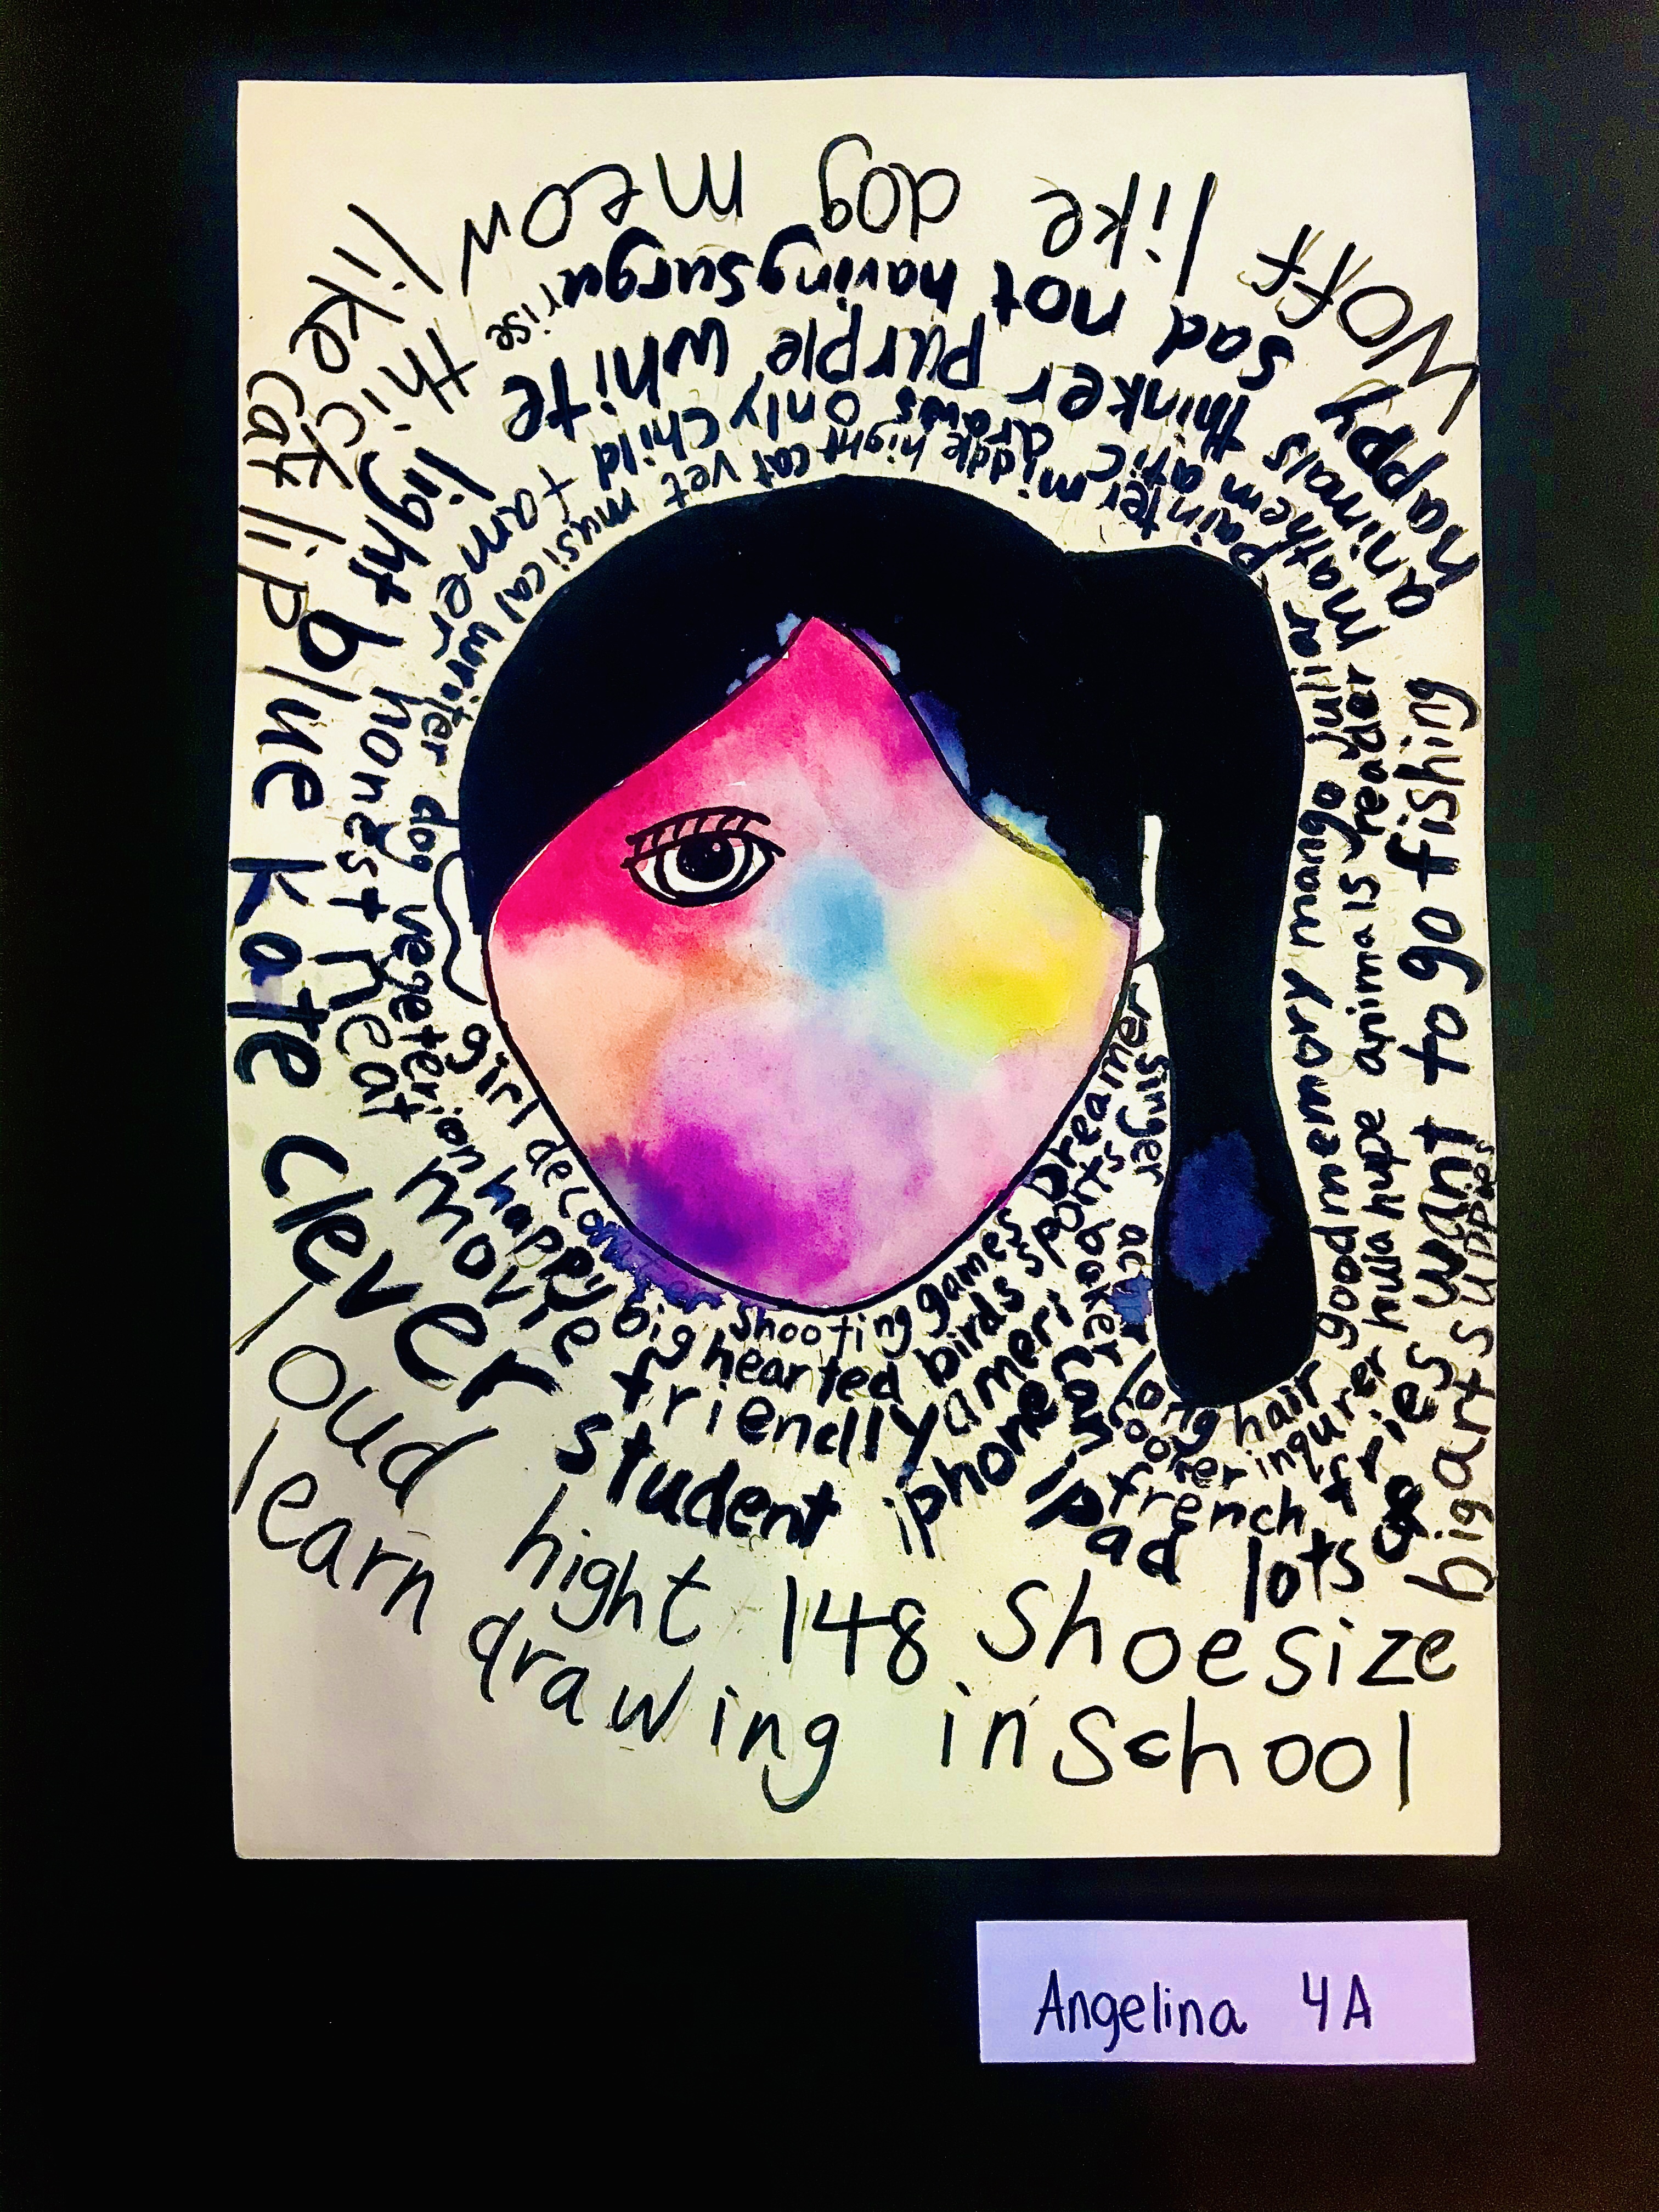
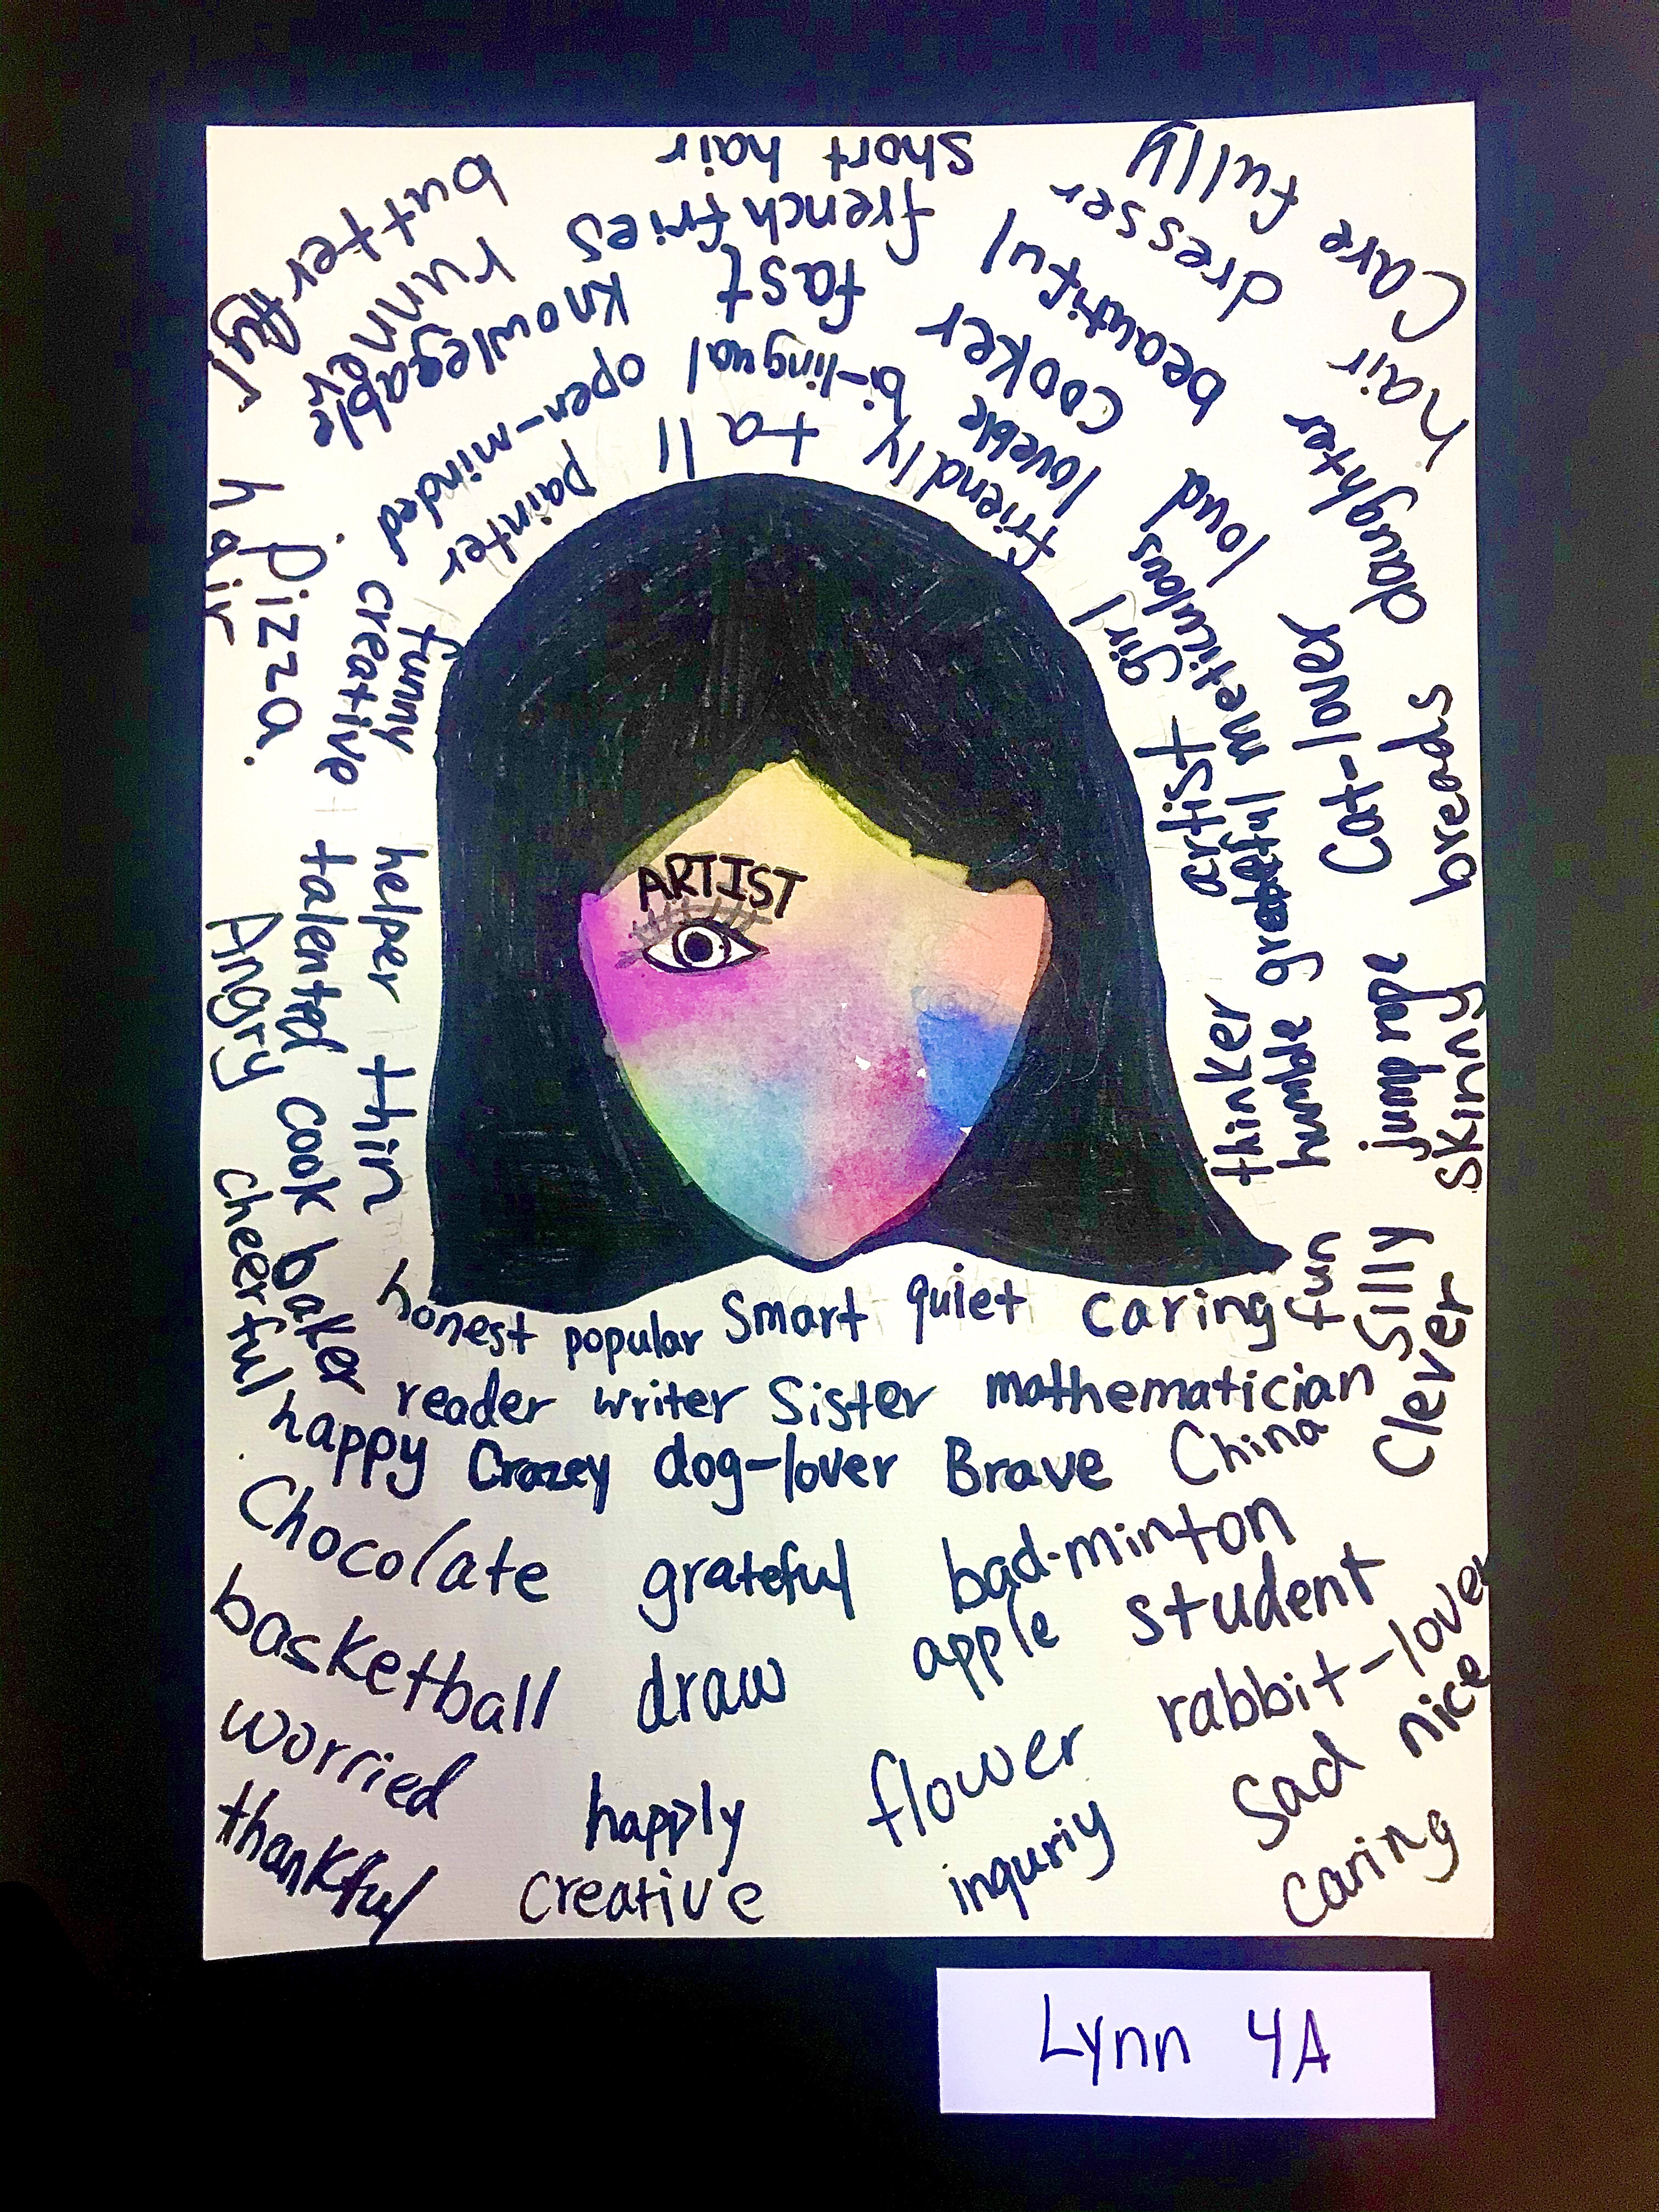
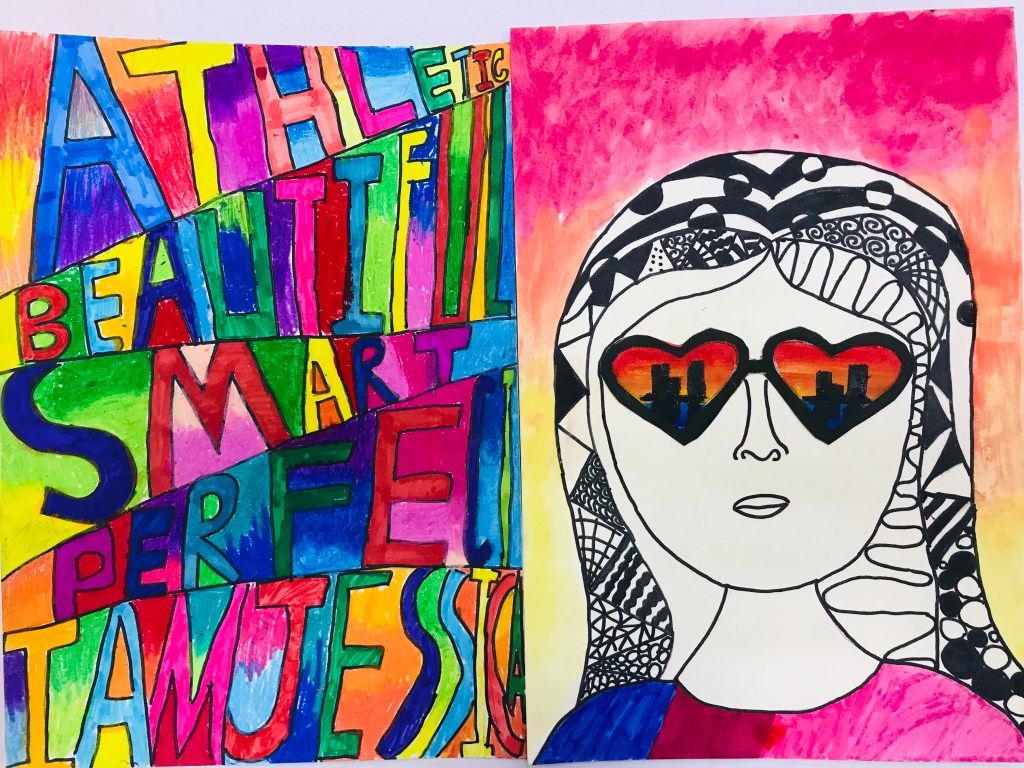
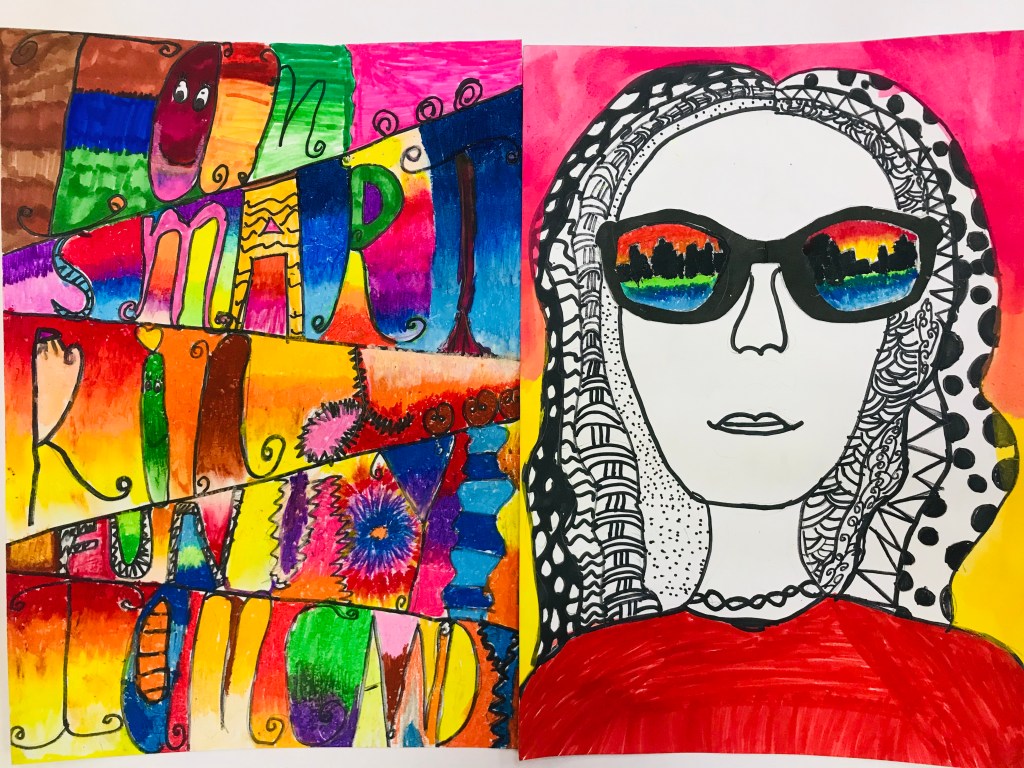
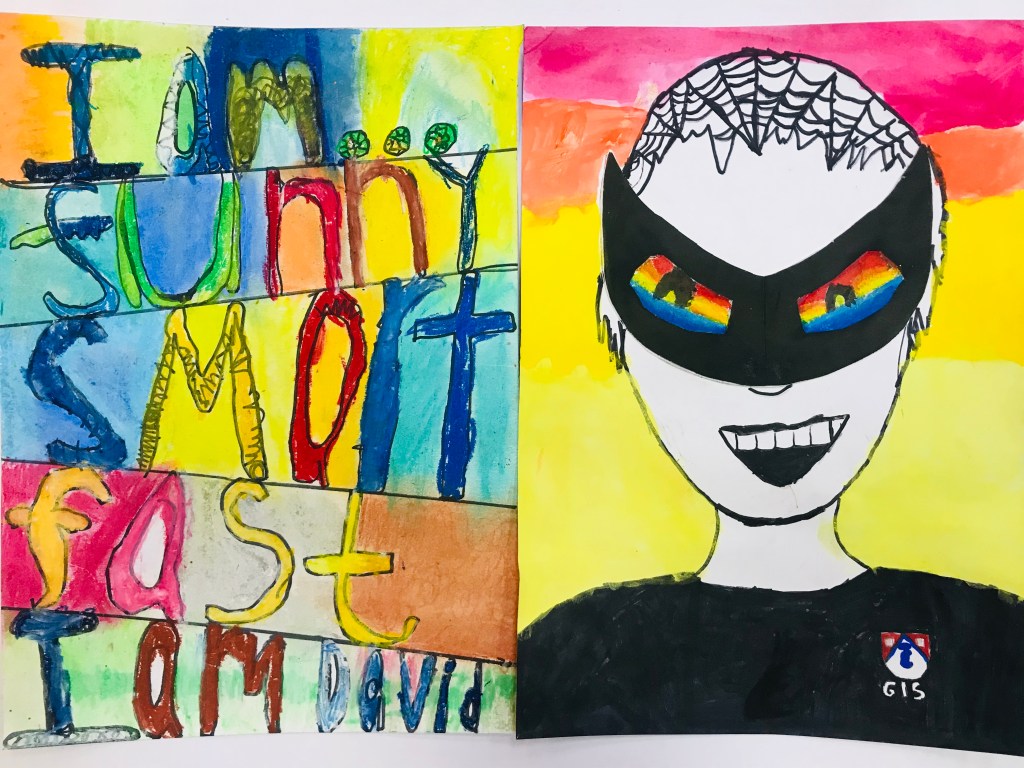
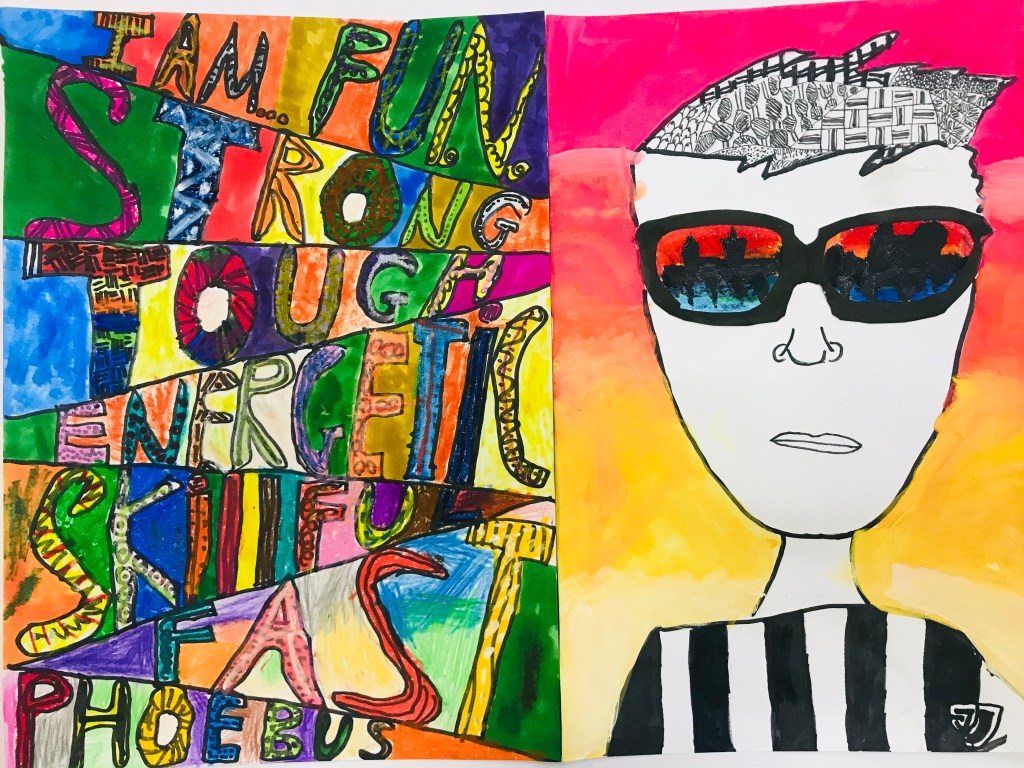
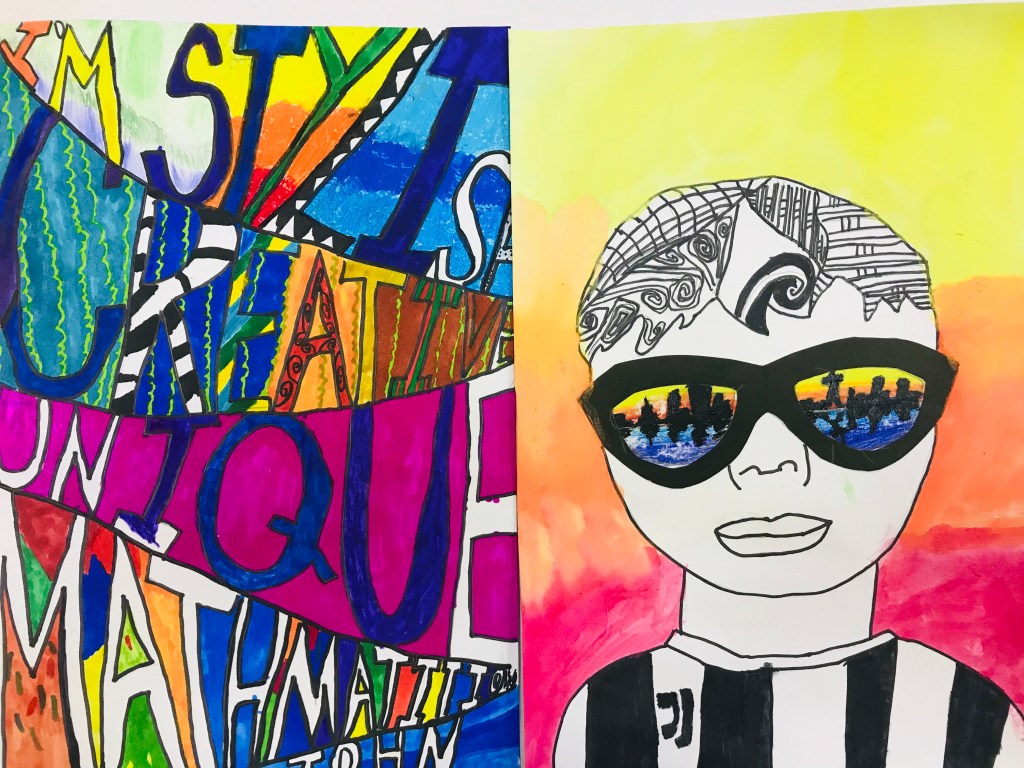
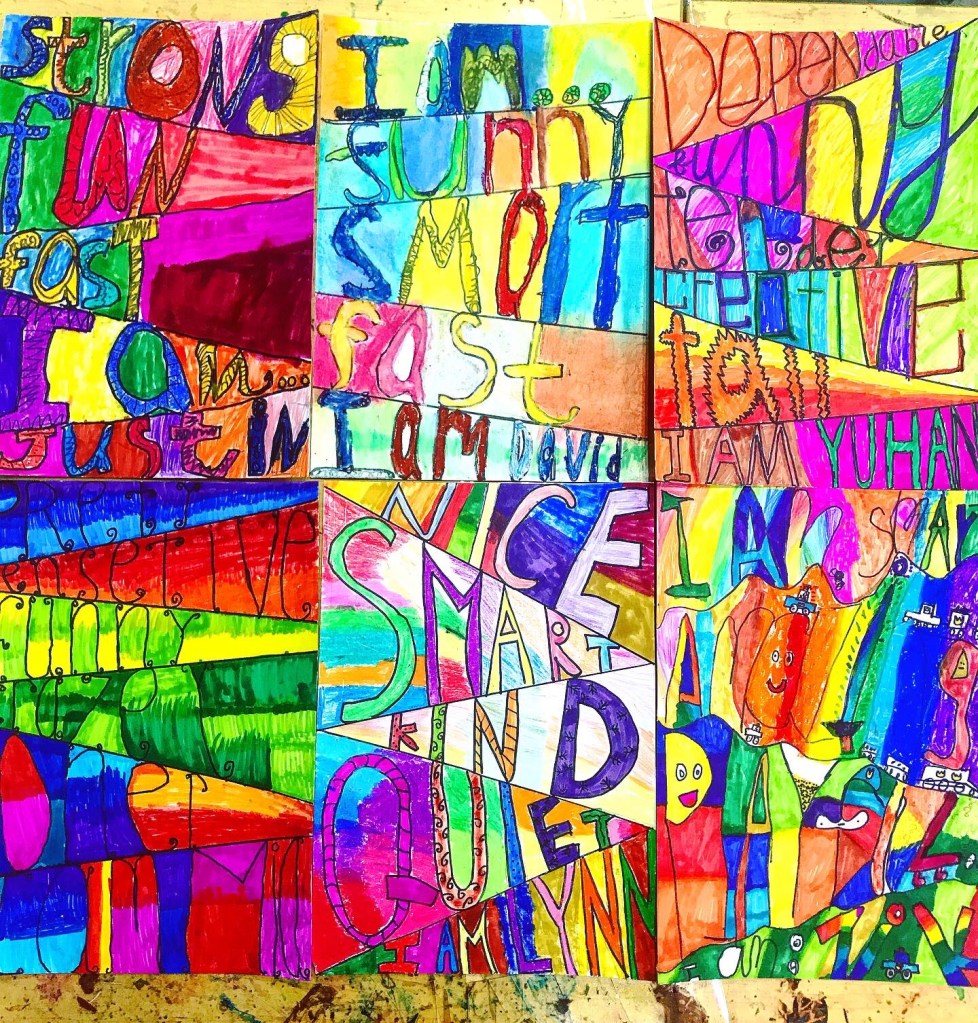
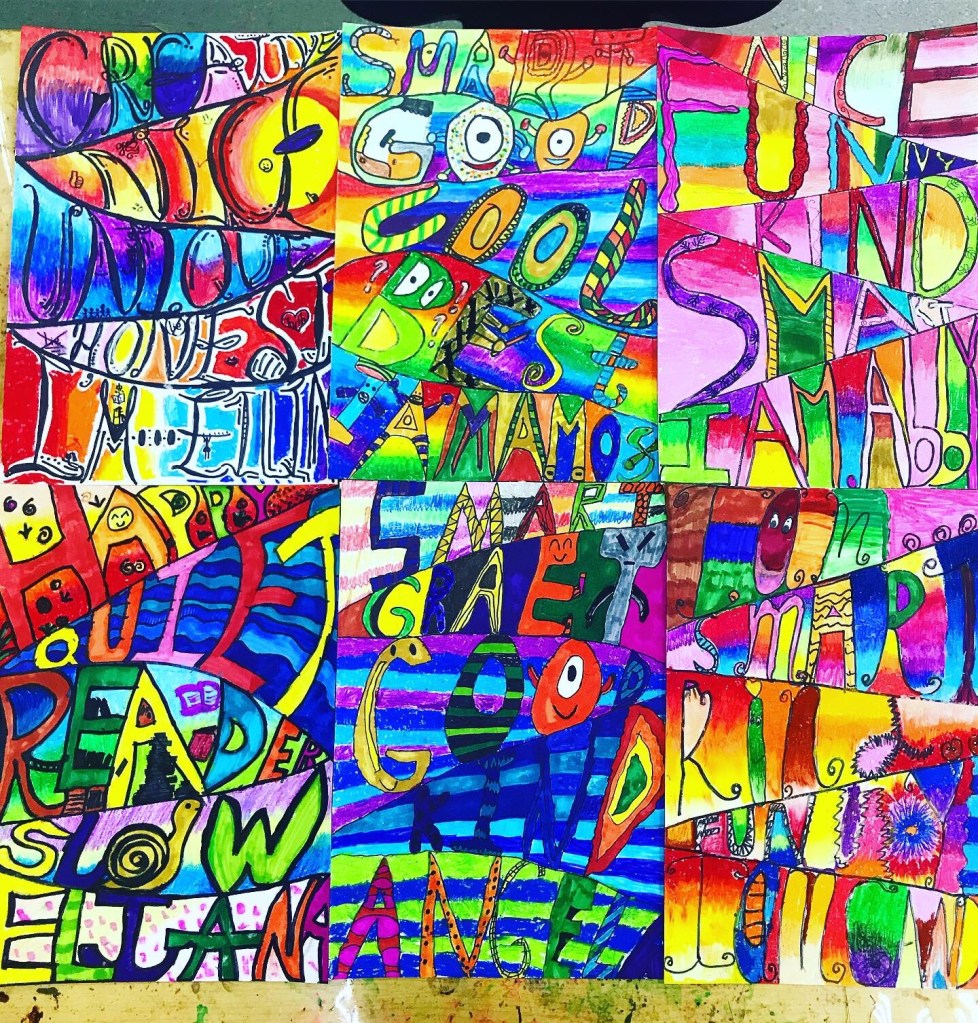
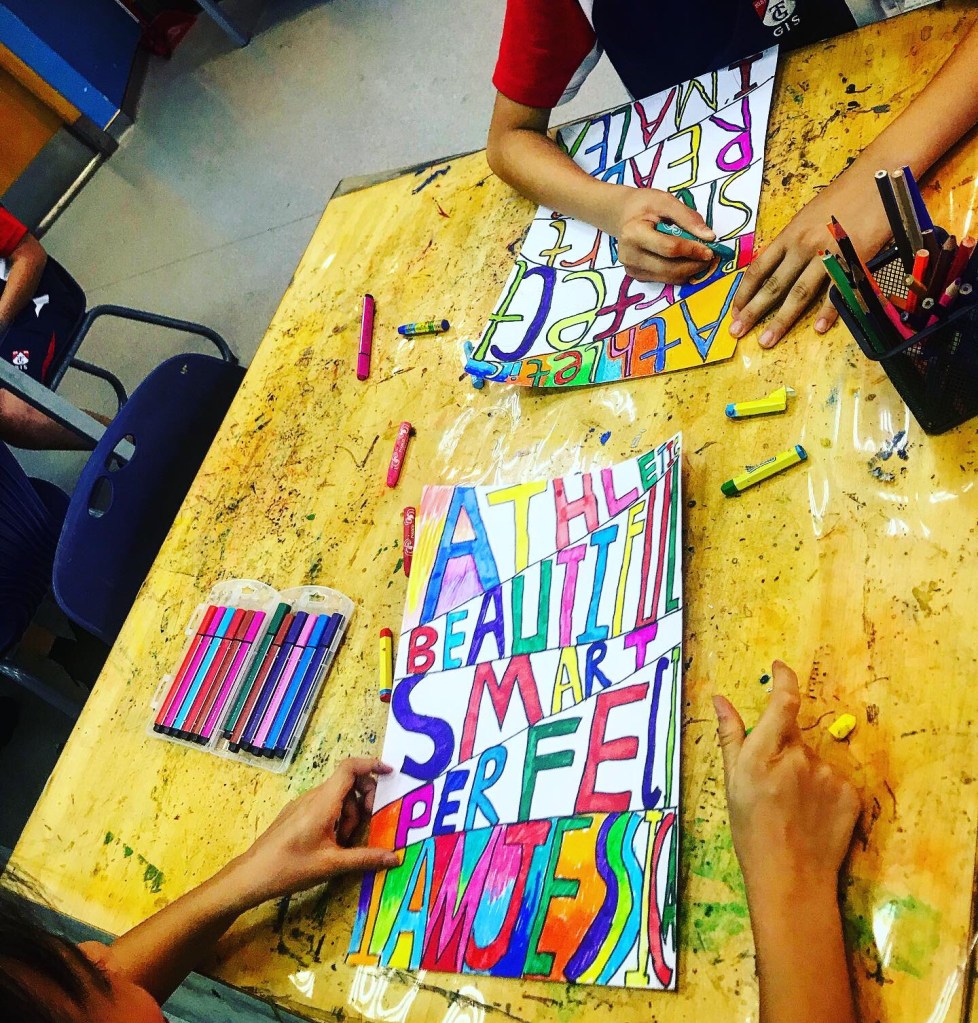
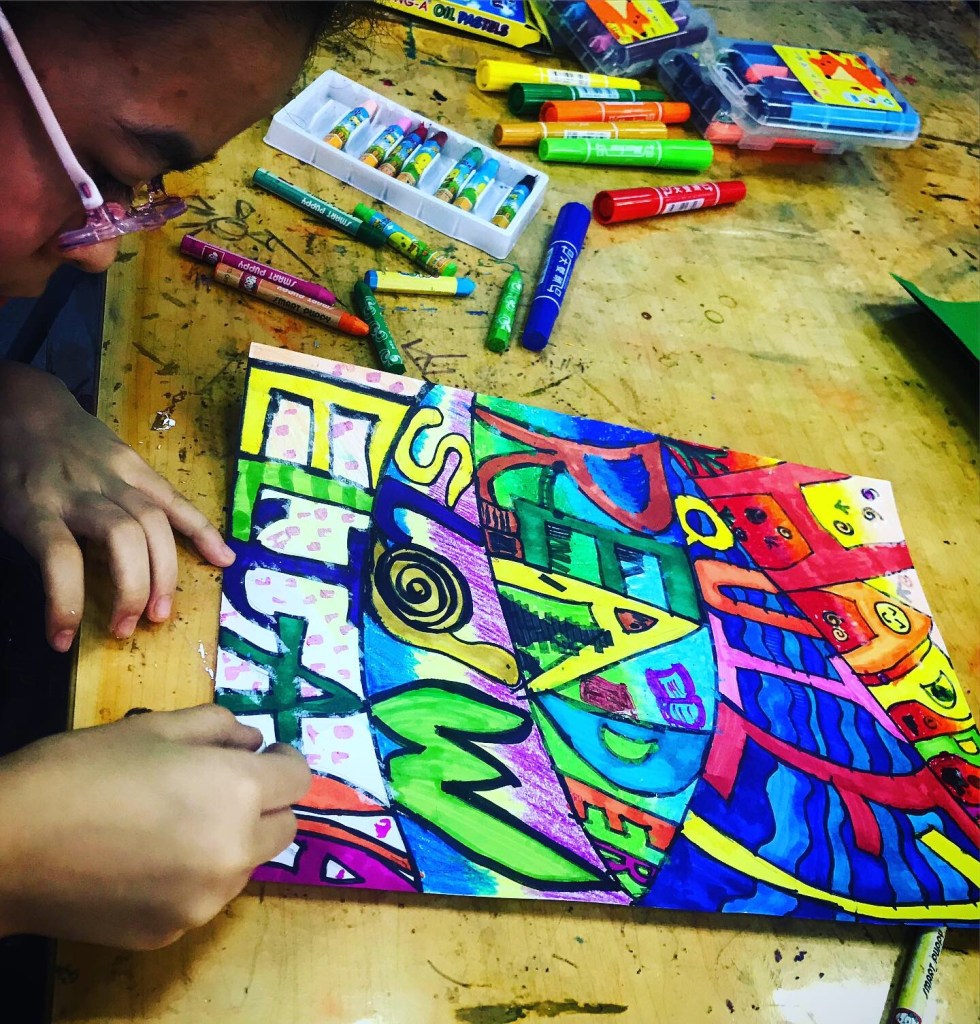
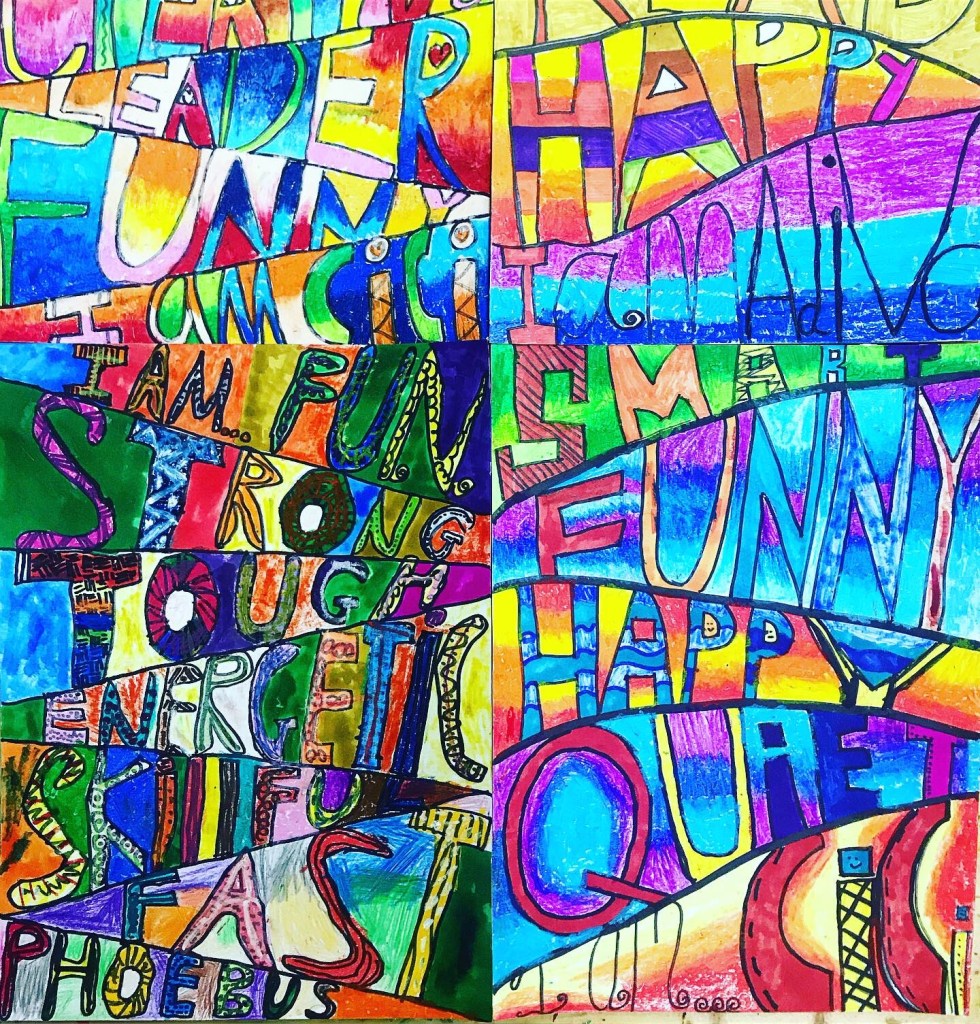
Grade 4 IB PYP “All About Me” unit. This Art project was inspired by RJ Palacio’s book “Wonder”. Students created self-portraits inspired by the illustration of the book cover. They then used a variety of adjectives to describe them. We saw clips of the movie, talked about bullying and how being different should be celebrated and not looked down upon. Groundbreaking for a culture where individuality isn’t really the norm.


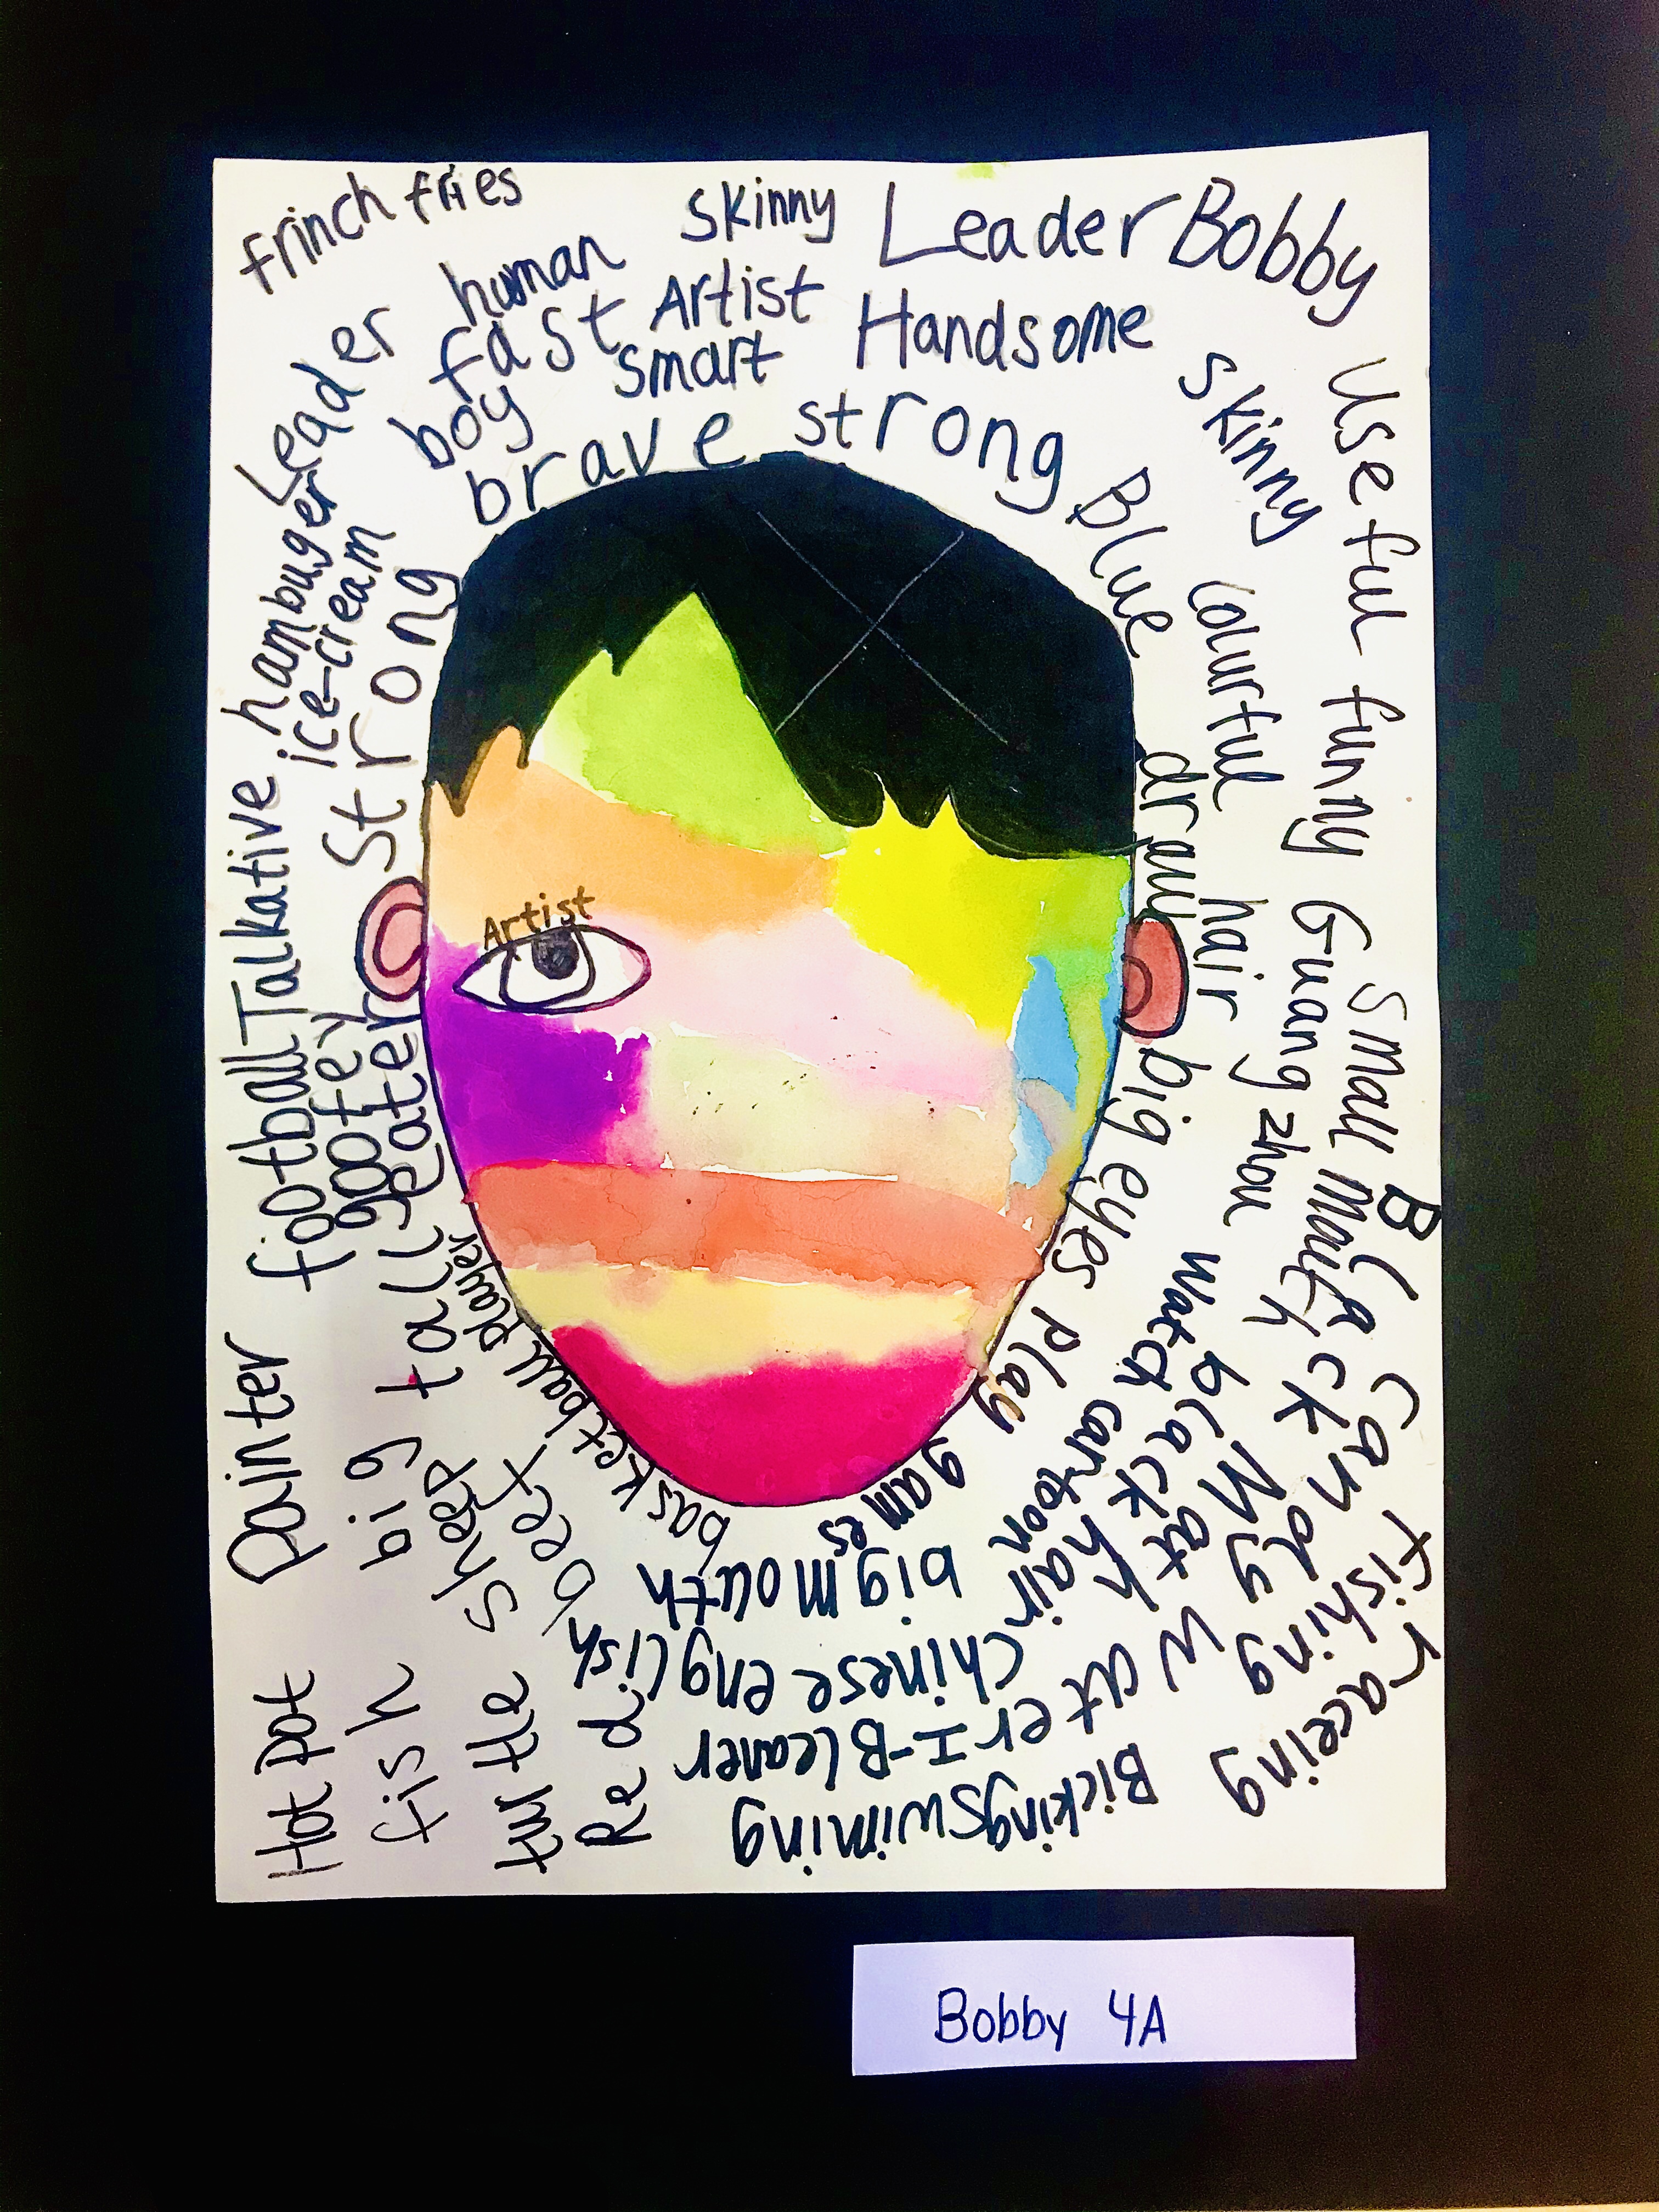
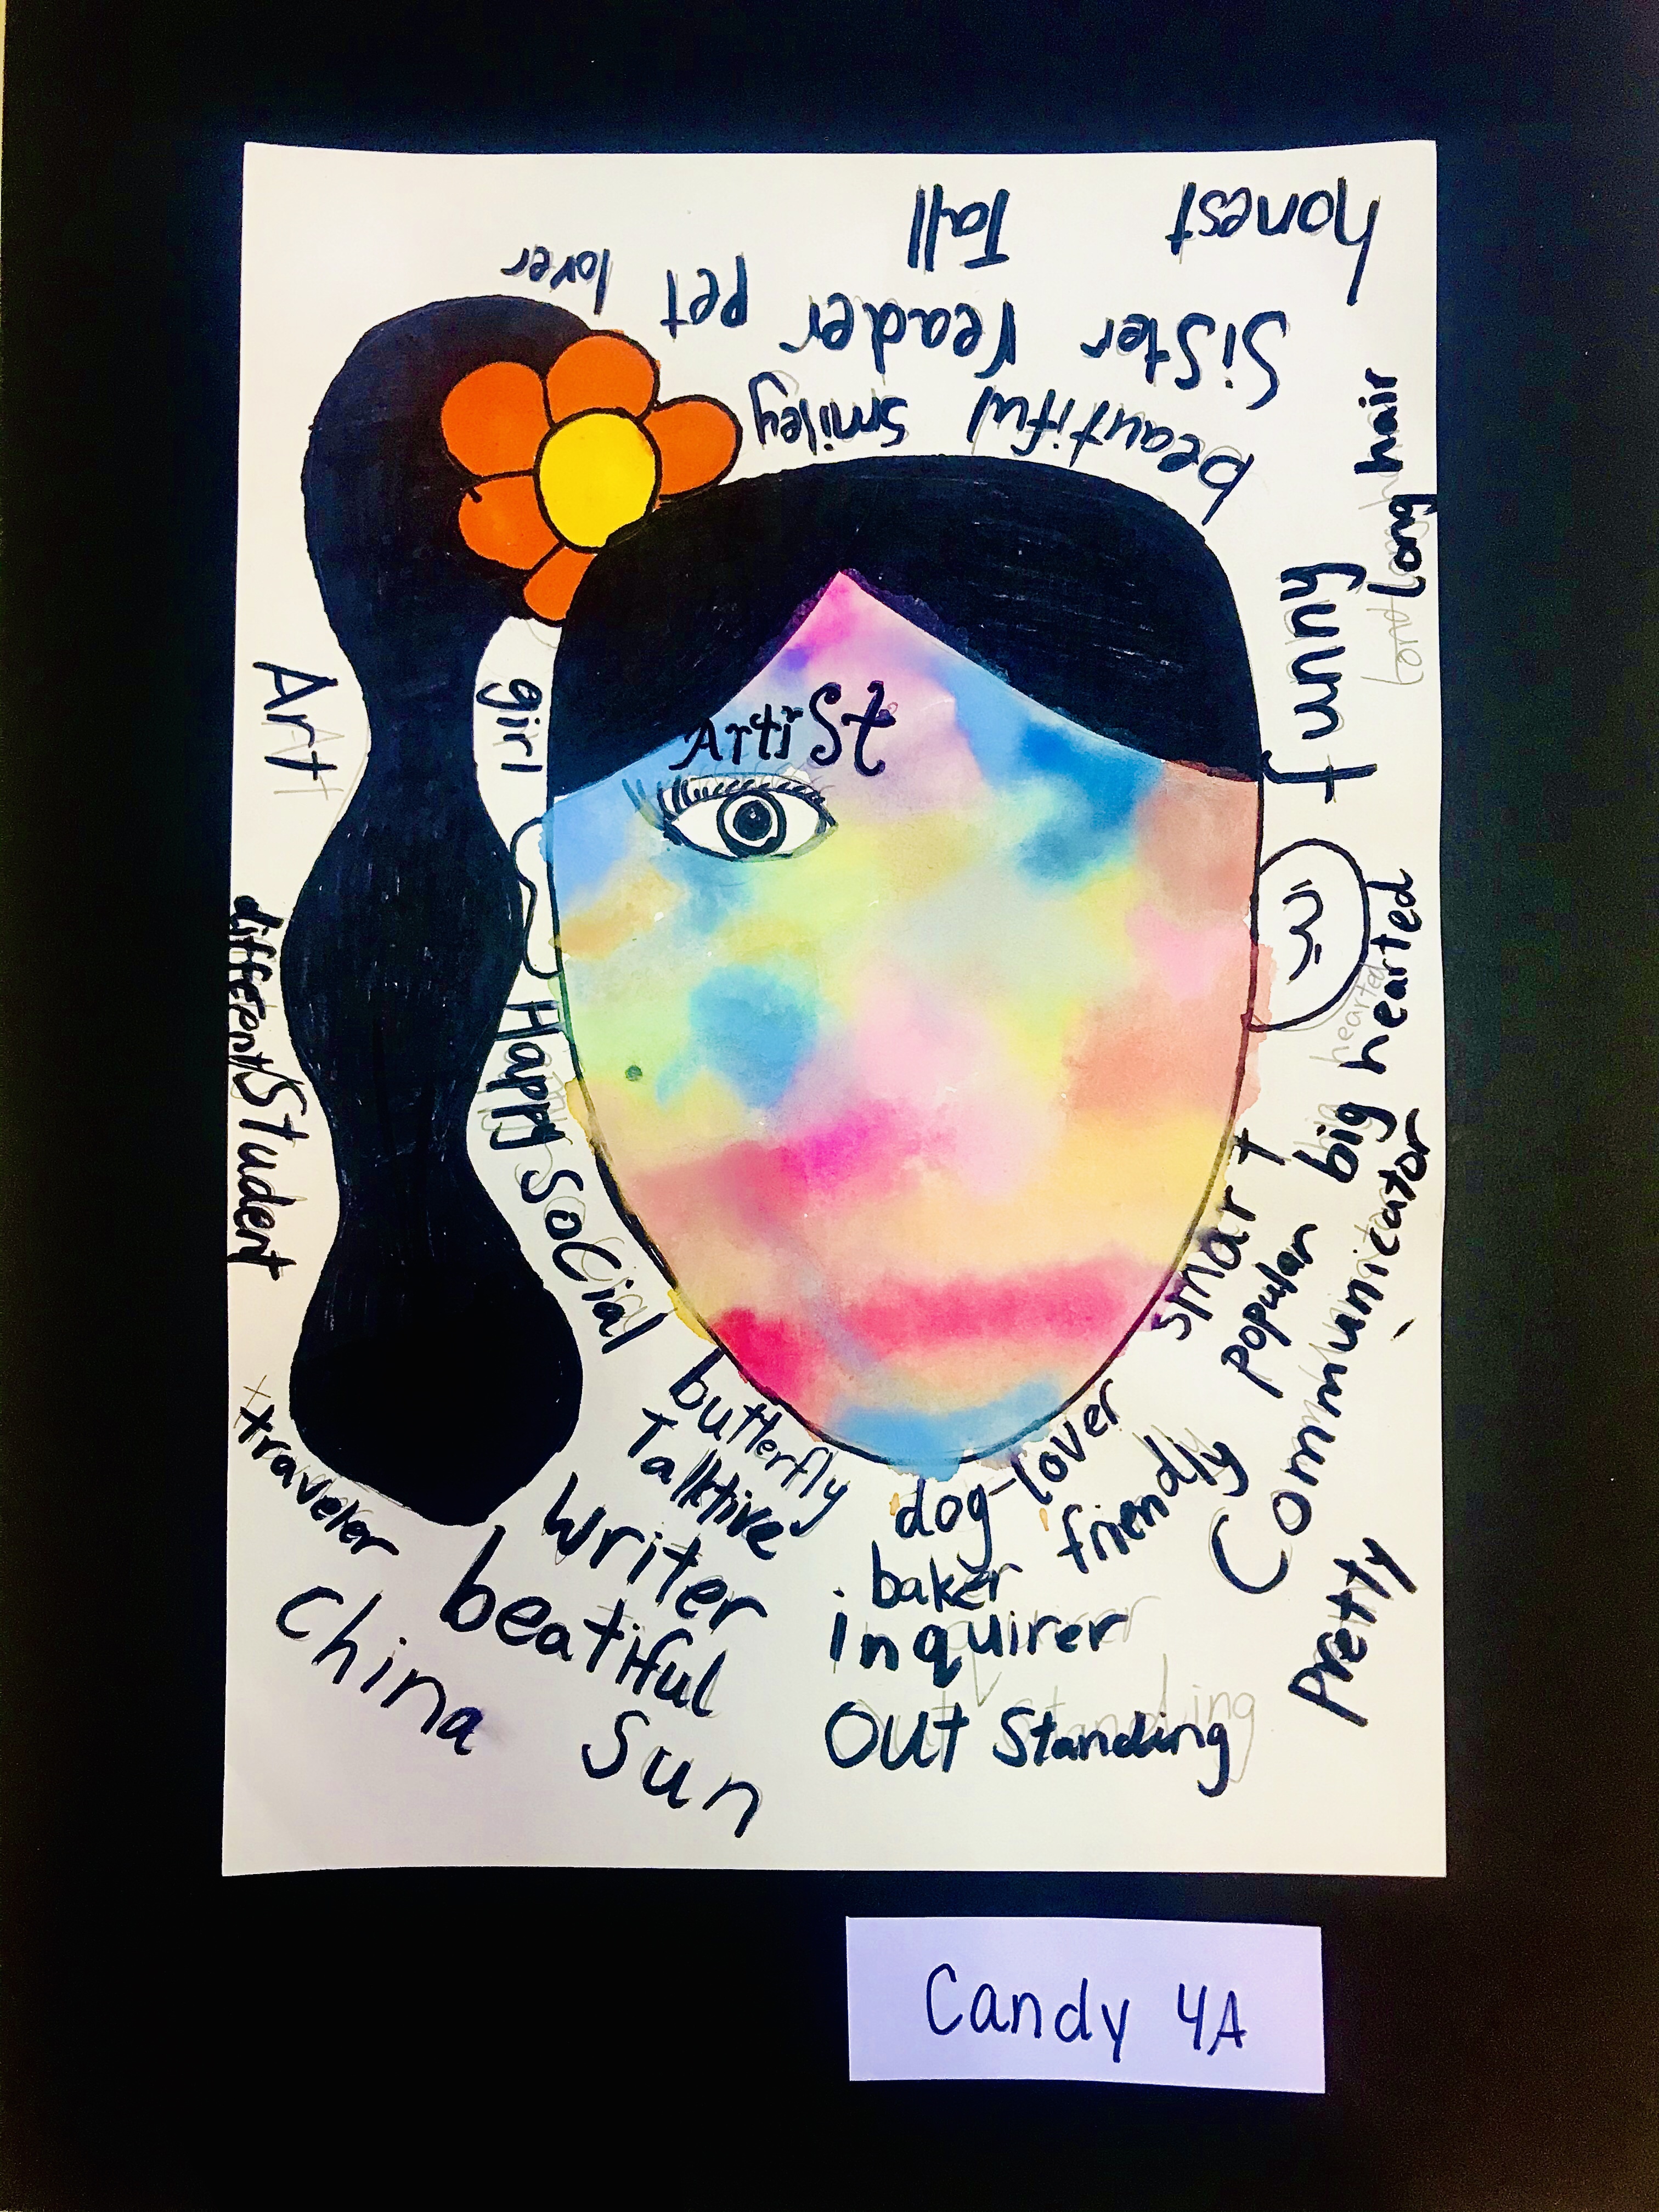


All About Me
This was an IB PYP Unit. My students took their time and learned so many elements and principles of art in this transdisciplinary unit. I’m obsessed 😍 Grade 4 & 5


Indian Corn 🌽 Grade 4
Developing Drawing, Blending, Shading, and design skills.

Final project 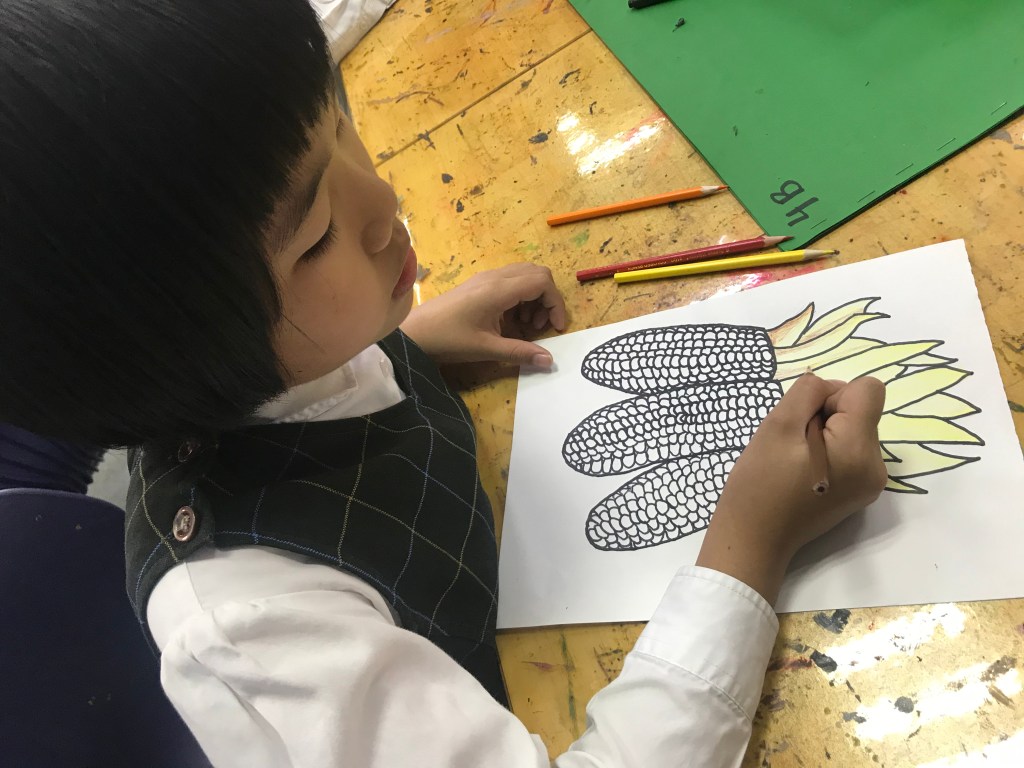
Coloring and blending 
Grade 4 
Blending colors 
Tracing their drawing with a sharpie 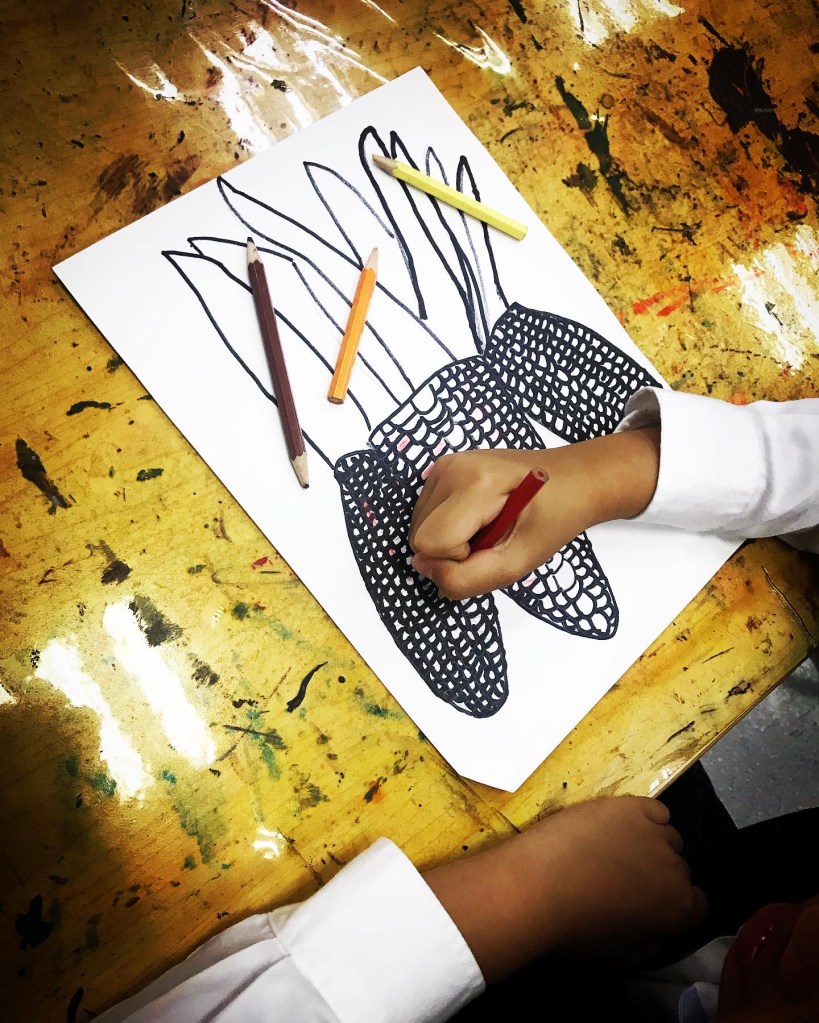
Coloring using colored pencils 
Blending and shading using colored pencils 
Water colors were used and then students used a sharpie and added Zen-tangles to the background. 
Grade 4 Indian Corn
I am…


I LOVE THIS!!!
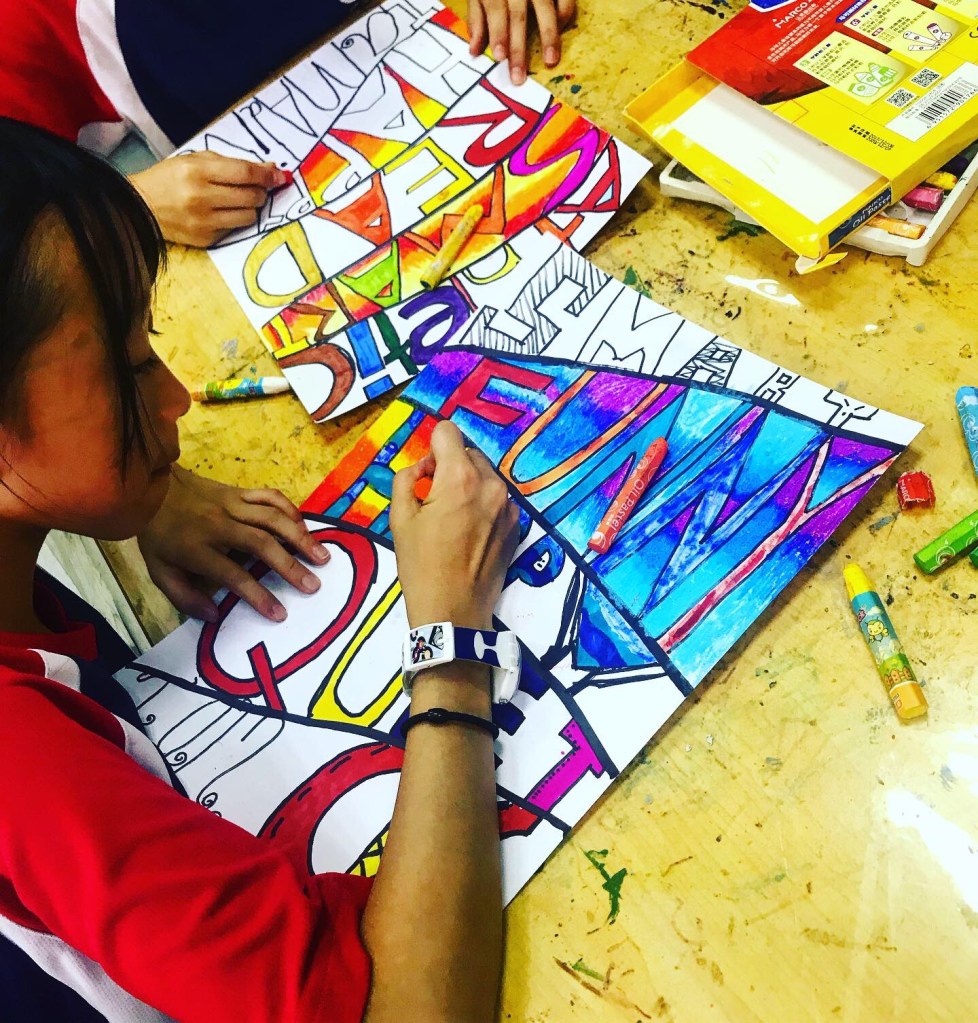


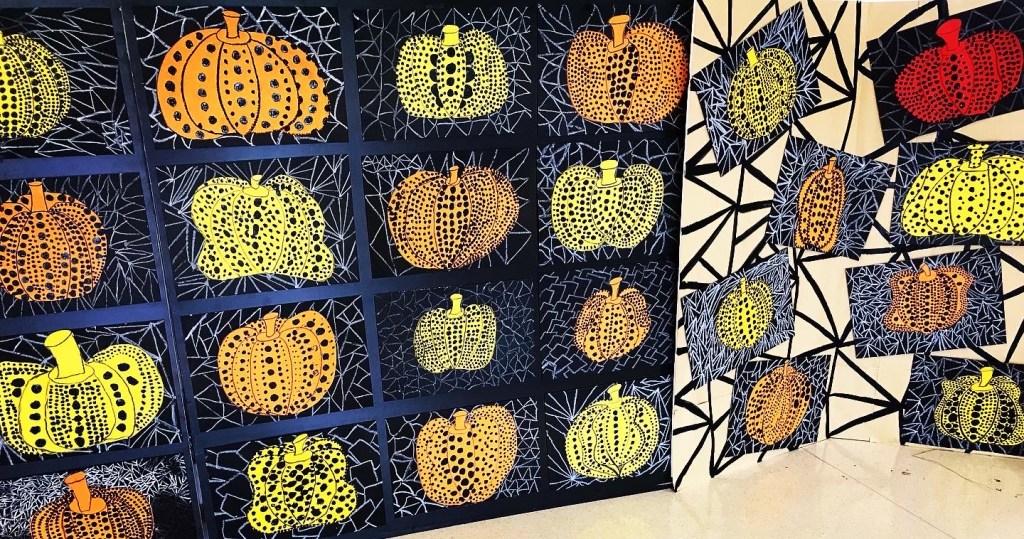
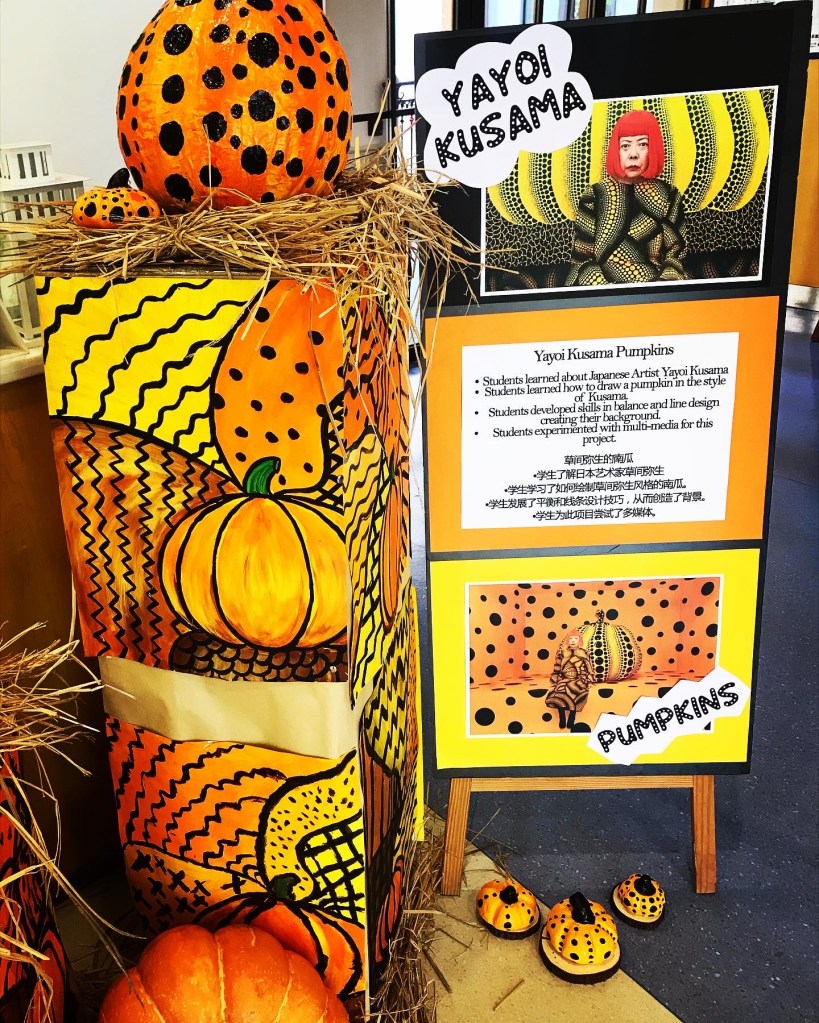
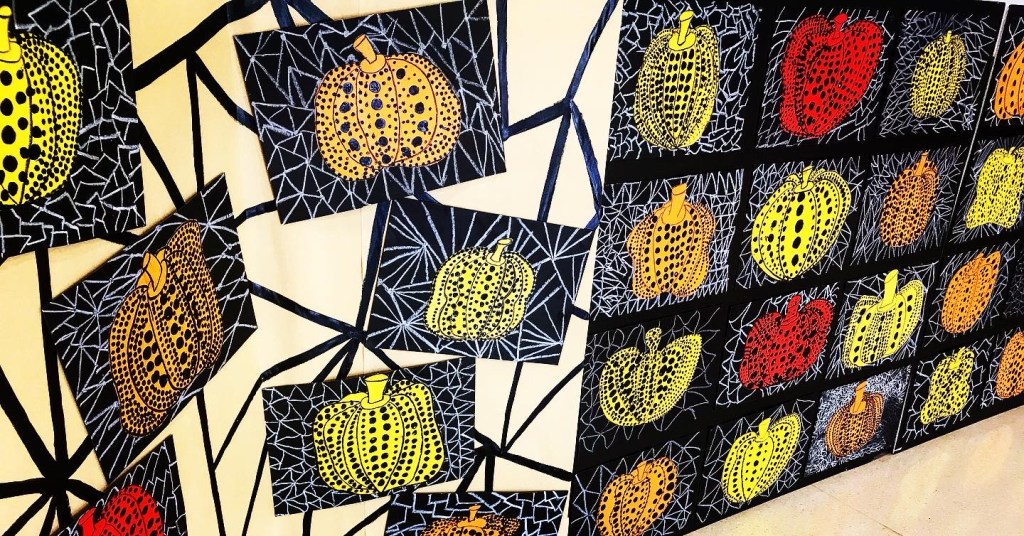
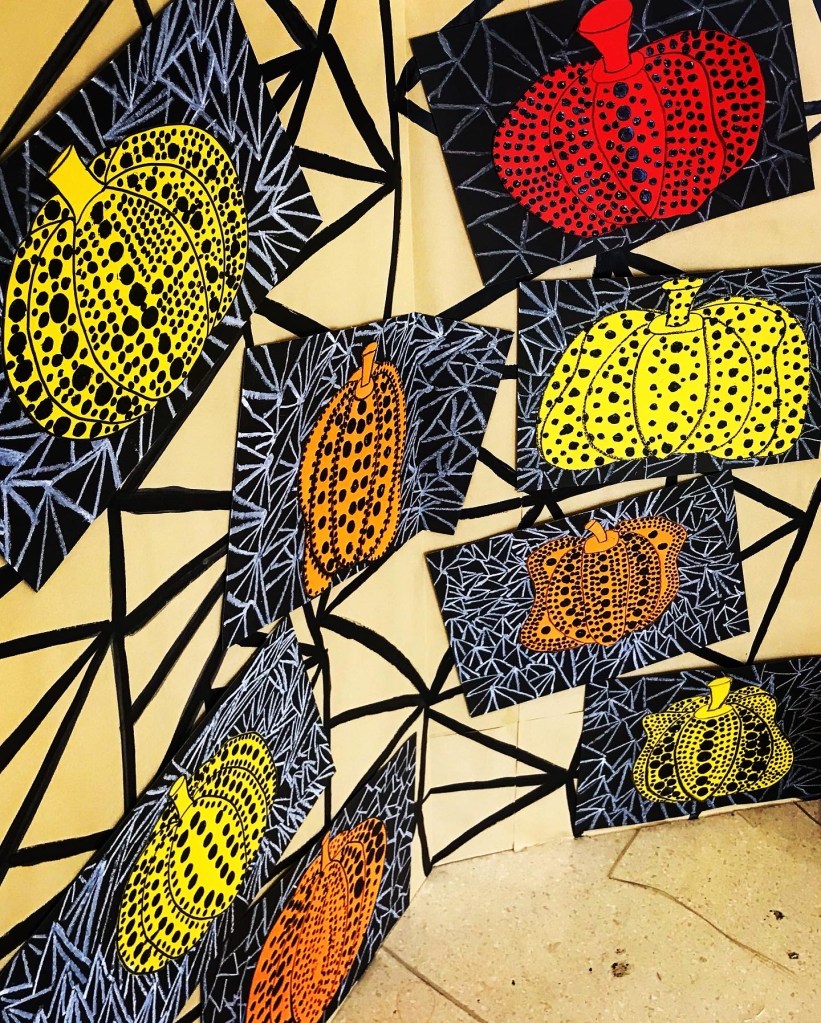
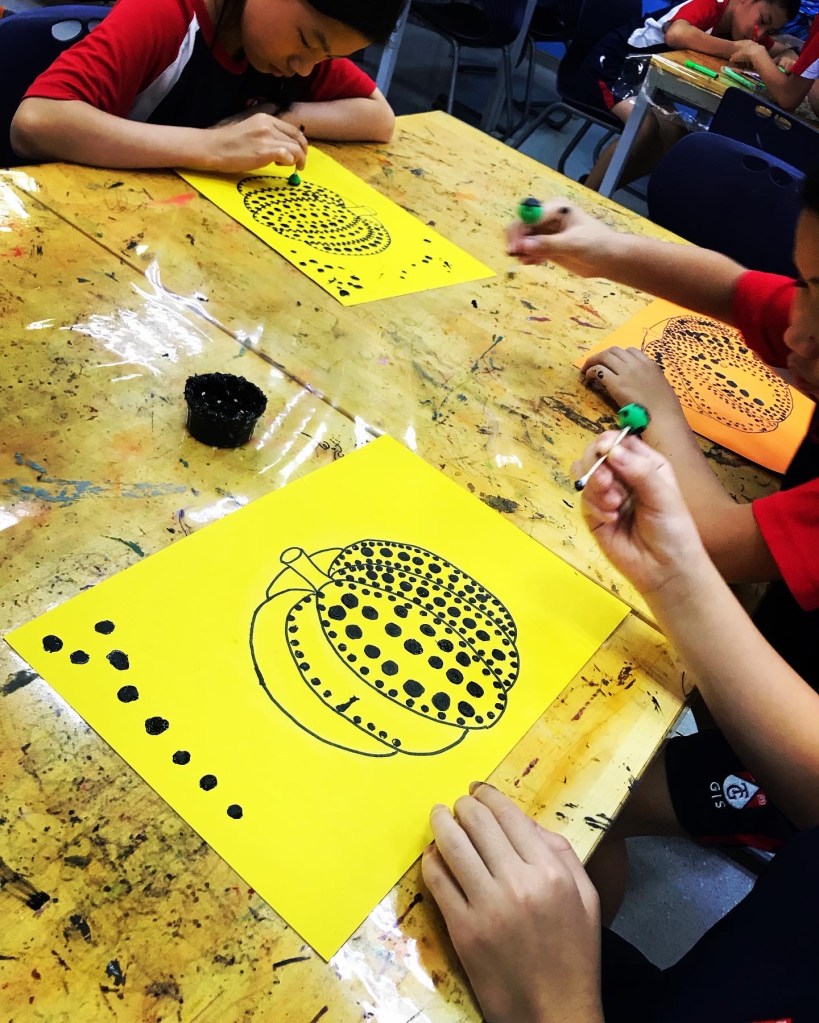
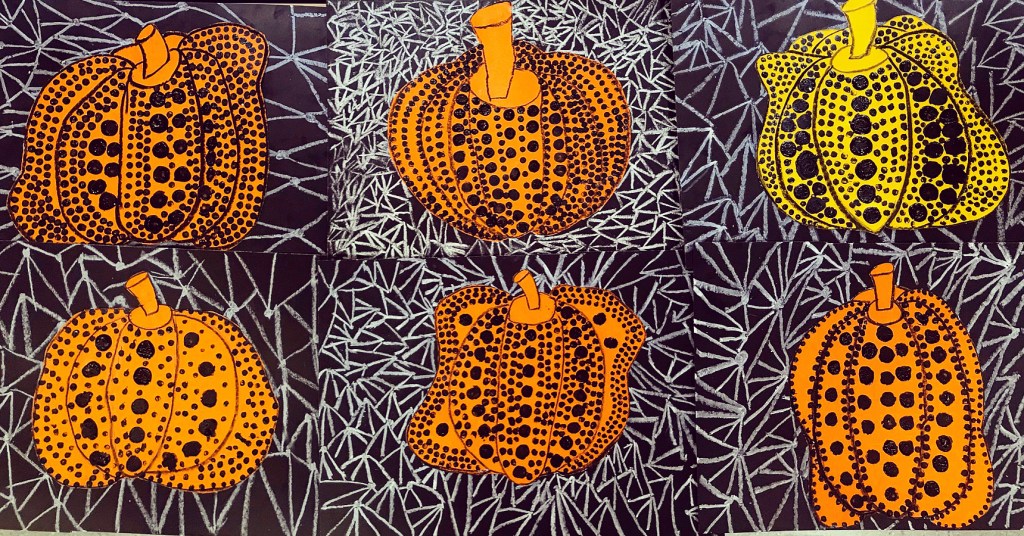
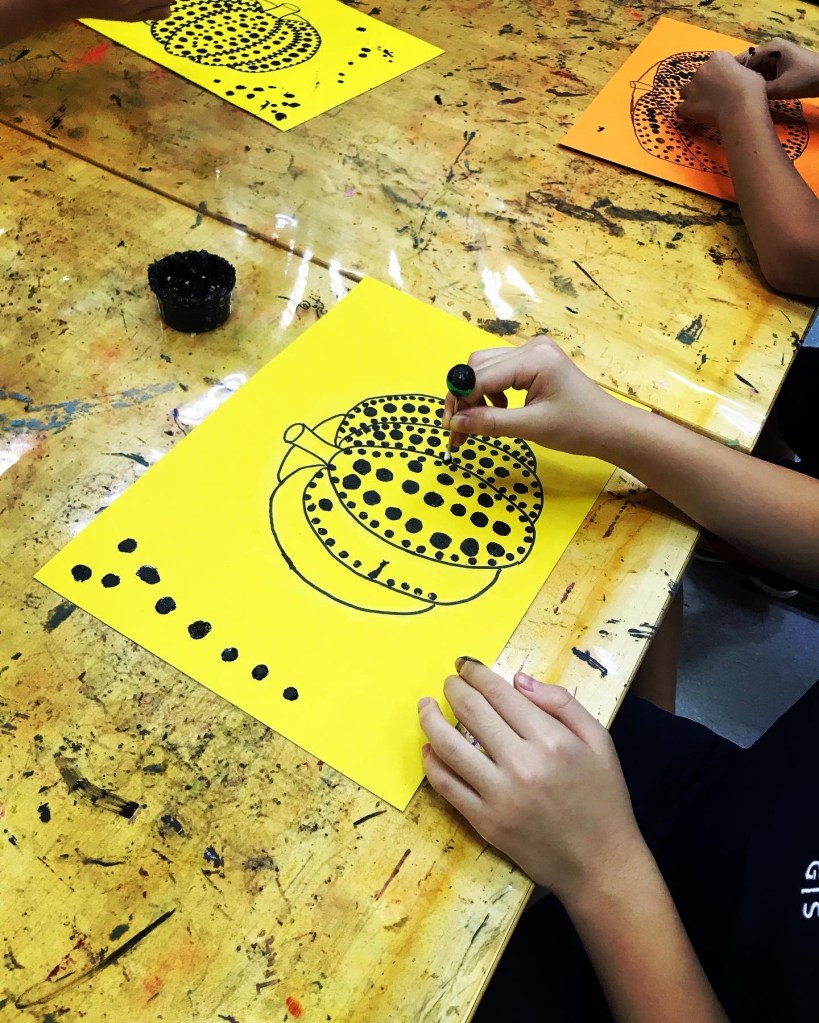
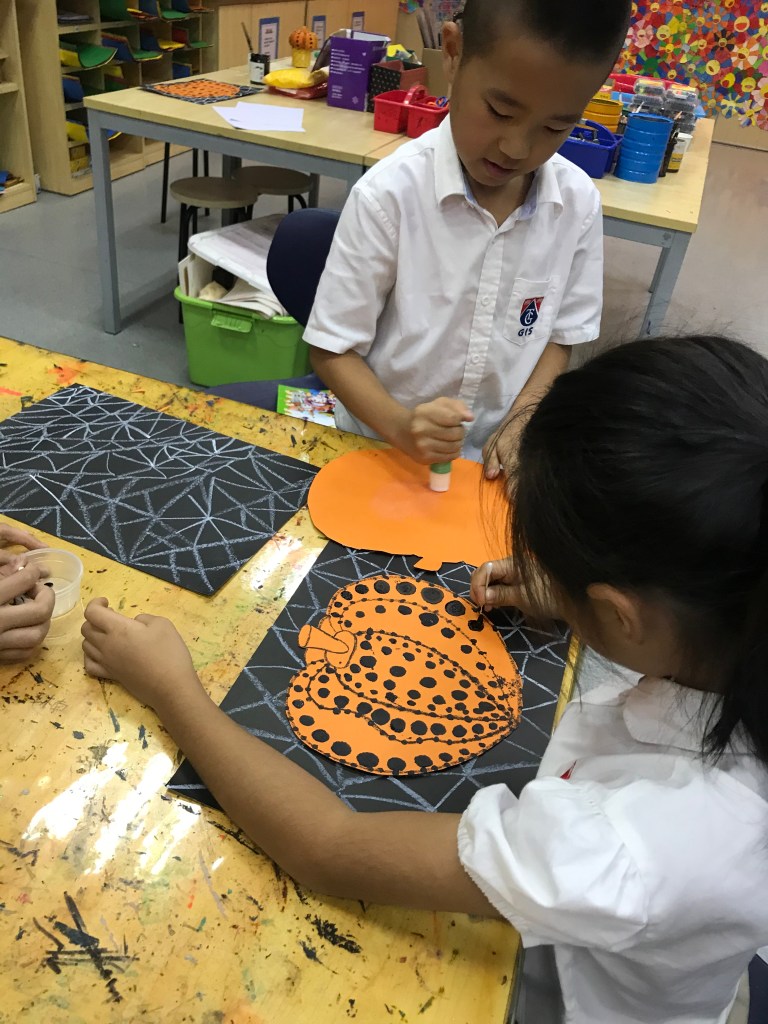
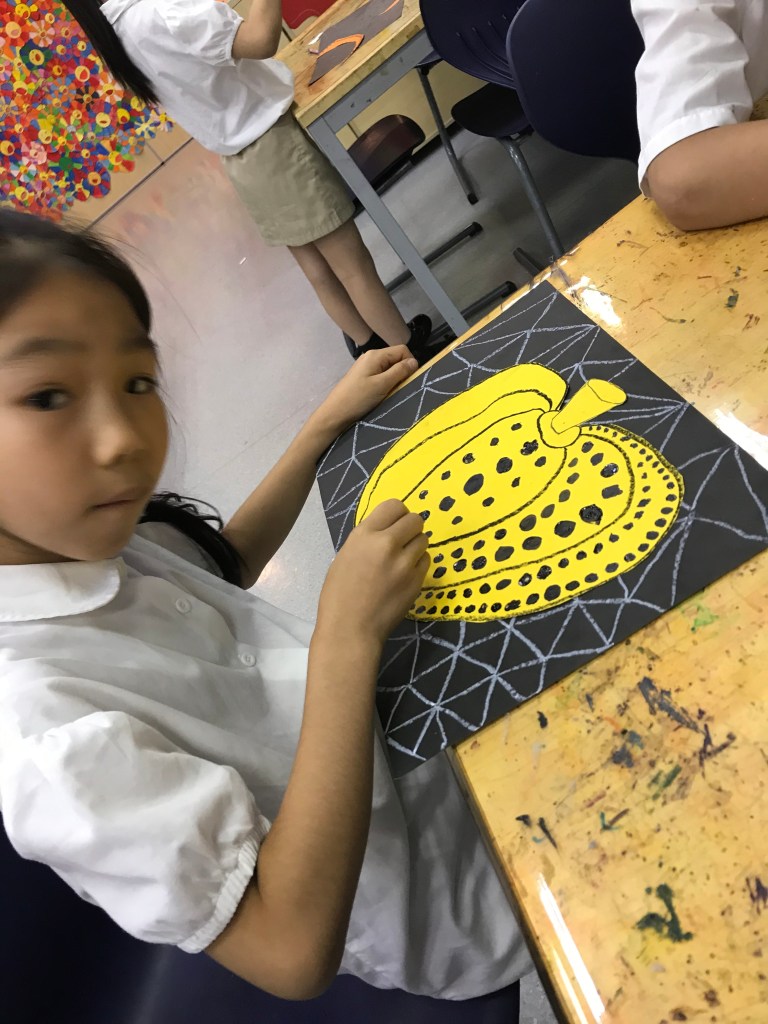
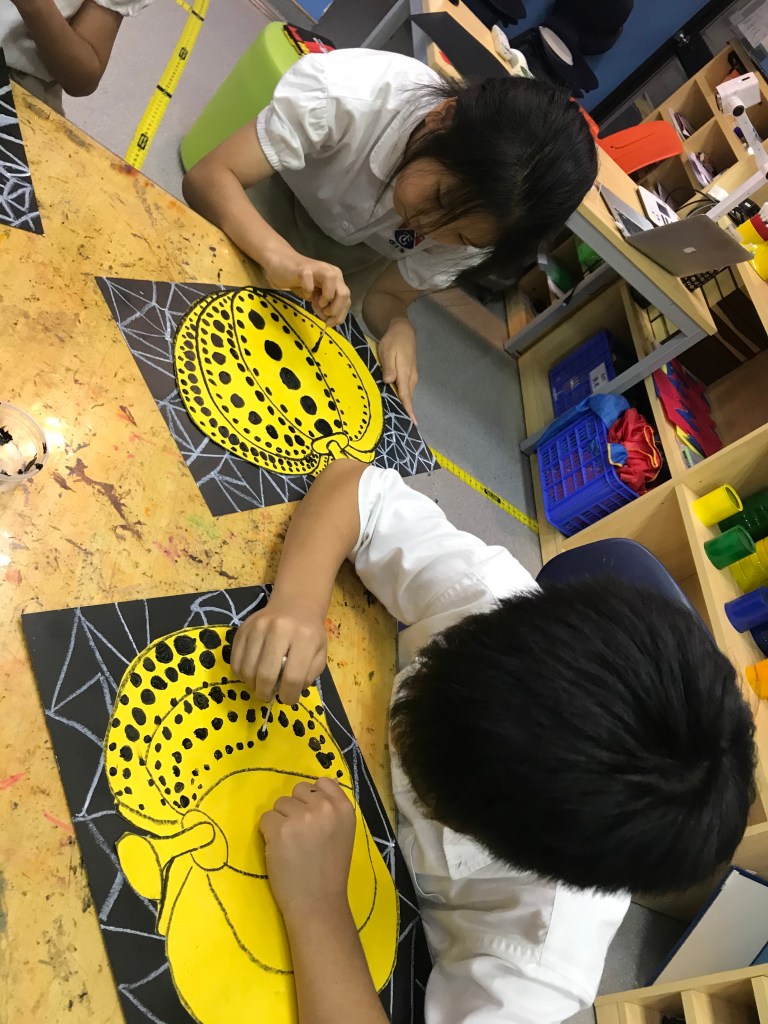
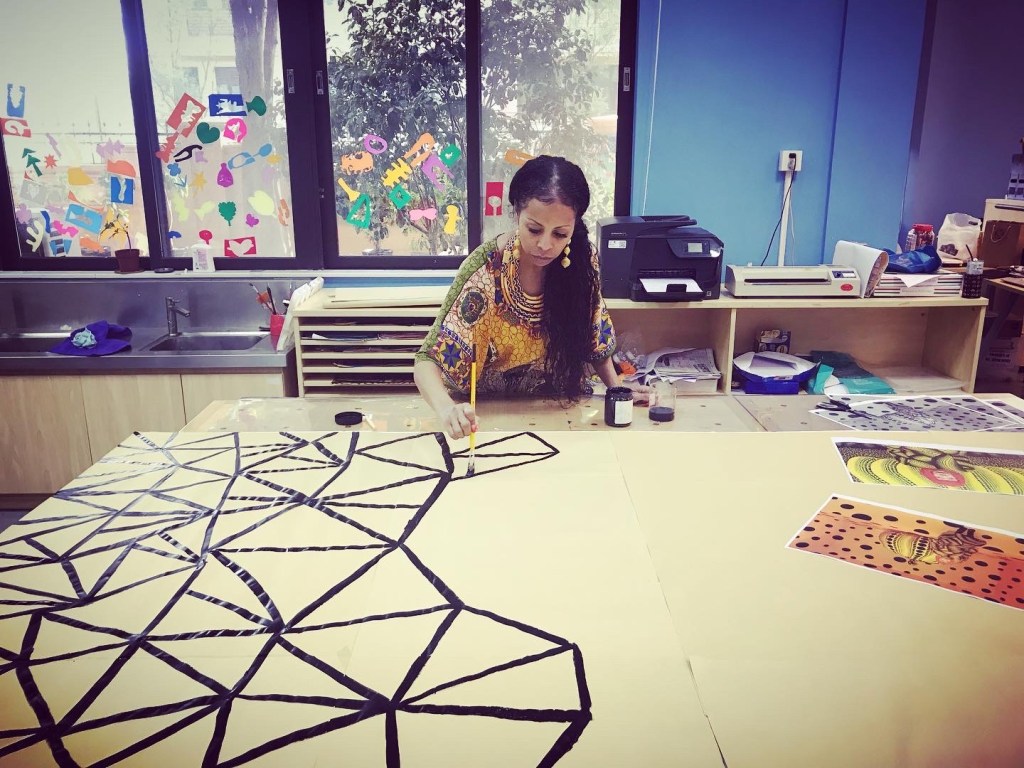
Yayoi Kusama


African Kente Cloths
Paper weaving lesson 2nd and fourth grade did different versions of African Kente Cloths✊🏽

Paper weaving

African Kente Cloth Designs

Kente Cloths

Designing Kente Cloths

African Kente Cloths

African Kente Cloths

Final touch African Kente Cloths

Making African Kente Cloths

African Kente Cloths

Kente Cloths
Native American Art
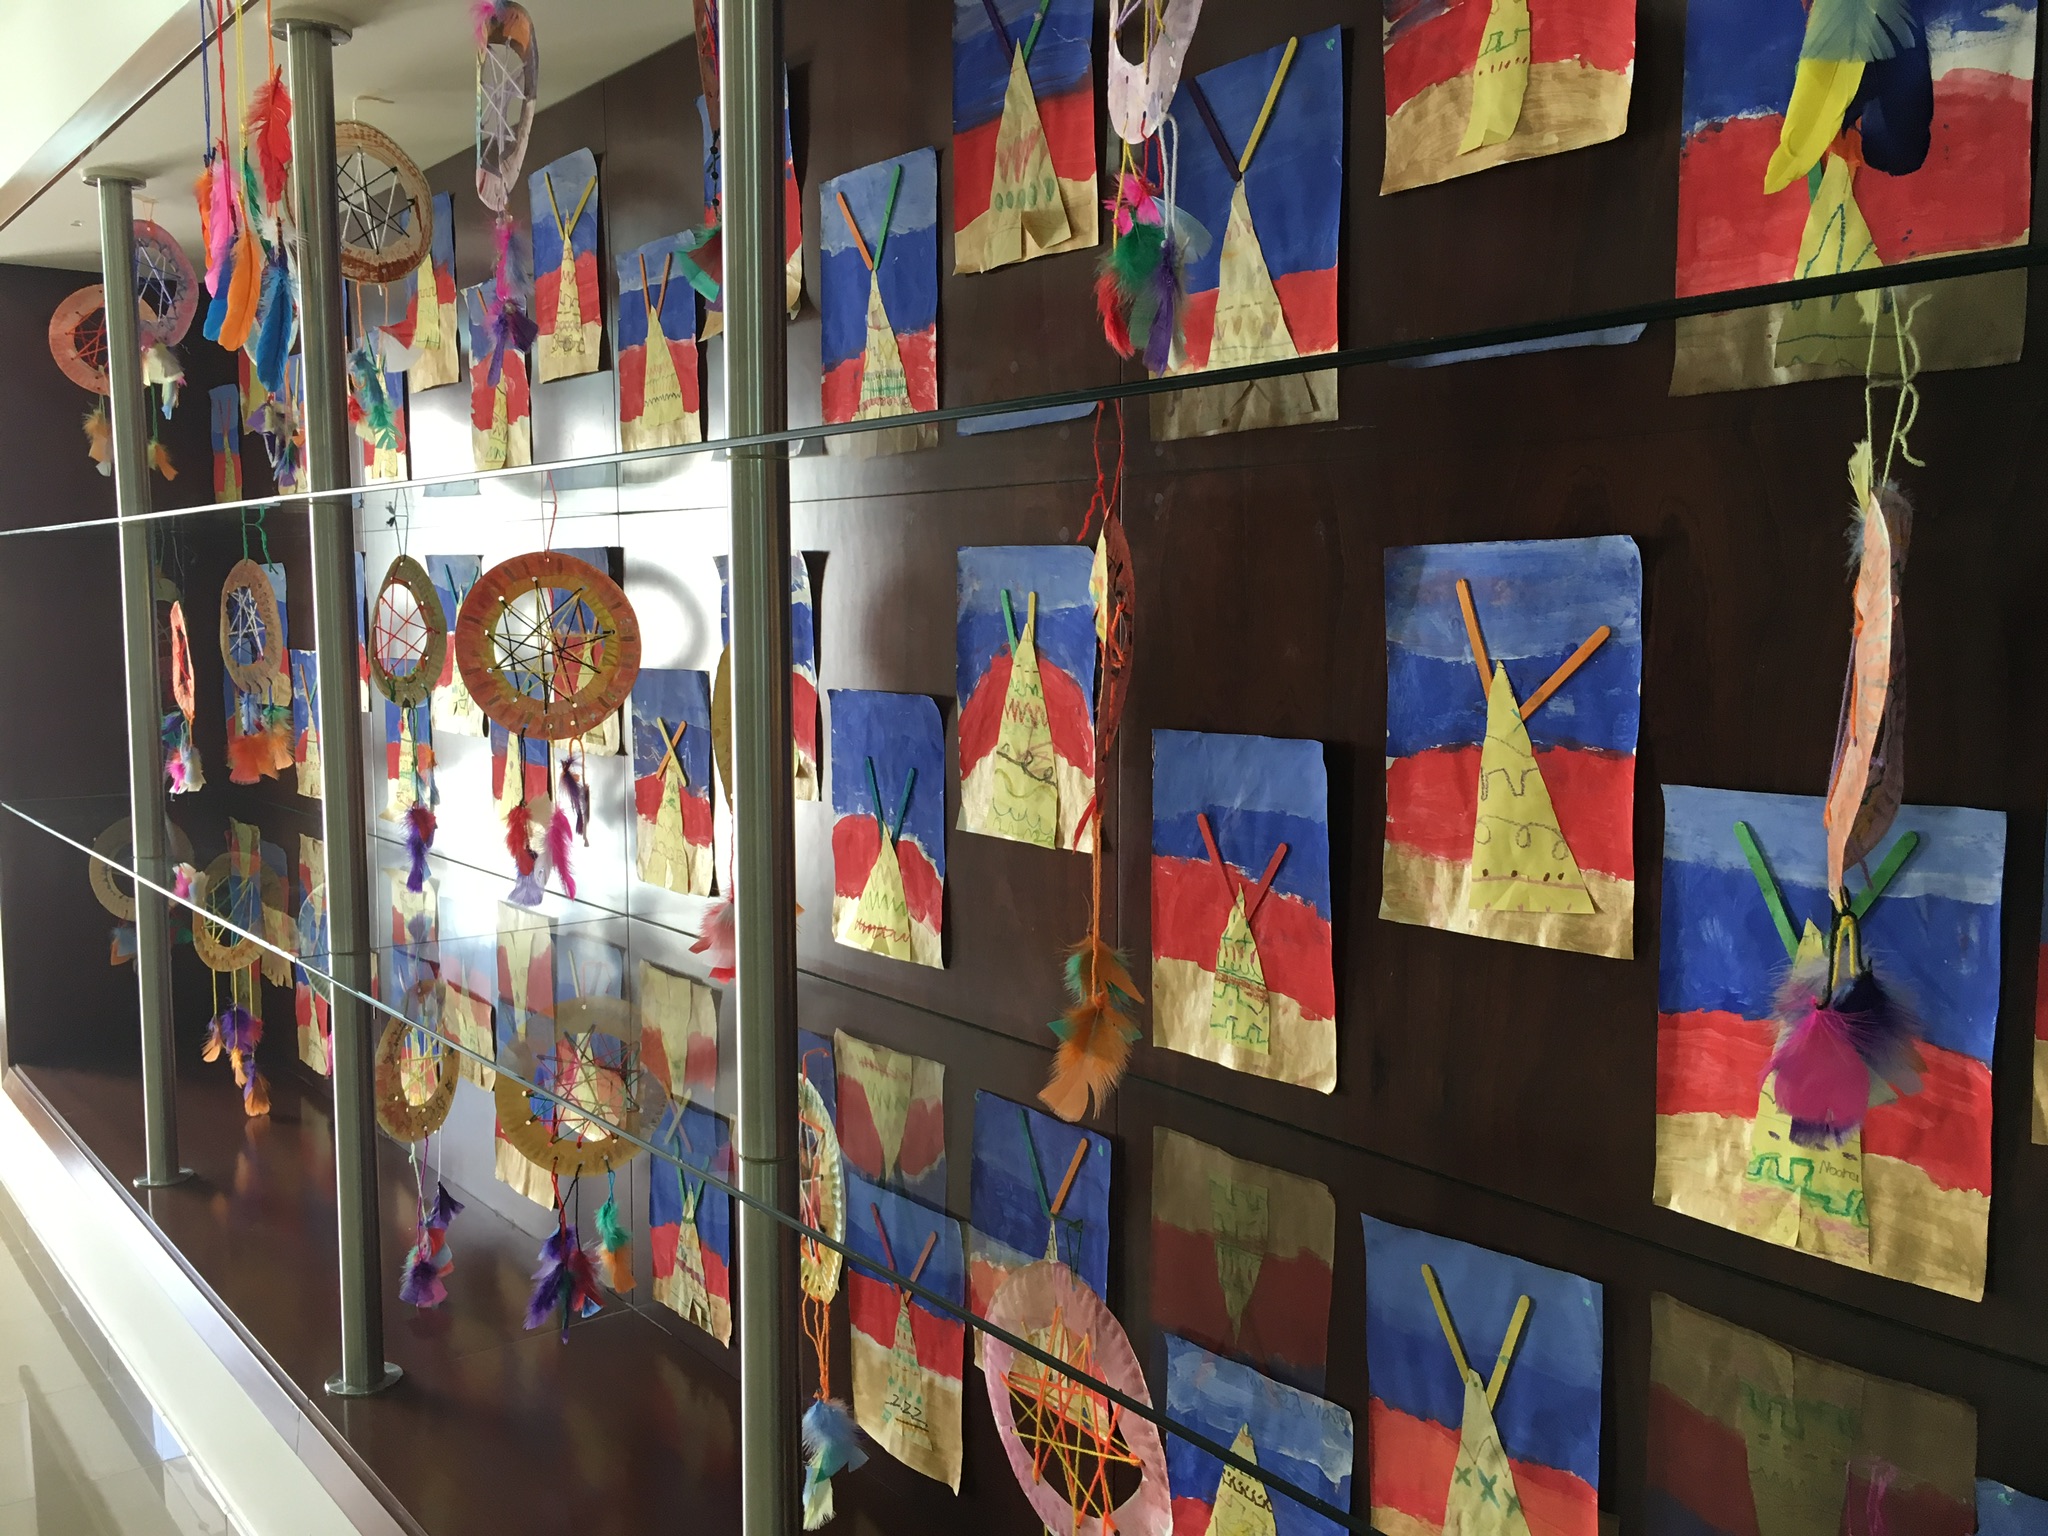
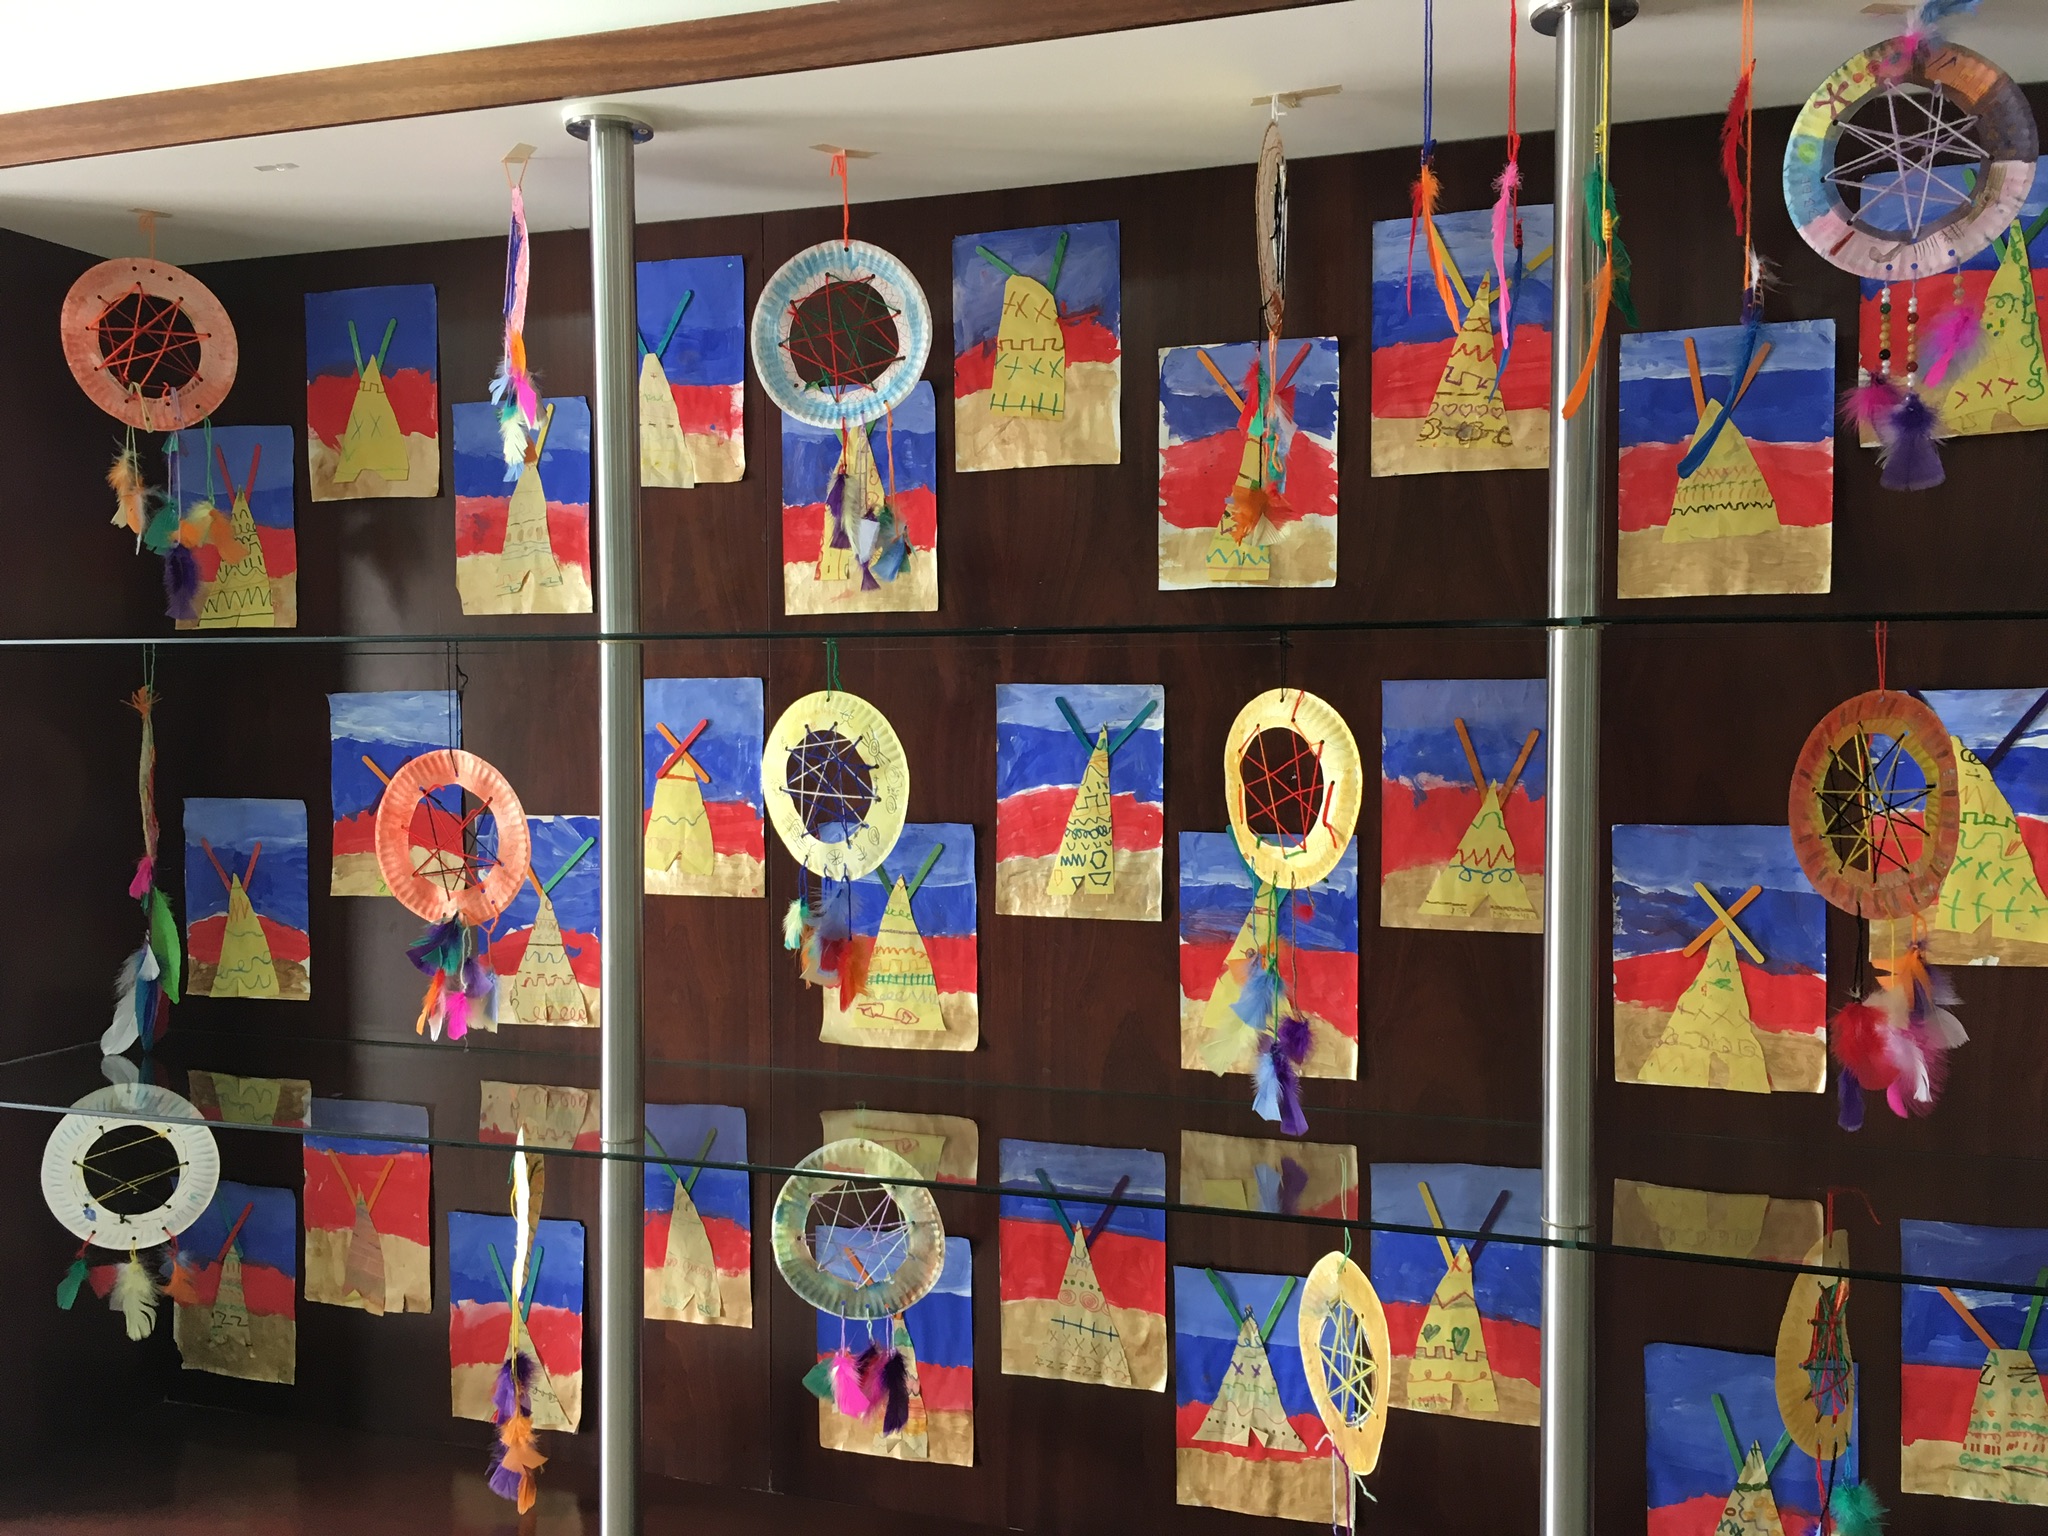
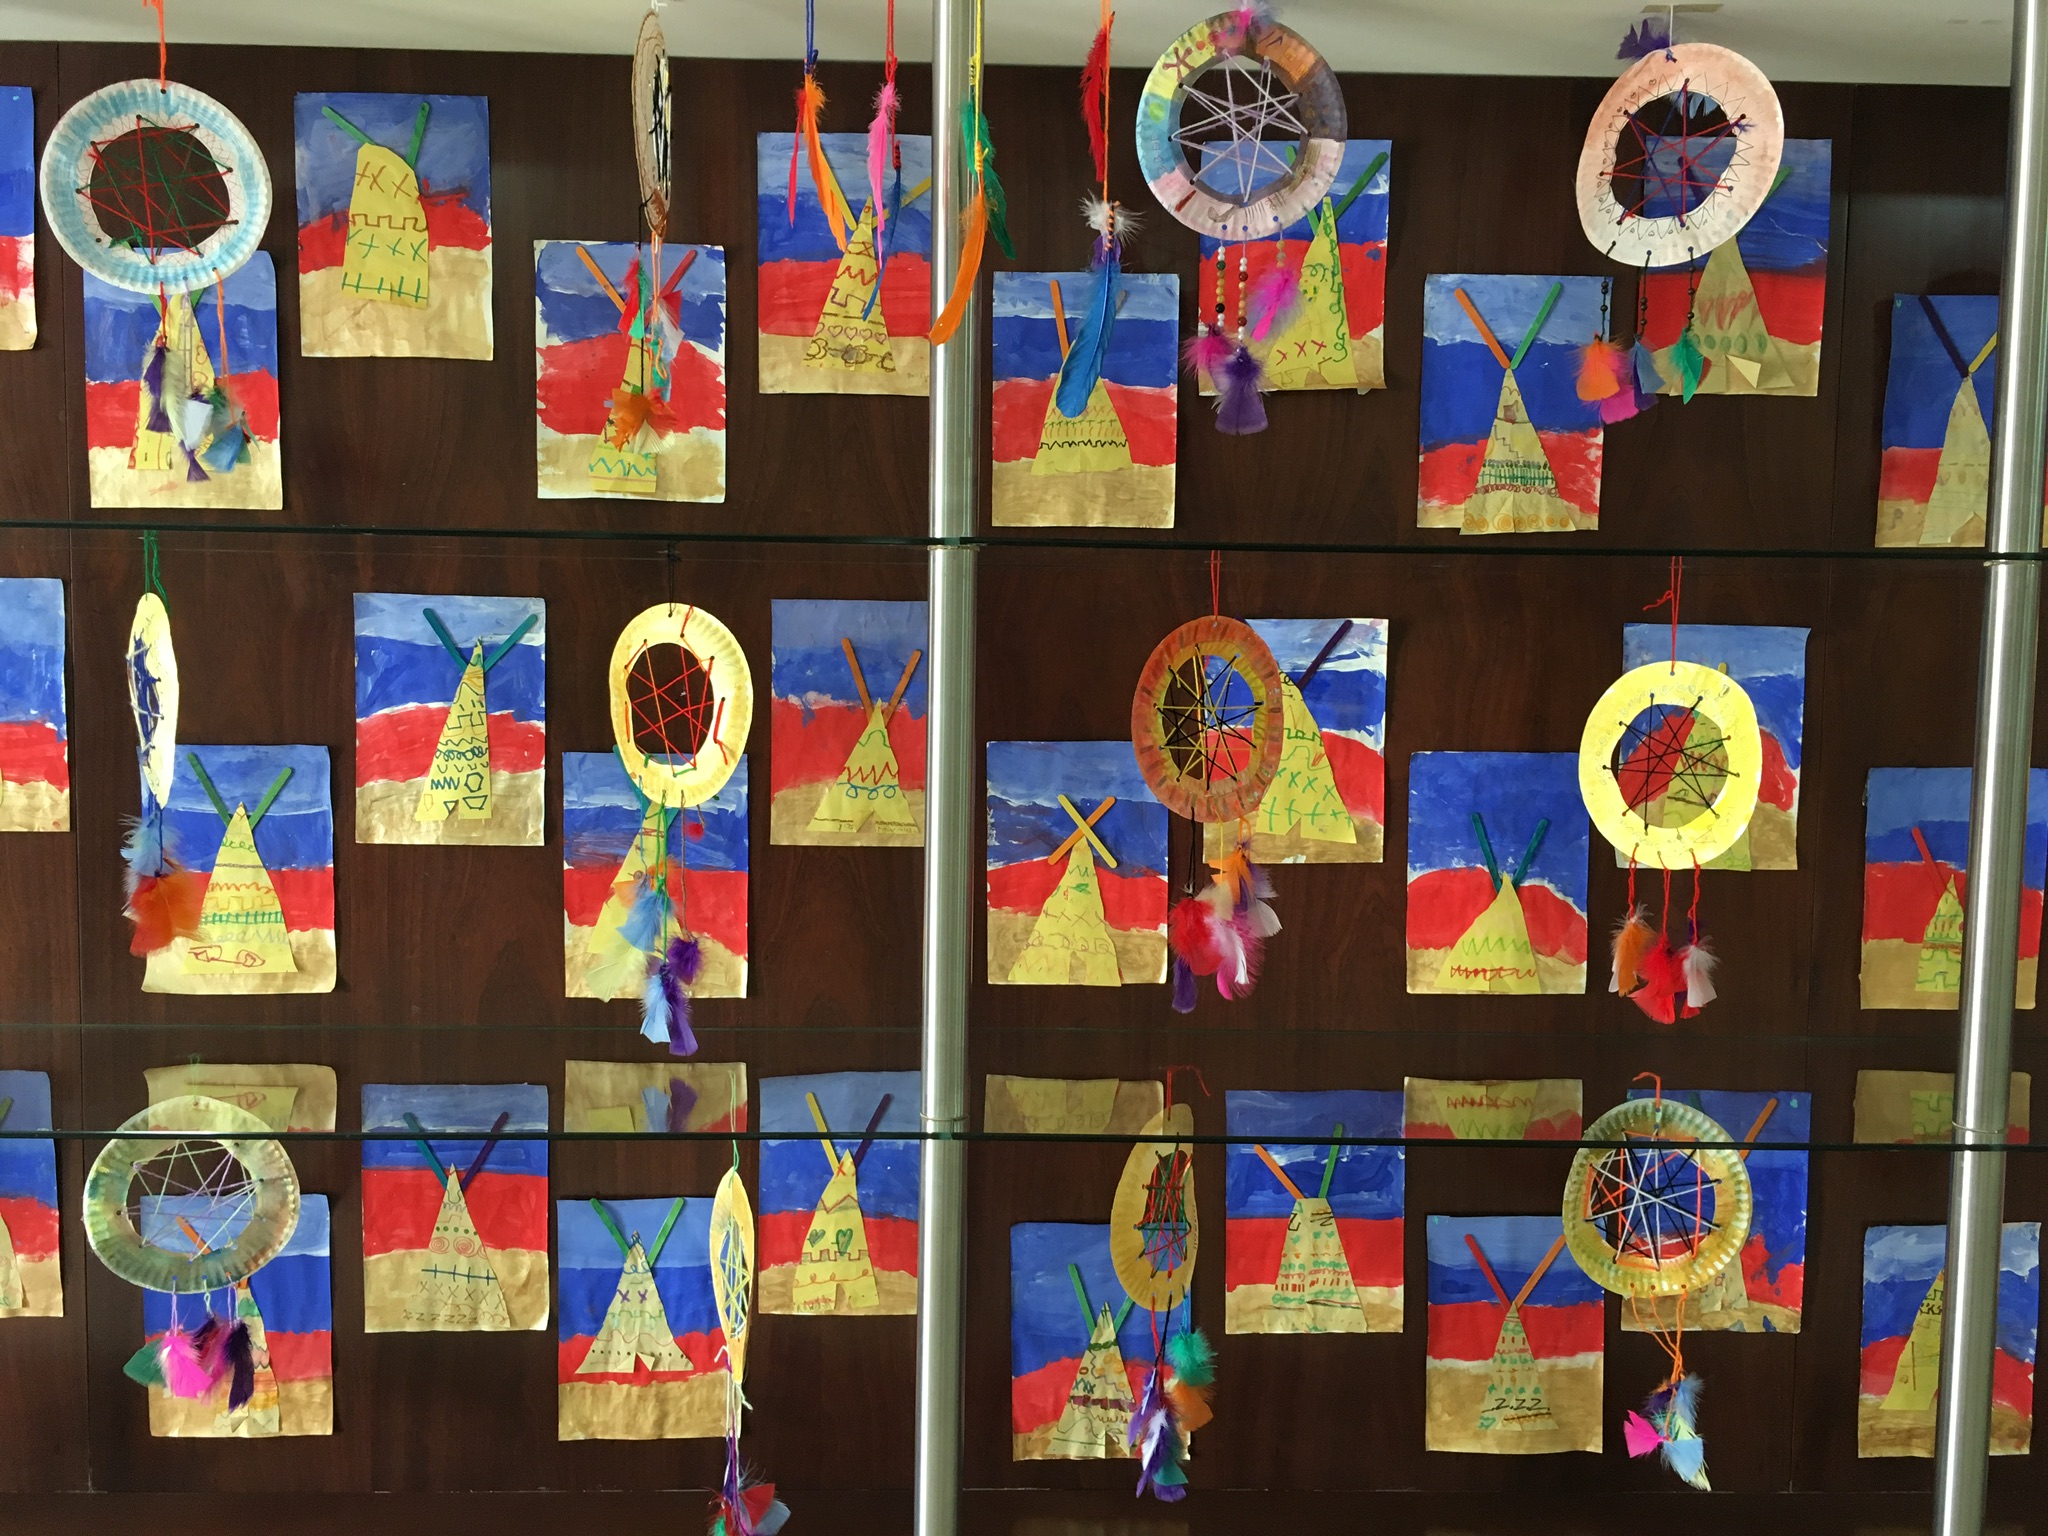
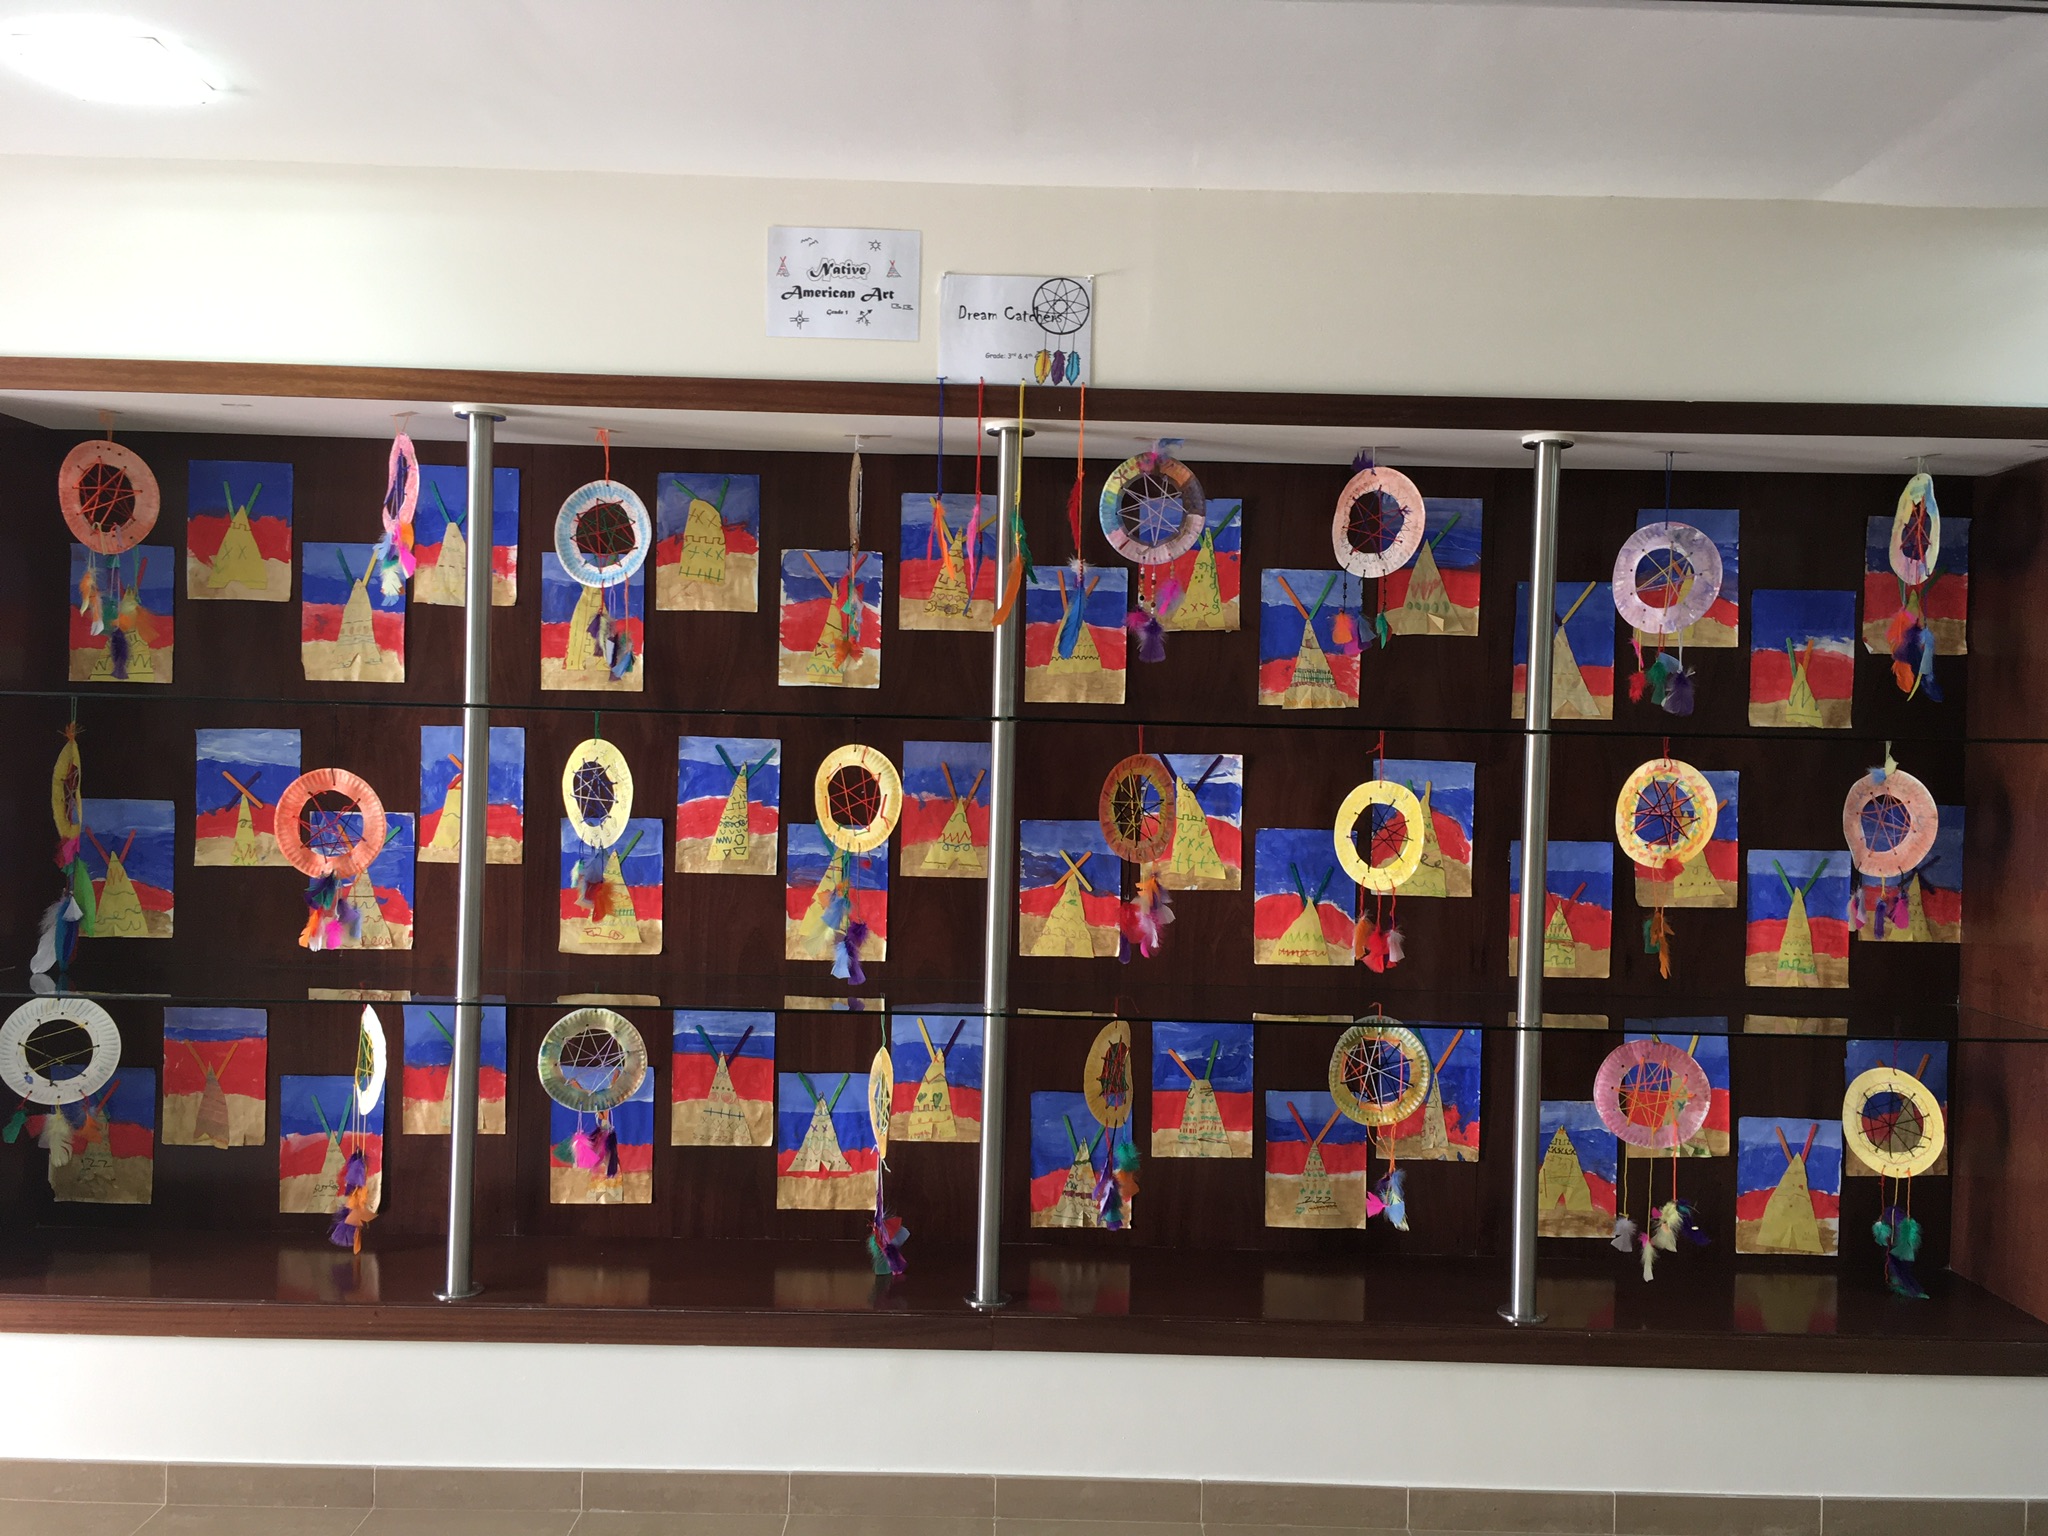
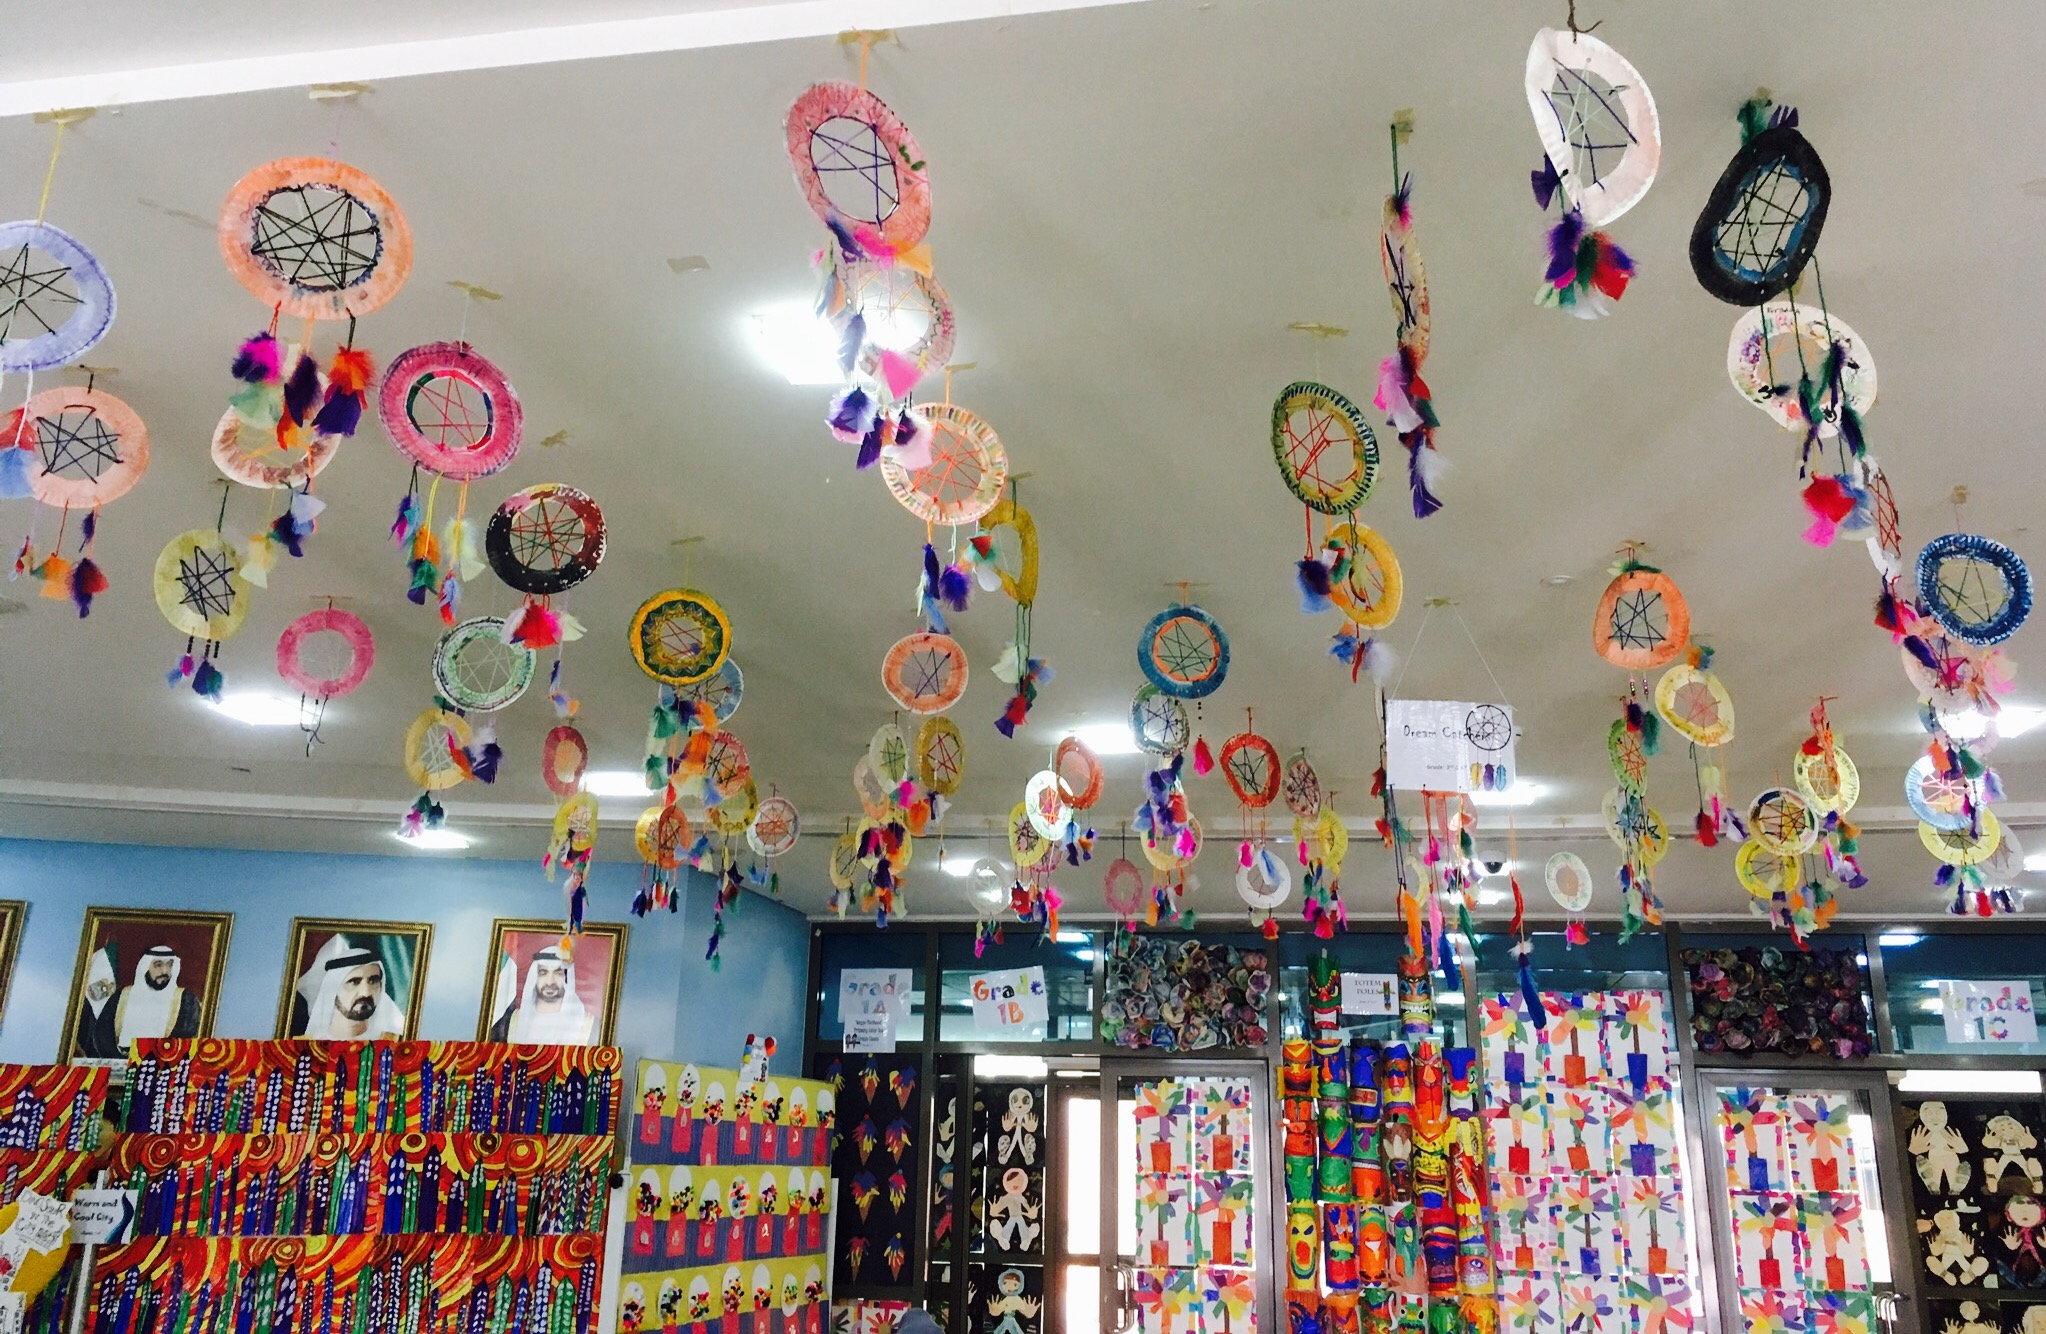
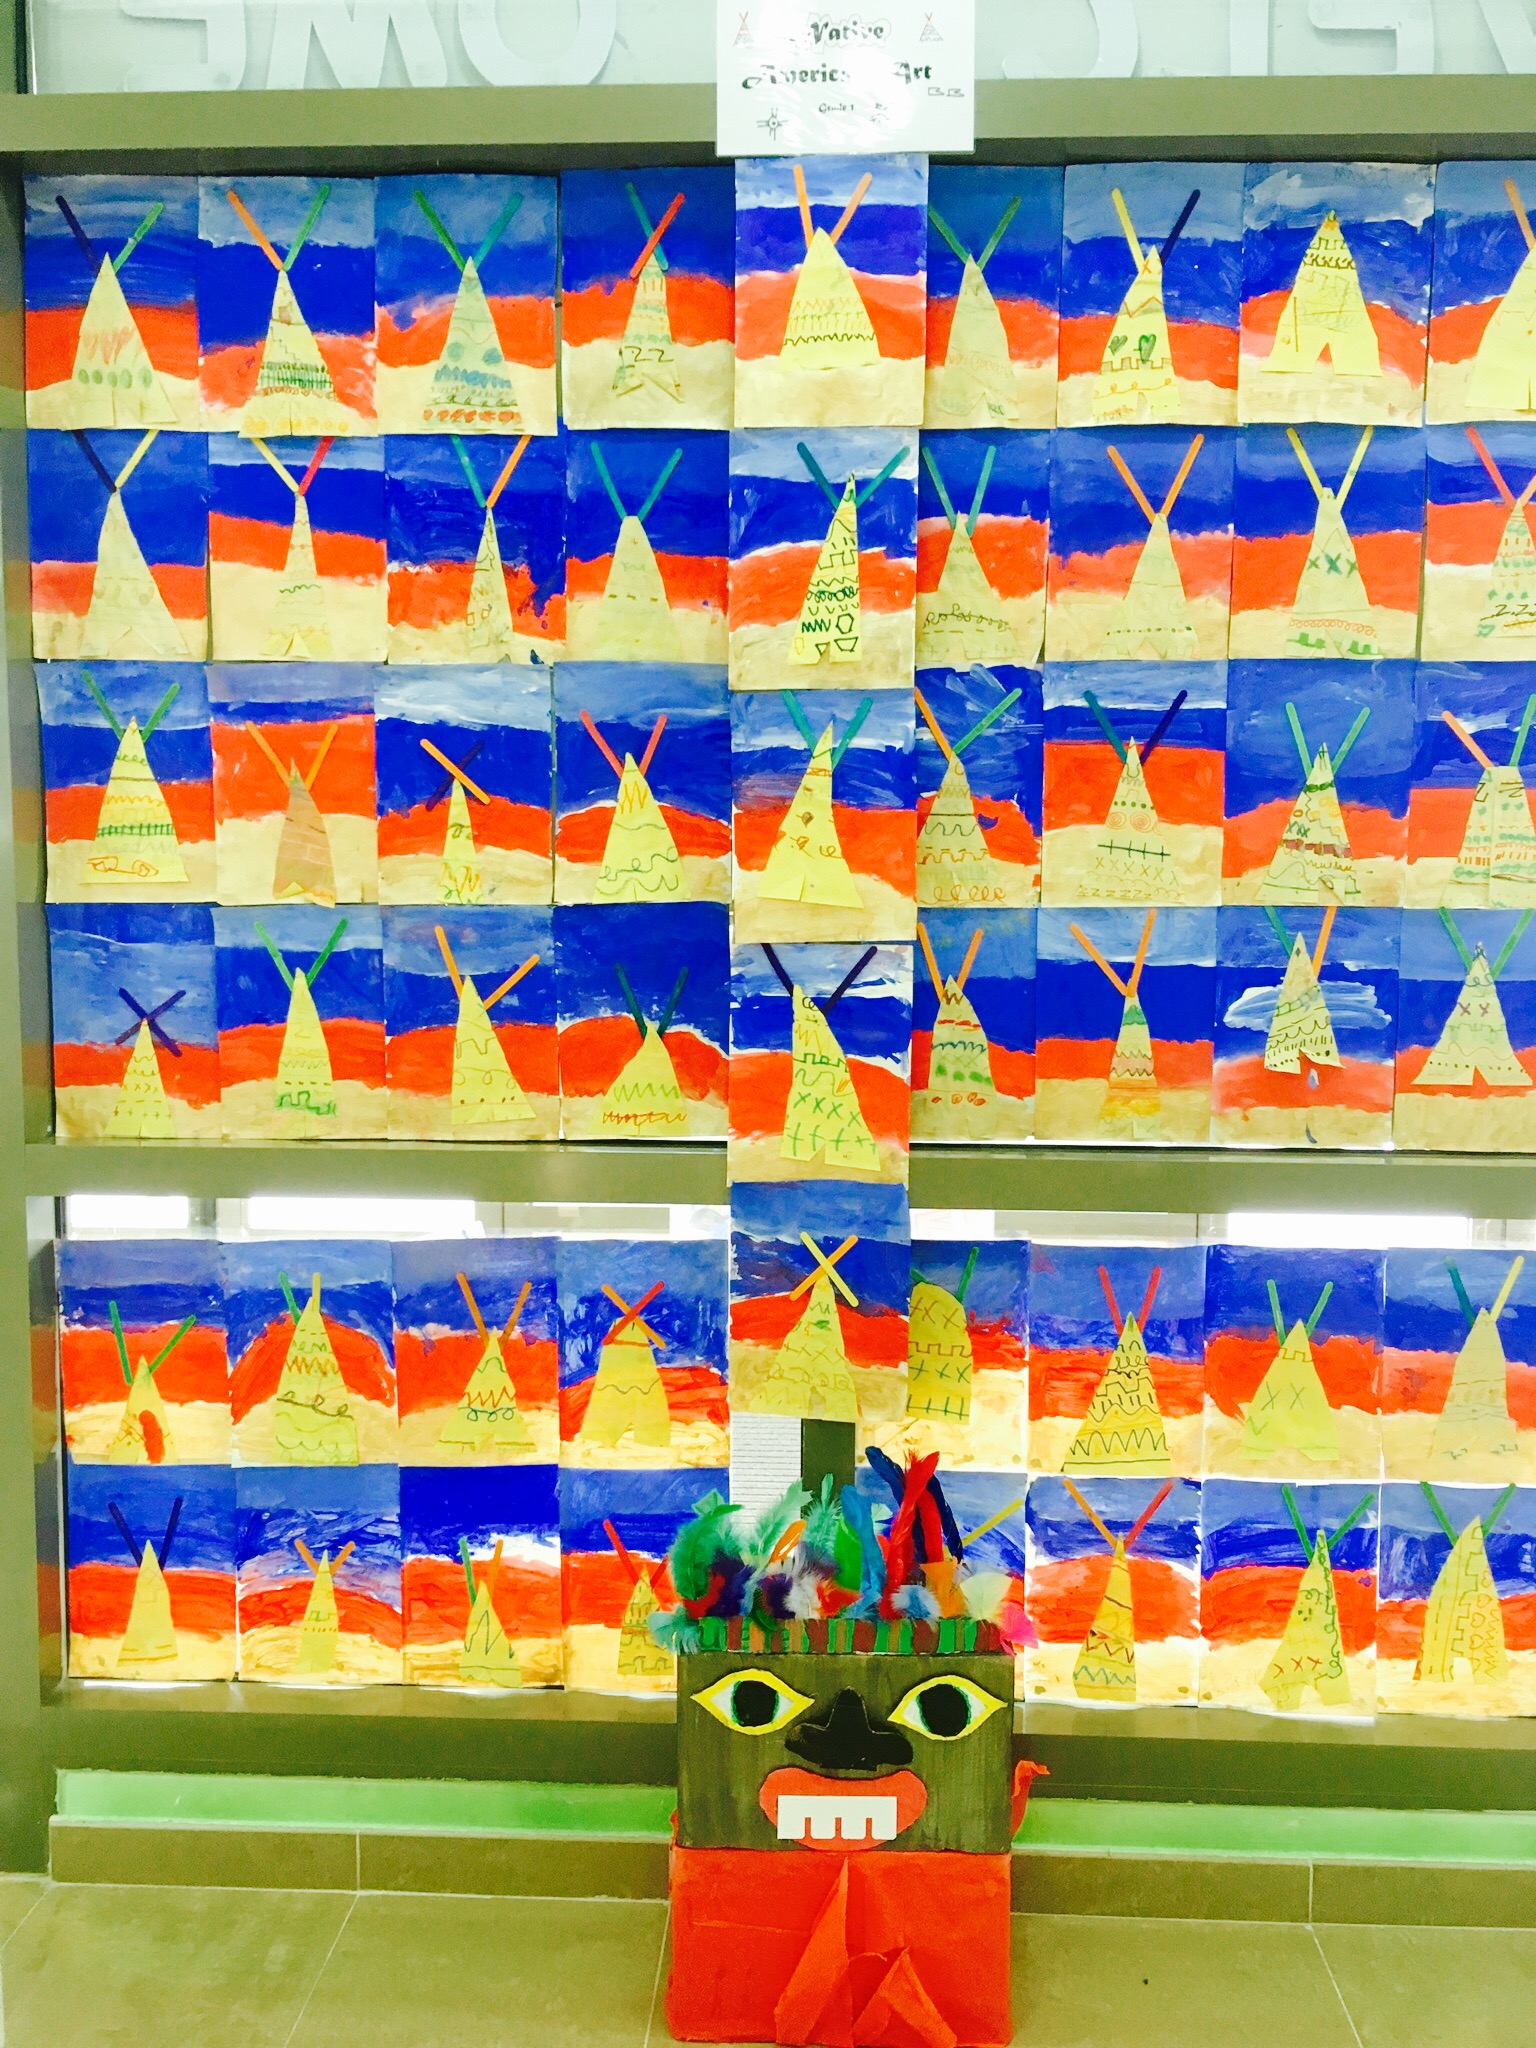
After discussing the history of Native Americans and their art, totem poles, tee-pees, dream catchers and watching a quick introduction video, we began our projects.
1st Grade Tee-Pee Project: Involved lines, shapes, foreground, middle ground, and background. They first used crayons to draw different lines on manila paper. Then they painted white paper using brown for foreground, red for middle ground, and blue for background. Next they drew a triangle on the back of their lined paper and cut it out. Then glued their triangle to their painting with the lines facing up. Then I gave them two Popsicle sticks to glue to the top of their Tee-pees.
4th Grade Dream Catchers: We used paper plates. I gave them reference sheets of native american symbols and we went over what they meant. They designed the rim of the plates with native american symbols and designs. Then they cut out the center of the plate and I had them use watercolors to paint the front and back of plate. Next I used a whole puncher to make holes around the inside of the plate and gave them weaving instructions and yarn. Once they were done weaving we added feathers and a loop of yarn to the top for hanging.
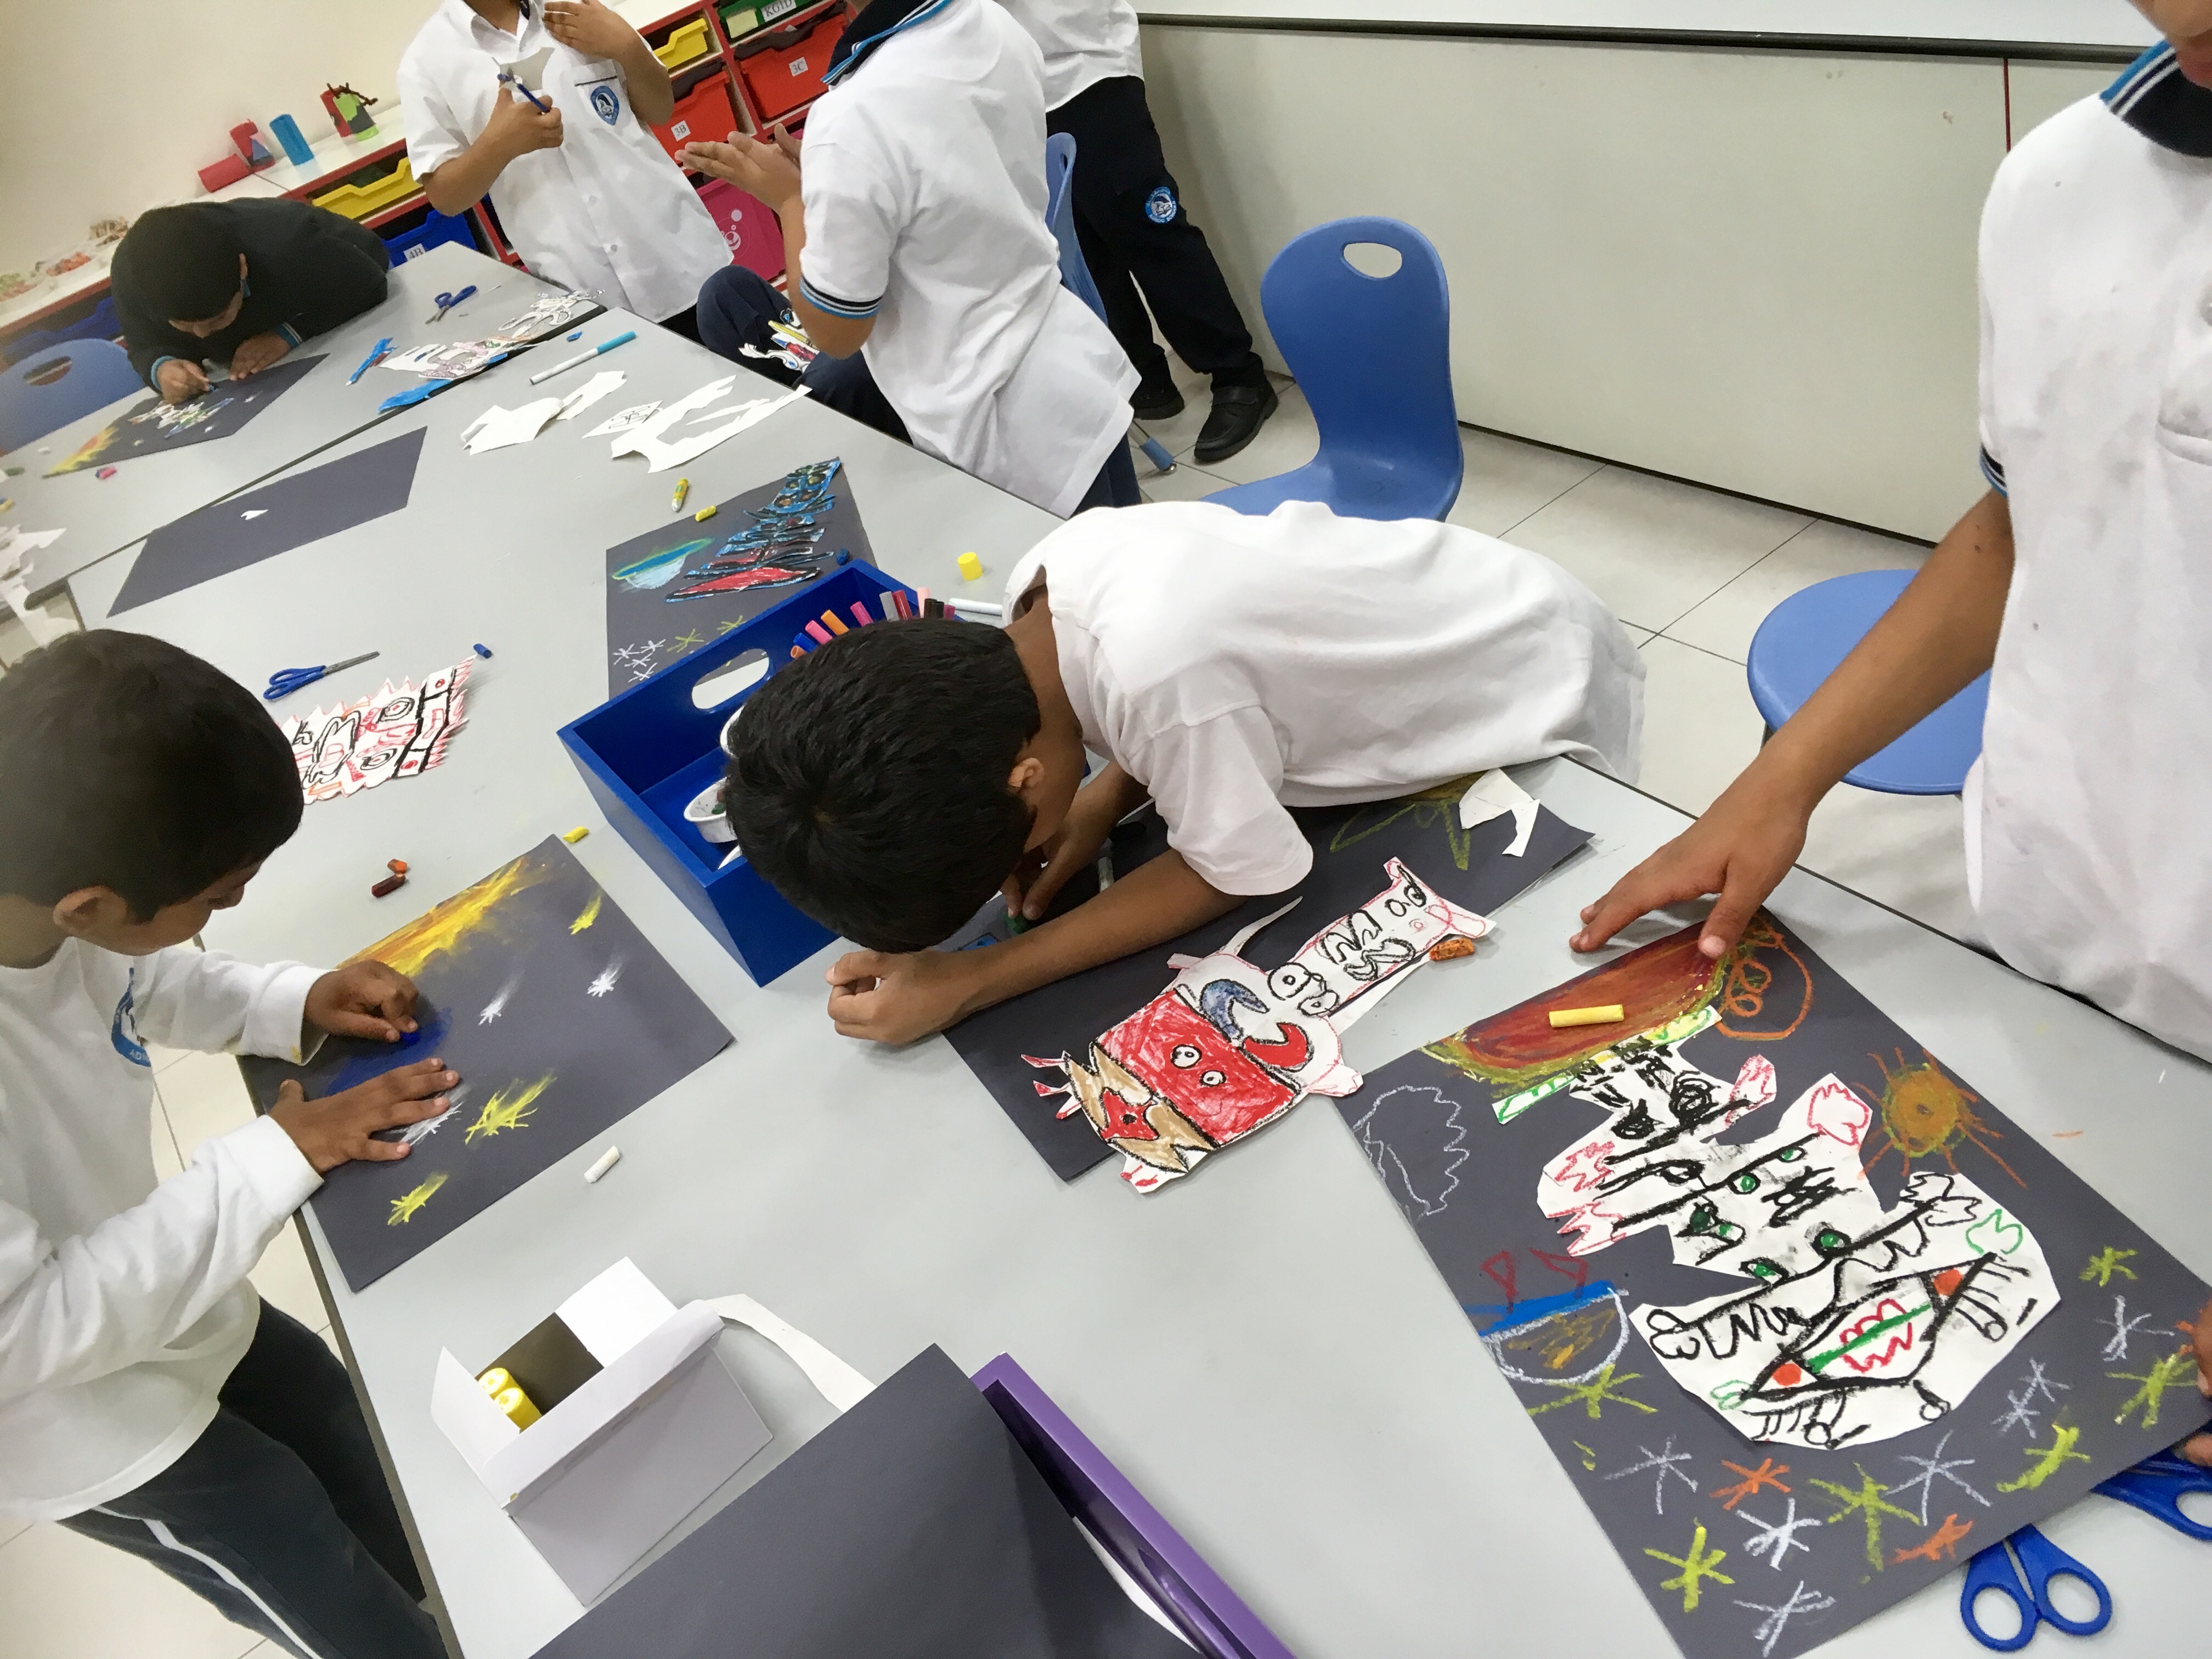
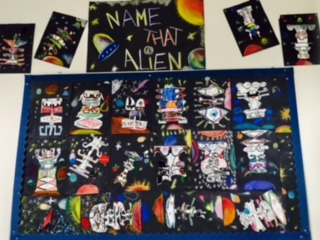
Name that Alien
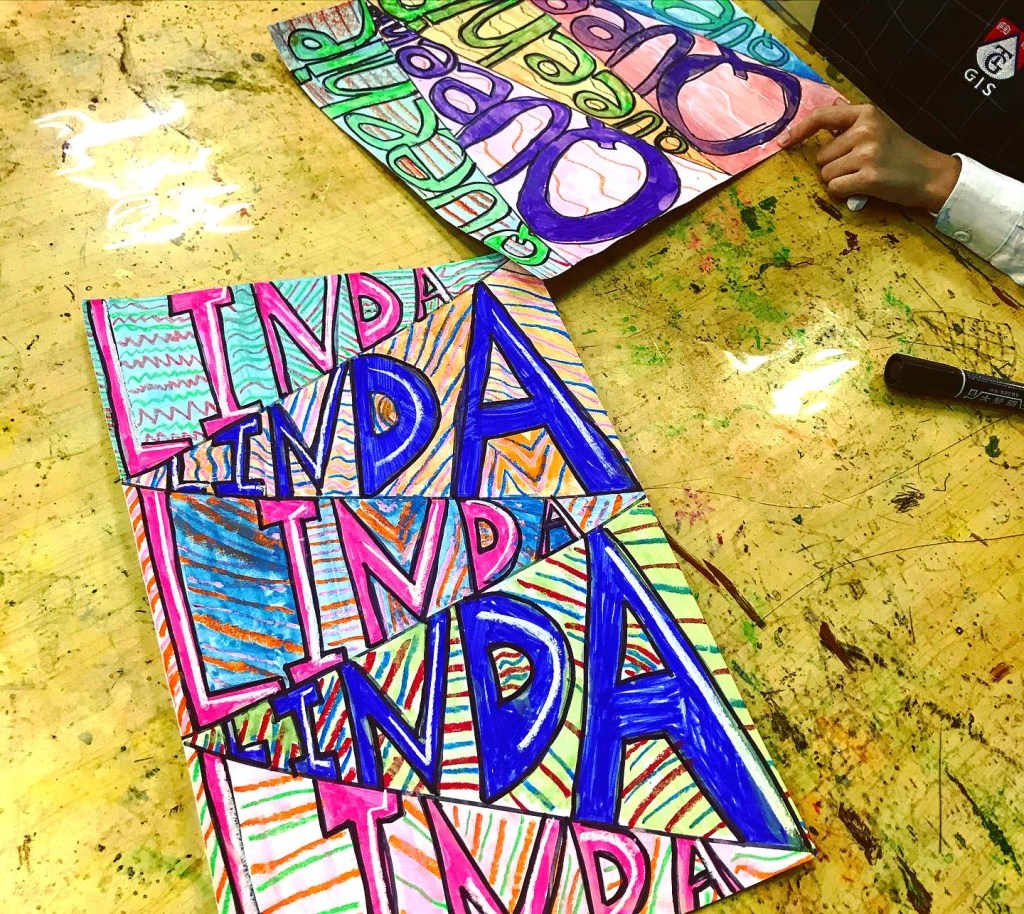
Symmetrical Name Monsters
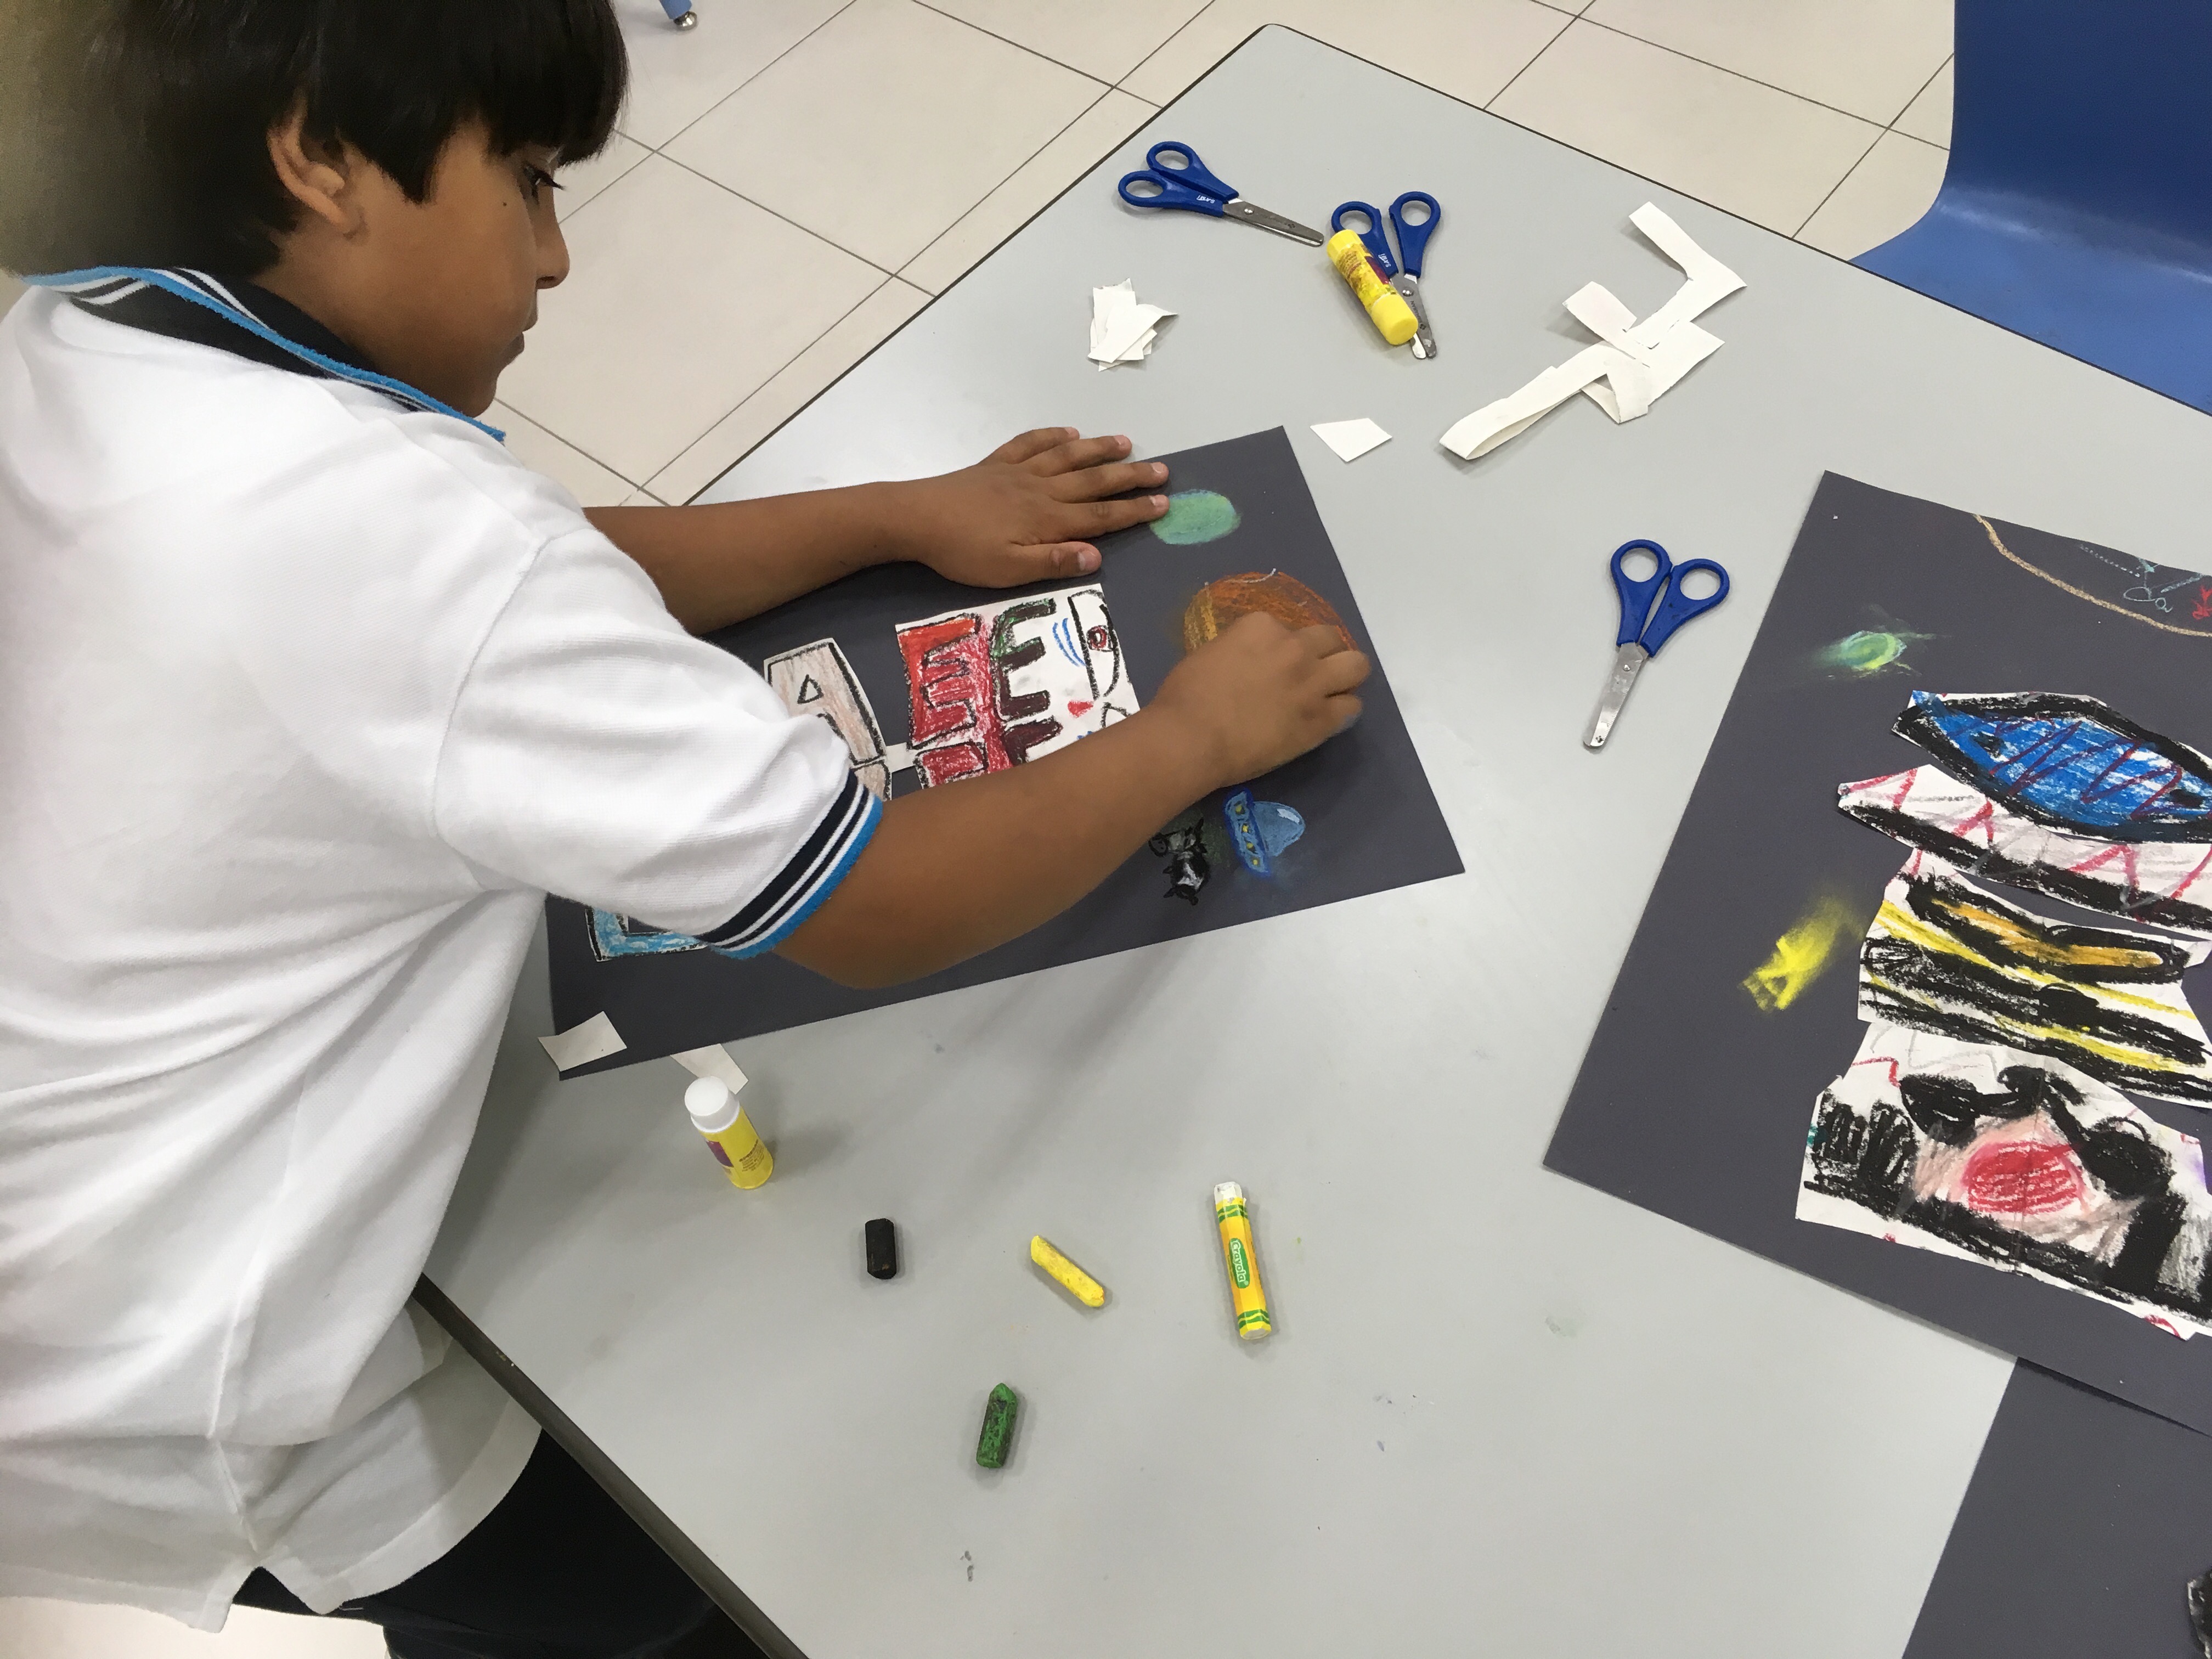

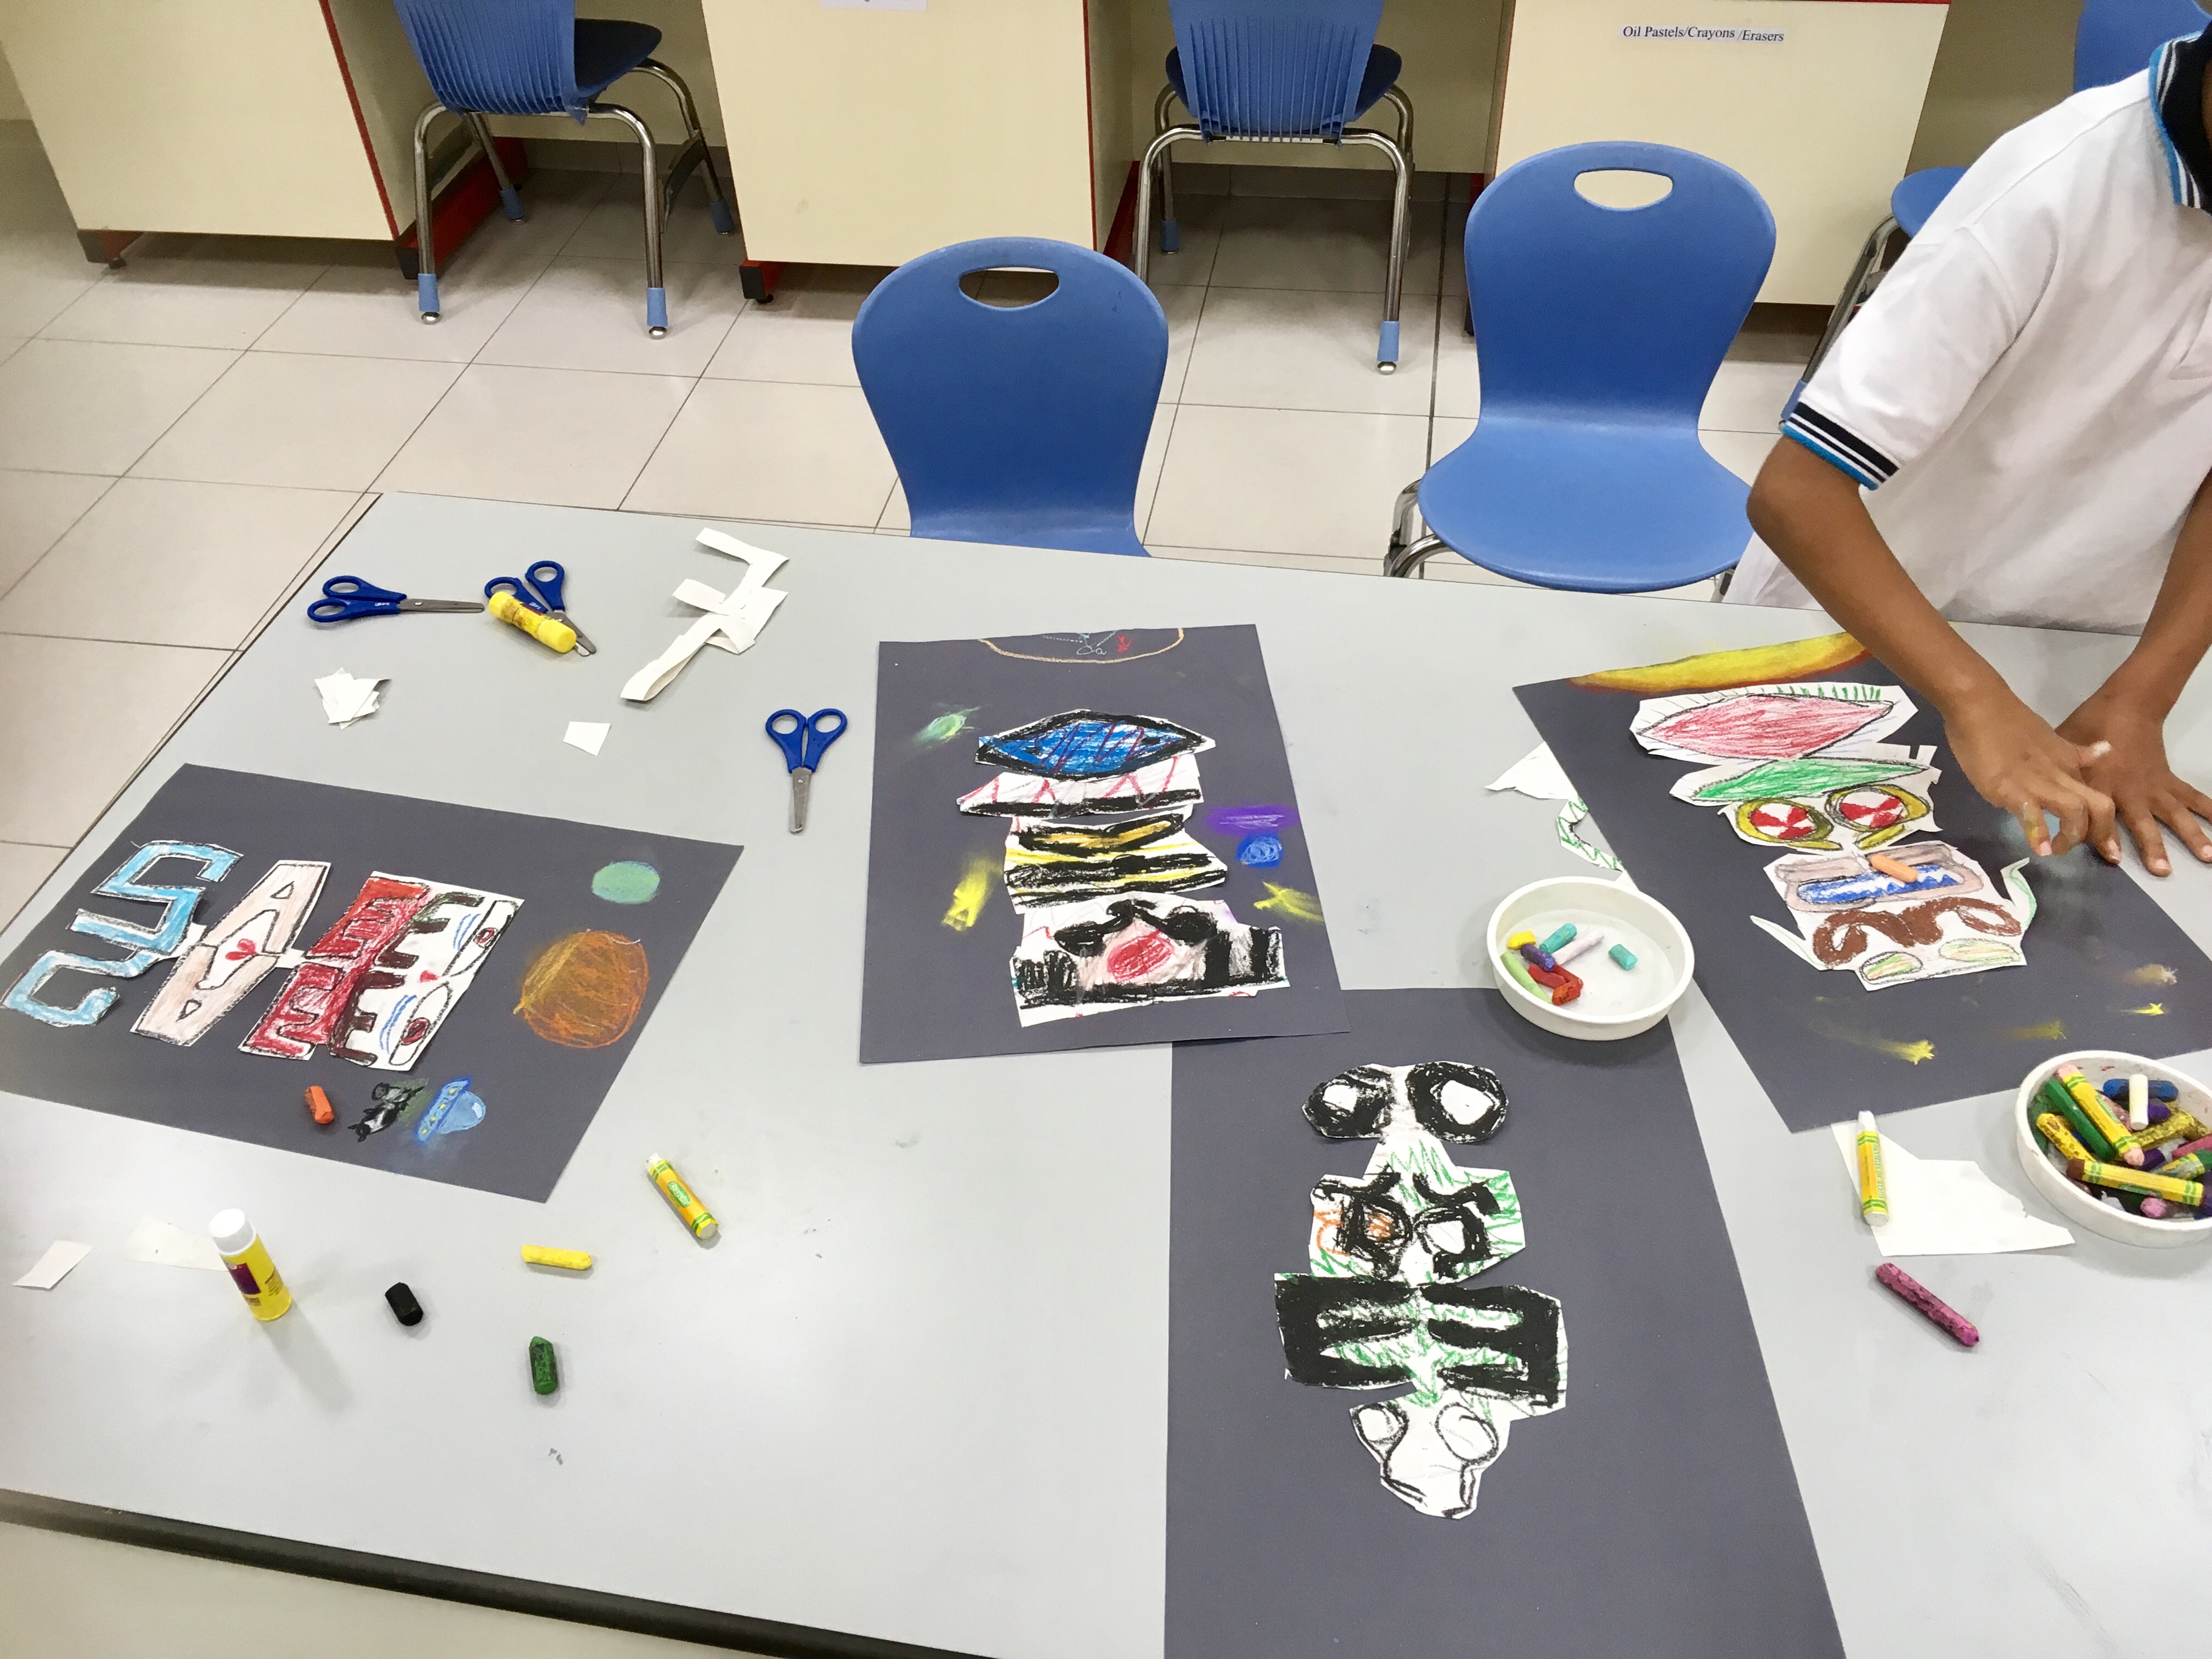


PROCESS:
- Students write their name in block or bubble style letters, making sure that all of the letters are attached to one another and to the fold.
- Cut out the name around the perimeter of the letters. (Do not cut out each letter individually and do not cut out on the fold where the letter meets the fold) The students will then open up their name and it should be connected and symmetrical. Each student will glue his name onto a piece of colored or black construction. The name needs to be open.
- With a marker, oil pastels, or crayons students can draw eyes, arms, legs, or tails on the creature they have created with their symmetrical names.
I also tried this having students write their name in black oil pastels on the fold, then fold their paper so their name is on the inside of the paper and use a rubbing technique. (I just use small plastic glue spatulas I have in my class, but the back end of a drawing pencil will work as well.) I then have students open up their paper and magically their name will appear on the other side. Wowza’s Symmetry!! I then tell them to look at their names vertical and can they picture it becoming a monster or an alien. They all start to laugh at this point, because they start to see a nose, mouth,eyes,etc. They then create their monsters/aliens, cut them out and glue onto black paper. Lastly they design an outer-space background.
I LOVE doing this lesson the first week of school as an introductory so I can learn their names.
